How to Fix Foggy Binoculars 2026
I learned how to fix foggy binoculars the hard way on a 4 a.m. street shoot in Hanoi, when steam…

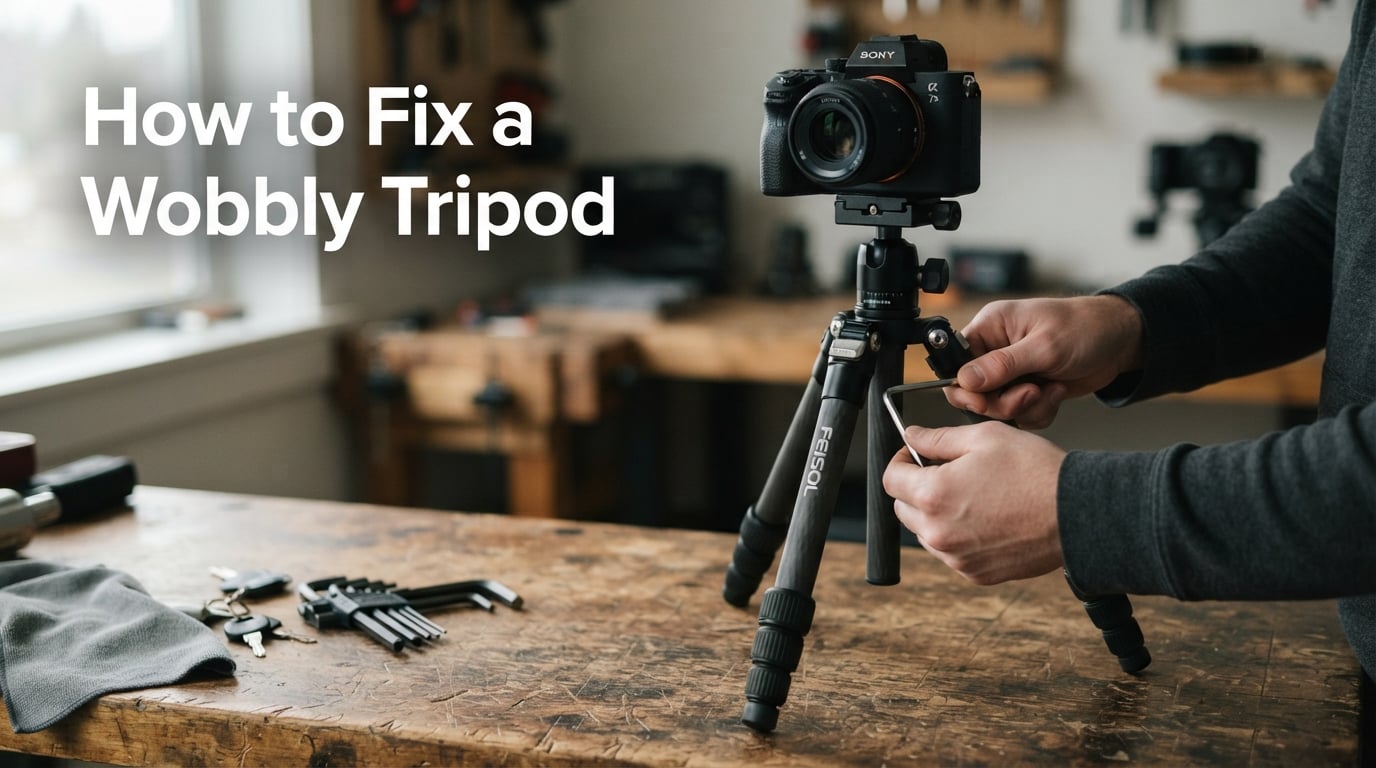
If you have ever watched your camera drift during a long exposure, seen a sharp horizon turn soft, or felt your heart skip when the whole rig wobbled under a telephoto lens, you already know why learning how to fix a wobbly tripod matters. Most tripod wobble comes from a handful of mechanical sources that a basic Allen key can solve in under an hour.
I have rebuilt more tripods than I can count on location shoots, in studios, and at repair benches over the years, and the same five culprits cause the majority of wobble complaints I hear from photographers and videographers. This guide walks through each one in order, starting with the fastest fixes, then the deeper mechanical checks, and ends with a preventive routine so the problem does not return. If you want a quick refresher on choosing a stable platform in the first place, our tripod buying guide pairs well with this repair walkthrough.
Most tripod wobble traces back to one of these five mechanical issues, and you can diagnose them in under five minutes without disassembling anything.
Run the shake test below before you dig deeper: with the camera mounted and locked, gently push the camera body forward, backward, and side-to-side. Any rocking, clicking, or visible drift points to a specific section to address.
Leg locks are the number one source of tripod wobble, and the fix is almost always a tension adjustment rather than a replacement. There are two lock types, and each has a slightly different adjustment path.
Twist locks use an internal compression ring that grips the inner leg tube. When the rubber gasket inside dries out or the ring loosens, the leg will slide down slowly under load. To fix it, locate the small set screw or hex bolt near the top of the twist lock collar – on Manfrotto twist locks this is usually a 2.5 mm or 3 mm hex screw; on Gitzo and Benro it is often a 2 mm hex. Tighten the set screw a quarter turn at a time and re-test the lock by extending the leg and letting it support a moderate downward push. If the leg still slips, the internal compression ring itself is worn and the collar assembly needs replacement.
Flip locks (also called lever locks) use a cammed clamp that bites the leg tube when the lever snaps shut. Wobble here usually means the clamp tension has loosened from repeated use. Most flip locks have an adjustment screw or hex bolt at the hinge end of the lever – tighten it until the lever closes with firm resistance and the leg no longer slips. Do not over-tighten, or the lever will be nearly impossible to open in cold weather. If the lever still does not hold, check that the inner leg tube is not bent, which is the most common cause of flip-lock failure we see on older Velbon and Slik tripods.
A center column that slowly drops under camera weight is the second most common wobble complaint. The cause is almost always a loose elevator stopper, which is the collar or set screw that locks the column’s vertical travel.
On most tripods, you will find the elevator stopper either as a knurled ring just below the top casting, or as a small set screw accessed with an Allen key. Turn the ring clockwise until the column holds firmly at any height, then give it a quarter turn past finger-tight. If the column still drifts, the internal rack or friction pad is worn – common on heavily used Manfrotto 190 and 055 series columns – and the column assembly or friction pad should be replaced.
One classic field trick that solves slow drift on otherwise sound columns is the elevator stopper adjustment shared across many photography forums: loosen the head, then turn the center column hook until the column grips, then re-mount the head. Reddit users have described this exact sequence fixing a head that had mysteriously unscrewed itself from the column. It works because the head and the stopper share the same upper casting, and a loose stopper lets the head rotate freely.
While you are working on the column, resist the temptation to raise it higher than necessary. A fully extended center column is the least stable position on any tripod, and we strongly recommend keeping it lowered for any shot longer than 1/30 second. Our guide to balancing a spotting scope on a tripod covers the same principle for heavier optics.
Head connection play falls into two flavors: the head rocks on its mounting thread where it attaches to the tripod, or the camera rocks on the quick-release plate where it attaches to the head. Both produce identical symptoms from the photographer’s perspective, so you have to isolate which joint is moving.
With the camera removed, lock the head fully and try to rock the head itself on the tripod’s mounting platform. If it moves, the head-to-tripod screw is loose or the thread is stripped. Tighten the head’s mounting screw firmly – most use a 3/8-inch thread, with smaller travel tripods using 1/4-inch – and re-test. If the screw spins without tightening, the thread is stripped and you need either a thread repair insert or a new head. For ball heads, also check the main locking knob: a knob that turns freely without engaging the ball usually means worn internal teeth, which is not user-repairable.
If the head is solid but the camera rocks, the quick-release plate is the culprit. Re-seat the plate fully, lock the clamp, then perform the shake test: with the camera on, grip the camera body and gently try to twist it. Any rotation means the plate is not fully clamped. Clean the plate and clamp surfaces with a dry microfiber cloth – grit here is the number one cause of plate slip – and check that you are using a plate compatible with your clamp (Arca-Swiss is the standard, but Manfrotto 200PL and similar proprietary plates do not fit Arca clamps).
Manfrotto heads use a 3/8-inch mounting thread on the tripod and a 1/4-inch thread on the camera side, with proprietary quick-release plates. Gitzo heads use the same 3/8-inch thread but accept Arca-Swiss plates on most current models. Velbon heads vary widely – older Sherpa series use 1/4-inch threads on both sides – so check the manual or measure with a thread gauge before buying replacement parts. Benro heads are generally Arca-Swiss compatible and use 3/8-inch tripod threads across the S and Mach3 lines.
Feet are the part of the tripod that take the most environmental abuse and the least attention. Hardened, cracked, or slick rubber feet lose grip on tile, polished concrete, and wet surfaces, and the tripod will skate or rock even when every joint is tight.
Inspect each foot for cracking, flat spots, and hardening. If the rubber is glazed or hard, you can often restore grip by lightly scuffing the surface with fine sandpaper, but this is a short-term fix. For long-term reliability, replace the feet – most brands sell replacement rubber feet for between a few dollars each, and they slip on after removing the old ones. Retractable spikes under the rubber feet should be deployed only on soft ground or ice; using spikes on hardwood or tile destroys floors and amplifies vibration.
For shooting on smooth floors, a folded rubber shelf liner under each foot adds grip dramatically. On outdoor terrain, a small piece of gaffer tape wrapped around the foot increases contact area and damps vibration. Both are field-expedient fixes that cost almost nothing.
Run this sequence before touching any adjustment screws. It takes about ten minutes and pinpoints the exact joint causing the wobble, which saves you from tightening things that are already fine.
If the wobble appears only with the camera mounted and points in a single direction, the quick-release plate is almost always the issue. If the wobble appears with the head only, it is the head-to-tripod connection. If the wobble appears with no head at all, work through the leg locks and feet.
A small toolkit covers most tripod repairs. Keep it in your camera bag and you will rarely need a service shop.
For most modern tripods, a metric Allen key set covering 1.5 mm, 2 mm, 2.5 mm, 3 mm, 4 mm, and 5 mm handles every set screw you will encounter. Manfrotto heads typically use 4 mm hex bolts for the main mounting screw and 2.5 mm for tension adjusters. Gitzo uses 3 mm and 2 mm hex on most current models. Velbon and Benro vary, but 3 mm is the most common size for tension adjusters. Add a small Phillips #1 screwdriver, a microfiber cloth, and a soft brush, and you can handle nearly every adjustment on location.
Never use WD-40 on tripod joints or locks. It strips the factory lubricant, dissolves rubber gaskets in twist locks, and attracts dust that accelerates wear. For cleaning metal-to-metal joints, use a dry microfiber cloth or a soft brush. For sticky twist locks, a tiny amount of silicone-based lubricant or specialty tripod grease is appropriate, but only on the threads and never on the rubber gasket. For quick-release plate clamps, clean with isopropyl alcohol on a cotton swab and let it dry fully before remounting.
Most tripod wobble is preventable with a 30-second weekly check and a deeper quarterly inspection. Wipe down legs and locks after every shoot, especially in salt air or sandy environments. Once a week, extend and retract every leg to redistribute any internal lubrication, then check that locks hold firmly. Once a quarter, remove the head, inspect the mounting threads for wear, clean the quick-release plate clamp, and check each rubber foot for cracks. This routine alone eliminates the majority of the wobble complaints I see from working photographers.
Traveling light often means leaving the Allen key set at home. When wobble shows up in the field, a few improvised fixes can hold you until you get back to a workbench.
A wide rubber band wrapped around a slipping flip lock adds compression and often holds for the rest of the shoot. A small piece of gaffer tape over a loose quick-release plate clamp does the same for plate slippage. Hanging any modest weight from the center column hook – a camera bag, a water bottle, even a sock filled with coins – damps vibration dramatically and is the single best trick for telephoto lens shake on windy days. For rubber feet that have lost grip on smooth floors, a folded square of rubber shelf liner under each foot adds all the traction you need and folds flat in your bag. None of these are permanent fixes, but each has rescued more than one of my shoots.
If the wobble traces to leg lock tension, center column drift, plate seating, or rubber feet, the fix is DIY-friendly and takes minutes with basic tools. If the wobble traces to a stripped head mounting thread, a cracked leg tube, a bent center column shaft, or an internal ball head mechanism that will not engage, the repair moves beyond routine maintenance.
For tripods under five years old from major brands (Manfrotto, Gitzo, Benro, Velbon, Slik), professional service is almost always cheaper than replacement – especially for carbon fiber legs, where a single replacement section can cost more than a full service. For older or budget tripods, replacement usually makes more sense than repair. If you are weighing the two, our roundup of tripod shooting rests covers current options at every budget if you decide to upgrade.
Tighten every leg lock, lower the center column, hang weight from the center column hook, check that the load is within the tripod’s rated capacity, and place rubber feet (or shelf liner) on slick surfaces. The biggest stability gains come from lowering the center column and using the heaviest, shortest leg sections at the top.
A slipping tripod is almost always caused by a loose center column elevator stopper. Turn the knurled ring or hex set screw just below the top casting clockwise until the column holds firmly. Worn rubber feet on smooth floors are the second most common cause – replace the feet or add rubber shelf liner underneath.
Extend the thickest leg sections first (they are the most stable), keep the center column lowered for any shot longer than 1/30 second, lock every leg and the column firmly, and check the level bubble if your tripod has one. For uneven ground, set two legs downhill and one leg uphill so the apex stays over the center of mass.
Manfrotto tripods most often develop wobble from a loose center column elevator stopper, worn twist-lock compression rings (especially on 190 and 055 series), stripped 3/8-inch head mounting threads, and proprietary 200PL quick-release plates that do not fit Arca-Swiss clamps. All four issues are well-documented and most have replacement parts available.
Never use WD-40 on tripod joints – it strips factory lubrication, dissolves rubber gaskets in twist locks, and attracts dust. Use a dry microfiber cloth or soft brush for routine cleaning. For sticky threads, apply a small amount of silicone-based lubricant or specialty tripod grease only on metal threads, never on rubber gaskets or quick-release plate clamps.
Yes, in most cases the head is a separate user-replaceable component attached by a single screw. Tripods use either a 1/4-inch or 3/8-inch mounting thread – check your tripod’s spec sheet or measure the existing screw before ordering a replacement head. Match the thread size and the quick-release plate standard (Arca-Swiss is most common, but Manfrotto 200PL and other proprietary plates do not fit Arca clamps).
Learning how to fix a wobbly tripod comes down to working through the five common causes in order: leg locks, center column, head connection, feet, and load balance. Each one has a specific fix, most of which need nothing more than a small Allen key and ten minutes of patience. The tools checklist above, the preventive schedule, and the field quick fixes will keep your tripod steady shot after shot, year after year.
If you have worked through the diagnostic steps above and the wobble persists, the issue is almost certainly a stripped thread or worn internal mechanism that needs professional service. For tripods under five years old, service is usually cheaper than replacement. For older budget models, our guide to binocular tripod adapters and tripod accessories covers replacement options worth considering in 2026.