How to Fix Foggy Binoculars 2026
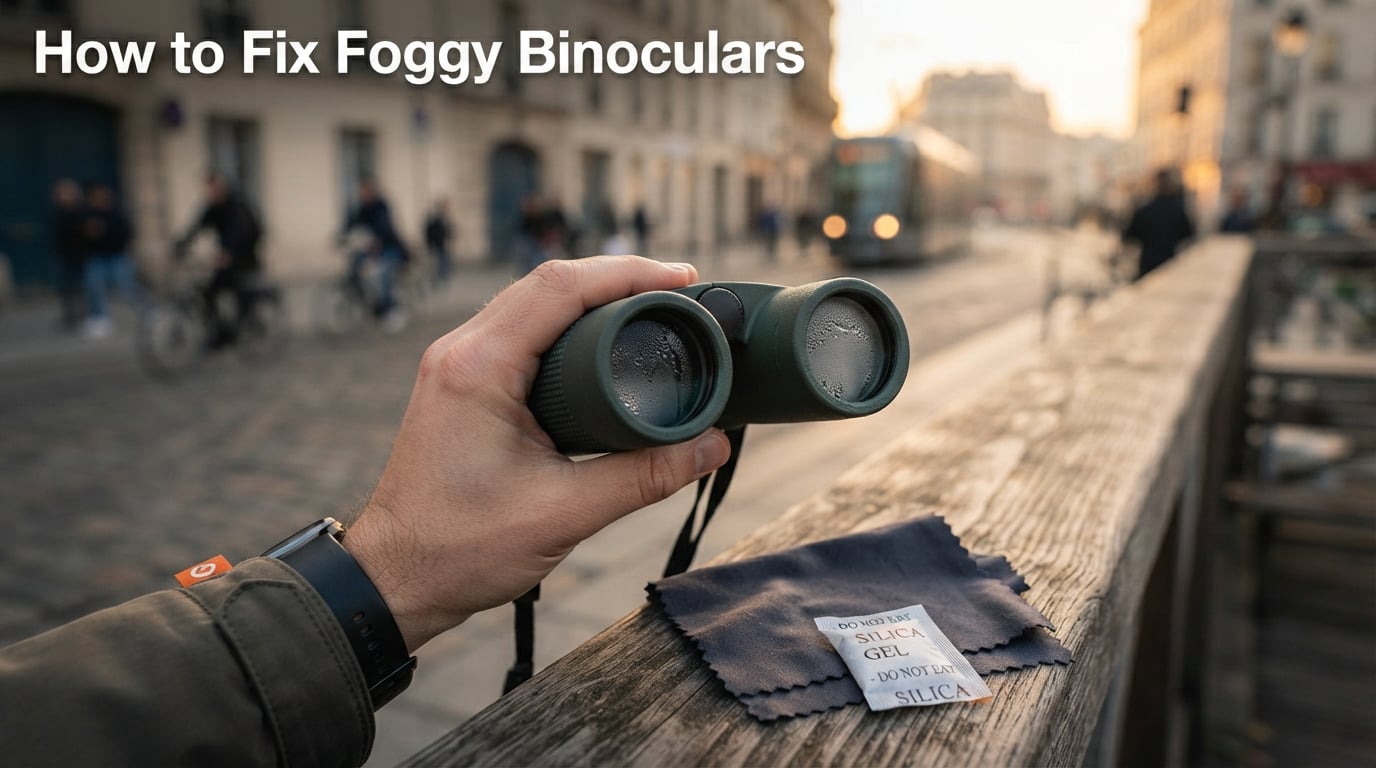
I learned how to fix foggy binoculars the hard way on a 4 a.m. street shoot in Hanoi, when steam…

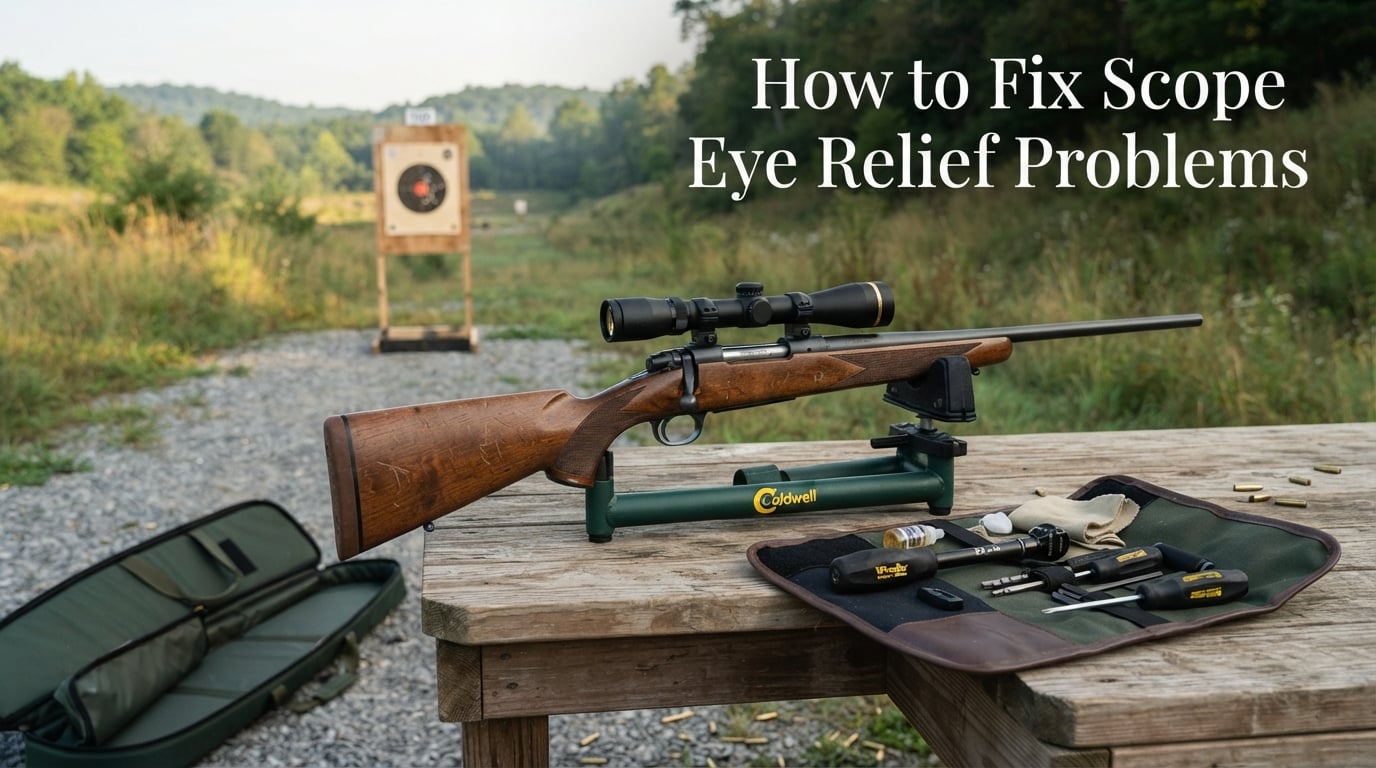
If you have ever loaded a rifle, planted your cheek on the stock, and stared into a black tunnel where your reticle should be, you have run into scope eye relief problems. I have been there too, more times than I care to admit, especially the first time a magnum-caliber rifle kicked the ocular lens into my eyebrow hard enough to leave a mark for a week.
Eye relief is one of those rifle-setup details that nobody talks about until it goes wrong. Get it right and you forget it exists. Get it wrong and you fight scope shadow, blurry sight pictures, and scope bite every time you pull the trigger. This guide walks through how to fix scope eye relief problems the way I do it on my own rifles, including a step-by-step procedure, a caliber-based distance chart, and the small group of hardware fixes that solve eye relief when adjustment alone cannot.
Scope eye relief is the distance between the rear lens of your scope (the ocular lens) and your shooting eye where you get a full, sharp field of view.
Picture a small 3D zone behind the scope. That zone is called the eyebox. Anywhere inside the eyebox, the sight picture fills the lens and the reticle sits in crisp focus. Move your head a fraction of an inch outside that zone and the picture collapses into a dark ring, a milky haze, or a hard black wall. That collapse is the visible symptom of an eye relief problem.
Different scopes have different sized eyeboxes. A 1-6x variable typically gives you a forgiving eyebox at 1x but a tiny one at 6x, which is why LPVO users complain about eye relief shrinking at higher magnification. Handgun optics and scout scopes go the other way: they are designed to be mounted inches from your eye so you can keep both eyes open. Eye relief is a property of the optic you bought and the geometry of your face, and the only real fix is to match them through proper mounting.
Most eye relief problems trace back to one of four symptoms, and each symptom has a specific cause you can identify without guessing.
Scope shadow or black ring. You see a dark crescent or a full black circle in the field of view. Your eye is too far back. Slide the scope forward in the rings until the picture fills the lens.
Tunnel vision or milky sight picture. The image looks dim, soft, or like you are looking through smudged glass. Your eye is too close, or the scope is set to a magnification outside its comfort range. Move back a few millimeters, or set the magnification to the upper end of the optic’s range.
Scope bite. The scope strikes your eyebrow or the bridge of your nose when you fire. Usually means the scope is too close, or the rings are too tall and your head naturally drops into the recoil path. Pull the scope farther back, lower it with shorter rings, or switch to a softer recoil pad.
Different eye relief at different magnifications. Variable scopes are mechanically honest here: at the low end of the power range, eye relief is generous, and at the high end it is shorter. This is the single most under-reported cause of inconsistent shooting across magnifications, and the only fix is to set relief at the highest magnification you plan to use.
Eye relief numbers vary by optic design, but the table below covers the safe and accurate ranges I use as a starting reference. Pair this with the actual optic manufacturer’s spec sheet, and you will rarely go wrong.
| Caliber / Use Case | Recommended Eye Relief | Reason |
|---|---|---|
| .22 LR rimfire | 3.0 to 3.5 inches | Light recoil allows closer mounting and a faster sight picture. |
| Standard centerfire (.223, .308) | 3.5 to 4.0 inches | Industry standard for most hunting and general-purpose scopes. |
| Magnum calibers (.300 Win Mag, 7mm Rem Mag) | 4.0 inches or more | Heavy recoil demands extra distance to prevent scope bite. |
| AR-platform carbines | 2.5 to 3.5 inches | LPVOs and red dots often run shorter relief for fast target transitions. |
| Scout rifles and handgun optics | 6 to 12 inches | Long-eye-relief optics let you mount the scope well forward of the action. |
A rifle scope eye relief chart like this used to live on the back of every optic box. Modern manuals bury the spec ten pages deep, so I keep a small laminated copy on my reloading bench. The chart is a starting point, not a rule: your facial geometry, eye relief with corrective lenses, and shooting position can all push you above or below these bands.
Before any of this, confirm the rifle is unloaded, the magazine is out, and the chamber is empty. Treat the rifle as if it could fire even when you know it cannot. Now follow these seven steps in order.
Step 1: Bump the scope to its highest magnification. This is the universal starting point. Eye relief gets shorter at the top end of a variable, so if it works there it will work everywhere. Confirm by checking the magnification indicator on the power ring.
Step 2: Mount the rings hand-tight only. Snug the ring screws just enough that the scope will not fall out. You want the optic free to slide fore and aft with light hand pressure. Do not torque anything yet.
Step 3: Get into your real shooting position. Sit or lie the way you intend to shoot. If you hunt from a bench, sit at the bench. If you run a precision rifle prone, get on the ground. Standing is the most forgiving position; prone is the most restrictive. Start with the most restrictive position you actually use.
Step 4: Slide the scope forward or back until the sight picture fills the lens. Without moving your head from a natural cheek weld, move the scope until the reticle sits in a clear, full field of view with no shadow ring. Your head stays put; the optic moves.
Step 5: Mark the position if you want. A strip of masking tape on the scope tube at the front ring marks your chosen position. I started doing this after the third time I forgot where a good position was.
Step 6: Torque the ring screws to the optic manufacturer’s spec. Use a torque wrench in inch-pounds. Most rings spec between 15 and 25 inch-pounds. The scope often shifts slightly during torque-down; this is normal. Snug one side, then the other, alternating.
Step 7: Recheck at highest magnification in your shooting position. The recoil test from a seated position is the final check. Recoil on a magnum will sometimes shift the optic inside the rings a fraction of an inch. If your eye relief is wrong after torquing, repeat from Step 4.
I run through this sequence on every new rifle, and it takes roughly 10 to 15 minutes the first time. After two or three scopes, the muscle memory takes over and the whole job drops under five minutes. For a deeper companion guide on scope mounting itself, our piece on how to set eye relief on a scope covers ring height selection in more depth.
Standing, seated, and prone produce three different head-to-stock geometries, and what works at the bench often stops working when you go to the field.
Standing is the most generous position. Your head floats freely above the stock, so even short eye relief scopes usually clear the face. Use standing as your starting point only if your hunting or match discipline demands it.
Prone is the most restrictive. Your neck is extended, your face presses down into the comb, and the line from your eye to the ocular lens becomes nearly horizontal. Eye relief you set standing will usually be too long when you go prone, and the symptom is a black ring or scope shadow on the reticle.
The bench is a useful compromise for sighting in, but bench geometry rarely matches field geometry. I always recheck at the actual shooting position before calling eye relief done. The Rokslide crowd nailed the principle years ago: set up prone first, then verify your position holds up at the bench and standing.
Modern optics have changed the eye relief game. The advice that works for a 3-9x hunting scope is not quite right for a 1-6x LPVO, and it does not apply at all to a red dot.
LPVOs (low-power variable optics) have a tight eyebox at the top of their magnification range. At 1x, eye relief is forgiving and the field of view is huge. At 6x, the eyebox shrinks to roughly the size of a pea and small head movements clip the edge of the picture. Treat the highest magnification as the worst case and dial eye relief in there.
Red dots and holographic sights have nearly unlimited eye relief. The “reticle window” sits inside the optic, so your eye can be anywhere within several inches and the dot stays visible. This is why militaries issue them: quick target transitions, both eyes open, no head hunt. The catch is that you cannot use a red dot for precise distance work past a few hundred yards, which is why LPVOs have eaten the market.
For a deeper look at binocular eye relief, especially for users who wear corrective lenses, our eye relief on binoculars guide walks through the same physics applied to a different optic family.
Sometimes no amount of scope sliding fixes the problem, because the geometry of your stock simply cannot put your eye close enough to the ocular lens. That is when hardware, not adjustment, is the right answer.
Taller or shorter rings. Ring height controls how high the scope sits above the bore. If your cheek weld is too low to reach the ocular lens, lift the optic with taller rings or a raised mount. If your cheek sits too high and pushes your eye into the recoil path, drop the optic with lower rings.
Cheek riser. A cheek riser is a small pad that sits on the comb of the stock. It brings your eye up to the optic without raising the optic itself. Adjustable cheek risers are common on tactical stocks. A simple stick-on cheek riser costs less than a tank of gas and can solve an awkward eye relief problem in under a minute.
Eye relief extender. An eye relief extender is a small spacer between the scope and the rings that pushes the optic farther back. It is a useful accessory when you cannot move the rings any farther forward on the rail, but it slightly complicates scope alignment and is a last resort before sending the optic back.
Different scope base or mount. If your two-piece base only allows one mounting slot, the answer may be a one-piece base or a longer mount that exposes more rail. Mounting-slot geometry is the most common hidden cause of unfixable eye relief.
The numbers in any eye relief chart are averages. Your own face is the only real spec sheet that matters, and a handful of personal variables can shift the right answer by an inch or more.
Prescription glasses or sunglasses. The lenses push your eye back from the scope by roughly the thickness of the frame. If you shoot with glasses on, set eye relief slightly farther forward than you otherwise would, and verify the full field of view stays visible.
Head shape and facial geometry. A long face plus a short stock plus a short LOP (length of pull) creates scope bite. A short face plus a long stock creates a black ring. There is no shortcut here: the geometry has to be matched.
Clothing and gear. A heavy winter jacket, a chest-mounted binocular harness, or tight backpack straps compress your shooting posture and shift your head position. I have learned the hard way to test eye relief while wearing the actual gear I will hunt in, not in a t-shirt in the basement.
Forum shooters on Reddit r/guns frequently remind newcomers that the answer to “why does my scope bite my eyebrow” is almost always one of these three: glasses, gear, or wrong ring height. Worth checking before you assume the optic itself is at fault.
These six mistakes come up over and over in scope setup posts and forum threads. Each one has a simple fix once you see it.
Setting eye relief at low magnification. Variable scopes get shorter on eye relief as magnification rises. Set it wrong and the top end of the power range will black-ring or scope-bite you. Always set relief at the highest power you intend to use.
Torquing rings before adjusting relief. Cranking down the ring screws locks the optic in place. Leave them snug-only until you have the position right.
Skipping the cheek weld check. Setting eye relief with the rifle held loosely on a bag ignores your natural head position. Always bring the stock to your cheek as you intend to shoot it, not as you hold it for convenience.
Forgetting recoil during testing. Many “perfect” setups shift a hair after a few shots. Confirm by live-firing before trusting the optic in a hunt or match.
Wearing different eyewear between setup and use. Setting the optic without your shooting glasses, then putting them on for the hunt, leaves you with a black ring at the moment of truth.
Ignoring ring height. Sometimes the only fix is a different ring set. Eye relief changes you cannot accomplish by sliding the scope call for taller or shorter rings, not more adjustment.
Scope bite does not usually require a doctor, but it can put you out of action for a week if ignored. The goal is to stop swelling, prevent infection where the skin broke, and let the bruise resolve on its own timeline.
Step 1: Cold compress for the first 24 hours. Wrap a few ice cubes in a clean cloth and hold it on the wound for 10 to 15 minutes at a time, several times a day. Cold limits swelling and keeps the bruise from blooming.
Step 2: Clean any broken skin. If the scope cut the skin, rinse gently with clean water, pat dry, and apply a thin layer of antibiotic ointment. Cover with a bandage for the first day or two.
Step 3: Switch to warm compress after 24 hours. Warmth encourages blood flow into the area and helps the bruise clear. A warm (not hot) washcloth, applied for 10 minutes, three or four times a day, speeds recovery.
Step 4: Leave it alone. Bruises heal on their own clock. Most scope-bite bruises clear in 5 to 10 days. If the cut is deep, swelling spreads to the eye, or vision changes, see a medical provider.
The best treatment is the one you never need: a properly set eye relief will eliminate scope bite entirely. That is worth the 10 minutes of setup time every time.
To adjust eye relief on a scope, first set the optic to its highest magnification, then mount the rings hand-tight so the scope can slide. Get into your real shooting position, slide the scope forward or back until you see a full field of view with no shadow ring, mark the position, and torque the ring screws to spec. Finish by live-firing to confirm the scope does not shift under recoil.
Good eye relief for a scope is 3.5 to 4 inches for most standard centerfire rifles, around 3 inches for rimfire, 4 inches or more for magnum calibers, and 6 to 12 inches for scout rifles and handgun optics. Eye relief depends on the optic’s specification, your facial geometry, and whether you wear prescription glasses while shooting.
To heal a scope bite, apply a cold compress for the first 24 hours to limit swelling, then clean any broken skin with water and antibiotic ointment and cover with a bandage. After 24 hours, switch to warm compresses for 10 minutes at a time, three or four times a day. Most scope-bite bruises clear on their own within 5 to 10 days; see a doctor if swelling spreads to the eye or vision changes.
A scope that looks blurry is usually either set to too-low magnification (eye relief shrinks at the top end of variable scopes), or your eye is sitting outside the eyebox rather than inside it. Slide the scope forward or back until the reticle fills the full field of view, and confirm you have adjusted the ocular focus for your individual eye before assuming the optic itself has a defect.
If you only take one idea away from this guide, take this: eye relief is set at the optic’s highest magnification, in your real shooting position, with the rings hand-tight, then confirmed after torquing. Everything else, including the chart, the hardware swaps, and the personal factor adjustments, is in service of getting that core sequence right.
For most centerfire rifles, the answer is to slide the scope to a 3.5 to 4 inch eye relief, torque the rings, and confirm with a live round. For magnum calibers, push that to 4 inches or more, or consider a soft-recoil pad and slightly taller rings to keep your head away from the ocular lens. For an LPVO, plan to reset relief when you switch from 1x to the top of the power range. And for a red dot, you can mostly forget about eye relief entirely.
The whole topic of how to fix scope eye relief problems is one of those rifle jobs where 10 careful minutes up front saves hours of frustration later. If you are outfitting a new optic for hunting season this fall, work through the seven steps above, test at the bench and at the field, and trust what you see through the lens over what the manual says. Want to go deeper on optics? We have tested scopes, binocular eye relief, and shotgun scopes, along with guides on spotting scope magnification and scope covers, that round out the setup from optic to range.