How to Fix Foggy Binoculars 2026
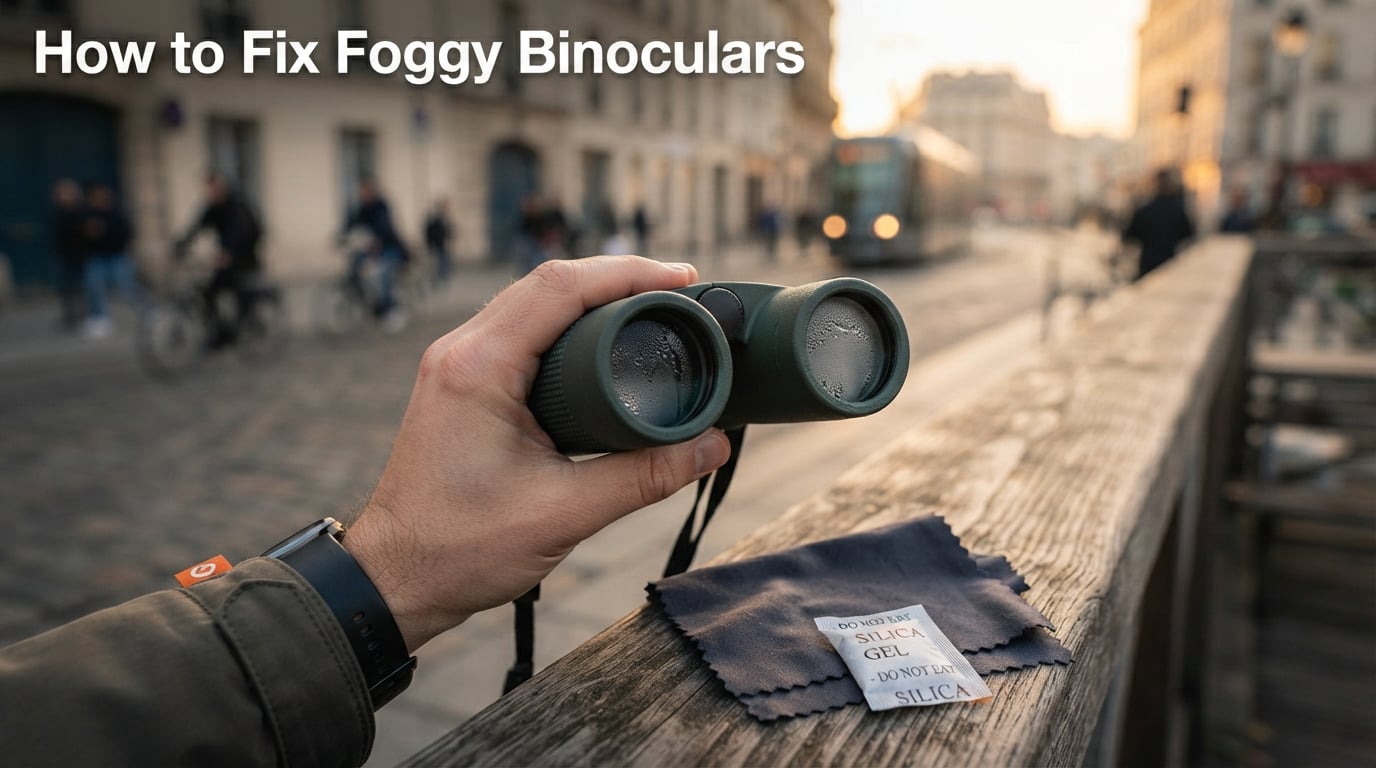
I learned how to fix foggy binoculars the hard way on a 4 a.m. street shoot in Hanoi, when steam…

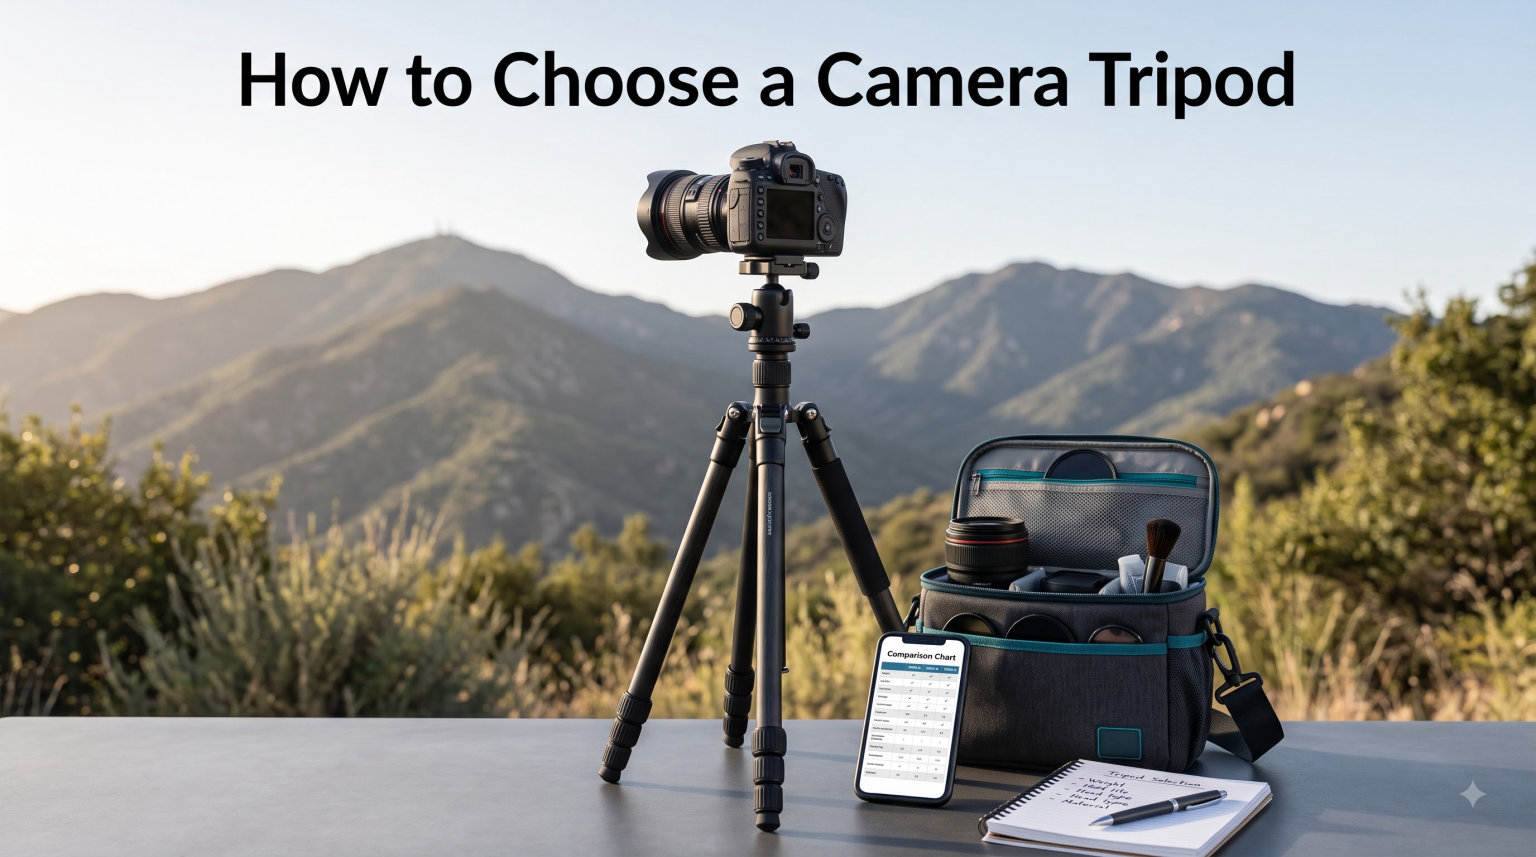
Choosing a camera tripod is one of those purchases that quietly shapes the rest of your photography life. I learned that the hard way after blowing a sunset shoot in windy Patagonia because my bargain tripod had a wobbly center column and plastic leg locks. The frame looked sharp on the LCD, the files were soft at 100%, and I spent two years avoiding long exposures before I bought the right tool.
This is the practical buying guide I wish I had read first. In 2026, there are more tripod models, materials, and head combinations on the market than ever, but the same five technical rules still decide whether a tripod will work for your camera, your lenses, and your shooting style. I’ll walk you through those rules, then help you set a realistic budget and pick a brand you can trust.
You will learn how to calculate a safe weight capacity, pick the right tripod height, compare carbon fiber and aluminum, decide between ball, pan-tilt, and gimbal heads, evaluate leg locks and quick-release systems, and budget based on how you actually shoot. I’ll also share the test I run on every tripod before it goes in my bag, so you don’t have to discover the weak points in the field.
A tripod is more than a three-legged stand. It is the foundation that lets you shoot long exposures, stack images, hold heavy telephoto glass, and return to a composition with repeatable precision. If the foundation wobbles or slips, every technique that depends on it falls apart, from star photography to architectural tilt-shift work.
I treat tripods as a long-term investment. A quality tripod from a reputable brand, properly cared for, will outlast three or four camera bodies. A cheap tripod will usually need replacing within two years, often right when you finally need it most. The trick is matching the tripod’s specifications to your real shooting style, not to the spec sheet you wish you had.
When readers ask how to choose a camera tripod, they are usually juggling four concerns at once: stability, weight, height, and price. Everything in this guide is organized around those four concerns, in that order, because each one constrains the next.
The tripod that works for landscape astrophotography is rarely the tripod that works for backpacking in the Alps, and the tripod a studio product photographer needs is overkill for street work. Before comparing specs, list the answers to these five questions.
Your answers create a profile, and that profile decides whether you should look at a travel tripod, an all-purpose workhorse, or a heavy studio model. Most readers land in the all-purpose category, which is why the rest of this guide leans toward balanced choices.
If your heaviest lens is a 70-200 mm f/2.8, you are in the medium-weight zone. If you own a 600 mm prime or a medium-format body, you are in the heavy-payload zone. If you shoot a mirrorless body with a pancake lens, you can lean lighter than the spec sheets suggest.
Weight capacity, often called load rating or payload capacity, is the single most important specification on a tripod. Buy a tripod that supports at least 1.5 to 2 times the total weight of your heaviest camera and lens setup, including the battery grip, flash, and any L-bracket or quick-release plate. That 1.5 to 2x multiplier is the rule shared by working photographers and is the same number you will see quoted in field forums.
Here is a quick example using round numbers so you can plug your own gear in later. A mirrorless body with battery grip and L-bracket at 1.1 kg, plus a 70-200 mm f/2.8 lens at 1.5 kg, plus a ball head and Arca plate at 0.4 kg, totals roughly 3 kg of payload. Multiply by 1.5 and you want a tripod rated for at least 4.5 kg. Multiply by 2 and you want a tripod rated for at least 6 kg. Aim for the higher number if you shoot in wind, on beaches, or next to roads with passing traffic.
Stability is not the same number as load rating. Load rating tells you how much weight the tripod can hold before something fails. Stability tells you how still the camera sits when wind hits, when you tap the shutter, or when the mirror slaps up on a DSLR. Two tripods rated for 8 kg can have very different stability depending on leg diameter, tube thickness, material, and center-column design.
Five factors decide whether a tripod feels rock-solid in the field, even before you look at the brand label.
If you shoot on uneven ground or stairs, independent leg angles are not optional. They let you keep the camera plate level while one leg extends down a step, which is essential for landscape and architectural work.
Tripod height is the second most common mistake after weight rating. Maximum height is the number printed on the box, but it is not the number that should drive your decision. What you actually want is your eye-level height with the center column lowered, which I call the operating height.
A practical formula for most photographers: operating height should equal your eye level, roughly 160 to 175 cm for adults. Measure yourself standing straight, then subtract 5 to 10 cm for the tripod head and camera height. That gives you the leg length you need with the column down. Most quality all-purpose tripods in 2026 deliver an operating height of 140 to 165 cm without raising the column.
Three height numbers matter, and I check all of them before adding a tripod to my shortlist.
Folded length decides if the tripod fits in your carry-on or your daypack. If you travel by air with the tripod in cabin baggage, look for a folded length under 45 cm, which usually means a 4-section or 5-section carbon-fiber design. If you drive to most shoots, folded length matters less and stability matters more.
Carbon fiber and aluminum are the two dominant tripod materials, and the choice between them is mostly about weight, vibration, and budget. Carbon fiber is roughly 30 percent lighter than aluminum for the same strength, and it absorbs high-frequency vibration better, which is why it is the default for serious landscape work. Aluminum is cheaper, slightly stiffer in still air, and more tolerant of abuse from airline handlers.
The trade-offs are real on both sides, so here is a side-by-side comparison of how the materials behave in practice.
If you carry your tripod more than five kilometers a day, the weight saving of carbon fiber pays for itself in back and knee health within a few years. If you leave the tripod in the car or studio, aluminum gives you most of the stability at half the price.
The tripod head is what actually controls the camera, so it is worth at least as much thought as the legs. There are four head types that cover 95 percent of photography needs, and each has a clear best use case.
Ball heads are the most popular choice for still photography. A single locking knob releases the ball, lets you aim the camera anywhere, then locks it back in place. They are fast, compact, and weigh less than pan-tilt heads. For landscape, travel, and general-purpose work, a quality ball head is hard to beat.
Look for a ball head with a separate pan lock and a friction control if you shoot longer lenses. Friction control lets you make small framing adjustments without fully unlocking the head, which saves time and avoids drift.
Pan-tilt heads use two or three separate knobs, one for each axis. They are slower than ball heads, but they give you very precise, independent control. Video shooters and architectural photographers who need to level across axes often prefer them.
If you shoot panoramas or want to level the camera independently of the base, a three-way pan-tilt head is a good choice. If speed matters more than precision, a ball head is a better fit.
Gimbal heads balance the camera on a pivot so it floats, like a tripod for a spotting scope. They are the standard for wildlife photographers using long telephoto lenses, because you can track a moving bird without taking your hand off the focus ring.
Gimbal heads are large, heavy, and overkill for short primes or wide-angle landscapes. If your longest lens is under 300 mm, you probably do not need one.
Fluid video heads use sealed cartridges to create smooth pan and tilt motion. They are essential for video but also useful for time-lapse work that demands perfectly even movement. If you shoot hybrid photo and video, a fluid head is a serious upgrade over a friction ball head for video clips.
Leg locks hold the legs at the height you choose, and they fail more often than any other part of a tripod. The two main designs are twist locks and flip locks, and each has a clear personality.
If you shoot in cold weather, twist locks are usually easier with gloves on. If you shoot in dusty environments, flip locks are easier to wipe clean.
Leg sections determine how compact the tripod folds and how stiff it feels when extended. A 3-section tripod is stiffer per tube but longer when folded. A 4-section tripod is the standard compromise. A 5-section tripod folds the shortest but adds two more joints that flex slightly under load. I recommend 4 sections for most readers, and 5 sections only when folded length is more important than absolute stiffness.
Setup speed is the silent killer of tripods that look great on paper. The fastest tripods in real-world use have legs that extend smoothly, locks that engage positively even with cold fingers, and a head that locks the camera in one motion. Test the entire deployment sequence before you buy, not just the spec sheet.
Quick-release systems decide how fast you can mount and unmount the camera. The Arca-Swiss standard, sometimes written as Arca-Swiss or Arca-type, has become the de facto standard in 2026. Plates from one Arca-compatible head fit clamps on another, which is a small thing that pays off forever.
A few details to check on the quick-release system before you commit.
Center columns add about 20 to 30 cm of extra height at the cost of stability. They are useful when shooting over a crowd or a low fence, but they wobble more than extending a leg. The most stable designs either omit the column or use a short, stubby one. If you shoot mostly landscapes or long exposures, a column-free design is a meaningful upgrade.
Weather protection is often overlooked until you need it. Three details make a tripod friendlier in the field.
For beach work or dusty environments, rinse the legs with fresh water after each shoot, dry them fully, and avoid storing them wet in a closed bag. Salt and sand destroy twist-lock threads faster than any other factor.
A realistic budget depends on how you shoot and how often. Three rough price bands cover most readers, and each band has clear strengths and limits.
Brand reputation is the second-best indicator of tripod quality after hands-on testing. Established brands such as Manfrotto, Gitzo, Really Right Stuff, Benro, Sirui, Peak Design, and 3 Legged Thing have track records, replacement parts, and warranty service. If you have never heard of the brand, check whether replacement feet, leg locks, and plates are sold separately, because they are the parts that wear out first.
If you shop used, two checks save you from buying someone else’s headache. Inspect the leg locks for cracks and listen for sand or grit when the legs telescope. Inspect the center column for wobble by extending it fully and pressing down on the head. A used tripod with smooth locks and no column wobble at half the price is a great deal. A used tripod with crunchy locks is a five-minute problem that turns into a five-year one.
Warranty terms matter more than the box price once you cross the 200-dollar mark. A 5-year warranty with responsive service is worth a small premium over a 1-year warranty from a brand you have never emailed. Plan to register the product, save the receipt, and keep the original packaging until the return window closes.
A 10-minute test reveals more than an hour of spec reading. Run this checklist in the store, in your living room, or on a rented tripod if you are buying online.
Maintenance is the other half of the deal. Once a year, wipe the leg locks with a dry cloth and apply a thin layer of silicone grease to twist-lock threads. Replace any foot that has lost its rubber. Check the quick-release plate screw for wear, and replace the plate if the screw no longer holds firmly.
Common mistakes are easy to avoid once you know them. Do not lock the column up for serious work, do not extend the thinnest leg section in wind, and do not trust a tripod rated at exactly your gear weight, because load ratings are tested in still conditions. If you shoot by water, on a ridge, or next to traffic, treat the wind as part of your gear weight and add 1 kg to your total.
If you are starting from scratch and your goal is a single tripod that handles 80 percent of your work, my recommendation is a 4-section carbon-fiber workhorse from an established brand, paired with a quality ball head with a friction control and an Arca-compatible L-bracket for your camera. That single combination will serve landscape, travel, long-exposure, and most studio work for a decade. From there, add a small tabletop tripod for travel and a fluid video head for video work when your shooting style calls for it.
A tripod fits your camera when its load rating is at least 1.5 to 2 times the total weight of your heaviest body and lens combo, its quick-release plate is Arca-Swiss compatible or matches your camera plate, and its operating height with the column down reaches your eye level.
Pick a tripod based on weight rating, operating height, and head type rather than price. A 4-section carbon-fiber workhorse with a quality ball head and an Arca-compatible L-bracket is the safest all-purpose choice for most mirrorless and DSLR users in 2026.
Almost all camera tripods fit every camera through the universal 1/4-inch-20 mount, with a 3/8-inch-16 adapter for heavy medium-format bodies. What changes between tripods is the load rating, plate system, and head type, so match those to your gear rather than trusting a generic compatibility claim.
You do not need a brand-specific tripod, but you do need a tripod rated for your combined camera and lens weight, fitted with the correct quick-release plate, and tall enough to reach your eye level. Wildlife and long-lens shooters also benefit from a gimbal head for smooth tracking.
Choosing a camera tripod comes down to four numbers: load rating at 1.5 to 2 times your gear weight, operating height at your eye level with the column down, folded length that fits your bag, and a head type that matches how you shoot. Once those numbers are right, the material choice, brand choice, and price point fall into place almost on their own.
If you are a beginner who shoots mostly travel and family photos, start with a mid-range aluminum tripod, a simple ball head, and a sturdy Arca plate. If you are a landscape or astrophotography enthusiast, move up to a 4-section carbon-fiber workhorse with a quality ball head and a hook on the column. If you shoot wildlife with long lenses, add a gimbal head and keep the legs short and stiff. If you shoot video, prioritize a fluid head and a column-free tripod.
Whichever path you take, run the 10-minute setup test, check the warranty, and buy from a brand that still sells replacement feet and leg locks a decade from now. A tripod is one of the few pieces of gear you will keep longer than your camera body, so it deserves the same patience you would give to any long-term investment. For related guidance on long-exposure work, our guide to how to photograph stars uses the same stability principles, and our note on field of view explains why head precision matters so much in 2026. Take it slow, test before you trust, and your tripod will quietly carry every sharp frame you make for years to come.