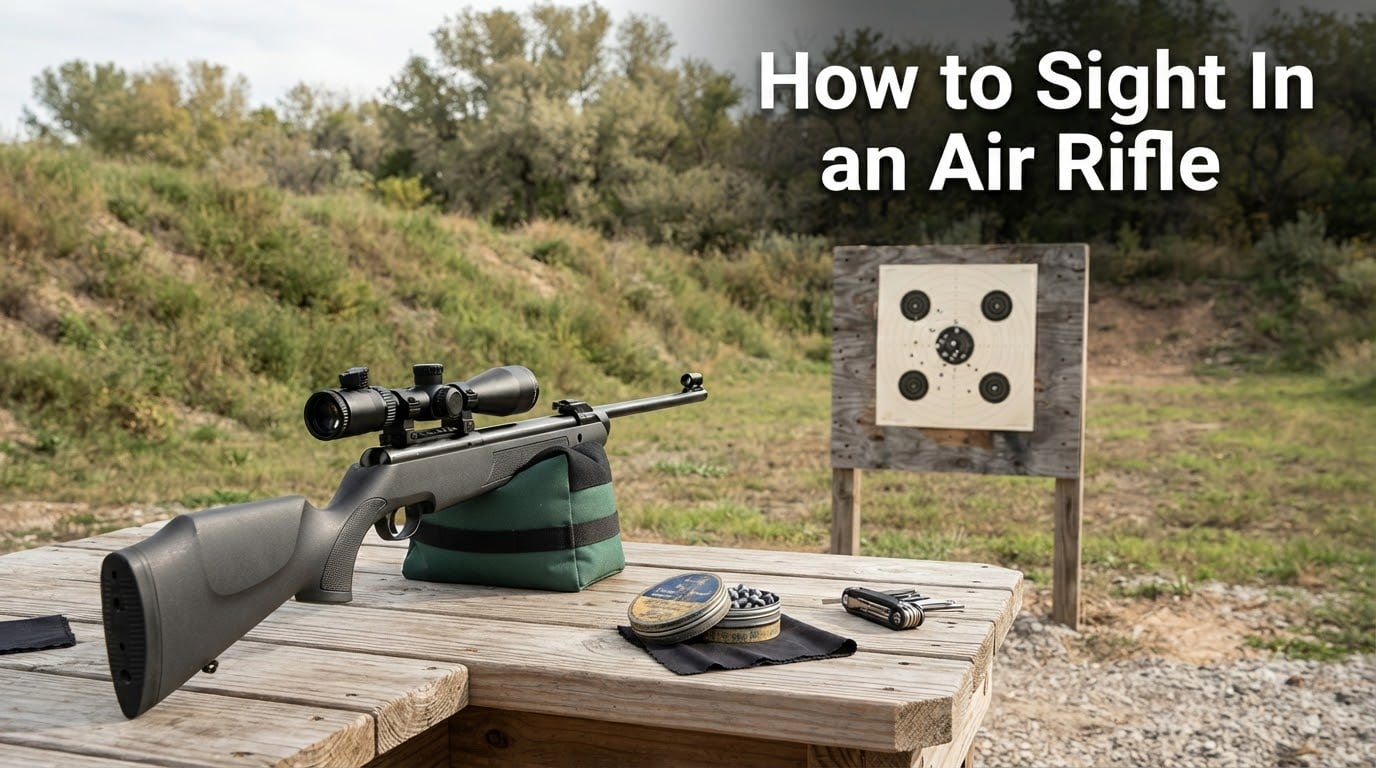
Learning how to sight in an air rifle is the step that turns a promising new setup into a useful, accurate tool. I have zeroed spring-piston break-barrel and PCP rifles at a paper target, and the same lesson always holds: start close, shoot controlled groups, and make measured adjustments instead of chasing every hole.
This guide explains the full process with a scope and with open sights. It also covers pellet choice, turret click math, the right zero distance for a .177 or .22, holdover, and when a change in weather or equipment means it is time to check the zero again.
Work in a safe direction with a solid backstop, follow every local airgun rule, and never point the rifle at anything you do not intend to hit. Whether you are preparing for target shooting, pest control, or backyard plinking, the goal is a repeatable group rather than a lucky first shot.
What Sighting In an Air Rifle Actually Means
Sighting in an air rifle means aligning the point of aim (POA), where your reticle or open sight is directed, with the point of impact (POI), where the pellet actually strikes. When those two points coincide at your chosen distance, the rifle is said to be zeroed at that distance.
A pellet does not travel in a perfectly flat line. Gravity pulls it downward after it leaves the barrel, while the sights establish the line of sight, so the barrel is usually angled slightly above the point you want to hit. A zero is simply a reference point on the pellet’s trajectory: the POA and POI match there, but they may not match at every other distance.
Zero distance: The distance at which your point of aim matches your point of impact. It is not a claim that the pellet never drops.
That distinction matters when you move from a target at 10 yards to one at 25 or 30 yards. If the rifle is zeroed at 25 yards, a pellet can cross the line of sight again farther away on some trajectories, but the useful rule is simple: treat the stated zero as your reference and learn the holdover required at other distances.
A zero is only as reliable as the pellet, rest, and shooter used to establish it. Changing one of those variables can move the group even when the scope turrets have not moved.
Equipment You’ll Need Before You Start
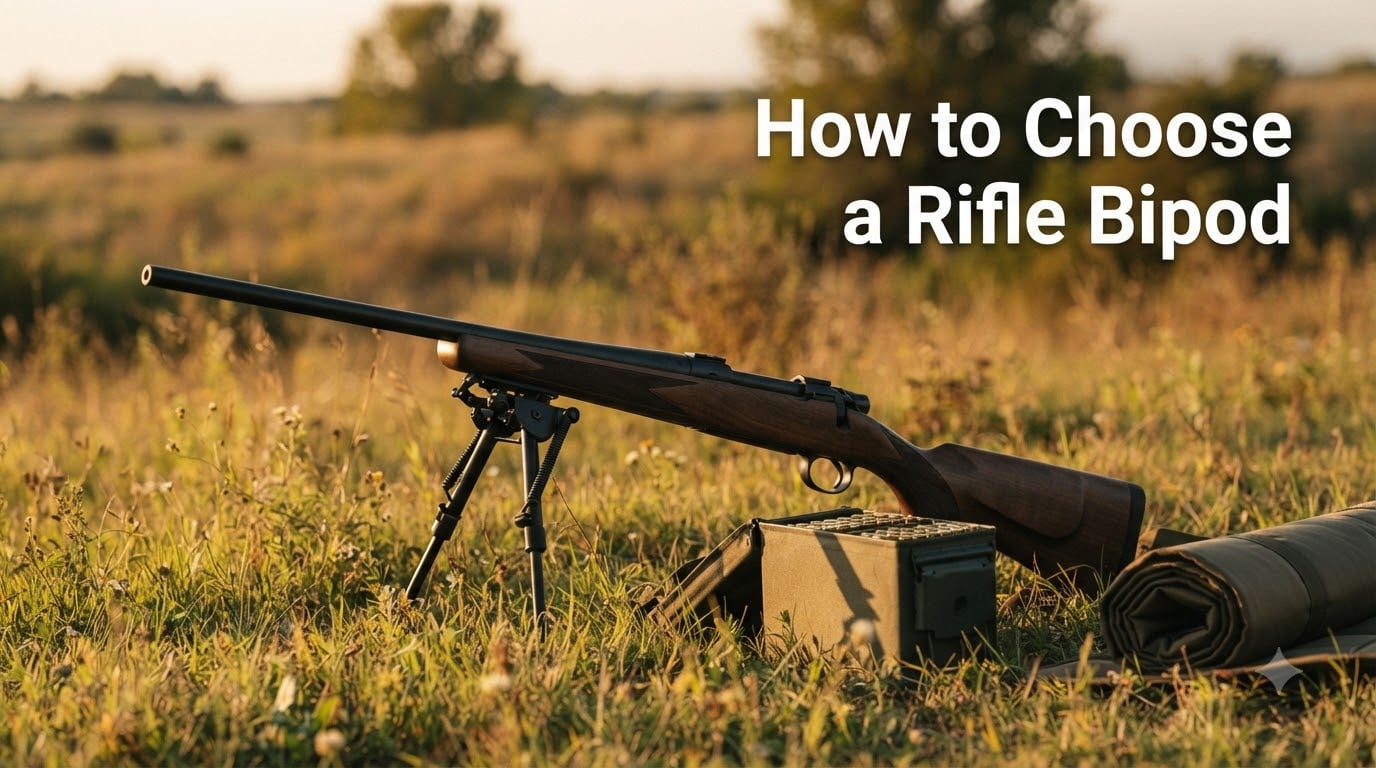
You do not need a full shooting bench, but a few simple items make the process faster and much more dependable. The most important requirement is a stable, repeatable position: sandbags, a bipod, or a purpose-made shooting rest all work better than a hand-held hold.
- A safe range and backstop: Use a range approved for air rifles and confirm your target and surroundings.
- A paper target: Start with a clearly marked one-inch bullseye or a high-contrast target you can measure easily.
- One pellet brand, weight, and batch: Shoot the same ammunition throughout the process. Keep a small notebook or phone record of the group and adjustments.
- A stable rest: Sandbags, a bipod, or a front-and-rear rest helps keep the rifle and your hold consistent.
- The correct adjustment tool: Depending on the scope, use a coin, screwdriver, or supplied Allen key. Never force a turret or cap.
- Eye and hearing protection: These are sensible even for a modest spring-piston rifle, especially on an indoor or busy range.
Before the first shot, check that scope rings and mounts are tight, the action is seated correctly, and the barrel is clean. I also mark the target’s center and write the date and pellet details beside the sheet; a few seconds of record keeping prevents you from guessing which zero belongs to which ammunition later.
If your rifle has a scope, take a moment to learn its turret markings before firing. Our guide to understanding how scope turret systems work is a useful reference if the terms MOA, click, and turret are new to you.
Choosing the Right Zero Distance for Your Air Rifle
The best distance to sight in an air rifle is the distance at which you most often need the POA and POI to coincide. For most target and general-purpose rifles, 25 yards is a practical starting point because it gives enough room to reveal pellet drop and wind drift without making small groups difficult to measure.
Short-range indoor shooters may prefer 10 yards, while a rifle used for longer target work may benefit from a 30-yard or 35-yard zero. The answer is not universal: choose the distance you can confirm with the pellet and rest you actually use, then practice the holdover at other ranges.
For a .177 air rifle, 20 to 25 yards is a common zero for target shooting and pest-control work. For a .22, 25 to 30 yards can be useful because the heavier pellet often has a different trajectory and greater retained energy downrange.
Use the same pellet during zeroing that you expect to use afterward. A lightweight .177 pellet can impact differently from a heavier .22, and even a change from one pellet head size or batch to another can shift POI. If you are comparing a scope, this guide to best rifle scopes under $300 for air rifle applications can help you focus on mounts, repeatable adjustments, and a reticle that suits your intended distance.
Low-light hunters may also consider a digital optic, but the zero still starts with a disciplined paper-target process. A digital day/night scope for air rifle hunting does not change the basic relationship between POA, POI, pellet drop, and the zero distance.
How to Sight In an Air Rifle: Step-by-Step Process
The process below is deliberately simple. Make one controlled group, measure its center, make the smallest logical adjustment, and repeat until the group is centered. Do not turn a turret after a single flyer; a group tells you far more than an isolated shot.
Step 1: Set Up at 10 Yards and Fire a Three-Shot Group
Place the target at 10 yards, or about 9 meters, and settle the rifle into the same rest each time. Aim at the center, fire three pellets with the same hold, and let the rifle settle between shots.
Mark the center of the three-shot group rather than the best hole. The group’s center shows the rifle’s average POI and is much more useful than selecting your most accurate shot.
Check that the group is reasonably tight before adjusting. If the three holes are spread widely, stop and check the rest, pellet seating, scope mounting, and your consistency; an unstable setup will give you a false zero.
Step 2: Adjust Elevation (Up and Down Turret Logic)
If the group is below the target center, turn the elevation turret in the direction indicated by its UP marking. If the group is above center, turn it toward DOWN. The turret label tells you which way the reticle moves; the impact follows the reticle’s direction.
Use the scope’s click value to make a measured correction. At 25 yards, a 1/4-minute-of-angle click represents about 0.075 inches of movement at the target, so a 1-inch error calls for roughly 13 or 14 clicks. At 10 yards, the same click changes impact by only about 0.03 inches, which is another reason close-range work is for finding direction, not for final precision.
After the adjustment, return to the same position and fire another three-shot group. Continue in small increments until the group’s center is at the target center; do not move on to windage until elevation is centered.
Step 3: Adjust Windage (Left and Right Turret Logic)
If the group is left of center, move the point of impact right by turning the windage turret in the direction shown by its R marking. If the group is right, turn it toward L. Keep the rifle pointed at the same target center while the turret shifts the reticle.
Measure the horizontal error in inches, convert it to clicks using the scope’s stated value, and apply the correction. A common beginner mistake is to turn a turret until the group looks better and then forget how many clicks were used; record every change so you can return to a known starting point if needed.
Fire a fresh group after each windage change. If the group moves cleanly but remains open, the scope may be secure while your rest, trigger pull, or pellet consistency still needs attention.
Step 4: Move to Your Final Zero Distance
Once the 10-yard group is centered, move the target to your intended zero distance, such as 25 yards. Fire another three-shot group using the same pellet and rest. The farther target will show the effect of pellet drop and will tell you whether the close-range adjustment produced a useful trajectory.
Recheck the group’s center against the target center. Correct elevation first, then windage, using the same directional logic; small changes at this stage are normal because airgun pellets can be sensitive to hold, muzzle position, and pellet fit.
If the group is far from the bullseye, return to 10 yards and confirm the mechanics before making a large correction. The goal is a controlled center, not a dramatic chase across the paper.
Step 5: Confirm Zero With a Five-Shot Group
Shoot a five-shot group at the final distance without touching the turrets. The group’s center should sit at or very near the aiming point, and the spread should be consistent with the rifle, pellet, and rest you are using.
I use the edge of a coin or a small coin-sized target as a quick visual benchmark, but the exact size is not a universal accuracy standard. Record the group size, pellet, distance, and weather, then repeat the test on a second target to confirm the result.
If the five-shot group is centered but much larger than the three-shot group, that is useful information too. Investigate your hold, rest, barrel condition, and pellet consistency before calling the rifle inaccurate.
Understanding Scope Turret Click Math
Most air-rifle scopes use minute-of-angle, or MOA, clicks. One MOA equals 1.047 inches at 100 yards, and a 1/4-MOA scope changes the point of impact by 1/4 inch at 100 yards. At 25 yards, divide that value by four: 1/4 inch at 100 yards is about 0.0625 inch per click.
Use the same proportion at any distance: a 1/4-MOA click is about 0.075 inch at 30 yards and about 0.03 inch at 10 yards. This is why a 10-yard start is excellent for finding the correct turret direction, but final zeroing should be checked at the distance where you intend to shoot.
Do not assume every scope is 1/4 MOA. Read the turret cap or manual; some air-rifle scopes use 1/8 MOA, metric adjustments, or a different value. When the markings are unreadable, stop and identify the click value rather than guessing.
Magnification changes the relationship between the reticle and target in a second-focal-plane scope, although the turret adjustment value generally remains the same. A first-focal-plane scope keeps the reticle scale proportional as magnification changes, but the zero itself is still established by the turret and the scope’s mounting position. Neither feature changes the need for a stable paper-zero check.
Sighting In With Open or Iron Sights (No Scope)
You can sight in an air rifle without a scope using the same POA-versus-POI method, but open sights are usually less precise and adjust in coarser increments. On many rifles, the rear sight offers windage and elevation adjustment, while the front sight is moved or drifted and may require a special tool.
Start at 10 yards and align the front sight post in the rear notch, or use a peep sight if the rifle has one. Fire a three-shot group, move the rear sight toward the side where you want the pellet to move, and adjust elevation so the group rises or falls as needed.
Follow the sight’s own markings, since an elevation adjustment can move the rear sight blade rather than change the barrel’s angle directly. If the rifle has a fixed front sight, a gunsmith may be needed for a larger correction; forcing a sight can damage the dovetail or make the zero impossible to hold.
Open sights are well suited to casual plinking and short-range work, while a scope usually makes fine elevation and windage corrections easier at target distances. If you choose a scope, make sure the mount is rated for the rifle and the scope’s eye relief is correct before beginning.
Common Mistakes to Avoid When Sighting In
The most common mistake is adjusting after every shot instead of shooting a group. A single hole cannot show whether the rifle, pellet, rest, or your hold caused the result; three or five shots give you a trend.
Other frequent problems include switching pellet brands midway, starting at 25 yards before confirming the scope’s direction, and using a rest that changes height each shot. Tighten mounts before zeroing, but do not overtighten them or disturb the scope while the rifle is settling.
Parallax error is another source of confusion. If the reticle appears to shift against the target when your eye moves, adjust the scope’s objective or parallax setting, then recheck POI; parallax is not the same as a scope that has lost its zero.
Finally, do not use a dirty barrel to establish a zero. Clean it according to the manufacturer’s instructions, use the pellet you will actually shoot, and keep the same shooting position for the entire process.
When to Re-Zero Your Air Rifle
Re-zero whenever the relationship between POA and POI changes, even if the scope feels tight. Transport the rifle in a protective case and check the group after a long trip, a hard knock, or a period of rough handling.
Change the zero whenever you change pellet brand, weight, or batch. Spring-piston, CO2, and PCP rifles can all respond differently to pellet fit and power cycles; a new batch is enough reason to confirm rather than assume the old zero still applies.
Temperature deserves special attention with PCP rifles. A large seasonal change can alter air pressure, velocity, and the pellet arc, so repeat the close-range and final-distance checks if your groups move unexpectedly.
Also check zero after loosening or reinstalling mounts, replacing a scope, or changing the rifle’s stock or barrel position. I keep a short log with the date, rifle, pellet, zero distance, and average group; it takes less than a minute and makes a later diagnosis much easier.
How to Verify Your Zero Hasn’t Shifted
Begin each verification session at 10 yards, fire a three-shot group, and confirm that it lands around the original center. Then move to the final distance and shoot a five-shot group without making an adjustment.
If the close group is centered but the distant group is not, the change may be pellet drop, a different hold, or a scope issue rather than a loose mount. If the close group has moved too, inspect the mounts and repeat the process from a stable rest.
Three bullseyes in a row, each fired under the same conditions, are a practical confidence check. A group that slowly opens after several shots can point to a spring-piston rifle settling, a dirty barrel, inconsistent pellets, or a shooter changing position.
Frequently Asked Questions
What is the best distance to sight in an air rifle?
The best distance is the distance where you most often shoot. Twenty-five yards is a practical choice for many target and pest-control rifles, but 10 yards is best for the initial direction-setting step.
How to shoot accurately with an air rifle?
Use a stable rest, hold the same position, and fire a three-shot group before adjusting. Use one consistent pellet brand and batch, then confirm your zero at the distance you intend to shoot.
What distance should I zero my .177 air rifle?
A .177 air rifle is commonly zeroed at 20 to 25 yards for target work or pest control. The right distance depends on your pellet, rest, and intended use, so verify the result rather than relying on a universal number.
What distance should you start sighting in a rifle?
Start at 10 yards, fire a three-shot group, and use the close range to set the correct elevation and windage direction. Move to the final zero distance afterward and confirm the zero with a five-shot group.
Final Thoughts
The easiest way to sight in an air rifle is to make the process boring and repeatable: stable rest, one pellet, a 10-yard group, measured turret changes, and a final five-shot confirmation. If you want accuracy at 25 yards, zero there; if you mainly shoot indoors, a 10-yard zero may be more useful.
Start with one clean target, write down your first group, and make one small correction at a time. That record will tell you whether the next issue is your pellet, your hold, or the zero, and it will make every future check faster.