How to Fix Foggy Binoculars 2026
I learned how to fix foggy binoculars the hard way on a 4 a.m. street shoot in Hanoi, when steam…

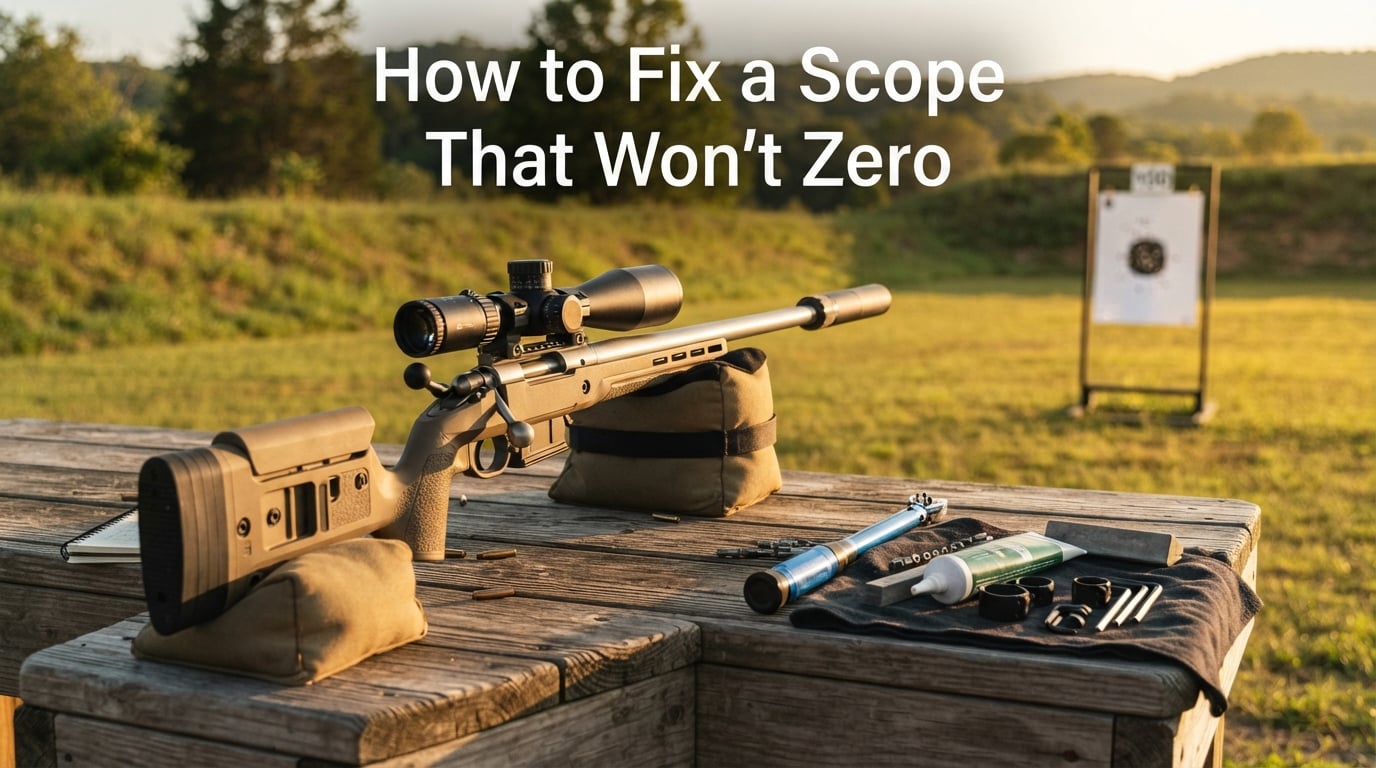
If you’ve burned 15, 20, even 25 rounds chasing a paper target and your scope still won’t zero, I know the frustration. I remember a Saturday at the range with a brand-new scope on a factory .308 bolt action — five groups in a row, each scattered in a different corner of the target. The reticle said one thing, the bullet did another, and the turrets just wouldn’t bring them together.
This guide is everything I learned that afternoon, plus the diagnostic steps our team has used on dozens of rifles since. We’ll cover how to fix a scope that won’t zero — covering both the “can’t get there” and the “got there once but lost it” problems. The root causes are usually cheaper and faster to fix than you’d think.
Before we dive into the fixes, you need to know which problem you actually have, because they have different causes and different fixes.
“Won’t zero” means no combination of windage and elevation clicks will move the bullet’s point of impact to where your reticle is aimed. The scope physically cannot reach the target.
“Won’t hold zero” means you zeroed the rifle once, but the next trip to the range — or the next box of ammo — the impact point has drifted. The scope got there, but it can’t stay there.
These two problems have almost opposite causes. A scope that won’t zero usually has a mounting, geometry, or internal issue. A scope that won’t hold zero usually has loose hardware, ammunition variance, or shooter-induced shift. We’ll address both throughout this article, and the complete guide to zeroing a rifle scope covers the baseline zeroing procedure if you need a refresher on the fundamentals.
Before you pull the scope off the rifle or buy any new parts, run through this numbered checklist. Most “won’t zero” issues are caught in step one or two.
If these seven steps didn’t reveal the problem, the deeper diagnostics below will.
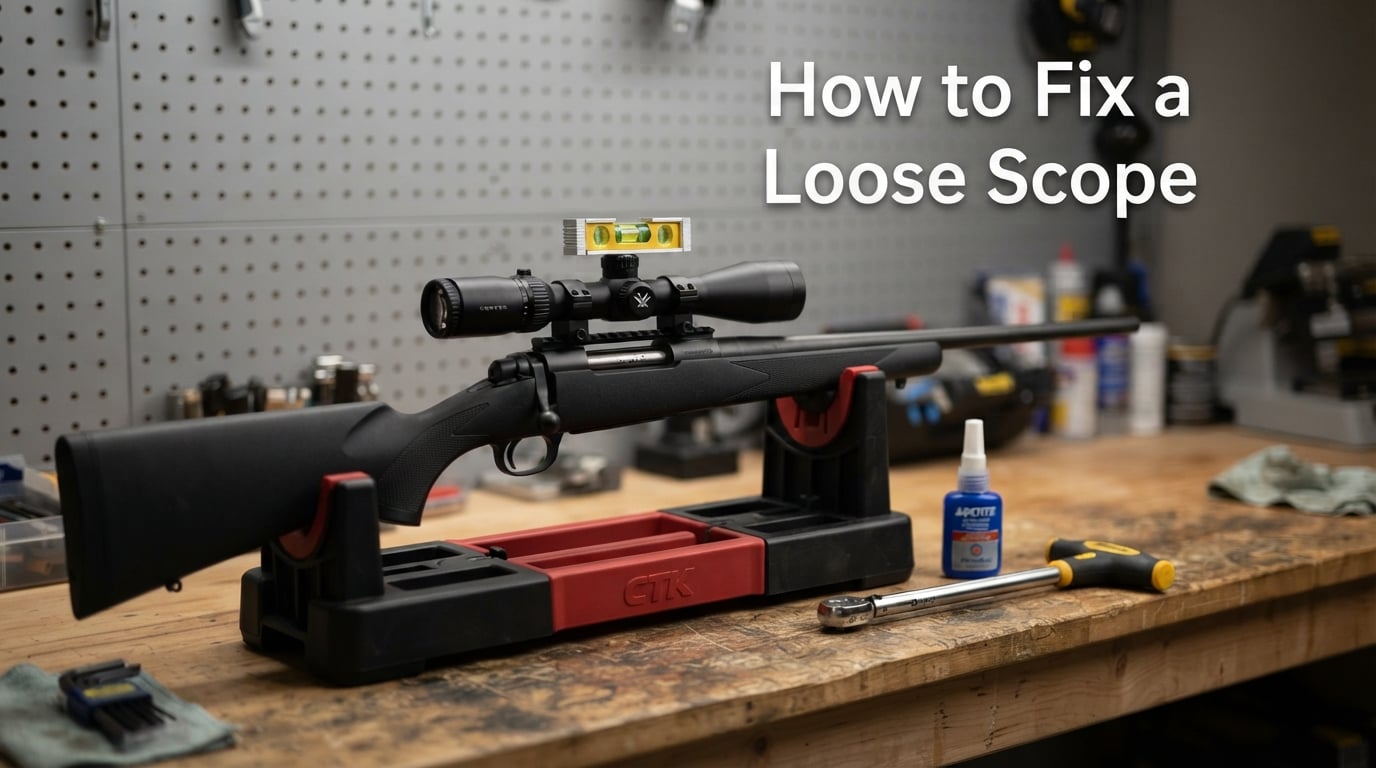
Every experienced shooter has a story about the time they chased a “bad scope” for an hour, only to discover the rings were finger-tight. Mounting torque is the single most common reason a scope won’t zero — and it’s also the easiest to fix.
Most rifle scopes ship with a generic torque recommendation of “tighten until snug, then a quarter turn.” That’s not good enough. The actual specs most manufacturers want are:
A torque wrench isn’t optional. The Wheeler FAT Wrench and Fix-It Sticks are the two most-cited tools in our community for this job, and either gets you consistent results. If you’ve been using a regular screwdriver or a hex key with no torque feedback, you’re guessing — and guessing is exactly why your scope won’t zero.
Two additional mounting rules that catch a lot of shooters:
If your torque specs are correct but the scope still won’t hold zero, the next thing to check is whether the scope tube is physically slipping inside the rings. Here’s how to spot it:
Remove the scope and look at the bottom of the tube where it sits in the rings. If you see shiny, polished spots or thin gouge marks where the ring caps contact the tube, the scope has been moving under recoil — even if just fractions of a millimeter at a time.
There are three fixes for tube slippage, in order of complexity:
If you’ve run through the torque checklist and the scope still won’t reach your target with the full range of elevation adjustment, the problem is geometry — not the scope. This is one of the most-overlooked causes of a scope that won’t zero.
Most rifle scopes have roughly 50-70 MOA of total elevation adjustment. That sounds like a lot, but if your rings sit too high, your scope is mounted too far forward, or you’re trying to zero at an extreme distance on a cold barrel, you can run out of travel before you reach the target.
Three common geometry problems:
Taller rings raise the scope’s line of sight above the bore, which means more elevation adjustment is needed to reach a given zero distance. If you switched from low rings to medium or high rings and now can’t zero, that’s almost certainly the cause.
The fix is to measure your scope’s required ring height (most scope makers publish this spec or our scope ring height guide can help) and re-mount with the correct rings.
If your elevation turret is wound all the way to its maximum and you’re still not on target, you’re out of adjustment range. There are two clean fixes:
If your scope base holes were drilled off-center on the receiver (rare but real), the scope will sit slightly skewed left or right no matter how you torque it. You can confirm this by measuring from the receiver’s centerline to each base screw hole — both should be equal distance. If not, the receiver needs to be re-drilled or you need an offset base.
If the mounting system is solid and the geometry is correct, but the scope still won’t zero — or won’t hold zero between shots — the problem is likely inside the scope. This is the most expensive category of failure, but it’s also the one covered by warranty.
The erector tube is the internal assembly that moves when you dial the elevation or windage turret. It carries the reticle image (in second focal plane scopes) or the reticle itself (in first focal plane scopes) and physically shifts the point of aim.
When the erector tube fails, you get one or more of these symptoms:
The box test is the standard diagnostic for verifying erector tube function. Here’s how to run one:
If the final shot doesn’t land back in your original group, the erector tube has tracking error. If the diagonal shot lands in the wrong place, the scope is also failing. Either way: warranty claim.
If your scope zeros perfectly on a warm barrel but drifts after 20 rounds, the problem isn’t the scope — it’s the barrel. Barrel harmonics and thermal expansion cause predictable, repeatable point-of-impact shifts that have nothing to do with the optic.
A cold barrel (one that’s been sitting at air temperature) has slightly different internal dimensions than a hot barrel (one that’s been firing for several rounds). As the steel warms and expands, the bullet exits at a slightly different point, which moves the point of impact — typically upward by several inches at 100 yards.
This is normal physics, not a scope problem. The fix is to choose a zero strategy that matches your use case:
Thin-barrel magnum rifles (like a .223 Wylde with a lightweight barrel on a varmint rifle) are especially prone to heat-induced shift. If your scope “loses zero” only after extensive shooting, your barrel is heating and walking the impact point — not your scope.
Speaking of fouling shots: a brand-new barrel hasn’t been broken in, and the first 3-5 rounds will deposit copper and lead fouling in the bore that changes how the bullet engages the rifling. This causes point-of-impact shifts of several inches that disappear once the barrel is fouled.
If you’re trying to zero a new rifle, fire five fouling rounds first, then re-confirm your zero. You’ll be surprised how much the first group moves after the bore is seasoned.
If your scope tracks correctly, your rings are torqued right, and your zero is consistent within a session — but drifts between sessions or between ammo boxes — the problem is ammunition consistency. Factory ammo varies lot to lot, sometimes significantly.
Ammunition lot variance happens because:
Any of these shifts the muzzle velocity by 50-100 fps, which moves the point of impact at 100 yards by 1-3 inches. That’s enough to make a “perfect” zero look like a failed zero.
The fix is simple: use the same lot of ammunition you zeroed with. If you switch ammo lots, re-confirm your zero. If you handload, work up a load with consistent components and don’t change anything between the load development and the hunting rounds.
If the scope, mount, barrel, and ammo are all verified good — and a different shooter puts three rounds exactly where the reticle is aimed — the problem is you. That’s not an insult; shooter error is responsible for more “won’t zero” reports than any other category, especially among newer shooters.
A flinch is an involuntary anticipation of recoil. The shooter tenses up, jerks the trigger, or pushes the rifle forward just before the shot breaks. The result is impact points that scatter low and to one side, and the shooter assumes the scope is at fault.
To test for flinch, have someone load a single round in a magazine without telling you, then fire a few “empty” rounds. If you flinch on the empty trigger pulls, you have a flinch problem. The fix is dry-fire practice and conscious trigger control.
If your cheek isn’t consistently placed on the stock, your eye isn’t consistently aligned with the scope’s optical center. This causes point-of-impact shifts of several inches between shots — exactly mimicking a zeroing problem.
The fix is consistent stock position. Place your cheek firmly on the comb, with your head straight up (not tilted), and the scope’s ocular lens should naturally sit in the same spot every time. If you’re having trouble, consider a stock with adjustable comb height.
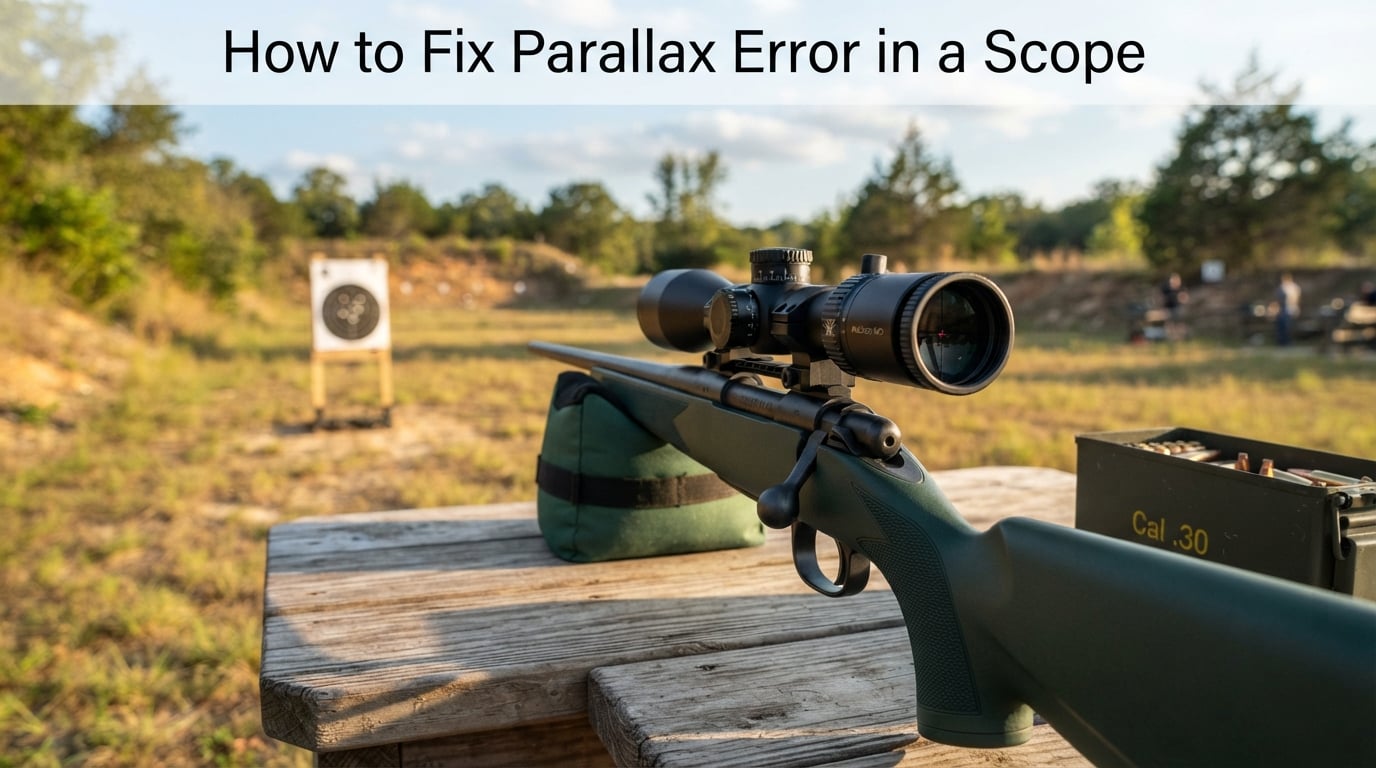
Parallax error happens when the target isn’t at the scope’s set parallax distance. Most scopes are parallax-corrected at the factory for 100 yards, but if you’re shooting at 25 yards or 500 yards without adjusting the parallax turret (on scopes that have one), your reticle shifts slightly relative to the target image as your eye moves.
If your scope has a parallax adjustment, dial it to the distance you’re shooting at and the error disappears. If your scope has a fixed parallax (common in low-cost optics), make sure you’re sighting-in at the distance the parallax is set for.
Scope creep is the slow, consistent movement of the scope inside its rings under repeated recoil. It’s different from tube slippage (where the scope rotates around the bore) — creep is the whole optic shifting forward, backward, or sideways in tiny increments with each shot.
You’ll recognize scope creep by a zero that drifts in one consistent direction (usually low or left, depending on the action and recoil direction) over a string of 10-20 rounds. The scope doesn’t lose zero in a random direction — it walks in a single direction, then settles.
The fix is the same as for tube slippage, but more aggressive: lap the rings, upgrade to a better ring set, or move to a one-piece Picatinny base with a quality QD mount like ADM, Bobro, or LaRue. These mounts use a crossbar that clamps the recoil lug more positively than traditional ring-and-base setups.
Marking your rail slot with a paint pen is also a popular technique — a thin line across the rail and the mount’s clamping surface gives you an instant visual check of whether the mount has shifted. If the lines no longer align after a shooting session, your mount has moved.
Some higher-end scopes (Leupold Mark 5, Nightforce, Vortex Razor, etc.) have a zero stop mechanism under the elevation turret. This is a physical stop that prevents the turret from dialing below your set zero — useful for long-range dialing where you don’t want to accidentally lose your zero.
But here’s the catch: if the zero stop is set incorrectly or the turret has been dialed past its stop, the scope may not be able to reach your actual zero even though the turret appears to be at the right number. This is a known issue on Leupold Mark 5 scopes and other precision optics.
To reset the zero stop on most scopes:
If your scope won’t zero and the turret is “maxed out” in a direction you didn’t expect, the zero stop is the first place to look. A forum thread on Accurate Shooter described a $1500 Leupold that wouldn’t zero — turned out the zero-stop screws under the turret knobs were limiting travel. “Got it zeroed. Knobs under knobs. Whodda thunk it.”
This sounds silly, but it happens more often than you’d think — especially with new shooters mounting a scope for the first time. If the scope is mounted upside down (rotated 180 degrees on the tube), the elevation turret dial will move the impact point in the opposite direction you expect. You dial up, the bullet goes down. You dial right, the bullet goes left.
The fix is to remount the scope with the turret orientation matching the manual — usually with the elevation turret on top and the windage turret on the right side. If the scope has been working in a known configuration and you suddenly can’t get it to zero in one direction, double-check that the scope isn’t rotated in the rings.
Save this table for your next scope mounting session. The numbers are industry-standard recommendations from the major ring and scope manufacturers.
| Component | Recommended Torque | Notes |
|---|---|---|
| Scope ring cap screws | 15-20 in-lbs | Most modern rings; check manufacturer spec |
| Scope base screws (Remington 700) | 30-45 in-lbs | Use blue Loctite 242 |
| Scope base screws (Tikka, Savage) | 45-65 in-lbs | Verify per-action specs |
| Action screws (bolt action stock) | 35-65 in-lbs | Front to back, alternating pattern |
| Rail crossbolt (if used) | 45-65 in-lbs | Per rail manufacturer spec |
| Picatinny clamp bolts | 45-65 in-lbs | For monolithic or QD mounts |
| Zero stop set screws | Snug, no torque | Just past finger-tight |
If you’ve been tightening ring screws “until they feel right,” that’s your problem. Buy or borrow a torque wrench — a quality scope mount starts with consistent torque values.
If you’ve worked through the diagnostic checklist and the scope still fails the box test, returns to a different zero after each string, or has visible internal issues (fogging that won’t clear, reticle movement when the scope is tapped, audible clicking inside the housing), it’s time to send it back.
Most premium scope makers — Leupold, Vortex, Nightforce, Schmidt and Bender — have unconditional or limited lifetime warranties. Vortex’s VIP warranty is particularly well-regarded in our community: they repair or replace damaged scopes with no receipt required.
Before sending it back, document the failure with photos, write down the box test results, and include a description of the rifle setup. That helps the warranty tech diagnose the problem quickly and get you back to shooting.
If you’ve confirmed your zero with three rounds and called it good, you’re working with a sample size of three. That’s barely a statistical signal. A 3-shot group might land in one spot at 100 yards, but a 20-shot group will likely walk 1-2 inches because of barrel harmonics and ammo variance.
For a true confirmation of zero, shoot at least 20 rounds — ideally 50 — at your chosen zero distance. If the center of that larger group is consistent with the center of your 3-shot group, you’ve got a real zero. If it’s moved, you have a sample-size problem, not a scope problem.
This is the difference between a zero you trust and a zero that drifts on the next hunt.
If you suspect your rings are the problem, here’s the correct procedure to re-torque them without re-zeroing yourself.
If the zero moved more than 1-2 inches after a clean re-torque, the rings may be the wrong height or the scope tube may be undersized for the rings. Try a different ring set.
A scope rated for .223 Remington will not survive on a .300 Win Mag, .375 H&H, or .458 Win Mag. Period. The recoil impulse on a magnum cartridge is 5-10x stronger than a .223, and the internal erector mechanism of a budget scope is not designed to absorb that energy.
A forum user reported a Barska scope on milsurp 7.62x54R ammo in a Mosin-Nagant that “just wouldn’t hold zero.” The actual problem wasn’t the scope — it was the scope wasn’t rated for the cartridge’s recoil.
Check the scope’s recoil rating before mounting. Most manufacturers list the maximum caliber the scope is rated for. If you’re shooting magnums, you need a scope rated for magnum recoil — usually a $300+ optic from a premium maker.
If you need a refresher on the basic zeroing procedure, our complete guide to zeroing a rifle scope walks through the standard 25-yard starting point and bore-sighting fundamentals. For selecting the right mounting hardware, our picks for the best scope mounting kits cover torque wrenches, lapping kits, and level tools in one bundle.
Once your scope is zeroed and holding, protecting it from weather and transport is the next priority. The best neoprene scope covers roundup covers options for every scope diameter, and the spotting scope magnification guide is useful for verifying your hits at extended distances.
The three most common reasons are loose mounting hardware, ammunition lot variance, and barrel heat shift. Confirm ring screws are torqued to 15-20 in-lbs with a torque wrench, verify your base screws are at 30-65 in-lbs with blue Loctite 242, and test with the same lot of ammo you intend to use. If the zero drifts only after extended firing, your barrel is heating — that’s barrel harmonics, not the scope.
Confirm your zero at the distance you shoot most. Loosen the two small set screws under the elevation turret cap (or remove the cap on click-style scopes). Rotate the turret until it reads zero on the dial. Re-seat the cap or knob so it clicks positively into the zero position, then re-tighten the set screws snug — not torqued. Confirm your impact point is unchanged and the turret now reads zero at your actual zero.
Run the seven-step diagnostic checklist above before assuming the scope is at fault. Leupold optics are covered by a lifetime warranty, but most ‘won’t hold zero’ reports on Leupold scopes trace back to ring torque, base screws, or ammunition lot changes. If the scope passes a box test and you’ve verified torque and ammo, contact Leupold with the serial number and your test results — they typically repair or replace quickly.
If your turrets are maxed out and the scope still won’t reach your target, the problem is geometry. Confirm your rings are the correct height for the scope and stock combination. If you’re zeroing at long range on a bolt action, install a 20 MOA base or canted rail to tilt the scope’s axis and reclaim downward adjustment. If your scope has a zero stop, verify it isn’t engaged or mis-adjusted — a stuck zero stop can prevent the turret from reaching its true mechanical zero.
A scope that won’t zero is solvable in nearly every case — it just takes the right diagnostic path. Start with the seven-step checklist: bore-sight on paper, confirm clicks, verify ring and base torque, inspect for tube scuff marks, run a box test, swap ammo lots, and have a second shooter verify. Nine times out of ten, you’ll find the cause in step one or two.
If torque is the issue, buy a torque wrench and lap your rings. If geometry is the issue, install the correct rings or a 20 MOA base. If the ammo is the issue, commit to a single lot. And if the scope itself is failing the box test, contact the manufacturer — most premium optics have lifetime warranties that turn a $500 repair into a free replacement.
Run the diagnostics, fix what’s broken, and you’ll have a scope that holds zero trip after trip. The hours you spend on mounting and verification now will save you hundreds of rounds — and a missed shot — down the range. If you want to brush up on the basic zeroing process before re-doing it, our complete rifle scope zeroing guide is a good starting point.