How to Fix a Bent Rifle Scope Turret 2026: DIY Guide
A bent rifle scope turret is one of the most frustrating problems a shooter can face. You mount your rifle,…


I remember the frustration of my first scope zeroing session.
I had just mounted a new optic on my Savage .308, set up at the range, and proceeded to waste 20 rounds without ever hitting paper.
That afternoon taught me a lesson I still use today: zeroing a rifle scope isn’t complicated once you understand the process.
Zeroing a rifle scope means aligning your reticle (crosshairs) with where your bullet actually hits at a specific distance. Start at 25 yards to get on paper, move back to 100 yards, shoot groups, measure your adjustments, and click your turrets until point of aim matches point of impact.
The process typically takes 15-30 rounds and about 30 minutes once you know what you’re doing.
Let me walk you through exactly how to zero a rifle scope the right way.
Zeroing: The process of adjusting your scope so the point of aim (where your crosshairs are aimed) matches the point of impact (where the bullet actually hits) at a specific distance.
When you zero at 100 yards, you’re telling your scope: “When I put the crosshairs on a target 100 yards away, that’s exactly where the bullet will go.”
Every rifle and ammunition combination is different. Changing your ammo weight, brand, or even bullet design can shift your impact point by several inches.
I learned this the hard way when I switched from 150-grain to 180-grain ammo and watched my groups shift 4 inches high at 100 yards.
The most common zero distance is 100 yards for most rifle applications.
Here’s what I recommend based on how you shoot:
I use a 100-yard zero for most of my bolt-action hunting rifles because it gives me a point-blank range out to about 250 yards with most hunting cartridges.
Having the right equipment makes zeroing much faster and more accurate.
Essential Gear: Rifle with mounted scope, 40+ rounds of ammunition, shooting rest or bags, targets with grid lines, and a range with 25-yard and 100-yard berms.
After zeroing dozens of scopes, I’ve found these items make the biggest difference:
The one time I tried zeroing without a proper rest, I spent 45 minutes blaming my scope before realizing I was pulling every shot.
Before making any adjustments, you need to know which system your scope uses.
MOA (Minute of Angle): An angular measurement where 1 MOA equals approximately 1 inch at 100 yards. Most hunting scopes use MOA with 1/4 MOA click adjustments.
MIL (Milliradian): A metric-based angular measurement where 1 MIL equals 3.6 inches at 100 yards. Common in tactical and long-range shooting with 0.1 MIL click adjustments.
Check your turret caps or scope manual to determine your system.
Most American hunting scopes use MOA. European scopes and tactical optics often use MIL.
| Measurement | MOA | MIL |
|---|---|---|
| Size at 100 yards | ~1 inch | 3.6 inches |
| Typical click value | 1/4 MOA (0.25″) | 0.1 MIL (0.36″) |
| Best for | Hunting, target shooting | Tactical, long-range |
| Common on | Vortex, Leupold, Nikon | Schmidt & Bender, S&B |
Understanding how many clicks equal an inch helps you make precise adjustments.
| Click Type | 100 Yards | 200 Yards | Clicks for 4″ Adjustment |
|---|---|---|---|
| 1/4 MOA | 0.25 inch | 0.5 inch | 16 clicks |
| 1/2 MOA | 0.5 inch | 1 inch | 8 clicks |
| 0.1 MIL | 0.36 inch | 0.72 inch | 11 clicks |
With 1/4 MOA clicks, 4 clicks move your point of impact 1 inch at 100 yards.
At 200 yards, the same 4 clicks move it 2 inches (adjustments double with distance).
I keep a small notecard with these calculations in my range bag for quick reference.
A little preparation saves time and ammunition.
First, verify your scope mounts are tight.
I use a torque wrench to ensure my ring screws are set to the manufacturer’s specification (usually 15-25 inch-pounds).
Loose mounts cause zero shifts and are the number one culprit I see when scopes won’t hold zero.
Boresighting gets you on paper faster, but it’s NOT a substitute for actual zeroing.
There are three ways to boresight:
I use visual boresighting for bolt-actions and a laser bore sighter for AR-15s where I can’t see down the barrel.
Boresighting typically gets you within 3-4 inches at 25 yards, saving 5-10 rounds.
Just remember: boresighting is only a starting point, not a final zero.
Always zero with the exact ammunition you plan to use.
Different bullet weights, powder charges, and even bullet designs can impact 3-6 inches apart at 100 yards.
I once zeroed my .30-06 with cheap practice ammo, then switched to premium hunting loads for deer season.
Result: my first shot at a buck was 5 inches high because I never re-zeroed with the hunting ammo.
Starting at 25 yards saves ammunition and frustration.
Set up a large target (I use a standard silhouette or 24×36-inch sheet of paper) at 25 yards.
Settle into a solid position using your rest or bags.
Aim at the center of the target and fire 3 shots, taking your time between each shot.
Don’t worry about tight groups yet—you’re just trying to find where you’re hitting.
If you’re completely off the paper, make large adjustments to get centered.
Most scopes have at least 60 MOA of total adjustment, so don’t be afraid to make big moves.
I once watched a friend spin his turret the wrong direction for 10 minutes before realizing his shots were moving away from center.
Remember: Follow the arrow or “UP/RIGHT” markings. Turning the elevation turret UP moves your hit UP. Turning windage RIGHT moves your hit RIGHT.
Once you’re on paper, aim at the center and fire another 3-shot group.
Measure how far from center you are and calculate your clicks.
Example: If you’re 3 inches low at 25 yards with a 1/4 MOA scope, you need 12 clicks up (3 inches divided by 0.25 = 12).
Continue shooting groups and adjusting until you’re centered on the 25-yard target.
Your goal is to be within 1-2 inches of dead center at this distance.
This doesn’t need to be perfect—you’ll fine-tune at 100 yards.
Getting centered at 25 yards typically puts you very close at 100 yards, often within 2-3 inches vertically.
Now the real zeroing begins.
Move back to 100 yards and set up a fresh target with a visible aiming point.
Aim carefully at the center of your target and fire 3-5 shots.
I prefer 5-shot groups because they reveal inconsistencies better, but 3 shots work if you’re trying to save ammo.
Take your time between shots. Let the barrel cool if needed.
Walk downrange and measure how far your group is from your aiming point.
Pro Tip: Use a target with 1-inch grid lines. Measuring is much easier when you can count squares instead of breaking out a ruler.
Measure both elevation (up/down) and windage (left/right) separately.
Example: Your group is 2 inches high and 3 inches right of center.
For a 1/4 MOA scope at 100 yards:
For a 0.1 MIL scope at 100 yards:
Write down your calculations before making adjustments.
I learned this after one too many “wait, which way was I supposed to go?” moments at the range.
Make your elevation adjustment first, then windage.
Take your time and count each click as you make it.
Most scopes make an audible click, but some are subtle—pay attention.
After adjusting, fire another 3-5 shot group at the same aiming point.
You’ll likely need 2-3 rounds of adjustments to get perfectly centered.
Measure each new group, calculate adjustments, and click your turrets.
I’ve found that most scopes zero within 3 adjustment cycles if you started reasonably close from 25 yards.
Your goal is to have your group centered on your aiming point.
Acceptable accuracy depends on your intended use, but most hunting rifles are good with 1-2 MOA groups (1-2 inches at 100 yards).
Once you’re centered, verify your zero before leaving the range.
Fire one final 3-shot group to confirm everything is holding.
I like to let my rifle cool for 10 minutes before this group to simulate hunting conditions.
Barrel heat can shift impact point, especially on sporter-weight barrels.
If your confirmation group is still centered, you’re done.
If it shifted, determine if it was shooter error or equipment issue before making more adjustments.
Many scopes allow you to reset the turrets to “zero” after zeroing is complete.
This lets you return to your zero even if the dials get bumped or you make temporary adjustments.
Procedure varies by scope:
Some modern scopes have a “zero stop” feature that automatically returns to zero after one full rotation.
Not all scopes have resettable turrets—check your manual.
Write down your zero information for future reference:
I keep a small notebook in my rifle case with this information for every rifle I own.
This helps me track whether my zero has shifted over time or between range sessions.
Elevation adjusts your vertical point of impact (up and down).
The elevation turret is always on top of the scope.
Turning it clockwise (usually marked “DOWN” or following the arrow DOWN) moves your impact point down.
Turning it counter-clockwise (“UP”) moves your impact point up.
Most scopes have 1/4 MOA or 1/2 MOA elevation adjustments.
Tactical scopes may use 0.1 MIL or 0.05 MIL adjustments.
The adjustment value should be marked on your turret cap.
Windage adjusts your horizontal point of impact (left and right).
The windage turret is on the right side of the scope.
Turning it clockwise (usually marked “RIGHT”) moves your impact point right.
Turning it counter-clockwise (“LEFT”) moves your impact point left.
Windage adjustments typically match your elevation click value.
Once zeroed, many shooters cap their windage turret and leave it alone.
I only adjust windage for extreme wind conditions or when switching between different ammunition loads.
AR-15s have some unique considerations for zeroing.
The most common zero for ARs is the 50/200 zero, which puts you 2 inches high at 50 yards and dead on at 200 yards.
This gives you a point-blank range from about 0-250 yards with minimal holdover.
For red dot sights without magnification, a 50-yard zero works well for most applications.
I zero my AR with the carry handle removed or folding sights down to ensure proper cheek weld.
Bolt-actions are the easiest to zero because of their inherent accuracy.
You can often achieve tighter groups, which makes measuring adjustments more precise.
Take advantage of this by shooting 5-shot groups instead of 3.
Bolt-actions also heat up slower than semi-autos, giving you more time before barrel heat affects accuracy.
Sometimes zeroing doesn’t go smoothly.
Here are the most common issues I’ve encountered and how to fix them.
If your shots are scattered with no consistent grouping, check these:
I once chased a zero for an hour before realizing my front bag was shifting under recoil.
If your zero shifts between range sessions or groups, look for:
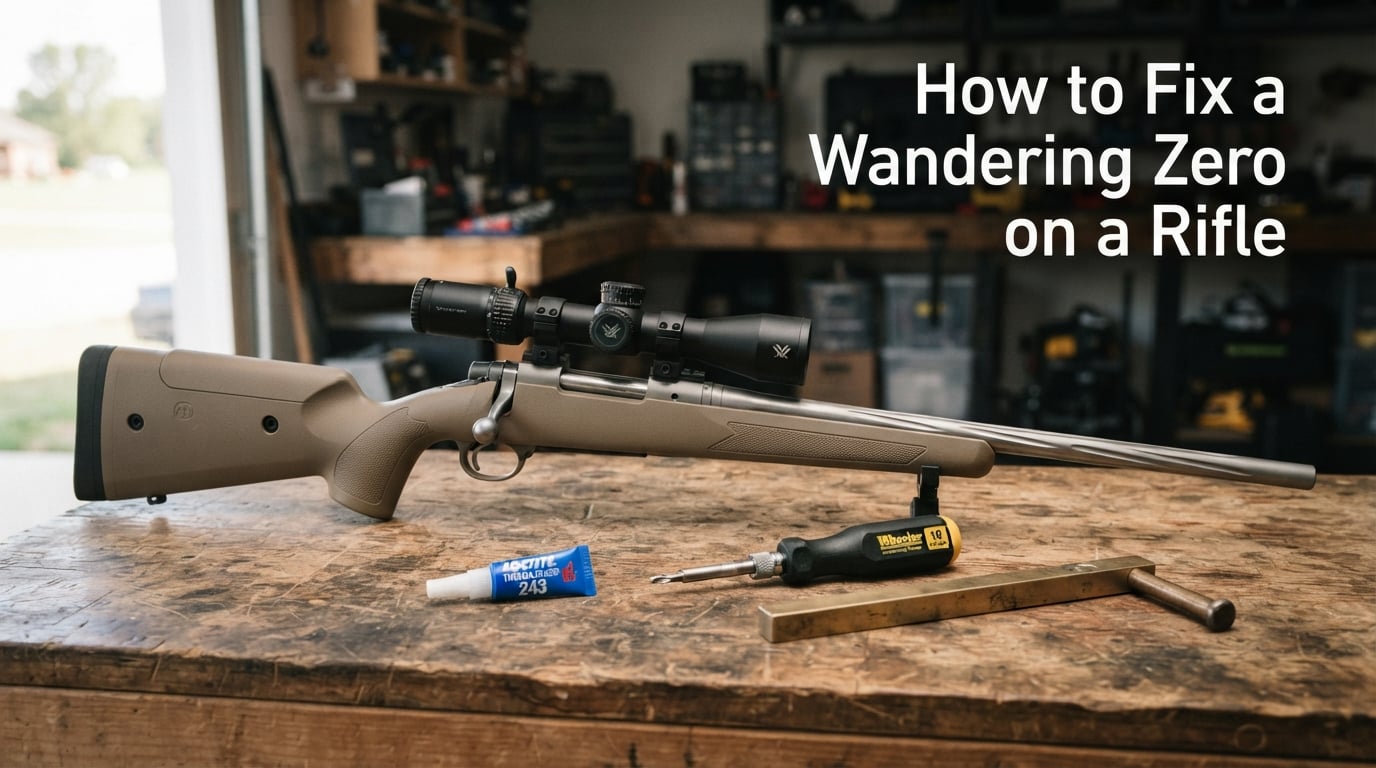
Blue Loctite on scope ring screws (use sparingly) solved my wandering zero problem on a hunting rifle.
If you can’t dial enough elevation or windage to get on target:
I’ve used Burris Signature rings with offset inserts to rescue a scope that was 15 MOA off center.
If your adjustments don’t move impact as expected:
If your scope is damaged or malfunctioning, no amount of adjustment will fix it.
If you’re completely missing the target at 25 yards:
I keep a 36-inch bullseye target specifically for this scenario.
I’ve made most of these mistakes myself.
Learn from my errors instead of repeating them.
The worst mistake I ever made was zeroing with 20-year-old surplus ammo and then wondering why my premium hunting loads shot 4 inches off.
Different shooting scenarios call for different zero approaches.
Most hunters prefer a 100-yard or 200-yard zero.
A 200-yard zero puts most modern hunting cartridges within 3 inches of point of aim from 0-250 yards.
This means you can hold dead on out to 250 yards without worrying about holdover.
I use a 200-yard zero for my .270 Winchester and .300 Win Mag hunting rifles.
Target shooters can be more precise with their zero distance.
Most benchrest and precision rifle competitions tell you exactly what distance to zero for.
If not specified, zero at the distance you’ll shoot most often.
For general target shooting, 100 yards works well and simplifies click calculations.
Long-range shooting (600+ yards) requires a different approach.
Many long-range shooters use a 100-yard zero and then dial elevation for farther targets.
This requires a quality scope with reliable tracking and enough total adjustment range.
Others zero at their actual shooting distance (600, 800, 1000 yards) to simplify adjustments.
Check your zero at least once a year, even if the rifle hasn’t been shot.
Always re-zero if:
I verify my hunting zeros two weeks before every hunting season.
This gives me time to make any adjustments and confirm everything is working properly.
Zeroing a rifle scope means aligning your reticle (crosshairs) with the point where your bullet actually hits at a specific distance. When properly zeroed, your point of aim matches your point of impact.
100 yards is the most common zero distance for hunting and target shooting. AR-15s often use a 50/200-yard zero. Long-range shooters may zero at 200 yards or more. Choose your distance based on how and where you plan to shoot.
With a 1/4 MOA scope, it takes 4 clicks to move 1 inch at 100 yards. With 1/2 MOA, it takes 2 clicks. With 0.1 MIL, it takes approximately 3 clicks (since 0.1 MIL equals 0.36 inches at 100 yards).
Boresighting can get you close without shooting, but you cannot achieve a true zero without live fire. Boresighting only aligns your barrel with the optic—it does not account for bullet trajectory, barrel harmonics, or ammunition characteristics.
MOA stands for Minute of Angle, an angular measurement where 1 MOA equals approximately 1 inch at 100 yards. Most hunting scopes use 1/4 MOA clicks, meaning each click moves the point of impact 0.25 inches at 100 yards.
MIL (or MRAD) stands for Milliradian, a metric-based angular measurement. 1 MIL equals 3.6 inches at 100 yards. Most tactical scopes use 0.1 MIL clicks, with each click moving impact 0.36 inches at 100 yards.
Start at 25 yards to get on paper and save ammunition. Once centered at 25 yards, move back to 100 yards for your final zero. A proper 25-yard zero will put you very close at 100 yards, usually within a few inches vertically.
Scope zeros can shift due to loose mounts or rings, loose action screws, impact or dropping the rifle, changing ammunition, or internal scope damage. Temperature changes and barrel heating can also cause temporary shifts.
Zeroing a rifle scope is a fundamental skill every rifle owner should master.
The process seems intimidating the first time, but it becomes second nature with practice.
I’ve gone from spending two hours and 40 rounds to zero a scope, to getting it done in 20 minutes with 10 rounds.
The keys are starting at 25 yards, using quality rests, understanding your click values, and being patient.
Take your time, record your adjustments, and verify your zero before leaving the range.
Your confidence in the field will be worth every minute spent at the bench.