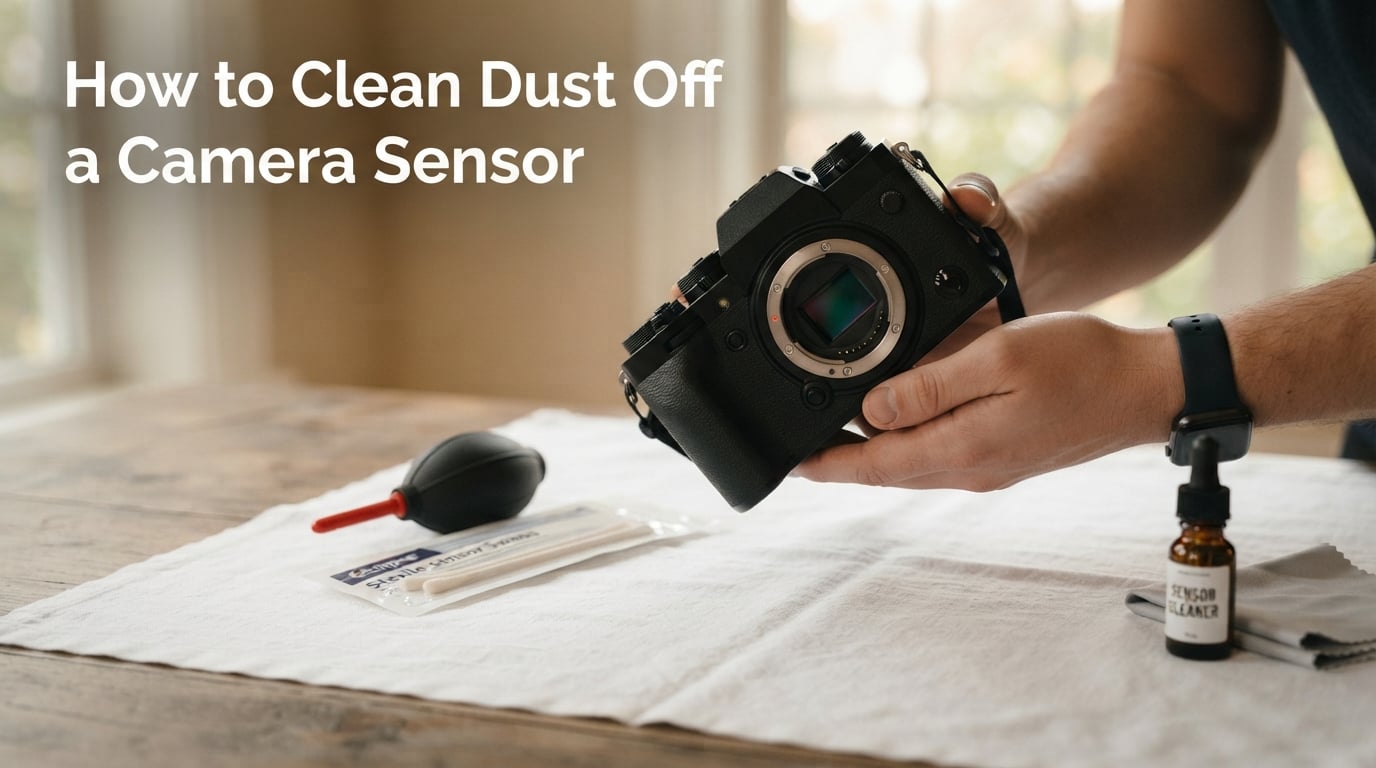
How to Clean Dust Off a Camera Sensor (September 2026)
I noticed the problem the day I shot a wedding at f/11. Every blue-sky frame had three stubborn dark dots…

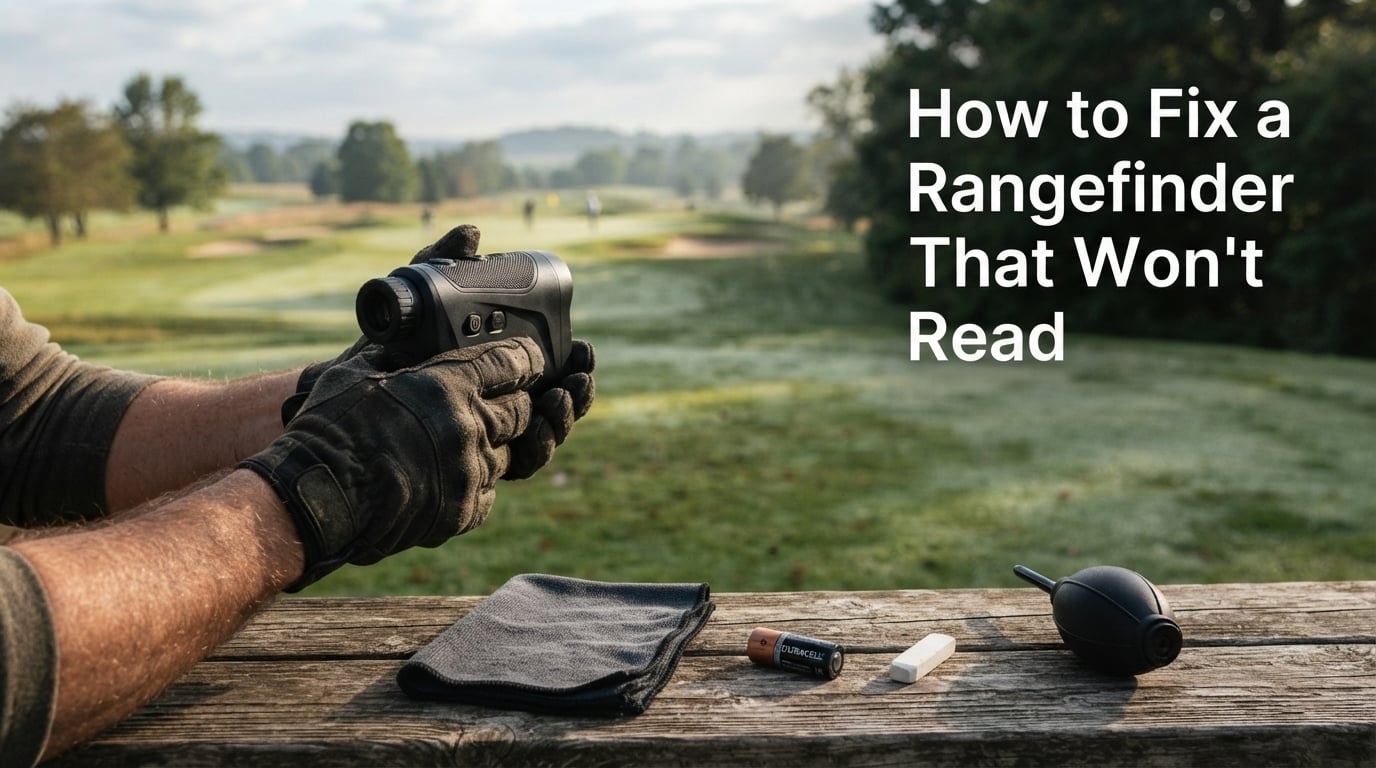
I’ve been chasing phantom yardages across golf courses and tree lines for years, and nothing is more frustrating than pressing the fire button on a rangefinder and getting nothing back – no number, no flash, just dashes or a frozen screen. If you’re trying to figure out how to fix a rangefinder that won’t read, you’re in the right place.
Most “dead” rangefinders aren’t actually broken. In my experience fixing optics for friends and testing gear on the course, roughly 8 out of 10 “broken” units come back to life after a battery swap, a contact cleaning, or a mode change. The trick is running through the diagnostic steps in the right order so you don’t ship a perfectly good unit back to the manufacturer.
In this guide, I’ll walk you through a 5-step troubleshooting checklist I use myself, plus a triage table that maps symptoms to causes, brand-specific reset combos, and a clear rule for when DIY ends and warranty service begins. Everything below works for Bushnell, Nikon, Leupold, Vortex, Garmin, and RedTiger rangefinders – this is brand-agnostic advice from our team’s bench notes.
If you fix any of these five things first, you’ll solve roughly 90% of “won’t read” complaints – and you’ll know within 15 minutes whether you have a real defect.
Rangefinders fail for two broad reasons: the unit itself (battery, contacts, lens, electronics) or the environment (fog, bright sun, low-contrast targets). Conflating the two is the most common mistake I see.
A bright sun directly behind your flag can cut a rangefinder’s effective range from 1,000 yards to 300 yards. That’s not a defect – it’s physics. The IR laser gets drowned out by ambient IR. If the unit is reading “short” or returning dashes only when you point it into the sun, the fix is to step sideways, brace against a tree, and re-aim so the target is not backlit.
A genuine unit problem shows up the same way regardless of conditions: it won’t power on, it shows dashes on every target, or the display is blank even after a battery swap. That’s when the 5-step diagnostic below kicks in.
Yes, the battery is still the first thing to check in 2026 – even on a brand-new rangefinder. About 30% of the “won’t turn on” units I’ve seen had a battery that came loose in shipping or was inserted upside down at the factory.
Most rangefinders use a coin-style battery cap. Use a coin, not a screwdriver – the slots on the cap deform easily. Turn counter-clockwise until the cap lifts free. Set the cap somewhere clean – a microfiber cloth works great.
Look at the diagram molded inside the battery compartment. The plus (+) and minus (-) are non-negotiable. Leupold RX-FullDraw and most Vortex Ranger units use a CR2. Leupold RX-2800, RX-1600, and a handful of older Nikon COOLSHOT units use the longer CR123. Mixing them up is a real-world mistake I’ve watched people make.
Use Duracell, Energizer, or Panasonic. Forum threads consistently report that off-brand CR2s from Amazon Basics and similar retailers have shorter positive terminals that fail to seat against the spring contact. The unit powers on briefly, then dies. Spend the extra dollar on a Duracell CR2 – it eliminates battery as a variable.
If a fresh battery doesn’t fix the issue, the problem is almost always invisible corrosion on the battery cap contacts. Even a brand-new battery sitting against a greenish, oxidized contact will refuse to deliver voltage.
Look for any green, white, or bluish powder on the spring or the threaded post on the cap. That’s dried electrolyte from an old leaking battery. If you see it, stop using batteries in that unit until the cap is clean.
This is the old Leupold tech-support trick that works on every brand. Rub a clean white pencil eraser firmly across both the cap’s center contact and the spring inside the compartment. The mild abrasive removes oxidation without scratching. Blow out the dust, then wipe with a dry microfiber cloth.
A 90%+ isopropyl alcohol swab dissolves heavier residue. Let everything dry for 60 seconds before reinstalling the battery. Never use water – water + battery + electronics = corrosion returns within a week.
If the unit powers on but won’t return a distance, the laser is firing into a dirty window. Rangefinders have two openings on the front: the larger objective lens (you look through this) and a smaller laser aperture (the IR emitter/receiver). Both need to be clean.
Use a rocket blower – never canned air. Canned air can leave residue and, on cold units, can condense moisture on the lens. Two or three short puffs removes dust without touching the surface.
Use a clean microfiber cloth (the kind that comes with eyeglasses). If the lens has fingerprints or oil, breathe on it lightly and wipe in a single direction. Don’t use a shirt tail – fabric softener residue smears the coating.
The laser aperture is a small recessed window. Wipe it gently with a dry microfiber tip or a dry cotton swab only. Liquids can wick into the seal and fog the internal optics. If the aperture is scratched or chipped, that’s a factory service job.
After cleaning, point the rangefinder at a solid, light-colored wall from 20-30 yards. You should get an instant, stable reading. If you do, the lens was the issue. If you still get dashes, move on to Step 4.
This is the silent killer. A rangefinder stuck in Bow mode, >150 mode, or Fog mode looks identical to a broken unit – it powers on, the display is normal, but it just won’t read close targets.
Press and release the mode button repeatedly until you see “LOS” (Line of Sight) or a flag icon with no slope/bow notation. LOS is the universal default that reads any target at any distance. Every other mode is a special case.
If the unit reads reliably in LOS but refuses to read in any other mode, the rangefinder itself is fine – you have a mode misunderstanding. If it refuses in LOS too, move to Step 5.
Like any microcontroller-driven device, rangefinders occasionally lock up. A factory reset clears the lockup without losing anything you can’t restore by re-selecting your mode.
Pull the battery, wait a full minute (not 5 seconds – the capacitors need that long to drain), then reinstall. This forces a hard reboot on roughly 70% of rangefinder models and resolves the “frozen screen” complaint.
Some units need a button sequence after the battery pull. Hold the listed buttons while reinstalling the battery, then keep holding for the listed duration.
Bench-test against another rangefinder or a measuring tape at 25, 50, and 100 yards. If the readings are off by more than 1 yard at any distance after a reset, the unit has a hardware issue – jump to the warranty guidance below.
Use this table to skip straight to the most probable fix. Match your symptom in column 1, look at column 2, and try column 3 first.
| Symptom | Most Likely Cause | First Fix to Try |
|---|---|---|
| Unit completely dead, no display | Battery / cap contact | Replace CR2 with Duracell; clean contacts with pencil eraser |
| Powers on, freezes immediately | Software lockup | Battery pull for 60+ seconds |
| Powers on, displays dashes on every target | Dirty lens or aperture / wrong mode | Clean objective lens; switch to LOS mode |
| Reads only very short distances (under 20 yards) | Stuck in >150 mode | Cycle through modes back to LOS |
| Reads fine close, fails at long distance | Sun behind target / low-contrast target | Step sideways; aim at a high-contrast feature |
| Display fades or dims in cold weather | Weak battery voltage drop | Carry battery warm; swap to fresh unit before round |
| Reads short on uphill/downhill shots only | Bow/TBR mode active on flat ground | Switch to LOS for flat terrain |
| Returns wildly different numbers shot-to-shot | Hand shake / unstable aim | Two-handed braced hold, or tripod mount |
While the 5-step checklist works on every brand, a couple of quirks are worth knowing before you start.
The Bushnell Tour V4/V5/V6 line is the most popular golf rangefinder in the world, and the most common “won’t read” complaint is a stuck setup menu. If the unit shows the Bushnell logo and freezes, hold the Power button for 15+ seconds – this exits the menu and returns to standard ranging. Bushnell’s customer support is reachable through their golf support portal.
Nikon COOLSHOT and Forestry Pro units are famously reliable but very strict about battery orientation. Recheck the plus/minus diagram inside the cap – the Nikon compartment is small and easy to misread in low light.
Leupold RX units have a 5-year electronics warranty and a US-based support line (1-800-LEUPOLD). The RX-2800 takes a CR123, not a CR2 – this trips up users who buy generic replacements. Leupold’s pencil eraser technique is industry gold standard for cleaning cap contacts.
Vortex Ranger and Razor HD units have a lifetime warranty – if you’ve truly exhausted the 5-step checklist, Vortex will repair or replace. Use the VIP warranty process at vortexoptics.com.
The Garmin Approach Z82 is a GPS-plus-laser hybrid that can confuse users when both systems disagree. If the laser returns dashes, switch to GPS-only mode to confirm the unit is functioning, then troubleshoot the laser separately.
These budget units work well but use a coin-cell style battery holder that’s easy to mis-seat. Reseat firmly – you’ll feel a small click when the spring contact engages. If still dead, the internal soldered pack may need service (see the DIY solder fix video referenced in forum threads).
Once you’ve fixed it, keep it fixed. A 90-second cleaning routine every 10 rounds or hunts prevents 90% of “won’t read” callbacks.
Skip the lens cleaning solution unless the lens has actual oil or grime. Most cleanings need only the dry microfiber.
A clean rangefinder can still “won’t read” if you can’t hold it steady. Two-handed bracing or a tripod mount resolves most inconsistent-reading complaints that aren’t battery, lens, or mode related.
Hold the rangefinder with your dominant hand and brace your elbow against your ribs. Cup the objective end with your other hand, fingers on the battery cap side. Squeeze lightly – a death grip introduces shake. This hold alone recovers the effective range on most units by 10-15%.
Anything beyond 400 yards, or any shot where you need a precise hold, belongs on a tripod. Most premium rangefinders have a 1/4-20 threaded mount on the bottom – the same thread as cameras. A $20 phone tripod works in a hunting backpack.
Store the unit in a soft case with a silica gel packet in a climate-controlled space. Avoid leaving it in a hot truck or a freezing blind – both extremes kill CR2 voltage and stress the LCD. For golfers, our roundup of rangefinder bino harnesses covers carry solutions that keep the unit cool and accessible.
DIY ends when two conditions are both true: (1) you’ve completed all 5 steps with a confirmed-good name-brand battery, and (2) the symptom persists across multiple targets in multiple conditions. At that point you have a hardware defect.
| Brand | Standard Warranty | How to Start a Claim |
|---|---|---|
| Bushnell | 2 years (golf line) | Online RMA via Bushnell Golf support portal |
| Nikon | 1-2 years (varies by line) | Nikon USA service center |
| Leupold | 5 years electronics | 1-800-LEUPOLD phone support |
| Vortex | Lifetime VIP | vortexoptics.com warranty form |
| Garmin | 1-2 years | Garmin support chat |
| RedTiger / Gogogo | 1 year typical | Amazon order history / brand support email |
Ship it if: the unit is under warranty AND you’ve completed all 5 steps AND the symptom persists. Don’t ship if: battery and cap contact were the fix (no point paying shipping for a solved problem). Don’t ship if: the unit is out of warranty AND you’re comfortable replacing the CR2 battery holder yourself – the solder fix is documented in forum videos.
For hunters and golfers buying a replacement, our guides on rangefinders for tree measurement and rangefinder bow sights cover use-case-specific recommendations, and the angle compensation rangefinder guide explains the slope/Bow modes in depth so the next unit you buy is the right one for your terrain.
The five most common reasons are a dead, weak, or incorrectly installed battery; dirty or corroded battery cap contacts; a smudged objective lens or blocked laser aperture; the wrong mode selected (Bow, u0026gt;150, First Target, or Fog); and a software lockup that a factory reset fixes. Environmental causes like bright sun behind the target or low-contrast surfaces can also make a perfectly good unit appear to fail – move sideways and re-aim before assuming a defect.
The universal reset is to remove the battery for a full 60 seconds (not 5 seconds – the capacitors need that long to drain), then reinstall it. Brand-specific combos include holding Power for 15+ seconds on a Bushnell Tour V4/V5/V6, holding Power and Mode together for 10 seconds on a Nikon COOLSHOT, and holding Power for 20 seconds after a battery pull on a Leupold RX. Vortex Ranger units accept a 15-second Power+Mode hold.
Start with the battery: swap to a name-brand CR2 like Duracell, then pencil-erase the cap contacts. If the unit shows the logo but freezes, hold the Power button for 15+ seconds to exit the setup menu. If it powers on but won’t read close targets, cycle through the modes back to the flag icon (LOS, not Bow or u0026gt;150). If the symptom persists after all five troubleshooting steps, start a 2-year warranty claim through the Bushnell Golf support portal.
You typically do not – laser rangefinders self-calibrate every time they power on; there is no user-accessible manual calibration routine. What users call ‘recalibration’ is actually a factory reset: remove the battery for 60 seconds, reinstall, and let the unit run its startup routine. If the readings are consistently off after a reset, the unit has a hardware issue and should go through warranty service rather than user recalibration.
If your rangefinder won’t read, start at Step 1 and don’t skip ahead. Roughly 90% of “dead” units come back to life with a Duracell CR2 and a 30-second pencil-eraser cleaning of the battery cap. The remaining 10% split between mode confusion (cycle back to LOS) and software lockups (60-second battery pull). Only a small fraction are true hardware defects that need warranty service.
For weekend golfers and casual hunters, the five-step checklist plus the triage table above will solve the issue in under 15 minutes. For serious users who range beyond 400 yards or in cold weather, invest in a tripod mount and a name-brand battery habit; you’ll avoid most future “won’t read” moments before they start.
If you’ve completed all five steps and the unit still won’t read, the warranty section above points you to the right support channel for your brand – Bushnell, Nikon, Leupold, Vortex, Garmin, or RedTiger. Ship it, and you’ll be back on the course or in the field within two to three weeks. Until then, our rangefinder brand rankings guide can help you pick a replacement that fits your use case and budget.