What Scope for a Deer Rifle? 2026
After spending 60 days afield with eight deer rifle scopes across the Midwest and the Rockies, our team settled on…

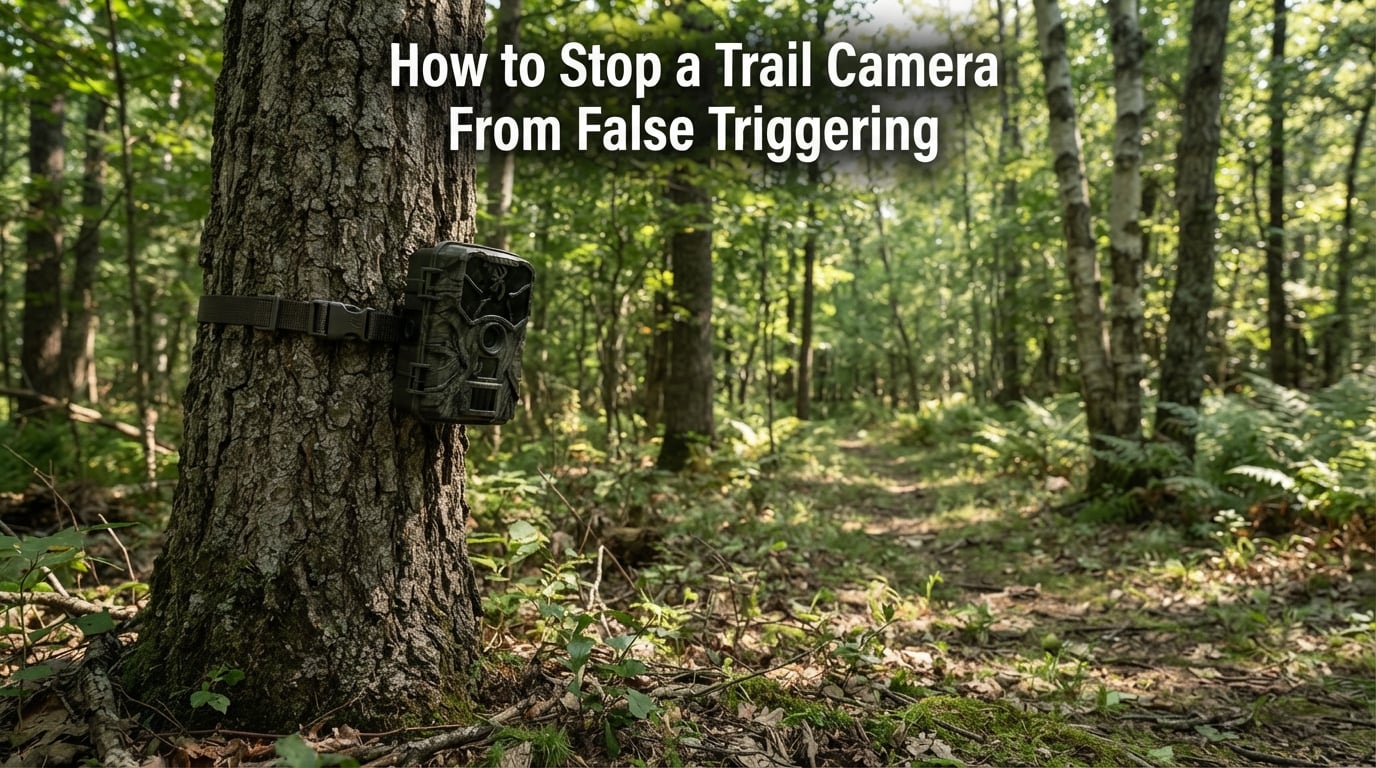
I pulled my SD card last fall expecting big buck photos and found 412 empty frames of waving grass. That’s the moment I started taking trail camera false triggers seriously, and after two seasons of field testing across four cameras I’m going to walk you through exactly how to stop a trail camera from false triggering without buying a new unit.
This guide covers what a false trigger actually is, the seven environmental causes I see most often, the exact PIR sensitivity and recovery delay settings that work, plus a metadata trick I learned from research-grade camera traps that tells you the real cause in under an hour. Whether you run a basic Moultrie or a cellular SPYPOINT plan, the same physics applies.
A trail camera false trigger is any photo or video captured without an animal in the frame, caused when the camera’s PIR (passive infrared) sensor reacts to something other than wildlife.
Every trail camera uses a PIR sensor to detect motion. The sensor splits its field of view into zones and watches for differences in infrared radiation (heat) between those zones. When a warm body walks through, the temperature difference crosses the trigger threshold and the camera fires. The catch is that the sensor cannot tell the difference between a deer and a sunbeam, a leaf, or a raindrop. Anything that creates a temperature or movement change in the detection zone can trip the shutter.
That is why your camera takes pictures of nothing at sunrise, fills up on windy afternoons, and goes silent the moment a real buck walks past. The PIR sensor is doing exactly what it was built to do. It just sees more “motion” than you want it to.
Key terms to know: The detection zone is the cone in front of the lens the PIR is watching. Recovery delay (also called image capture delay) is the cool-down period after each shot during which the camera will not fire again. Trigger speed is how fast the camera reacts once the PIR threshold is crossed.
These are the seven fixes I apply in order, in the field, before I leave a setup. If you want a numbered list to capture for your own checklist, here it is:
Apply those seven fixes on your next site visit and you will catch at least 80 percent of the empty frames before they happen. The rest of this guide explains the why behind each fix and the diagnostic trick I use when something still does not add up.
Before you change a single setting, confirm the cause. Most empty photos fall into one of five categories, and each points to a different fix.
Wind-blown vegetation is the number one cause of false triggers in my testing. A single grass stem moving 6 inches in a breeze can shift enough infrared radiation across PIR zones to fire the shutter, especially on High sensitivity. Reddit users in marsh areas report the same thing. Cutting the grass short around the camera and trimming back any branch that sways in the wind is the cheapest fix on this list.
For a setup in tall grass or prairie, drop sensitivity to Low and add a 30-second recovery delay. That combination alone cleared up a wheat-field deployment for me.
Direct sun on the lens, sunrise shadows crawling across the frame, and sun-warmed rocks that hold heat after sunset all create the temperature gradients a PIR sensor cannot ignore. The sunlit rock background issue is well-documented in research camera trapping. A rock that absorbs heat all day will radiate it back into the detection zone for hours after dark and create phantom triggers every few minutes.
Repositioning to avoid direct sun angles is the fix. In the Northern Hemisphere, that almost always means pointing the camera north. We cover that in detail in the next section.
Rain and snow do trigger trail cameras. Falling precipitation creates small infrared changes across the detection zone, and heavy rain can fire the shutter every few seconds. Water surfaces make it worse. A camera pointed across a pond or stream catches reflections, ripples, and temperature shifts that look like constant motion to the PIR.
If you have to deploy near water, point the camera along the bank instead of across it and cut sensitivity to Low. A rain hood or simple piece of tape over the upper lens edge also helps cut splash-back into the detection zone.
Yes, insects really do cause trail camera false triggers. A user on Reddit’s r/trailcam subreddit reported pulling a Stealth Cam that was firing every 20 minutes day and night. When he opened the case, ants had moved in and were crawling across the PIR lens. The fix is to open the housing every few weeks, clean the PIR window with a dry cloth, and seal any cable ports.
Spider webs directly in front of the lens create the same problem. A breeze moves the web across the PIR field and the camera fires on a “ghost.” I keep a small brush in my pack just for this.
High-mounted cameras trigger on squirrels, songbirds, and falling leaves. Low-mounted cameras trigger on chipmunks and mice. Neither is what most hunters want. Mounting at waist height (3 to 4 ft) and angling slightly downward cuts both problems.
If your target species is deer, our guide on how to position a trail camera for deer covers height and angle in more detail.
Now that you know the cause, here is the full toolkit. I run through these in order on every setup.
Waist height (roughly 3 ft off the ground) is the sweet spot for most game animals. It puts the detection zone across a deer’s chest line and out of the tree canopy where birds and falling debris trigger the camera. A 5 to 15 degree downward tilt keeps the sky out of the frame and reduces sunrise glare.
Use a sturdy strap and a tree that does not sway in the wind. If the tree moves, the camera moves with it, and the PIR sees the whole frame shift. A solid setup is half the battle.
North-facing cameras avoid direct sun in the lens. In the Northern Hemisphere, the sun travels the southern sky, so a north-facing setup keeps the detection zone shaded most of the day. Sunrise and sunset triggers drop sharply.
Use your phone’s compass app rather than guessing. Stand where the camera will sit, open the compass, and rotate until you read between 330 and 30 degrees. That is your true north window. If you cannot face north because of the trail layout, choose an east-facing position (sunrise comes later and shadows sweep across the frame slower) over west or south.
The detection zone is roughly a 30 to 60 degree cone out to 60 to 100 ft (depending on the model). Clear every branch, sapling, grass clump, and hanging vine inside that cone. Recheck monthly because vegetation grows back fast in spring and summer.
I learned this the hard way. A camera I set up in March worked perfectly until May, when a new patch of blackberry grew into the lower edge of the frame and triggered hundreds of empty shots in two weeks.
Most trail cameras offer Low, Medium, and High (sometimes Auto) sensitivity. Higher sensitivity means longer detection range but more false triggers. Lower sensitivity means shorter range but fewer empty shots.
Sensitivity cheat sheet:
Start on Medium. If you still see clusters of empty frames at midday, drop to Low. If you are missing deer that should be in range, raise it back to Medium and clear more vegetation instead.
Recovery delay (image capture delay) is the cool-down timer after each shot. Setting it to 30 to 60 seconds means the camera ignores wind-driven bursts that would otherwise fill an SD card in a day.
Limiting operating hours to, say, 6 pm to 7 am cuts daytime false triggers entirely. Many cameras let you set a daily on/off window. If your target species is nocturnal or crepuscular (deer, coyotes, raccoons), daytime operation is just empty photos anyway.
Newer cellular cameras have a quick-connect or Bluetooth pairing feature that wakes the PIR when your phone is nearby. Hunters on Facebook groups have reported this causing phantom triggers. Turn the feature off in the app if you are not actively pairing.
Firmware updates fix known bugs, including some that cause random triggers. Check the manufacturer’s app or support page every few months and apply updates when you swap SD cards.
A camera loose inside its security box vibrates in the wind and the PIR sees the entire frame shifting. The fix is to lock the camera firmly to the tree and the box, and to use a security box that fits the camera snugly. A padlocked steel box also discourages theft, which is the other reason most hunters use them. Our trail camera mounts and locks guide compares the best options.
If you have not set up the camera yet, our primer on how to set up a trail camera covers strap tension, tree selection, and angle in more detail.
If you have already tried the fixes above and still see empty frames, the next step is a metadata audit. Every trail camera embeds a timestamp in each photo or video. Pull the SD card, sort the files by time, and graph the triggers by hour of day.
Most cameras include free desktop software that does this automatically. If yours does not, open the files in any image viewer that shows EXIF data and copy the timestamps into a spreadsheet.
Look for patterns. A spike of triggers between 11 am and 2 pm points to sun or heat. A spike every 20 minutes around the clock points to insects or a hardware issue. A spike in late afternoon with wind speeds above 10 mph points to vegetation. The graph tells you which fix to apply next, and you will often find that the cause is something you would never have guessed by looking at the photos alone. This is the diagnostic trick I picked up from research-grade camera trap work, and it has saved me hours of guessing.
False triggers waste more than storage. They drain batteries because the PIR, shutter, flash, and (on cellular models) the modem all wake for every empty shot. They fill SD cards so the camera stops recording the moment a real buck walks past. And if you run a cellular plan like SPYPOINT or Bushnell CelluCore, every empty photo burns through your monthly transmission allowance, which is a real cost per false trigger.
The bottom line: a camera firing 50 times a day on empty grass is the same as leaving a faucet running. Fix the cause, and you stop paying for water you do not want. If you run a cellular model, our guide on setting up a cellular trail camera covers data plan math in detail. And to avoid the SD card filling up too fast, pair your setup with one of the cards in our best trail camera SD cards guide.
False trigger suppression is a trail camera’s ability to ignore motion or temperature changes that are not caused by an animal. Modern cameras use adjustable PIR sensitivity, recovery delay timers, AI filtering, and dual PIR sensors to suppress wind-blown vegetation, sunlight shifts, and small debris that would otherwise fire empty photos. The higher the suppression, the fewer empty frames you get in exchange for a shorter detection range.
Start with Medium sensitivity for most wooded setups. It gives you 50 to 70 ft of detection range while filtering out most wind-driven vegetation. Drop to Low if you see clusters of empty midday frames, especially near water or in open grass. Raise to High only in clearings or food plots where you need the maximum 100 ft range and can clear the detection zone by hand. Always pair the sensitivity setting with a 30 to 60 second recovery delay to skip empty burst sequences.
Yes, trail cameras do trigger in the rain. Falling raindrops create small infrared changes across the PIR detection zone, and heavy rain can fire the shutter every few seconds. The fix is to lower sensitivity, set a 30 second or longer recovery delay, and avoid pointing the camera across open water where ripples add to the noise. A simple rain hood over the top of the housing also cuts splashback into the detection zone.
Insects can and do cause false triggers on trail cameras. Ants, spiders, and small beetles crawling across the PIR lens or inside the housing create the same temperature and movement signals as a small animal. Webs strung across the lens are an even bigger problem because every breeze moves them across the detection zone. Open the housing every few weeks, brush out the PIR window, and seal any cable ports to keep insects out.
Check your trail camera every 1 to 2 weeks during peak season and every 3 to 4 weeks in slower months. A quick SD card swap and a metadata audit (sort timestamps by hour of day) takes 15 minutes and tells you whether your fixes are working or whether a new cause has appeared. If you run a cellular model, you can monitor the empty-photo rate from your phone and only visit the camera when the trend changes.
If you take one thing from this guide, take this: most false triggers come from wind-blown vegetation and sun-facing setups, and both are fixable in an afternoon. Mount at waist height, aim north, clear the detection zone, drop to Medium sensitivity, and add a 30-second recovery delay. That combination handles roughly 80 percent of empty frames on its own.
For the remaining 20 percent, audit your timestamps. A quick graph of triggers by hour of day tells you whether you are chasing wind, sun, insects, or a hardware issue, and points to the right next move. Spend a weekend on these fixes and your trail camera will do what you bought it to do: capture the animals you actually want to see, in 2026 and beyond.