What Scope for a Deer Rifle? 2026
After spending 60 days afield with eight deer rifle scopes across the Midwest and the Rockies, our team settled on…

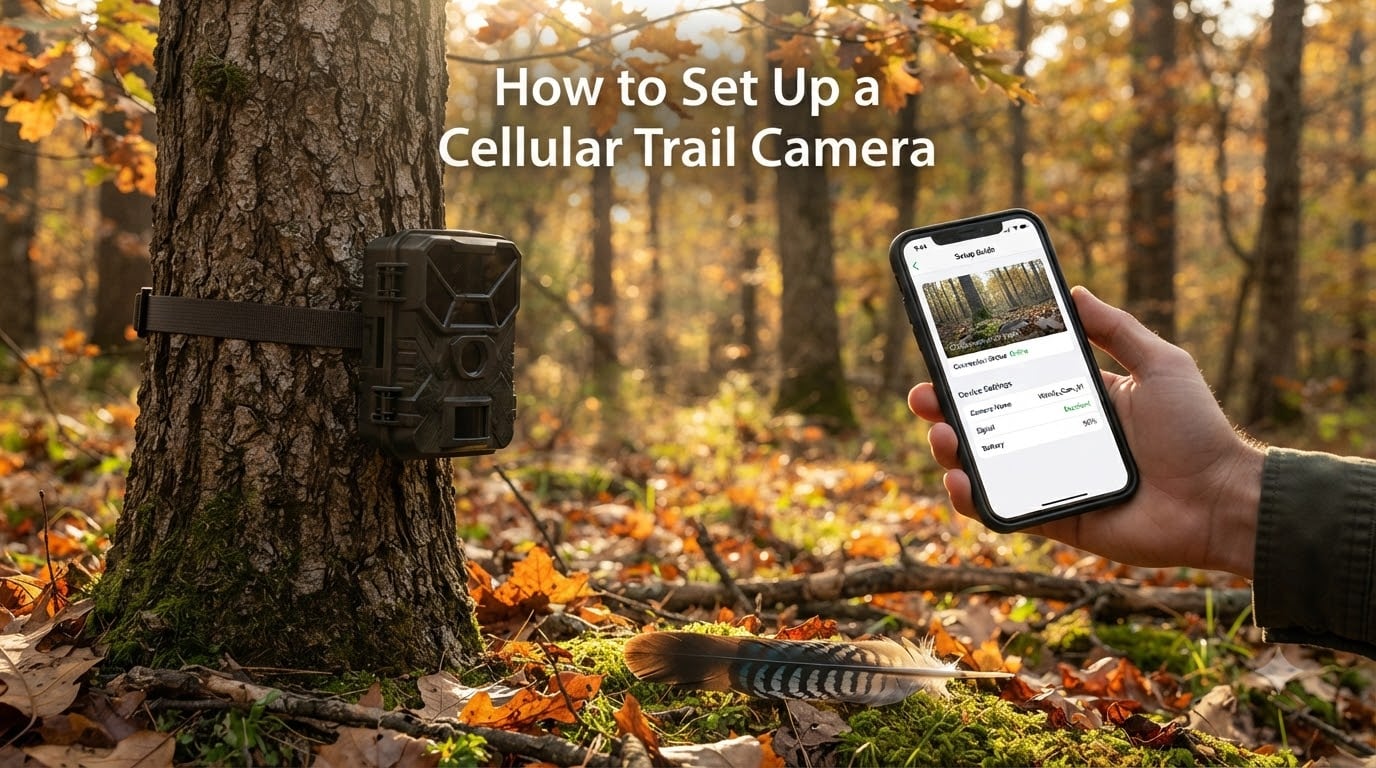
I spent two autumns struggling with a trail camera that wouldn’t connect, then ate through lithium batteries in three weeks. After that rough start, I went deep into the setup process, tested four major brands, and built a reliable workflow that now runs for months without a single visit to the camera. This guide walks you through exactly how to set up a cellular trail camera the right way, the first time.
A cellular trail camera is a motion-triggered camera that sends photos and videos wirelessly to your phone through a mobile network, using a built-in SIM card and data plan. Instead of hiking to the camera to swap SD cards, you check images from your couch, truck, or tree stand. For hunters, landowners, and wildlife watchers, this is a genuine quality-of-life upgrade.
Before we get into the steps, here is what you will need on hand: a compatible SIM card (often included with the camera), an SD card, fresh batteries, the manufacturer’s mobile app, and an active data plan. I’ll cover each piece in detail below so you can avoid the costly trial-and-error most beginners hit.
A cellular trail camera combines a traditional motion-triggered game camera with a built-in cellular modem and SIM card. When the PIR motion sensor detects heat and movement, the camera captures a still image or video clip, then transmits it over 4G LTE networks to a cloud server, which forwards it to your smartphone app within seconds to minutes.
Unlike standard trail cameras that store everything on an SD card for later retrieval, cellular models push images to you in near real time. This eliminates the biggest complaint I hear on hunting communities and forums – that you discover a trophy buck showed up two weeks after the moment has passed. The trade-off is that you need reliable cellular coverage at the camera location and an active data subscription.
Before you power anything on, gather these items. Skipping any of them is the single most common reason setup fails on the first try.
Do you need a SIM card specifically? Yes – even cameras that advertise “no subscription” still require a SIM to transmit over cellular networks. The distinction is usually that they let you bring your own SIM from any carrier, rather than locking you into a proprietary plan.
Follow these seven steps in order. I have used this exact sequence on Moultrie Edge 2, Tactacam Reveal X 3.0, Spypoint Force Pro, and Browning Strike Force models without a single failed activation.
Open the camera door and locate the SIM slot, usually near the battery compartment. Slide the SIM in with the gold contacts facing down until it clicks. Then insert your formatted SD card into the dedicated slot – never force it; SD cards only fit one way.
Format the SD card in your computer as FAT32 or exFAT before first use. Formatting in the camera itself works too, but doing it on a PC avoids the rare situation where the camera’s firmware misreads an unformatted card on cold start.
Load the battery tray with the type and quantity listed in your manual – most cellular trail cameras need 8 to 12 AA cells. Pay attention to orientation; reversed cells will prevent the camera from powering on and can sometimes blow the internal fuse.
If you plan to leave the camera for more than a month, consider a rechargeable lithium pack plus a small solar panel. This combo eliminates 90% of the battery-change trips and is the most common setup I see recommended on long-term scouting leases.
Search your phone’s app store for the brand-specific app: Tactacam Reveal, Moultrie Mobile, Stealth Cam Command Pro, or Spypoint. Create an account using a valid email – you’ll receive an activation link. Do not skip email verification; unverified accounts often fail to sync with the camera.
Grant the app permission to send notifications, access the camera, and use location services. Notifications are critical – they alert you the moment a photo is delivered so you can react in real time.
Inside the camera app, tap “Add Camera” or the “+” icon. Hold your phone camera over the QR code sticker inside the camera door. The app reads the camera’s serial number and IMEI automatically – you should not have to type these in by hand.
Once scanned, the app will attempt to ping the camera over the cellular network. A green checkmark or LED indicator on the camera confirms the link is active. This QR-based activation is one of the features that makes modern cellular setup dramatically easier than older Bluetooth pairing methods.
The app will prompt you to choose a data plan. Common tiers include:
Most beginners start with a basic paid plan and upgrade once they see how much data their trigger settings actually use. Setting the camera to “time-lapse only” mode uses far less data than motion-triggered video clips.
Inside the app, set your capture mode (photo, video, or both), trigger sensitivity, photo resolution, and detection delay between shots. For most hunting applications, I recommend 12MP photos, 0.4-second trigger speed, and a 5-second delay between captures to avoid filling the SD card with redundant images.
Enable night vision (low-glow or no-glow IR) based on your target species and tolerance for visible red glow. No-glow LEDs are invisible to deer and most humans but reduce image range slightly. Low-glow LEDs reach farther but can spook wary bucks in pressured areas.
Hold the camera at chest height in the exact spot you plan to mount it. Watch the LED signal indicator – typically 3 to 5 bars. Three bars is the minimum for reliable image transmission; anything below will cause missed uploads and battery drain from repeated connection attempts.
This step is the one most beginners skip, and it is the single biggest reason for “my camera won’t connect” complaints. Walk a 50-foot grid around your chosen tree and test signal at multiple points before you strap the camera on. A spot with 5 bars of signal beats a spot with perfect sightlines and 1 bar of signal every time.
Most cellular trail camera plans run between $5 and $25 per month per camera. The exact cost depends on three variables: the brand (Moultrie, Tactacam, Spypoint, and Stealth Cam each run their own plans), the photo tier you choose, and whether you commit annually or pay month-to-month.
Annual commitments usually save 15 to 25%. If you run two or more cameras on the same property, look for multi-camera discounts or shared data plans – they can cut your per-camera cost nearly in half. If you only need the camera for three months of hunting season, monthly plans let you pause the service in the off-season.
Can you use a cellular trail camera without a data plan at all? Technically no – the SIM must be active to transmit. However, you can set the camera to write images only to the SD card and treat it like a regular trail camera. You lose the remote-viewing benefit, but you avoid the monthly fee entirely.
Once your setup is working on the kitchen table, the field deployment is where most failures happen. Mount the camera at chest to head height on a solid tree, angled slightly downward toward the expected game trail or scrape.
Aim the camera north or south whenever possible to avoid direct sun glare and false triggers from moving shadows. Clear grass, hanging branches, and tall weeds from the detection zone – the PIR sensor cannot distinguish a deer from a wind-blown branch, and false triggers are the #1 cause of dead batteries according to user reports.
For security applications, a night vision camera approach pairs well with trail cameras at access points, gates, and driveways. Use a security box or python cable lock to deter theft – visible locks are the cheapest insurance you can buy.
Even with careful setup, things go wrong. These are the issues I have personally hit or seen posted most often, with fixes that actually work.
If the app shows “camera offline” after activation, first confirm the SIM is seated correctly and your data plan is active. Then power-cycle the camera by removing batteries for 30 seconds. If it still won’t connect, swap to a different mounting location – the most common culprit is weak signal at the original spot.
For a more detailed look at low-light troubleshooting, this digital night vision camera review covers similar sensor and signal issues that apply to trail cameras as well.
When the camera takes photos but they never reach your phone, the issue is almost always network coverage or data plan exhaustion. Check the LED signal bars and your remaining data quota in the app. If both look fine, delete and reinstall the app – corrupted app caches are surprisingly common.
Excessive battery drain usually means too many triggers or too many connection attempts in a low-signal area. Reduce trigger sensitivity, increase the delay between captures, and relocate the camera to a stronger signal zone. Switching to lithium AA batteries roughly doubles runtime compared to alkaline.
If the camera reports SD card errors, format the card in your computer (not the camera), then reinsert. Replace any card over two years old – SD card flash memory has a finite write cycle and trail cameras eat through them faster than most devices.
In almost every case, yes. Cellular trail cameras require an active data plan to transmit images over mobile networks, and most manufacturers bundle their plans on a monthly or annual subscription model. Expect to pay roughly $5 to $25 per month per camera depending on the photo tier you choose. Some brands offer annual commitments that drop the effective monthly cost by 15 to 25%.
Download the manufacturer’s companion app (Tactacam Reveal, Moultrie Mobile, Spypoint, or Stealth Cam Command Pro), create an account, then tap Add Camera. The app will prompt you to scan the QR code located inside the camera door. Once scanned, the camera pings the cellular network and your phone receives a confirmation – the whole process usually takes under three minutes.
Not for remote transmission – the SIM card must have a working data plan to send photos to your phone. However, you can still use the camera in offline mode by writing images only to the SD card and retrieving it manually, treating it like a standard trail camera. This loses the remote-viewing benefit but eliminates the monthly fee.
Yes. Every cellular trail camera contains a SIM card that authenticates it on a mobile network. Most models ship with a SIM preinstalled and bundled with a manufacturer’s data plan. Even cameras marketed as no-subscription still require a SIM; they simply allow you to bring your own SIM from a compatible carrier instead of locking you into a proprietary plan.
The biggest difference between a setup that works for a season and one that works for years comes down to three habits: test signal at the actual mount location, use lithium batteries or a solar panel, and run a quick weekly check on the app to confirm uploads are flowing. Skip any one of those and you will be making another trip to the woods.
For 2026, modern cellular trail cameras have made scouting easier than ever. Take an afternoon to run through the seven setup steps above, mount your camera at a high-signal spot, and you will be receiving images from the field before the sun sets. If you get stuck, the hunting communities and forums are full of experienced users who can troubleshoot specific brands and signal situations.