How to Choose a Rifle Bipod (2026)
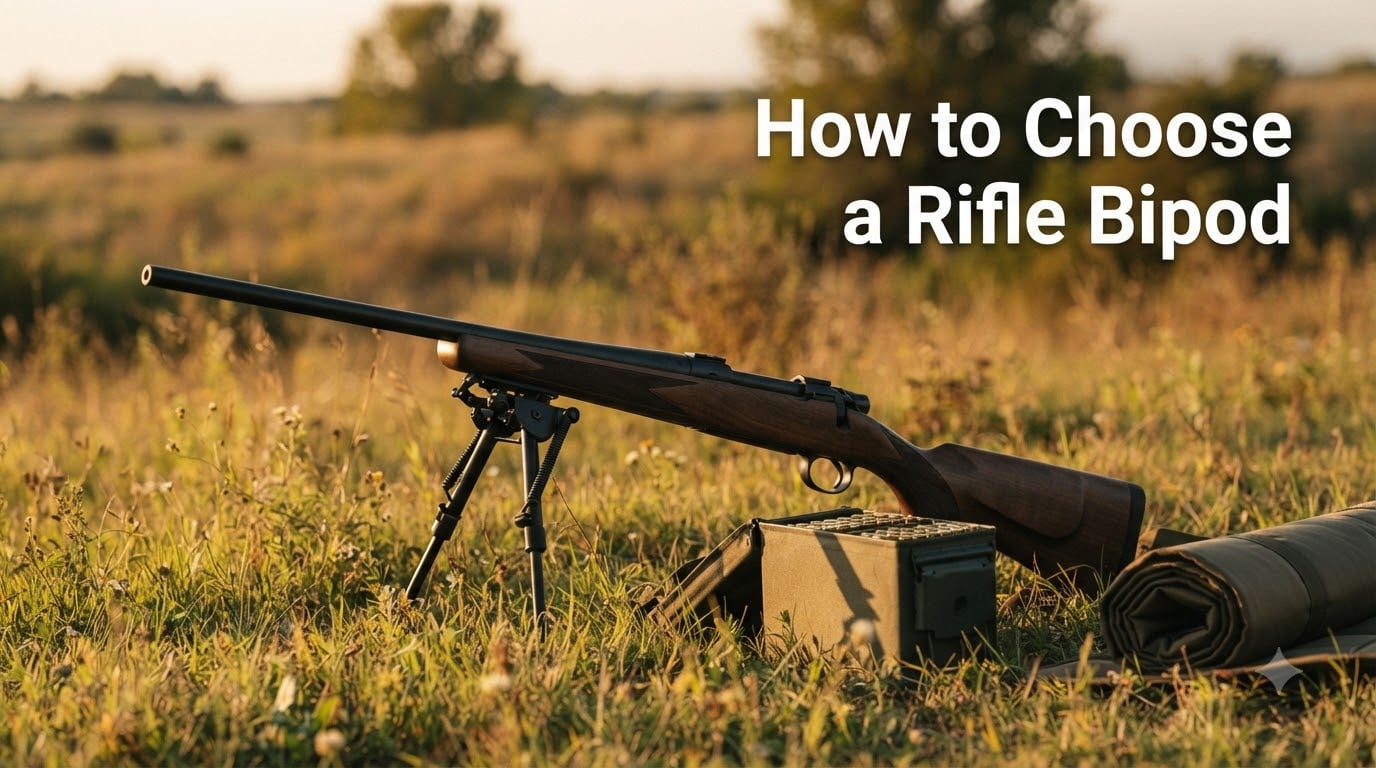
Choosing the right rifle bipod changed how I shoot at distance. After testing 12 bipods across hunting and competition setups,…

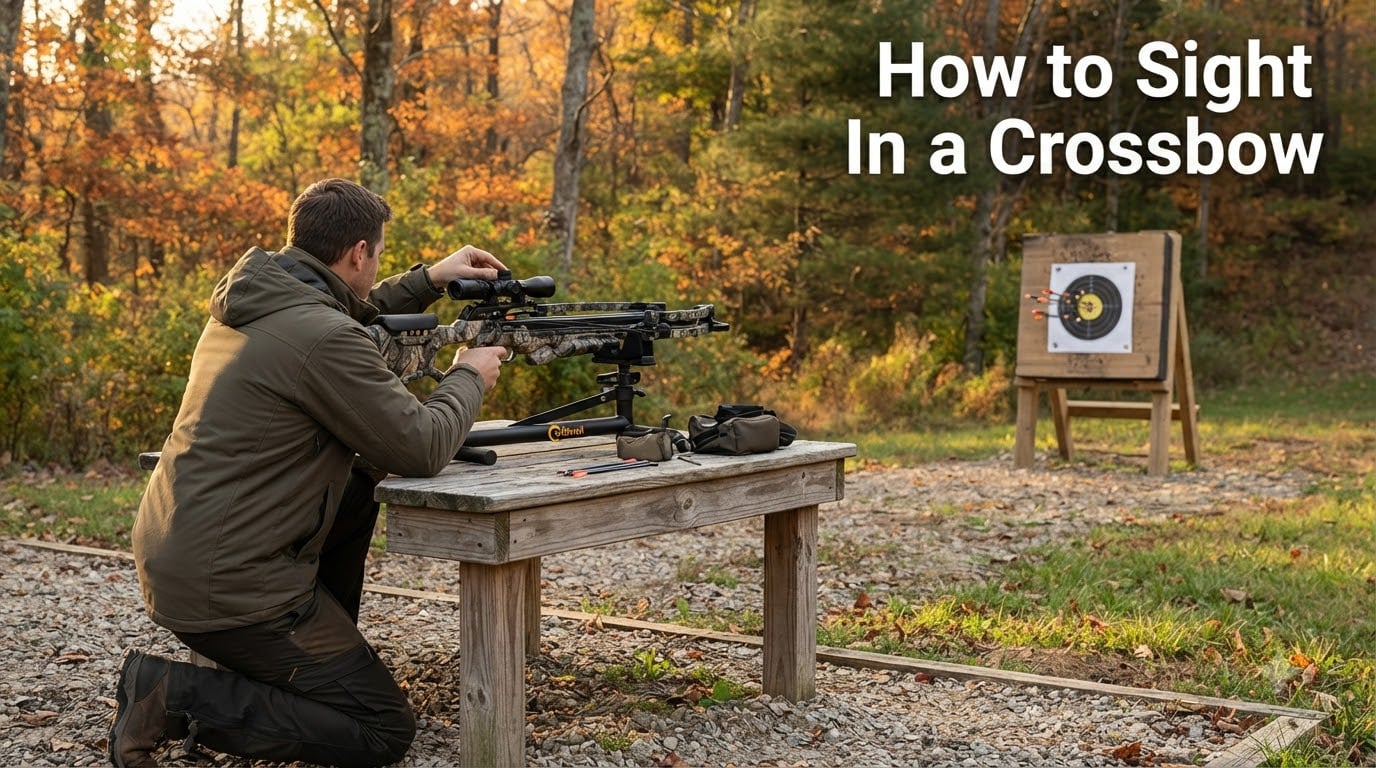
Learning how to sight in a crossbow is the single most important step between unboxing your new rig and pulling the trigger on a hunt. I have watched first-time crossbow owners miss paper targets by 8 inches, and I have watched the same shooters land three-shot groups you could cover with a quarter after a 45-minute sighting session. The difference is always the process.
Sighting in means adjusting your scope so the point of aim matches the point of impact at a chosen distance. When you do it right, the bolt flies exactly where the reticle sits. When you skip it, or rush it, you end up guessing at game animals and wounding shots. In this guide I will walk you through the exact method I use, the math behind the adjustments, and the troubleshooting fixes that solve 90 percent of the problems forum users complain about.
This is the process for 2026, refined with input from experienced hunters on Reddit, ArcheryTalk, and the major crossbow manufacturer forums. Whether you just mounted a new scope or you want to confirm your existing zero before hunting season, you are in the right place.
You can sight in a crossbow with very little gear, but the right tools turn a frustrating afternoon into a quick, clean session. Here is what I lay out before I walk to the range.
Crossbows store an enormous amount of energy, and a dry-fire or accidental discharge can shatter a scope, crack a limb, or worse. Treat every crossbow as loaded until you have verified the safety and verified an empty rail.
Always shoot into a proper backstop. Never aim at anything you are not willing to destroy. Keep your fingers and thumbs below the flight track at all times. A bolt that slips during release can slice a finger clean off.
Confirm your limbs, string, and cables are in good shape before you start. A peep rotation or cracked string will not let you hold zero no matter how many clicks you turn.
The following sequence is the same one I run every time I mount a new scope or pull a crossbow out of storage. Work through each step in order. Skipping ahead is the number-one reason people end up frustrated at the 30-yard line.
Every reliable source I trust says the same thing: begin close. Ten yards is the standard starting distance because it is the minimum distance at which arrow flight has stabilized enough to give you a meaningful impact pattern, and it is close enough that one click of adjustment produces a noticeable shift.
Set up your rest, square to the target, and fire three shots through the same aiming point. Keep your eye relief and cheek weld consistent. Walk to the target and note where the group landed in relation to the bullseye.
Three arrows tell you almost everything you need to know. If the group is tight but offset, you have a scope adjustment problem. If the group is wide, you have a shooter, rest, or trigger problem. Fix the rest before you touch the turrets.
Measure the offset in inches from the center of your group to the bullseye. A typical finding at 10 yards might be “3 inches low and 1 inch right.” Write it down. That number drives your next step.
Windage is the horizontal adjustment. Turning the windage turret shifts point of impact left or right. Elevation is the vertical adjustment. Turning the elevation turret shifts point of impact up or down.
Most crossbow scopes are calibrated so that each click moves the point of impact by a quarter-inch at 20 yards, or roughly 1/8 inch at 10 yards. The math is simple: if your group is 1 inch right at 10 yards, you need about 8 clicks of left windage to bring it on target.
Once you are hitting bullseyes at 10 yards, walk back to 20 yards. This is the standard hunting distance for most crossbow setups and the distance at which most scopes are designed to be zeroed.
Fire another three-shot group. Adjust windage and elevation to bring the group to the bullseye. At 20 yards, each click is worth about a quarter-inch, so a 2-inch low group means 8 clicks up.
If your scope has a speed ring or variable power adjustment, you must calibrate it for your crossbow’s bolt speed. Most scopes ship with a generic setting, and that generic setting is almost never correct for your specific setup.
Set the speed ring to the manufacturer-recommended starting value for your crossbow’s feet-per-second rating. Shoot a group, note the vertical offset, and adjust the ring up or down until the group lands at your aiming point. This step eliminates a huge category of missed shots that look like user error but are actually scope error.
Field points and broadheads fly differently. The only way to confirm your zero holds with hunting points is to test with the broadheads you plan to use.
Replace your field points with broadheads of the same weight and shoot a group at 20 yards. If the broadheads group together but offset from the field point group, your bow needs paper tuning or rest adjustment. If the broadhead group is wide, your heads may not be spinning true.
Once you are zeroed, take a paint pen and mark the position of each turret cap. This way, if your caps shift in the field, you can return to your known-good zero instantly. Some hunters also tape a small note inside the scope cap with the zero distance written on it.
The biggest source of confusion in sighting in a crossbow is figuring out which way to turn the turrets. Here is the rule I teach every new shooter.
Windage: If your group is right of the bullseye, turn the windage turret in the direction that moves the reticle right. The point of impact follows the reticle, not the other way around. This is called “following the arrow.”
Elevation: If your group is low, turn the elevation turret in the direction that moves the reticle down. Again, the impact follows the reticle.
The opposite rule, “chase the bolt,” means turning the turret toward where the bolt hit. Most modern crossbow scopes are designed for follow-the-arrow adjustments, and chasing the bolt will put you further from zero with every adjustment.
Each click on a standard crossbow scope is 1/4 minute of angle at 20 yards. At 20 yards, that equals about 1/4 inch of shift at the target. At 10 yards, the same click equals about 1/8 inch. At 30 yards, the same click equals about 3/8 inch.
So if your group is 2 inches low at 20 yards, you need 8 clicks up. If your group is 1 inch right at 10 yards, you need 8 clicks left. The math scales linearly with distance, and that linear scaling is why starting at 10 yards gives you such fast feedback.
Multi-reticle scopes, also called speed-compensated scopes, have multiple horizontal crosshairs stacked vertically. Each crosshair corresponds to a different yardage, usually 20, 30, 40, and 50 yards. They work by adjusting the internal lens so that the trajectory of your specific bolt speed matches the geometry of the stacked reticles.
To calibrate, set the speed ring to the recommended FPS for your crossbow, then shoot groups at each labeled distance. If your 30-yard crosshair hits high, your actual bolt speed is lower than the setting and you need to turn the speed ring down. If it hits low, your bolt is faster than the setting and you turn the speed ring up.
Most crossbows in the 350 to 400 FPS range only need minor adjustments, but spending 20 minutes here saves you from guessing at unknown yardages in the field.
Even when you follow the process exactly, problems happen. Here are the issues forum users complain about most, and the fixes that actually work.
If your group walks between sessions, the usual culprits are loose scope ring screws, a loose scope mount, or a string serving that is slipping. Pull the scope and confirm the ring screws are torqued to manufacturer spec. Confirm the mount bolts are tight. Wax your string serving.
This is a textbook scope adjustment issue. Re-check your zero at 10 yards, make your clicks, confirm at 20. Repeat until the group lands where you aim. Tight group, wrong location, equals scope problem, not shooter problem.
A wide group almost never means a scope problem. It means a trigger, rest, or shooter problem. Check your rest, lock down any wobble, and confirm your bolts are all the same weight and spine. Bad bolts create bad groups.
If your 20-yard impact is 6 inches off, you either took a bad shot, your speed ring is way out of calibration, or your scope mount is loose. Check the mount first. Then re-verify speed ring calibration. Then reshoot.
This is expected for offset or fixed-blade broadheads that are not perfectly tuned. Paper tune the bow, or simply walk your broadhead zero in separately and remember where it hits.
Crossbows hold zero well, but they do not hold it forever. The biggest zero killers are scope mount screws loosening from vibration, rail wear letting the string track shift, and limb twist from temperature swings. A five-minute check before each hunt keeps everything honest.
Wipe down your rail, re-lube, and confirm all mounting hardware is snug. Shoot a confirmation group at 20 yards. If you are still on, you are ready to hunt.
Start at 10 yards for your first adjustments, then move to 20 yards for your final zero. Twenty yards is the standard hunting zero for most crossbow setups.
Yes. Follow the arrow means turning the turrets in the direction you want the reticle to move, so the point of impact follows the reticle. Modern crossbow scopes are designed for this method.
Chasing the bolt means turning the turrets toward where the bolt hit, the opposite of the follow-the-arrow method. Avoid this technique because it pushes the point of impact further from your aiming point on most modern scopes.
Use a laser bore sighter that fits inside the crossbow rail to align the scope mechanically. Bore sighting gets you close, but you still need live fire to confirm zero.
Sighting in a crossbow is not hard, but it rewards patience and punishes shortcuts. Start at 10 yards, build a tight group, then walk back to 20 and confirm. Calibrate your speed ring if your scope has one, and finish by verifying your zero with the broadheads you plan to hunt with.
Take an hour before the season to run through this process, and you will head into the field knowing exactly where your bolt is going to land. That confidence is what turns an equipment purchase into ethical, consistent hunts. Stay safe, follow the arrow, and check your torque before every season.