2 Best Athlon vs Celestron Spotting Scope (August 2026)
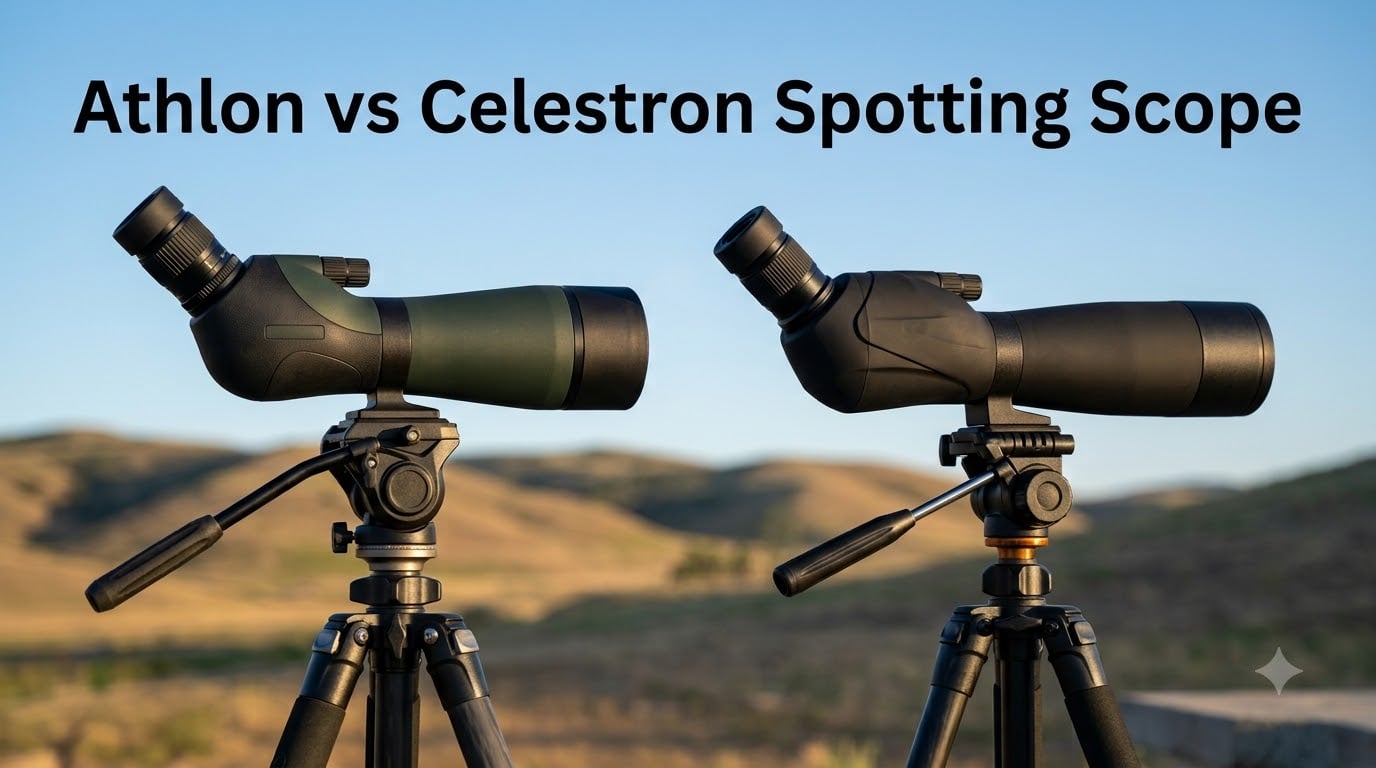
I have spent the last three months hauling both an Athlon Argos HD 20-60×85 and a Celestron Ultima 20-60×80 down…

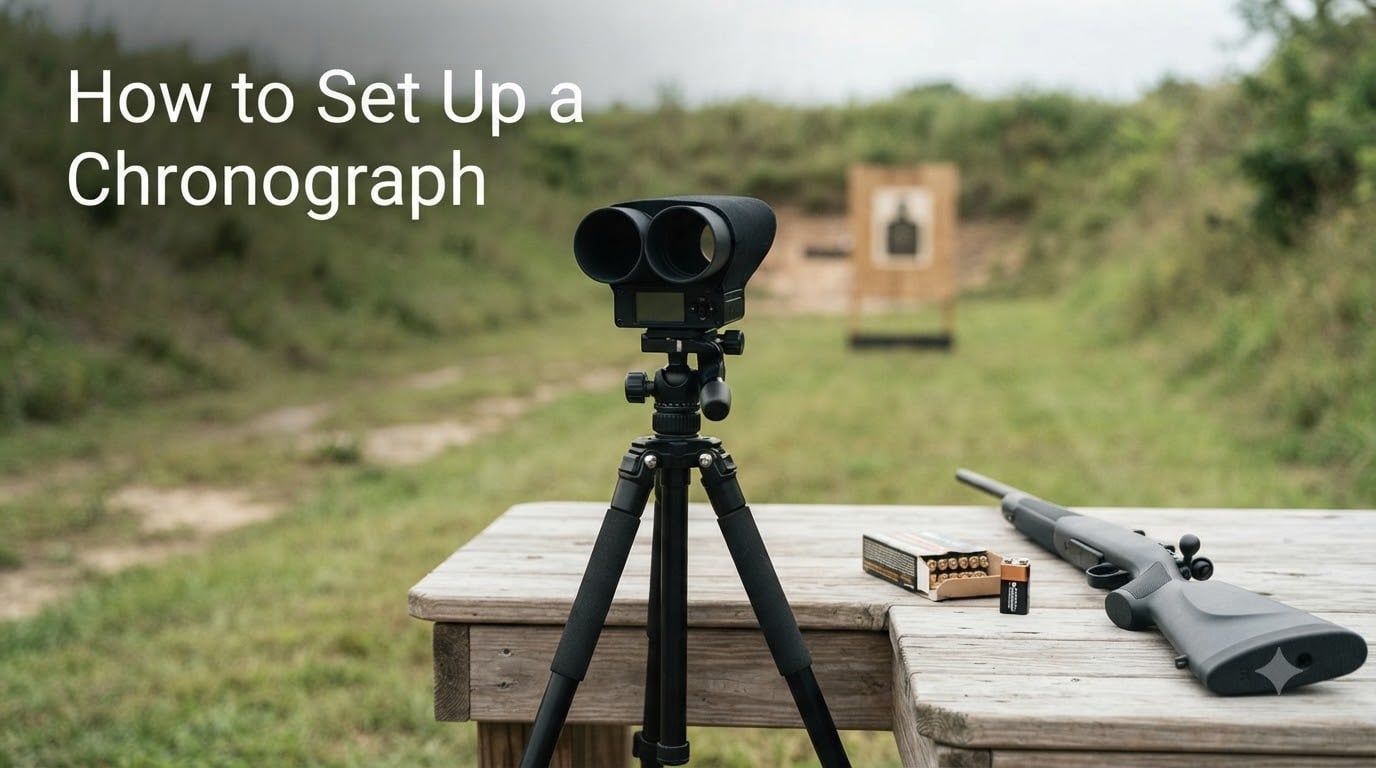
If you have ever wondered how to set up a chronograph so the readings actually mean something, you are in the right place. A ballistic chronograph is the only tool that gives you a hard number for muzzle velocity, and that number feeds every ballistic calculator, every load development log, and every long-range dope card you will ever build.
I have set up the same chronograph on bright Texas afternoons, overcast Iowa mornings, and dim indoor ranges where the lights were barely brighter than a candle. The procedure is the same every time, and I am going to walk you through it the way I would if we were standing next to the bench together.
One quick note before we start: the search engines love to mix up two completely different devices under this exact phrase. So this guide leads with the shooting chronograph, the kind you put on a tripod downrange, and includes a short primer for chronograph watch owners at the end. If you landed here for a wristwatch, jump to Wristwatch Chronograph Setup below. Everyone else, let us get that rifle data.
If you only have sixty seconds, this is the order of operations I follow on every range day. The detail lives below.
Start every session with fresh power. Berger Bullets calls this out as step one for a reason: voltage drop mid-session is the single most common cause of erratic chronograph readings.
I keep a spare 9V alkaline in my range bag for my Shooting Chrony, and a fully charged 18650 cell for my LabRadar. Cheap batteries lose voltage under load, and once internal resistance climbs the sensor timing drifts, sometimes by enough to read 30 fps low on a hot afternoon. Buy name-brand cells, swap them often, and never trust a battery that has been sitting in the unit since last season.
If your model uses a rechargeable pack, top it off at home the night before and bring a USB-C cable as a backup. Skipping this step is the fastest way to waste a 200-round handloading session.
Your chronograph is only as accurate as the platform it sits on. A flimsy camera tripod will flex when the rifle fires, and that flex throws off sensor timing just enough to ruin a string.
I use a medium-weight video tripod with a fluid head, but any rigid photo tripod with a quick-release plate will work. The goal is no wobble when you bump the table. Sniper’s Hide veterans use a pre-measured 10-foot nylon cord so the tripod is in the same place every trip, which is a great trick if you are comparing load data across range days.
Set the tripod head at the same height as your rifle bore, roughly 30 to 42 inches off the ground for a bench rest. If you are shooting prone from the ground, drop the tripod height to match. Mismatched height is one of the silent reasons people blame their chronograph for bad data.
Sensor alignment is where the magic happens. Every chronograph I have used, optical, infrared, and radar, has the same tolerance: the bullet path must pass cleanly through both skyscreens or the sensor windows, and the unit must be level so gravity does not pull the projectile off the optical axis.
Airgun Forums posted a diagram that I still reference: a chronograph tilted off level by even a small angle can read 4 percent slow. On a 900 fps .22 LR that is a 36 fps error, enough to wreck your handload data. Use the bubble level on the tripod head or the on-screen level in the LabRadar app, then check it twice.
Most skyscreen chronographs have a visible aiming laser or an LED that shows where the start and stop screens sit. The trick is to align the rifle first, then walk the tripod so the bullet path crosses both screens.
I boresight the rifle on a target 25 yards downrange, return to the bench, then shift the tripod left or right until the laser crosses the bore line. The bullet will then pass through both screens if the height and angle are right. Do this once per rifle setup, then leave the tripod in place.
If you shoot air rifles, PCP, or high-volume pistol, expect pellet lube and powder residue to coat the sensors. A cotton bud and a drop of isopropyl alcohol restores a Combro or a ProChrono in about a minute. It is the cheapest fix in this whole guide.
Place the chronograph 10 to 15 feet in front of the muzzle. That is the sweet spot forum users keep landing on, and it matches what the manufacturers recommend for most centerfire rifles.
Too close and muzzle blast knocks the unit over. Too far and the bullet slows enough from air drag that your reading is meaningfully lower than true muzzle velocity. Airgun Forums users typically run 12 to 15 feet for .22 pellets, and r/reloading users confirm 10 to 12 feet works well for .223 Rem and 6.5 Creedmoor.
Here is the math nobody puts in plain English. A bullet slows about 0.75 fps for every foot it travels past the muzzle (roughly 2.5 fps per meter). So if your chronograph reads 2,650 fps at 12 feet from the muzzle, your true muzzle velocity is closer to 2,659 fps.
The formula is simple: True MV = Chrono fps + (Distance in feet × 0.75). I keep that line taped inside my range box. When you feed your ballistic calculator the corrected number, your long-range dope cards get noticeably tighter, which is exactly why this article links back to verifying true muzzle velocity in your ballistic calculator in our thermal scope walkthrough.
Lighting is the biggest variable the chronograph cannot fix for you. Skyscreen sensors read contrast against the sky, and any change in brightness, direct sun, low-angle sunrise, even cloud shadows, can cause a missed shot or a false reading.
Shoot with even, diffused light whenever possible. Overcast days are perfect. Bright midday sun works if you shade the sensors with the manufacturer sun shield or a piece of cardboard taped to the side of the unit. Avoid the first and last hour of sunlight, when the low sun angle reflects off the ground and confuses the infrared sensors.
Indoor ranges with fluorescent lights are the classic problem. The 60 Hz flicker on cheap fluorescents makes optical skyscreens return ghost readings. Airgun Forums users solved it by taping battery-powered LED strips across the top of the diffusers to give the sensors a steady light source. If your range allows it, that is the cheapest fix available.
Snow, sand, bright concrete, even a chrome scope bell, can bounce light back into the sensors and produce false triggers. Lay a dark tarp on the ground behind the unit, or paint a flat-black reference panel if you shoot in the same spot often. Reflective control is one of those small things that separates a clean string from a frustrating one.
Now the fun part. With the chronograph aligned and powered on, send one fouling shot through both screens and confirm you get a clean velocity reading. If you see nothing, the most common culprits are sensor height mismatch, a low battery, or a sunbeam on the start screen.
Adjust the aim point slightly to bring the bullet closer to the center of the skyscreen pair. Many chronograph manuals show a 6-inch sweet spot above the sensor line; aim the rifle at the same point on your downrange target and you will usually fall right into it.
Once the test shot returns a sensible number, log a five to ten-shot string. That is the minimum for any meaningful standard deviation reading, and it gives you a clean data set to compare against your last handload batch.
A chronograph gives you two numbers per shot: velocity in fps (feet per second) and, on most modern units, an automatic string average plus standard deviation. Standard deviation, or SD, tells you how tightly your rounds are clustering around the average velocity.
A tight handload will run SDs of 5 to 10 fps on a .223. A flaky load or a temperature-sensitive powder can show 30 to 50 fps SD, which is your signal to back off and rework the charge. Bryan Litz covers the math in chapter 15 of Modern Advancements in Long Range Shooting, which is the reference most serious handloaders keep on the bench.
Already covered above, but worth repeating: chrono fps is not the same as true muzzle velocity. Always add (distance in feet × 0.75) before you punch the number into a ballistic calculator. Skipping this step is the most common error I see in online load logs.
Every chronograph prints an error message eventually. Here are the three I see most often and the fixes that actually work.
ERROR string or no reading on a clean shot: Sun on a sensor, low battery, or the bullet passing above or below the start screen. Shade the sensors, swap the battery, and recheck alignment.
Wildly inconsistent fps across a string: Usually a skyscreen that is dirty, or a tripod that is flexing. Clean the sensors with isopropyl, lock down the tripod head, and try again.
Reading 50 to 100 fps below published factory velocity: You are too far from the muzzle, or the bullet is passing through one skyscreen and missing the other. Move to 10 to 12 feet and re-aim.
Most consumer chronographs are factory calibrated and do not need user recalibration. If your numbers look consistently off, run a known factory load across the unit at 10 feet and compare against the published fps. A reading within 1 percent of the published velocity is a healthy unit. If it is off by more than 2 percent, contact the manufacturer; both LabRadar and MagnetoSpeed have responsive support teams.
If you came here looking for watch instructions, the short version is below. A chronograph watch is a stopwatch with a tachymeter bezel and three sub-dials. The three sub-dials track elapsed minutes, hours, and, on some models, a 24-hour indicator.
To operate it, pull the crown out to set the time and date as you would on any analog watch. Push the crown back in. Press the top pusher to start the stopwatch hand, press it again to stop, and press the bottom pusher to reset the hand to zero. The tachymeter scale on the bezel converts elapsed seconds into speed or distance.
For a deep dive on watch setup, the Seiko 8R series instructions and WatchXL’s complete guide cover every pusher combination. WatchXL also has a video walkthrough that mirrors the YouTube steps Google currently cites in its AI Overview.
Place the chronograph 10 to 15 feet in front of the muzzle for centerfire rifles. Air rifles typically run 12 to 15 feet. Closer than 8 feet risks muzzle blast damage; farther than 20 feet slows the bullet enough to throw off your true muzzle velocity calculation.
A chronograph measures bullet velocity in fps, which feeds ballistic calculators, validates factory ammo, and powers load development for handloaders. Without it, you are guessing at the muzzle velocity your dope card depends on.
Most consumer chronographs are factory calibrated. To verify, fire a known factory load at 10 feet and compare the reading to the published fps. Within 1 percent is healthy. More than 2 percent off means contact the manufacturer for service.
Use the factory published velocity from the ammo box as a starting point, then estimate true drop using online ballistic calculators. For precision work, however, a chronograph is the only way to know your real number.
Pull the crown to set the time and date, push it back in, then use the top pusher to start the stopwatch, press again to stop, and the bottom pusher to reset. The three sub-dials track elapsed minutes, hours, and sometimes a 24-hour indicator.
Setting up a chronograph the right way comes down to four habits: fresh power, a rigid tripod, level sensors, and patient lighting. Follow those and your numbers will match across range days, which is the only way handload data is worth keeping.
Pick the unit that matches your shooting. Handloaders working up a 6.5 Creedmoor load will be happiest with an optical skyscreen like the Shooting Chrony or CED Millennium. Long-range shooters chasing consistency should consider a radar unit like LabRadar. Airgun tuners want a Combro or ProChrono and a cotton bud on the bench. And if you came here for a watch, that pusher is waiting for you at the wrist.
Set up, level, fire a five-shot string, log the SD, and go chase tighter groups. See you on the range in 2026.