How to Fix a Dark Microscope Image (September 2026)
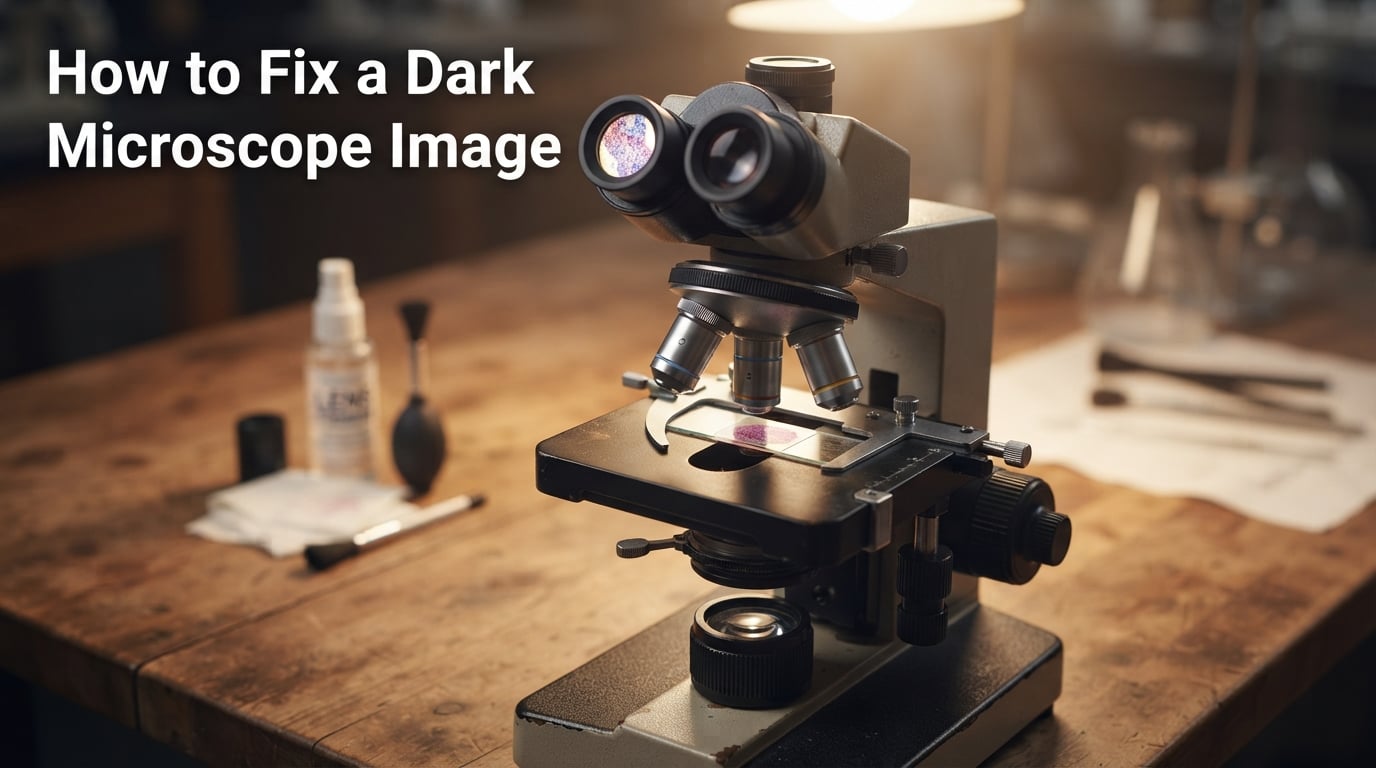
A dark microscope image is almost always caused by one of five things: a dim light source, a closed or…

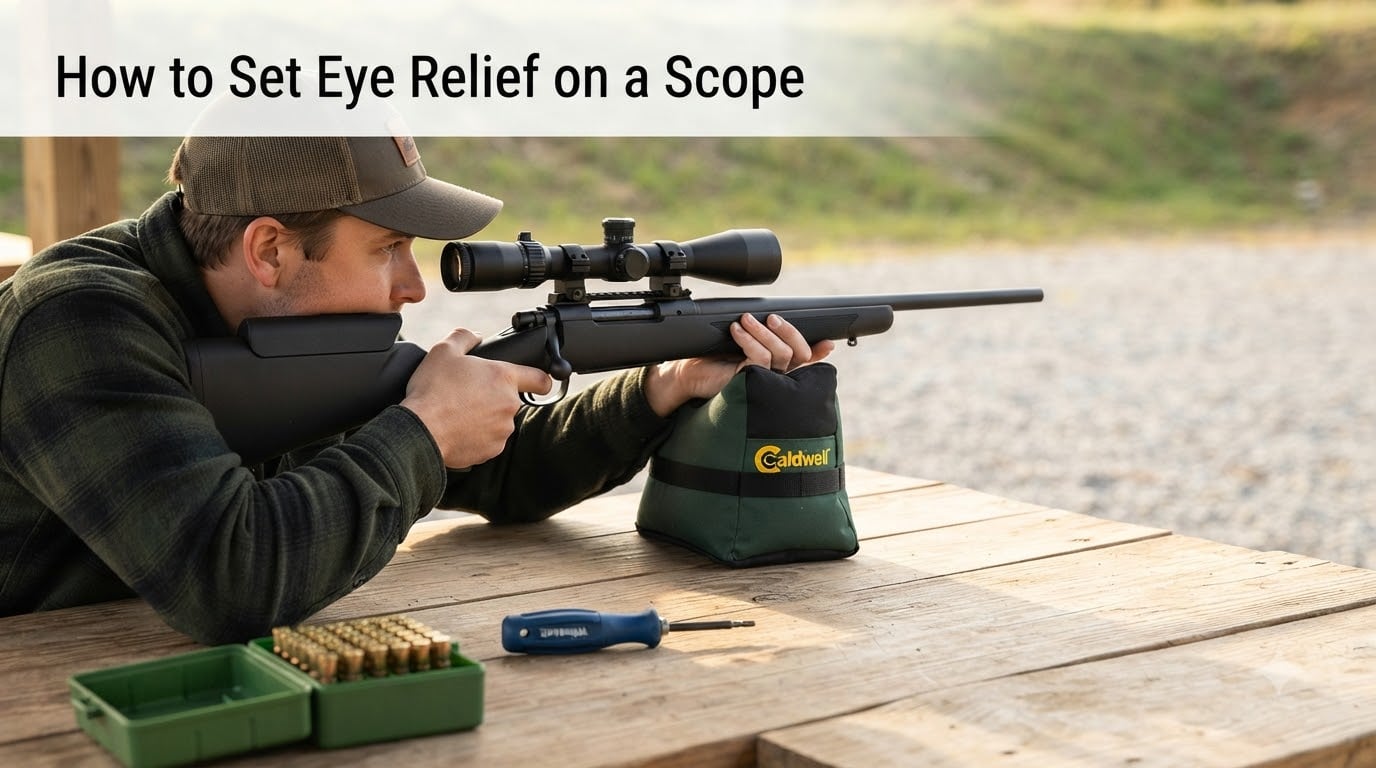
When I first mounted a scope on my bolt-action rifle years ago, I skipped the eye relief step and went straight to sighting in. The result was predictable: black tunnel vision on every shot and a sharp reminder about scope bite after a single round of recoil. That mistake taught me that learning how to set eye relief on a scope is the single most important part of mounting any optic, and it has to happen before you torque down the rings.
Eye relief is the distance between your eye and the rear lens where you see a clean, edge-to-edge image. Get it wrong, and you fight shadows, lose target acquisition speed, and risk injury. In this guide, I will walk you through exactly how to set eye relief on a scope the way I do it on my own rifles, plus the troubleshooting tips I wish someone had told me earlier.
If you are still picking the optic, our rifle scope selection guide covers how eye relief fits into the bigger picture when choosing a scope.
Eye relief is the distance between your shooting eye and the rear eyepiece lens of the scope, measured while the rifle is shouldered in your natural shooting position. When your eye sits at the correct distance, you see a full, bright, edge-to-edge image of the target with the reticle crisp in the center.
The space where this happens is sometimes called the eye box. It is usually about an inch long, though it shrinks as magnification increases. If you understand how rifle scope optics work, you already know the exit pupil plays a role here. As magnification rises, the exit pupil shrinks, and the eye box tightens. That is why setting eye relief at the highest magnification setting gives you the most accurate position.
Most centerfire rifles use scopes with 3 to 4 inches of eye relief. Heavy-recoil magnums often spec 3.5 to 5 inches to protect the shooter’s brow. Rimfire and air rifle scopes frequently offer 4 inches or more. Anything under about 2.5 inches is risky on a hard-kicking rifle because the scope can strike the brow during recoil, an injury nicknamed scope bite.
Setting eye relief wrong causes two distinct problems: accuracy loss and injury risk. Both matter on every shot.
When your eye sits behind the eye box, you see a black ring or donut shadow around the image, also called vignetting. You can still hit the target, but you lose the full sight picture and your point of impact can shift subtly as you crane your head to chase a clean view. In a hunting scenario where you have one second to mount the rifle, that inconsistency costs you shots.
When your eye sits inside the eye box too close, the recoil slams the scope rearward into your eyebrow or brow bone. I have seen shooters end range sessions with cuts and bruises from scope bite, and one forum user on Sniper’s Hide described a bruised forehead so bad he wore a hat the next day. On heavy magnums, that impact can split skin or break glasses.
Correct eye relief lets you mount the rifle the same way every time, acquire the target fast, and shoot without flinching from the recoil impulse.
Before you loosen a single ring screw, gather what you need. Skipping prep is the number one reason eye relief setups fail on the first try.
Here is your checklist:
Before you ever worry about relief, focus the eyepiece. Look through the scope at a blank wall or uniform sky, turn the ocular ring until the reticle is tack sharp, then back it off slightly. Most manufacturers warn against leaving the diopter cranked to maximum because it accelerates focus fatigue during long sessions. This step only takes 10 seconds and ensures every adjustment you make to eye relief is judged against a sharp reticle, not a fuzzy one.
Check that the rings match the scope tube diameter (1 inch, 30mm, or 34mm) and the bases fit the rail or receiver. Many setup problems blamed on eye relief are really mounting problems. A scope that cannot slide forward far enough in the rings will never give you the relief you need, no matter how you position it.
Now the actual process. Follow these five steps in order. Do not skip the maximum magnification rule or the closed-eye test; both are the difference between a rifle you trust and one you fight.
Get behind the rifle exactly as you would shoot it. For most readers, that means shouldering the stock with your normal cheek weld and stance. If you plan to hunt from a blind or bench, sit in your blind chair. The point is to make sure the position you test in matches the position you will actually use.
Dial the magnification all the way up before you look through the optic. I learned this the hard way on a Vortex variable: at low power, the eye box felt forgiving, and I torqued everything down. At 10x the next day, the picture went black around the edges and I had to start over. The eye box is smallest at maximum magnification, so the position that gives a clean image at high power works at every lower power.
With the scope in the rings but loose, mount the rifle, close your eyes, and settle into your natural cheek weld. Open your eyes. Look through the scope. The image should be centered, sharp, and free of black shadows or vignetting. If you see a donut of black, your eye is too far back; the scope needs to move forward in the rings. If your view is restricted or the reticle is hard to find, your eye is too far forward and the scope needs to move back.
Repeat the closed-eye test three or four times. The position should feel identical every time you mount the rifle. That repeatability is the goal.
Once the sweet spot is found, slide the scope rings up to the tube without disturbing its position. Snug the ring screws evenly, alternating sides in small increments. Use your torque screwdriver set to the manufacturer’s spec, typically 18 to 20 inch-pounds for steel rings, 15 to 18 for aluminum. Make a pencil mark across the scope tube and the ring so any future movement is obvious.
A common trick I picked up from a Sniper’s Hide thread: draw a thin pencil line straight across the joint where the upper ring cap meets the lower ring base. If you ever bump or drop the rifle, a quick glance tells you whether the scope shifted before you take a shot.
After torquing, mount the rifle one more time and confirm the image is still clean from edge to edge. If the scope shifted during tightening, loosen, recenter, and repeat. Do not chase a small error by shimming; reset the position and torque more carefully.
The eye relief test is just a formal version of what you already did during Step 3. Mount the rifle naturally, look through the scope at a high-contrast target, and slowly move your head up, down, left, right, and forward and back. The full sight picture should hold for about an inch of movement in any direction.
If the picture goes black with the slightest shift, your scope rings are likely too tall or too short, throwing your head out of the eye box. If the picture stays clean for a generous range, your mounting height is right and the scope position is correct.
Run this test at maximum magnification. Repeat it at low magnification too, because some setups pass at low power but fail at high power. If it only fails at one magnification, your scope position is the issue, not the rings.
Most guides stop at “set it once and forget it,” but your eye relief changes with body position. Shooters on Reddit and Sniper’s Hide routinely report setting eye relief in prone and then having to readjust for standing or bench. Here is how to handle each position.
Prone brings your head down and slightly forward on the stock. Eye relief tends to be a bit longer because your eye is further from the scope. Set up with a sled or bag, then run the closed-eye test from the prone position. Many tactical and long-range shooters prefer to set eye relief primarily in prone because that is where they spend the most time.
Sitting upright at a bench or in a hunting blind brings your head higher and closer to the scope. Eye relief shortens compared to prone. If you switch between prone and bench often, you will feel the scope move in your eye box. Two solutions work: set eye relief in the position you shoot most often, or use a scope with a longer eye relief spec so the eye box covers both positions. Our roundup of the best budget scopes with eye relief specs lists several models with generous 4-inch-plus eye relief that handle position changes well.
Standing often produces the shortest, most inconsistent eye relief because your head position varies with each shot. Focus on a repeatable cheek weld and stock fit. Some hunters add a cheek riser to standardize head height, which in turn makes eye relief consistent. If you hunt in heavy clothing or with a pack, account for the extra cheek height; you may need lower rings than the bench-resting crowd recommends.
Even with careful setup, problems show up. Here are the four I see most often, and how to fix each one.
This means your eye is too far from the scope. Slide the scope forward in the rings about 1/8 inch at a time and recheck. If the scope is already at the front of the ring travel and you still see shadow, you need a longer scope or a different stock. Cantilever mounts that extend the rail forward also help on short-action rifles where forward ring travel is limited.
Your eye is too close. Slide the scope rearward in the rings. If you cannot slide it back enough without losing sight picture, you need shorter rings to drop the scope closer to the barrel, which usually creates more eye relief by repositioning the optic relative to your eye.
Your neck tells you first: a high mount forces an unnatural head position and creates a small eye box. Lower the rings, switch to a lower comb stock, or add a cheek riser to match. The Leupold blog recommends splitting the difference between minimum and maximum ring heights and choosing the middle option whenever the choice is unclear.
This is almost always a setup error rather than a scope defect. Re-set eye relief at maximum magnification, then verify at minimum. If it holds at both, the issue is solved. If it only works at one power, your scope rings may not be aligned with your bore axis and the scope is tilted slightly.
Shooting glasses sit roughly half an inch forward of your eye, which shortens effective eye relief by that amount. Plan for at least 4 inches of eye relief if you wear prescription shooting glasses. Many tactical shooters with glasses prefer scopes with adjustable magnification and a long eye relief spec, and they set up with the glasses on from the start.
Good eye relief on a rifle scope is generally 3 to 4 inches for centerfire rifles. Heavy-recoil magnums benefit from 3.5 to 5 inches to protect against scope bite, while rimfire and air rifles often provide 4 inches or more.
Neither is universally better; it depends on the rifle and shooter. Heavy-recoil rifles need longer eye relief for safety, while precision rifles can use shorter relief because recoil is mild and a tighter eye box improves consistency.
Look through the scope at a blank wall or uniform sky, then turn the ocular ring until the reticle appears sharp. Back it off slightly from maximum to reduce eye fatigue during long shooting sessions.
Eye relief works by placing your eye at the correct distance from the rear lens. Inside the eye box, you see a full, bright image. Too close risks scope bite from recoil; too far produces black tunnel vision or vignetting around the edges.
Yes, but it requires compromise. Most shooters pick the position they use most often and set eye relief there. Switching between prone, bench, and standing often shifts the eye box, so a longer eye relief spec helps cover multiple positions.
If you remember only one thing from this guide, remember the closed-eye test at maximum magnification. That single habit will save you from scope bite, black tunnel vision, and the frustration of chasing a sight picture that never settles.
Take your time, mark the scope position, torque the rings to spec, and verify the full sight picture from your actual shooting position. Once you have done it once, every scope you mount in the future takes half the time. If you are still working out your scope choices, our guide to the best rifle scopes covers eye relief specs across a range of budgets and use cases. Get the eye relief right, and everything else about shooting the rifle gets easier.