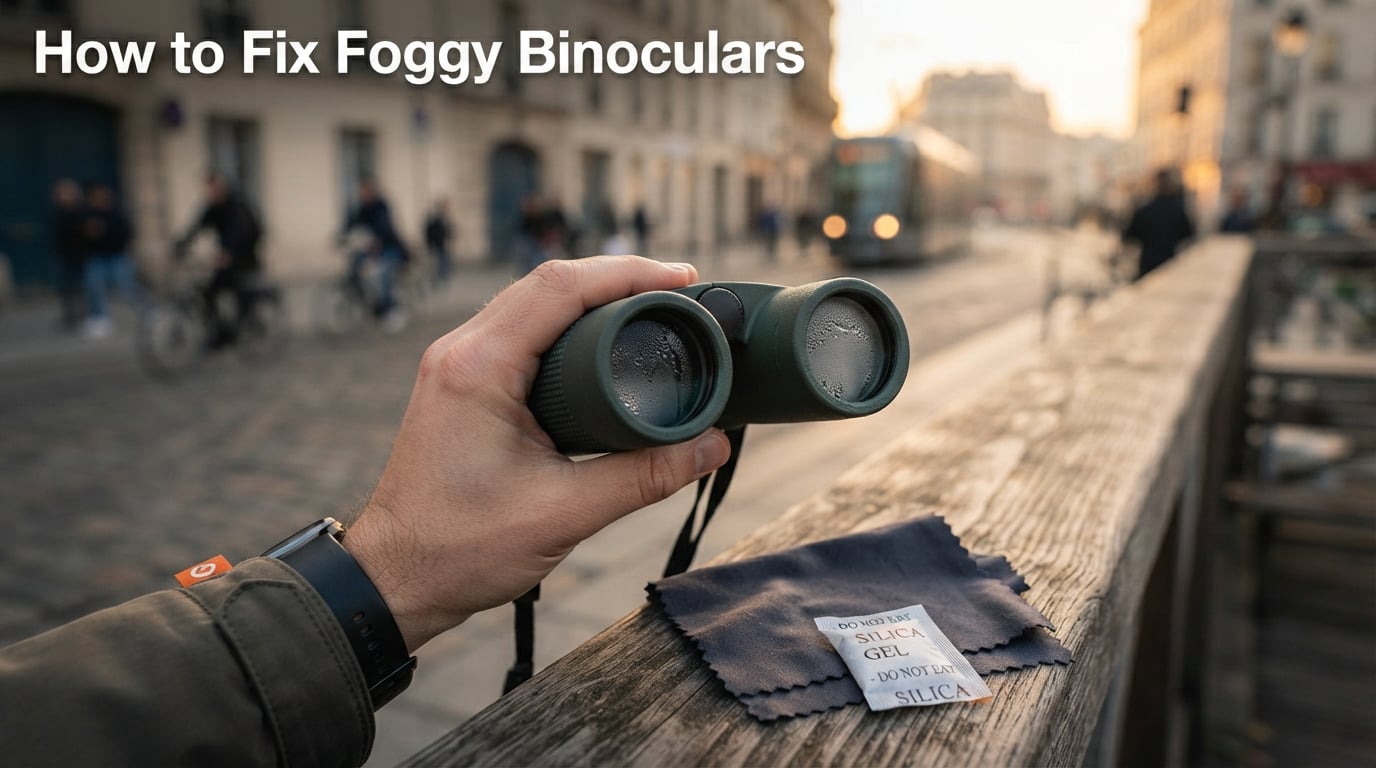
How to Fix Foggy Binoculars 2026
I learned how to fix foggy binoculars the hard way on a 4 a.m. street shoot in Hanoi, when steam…

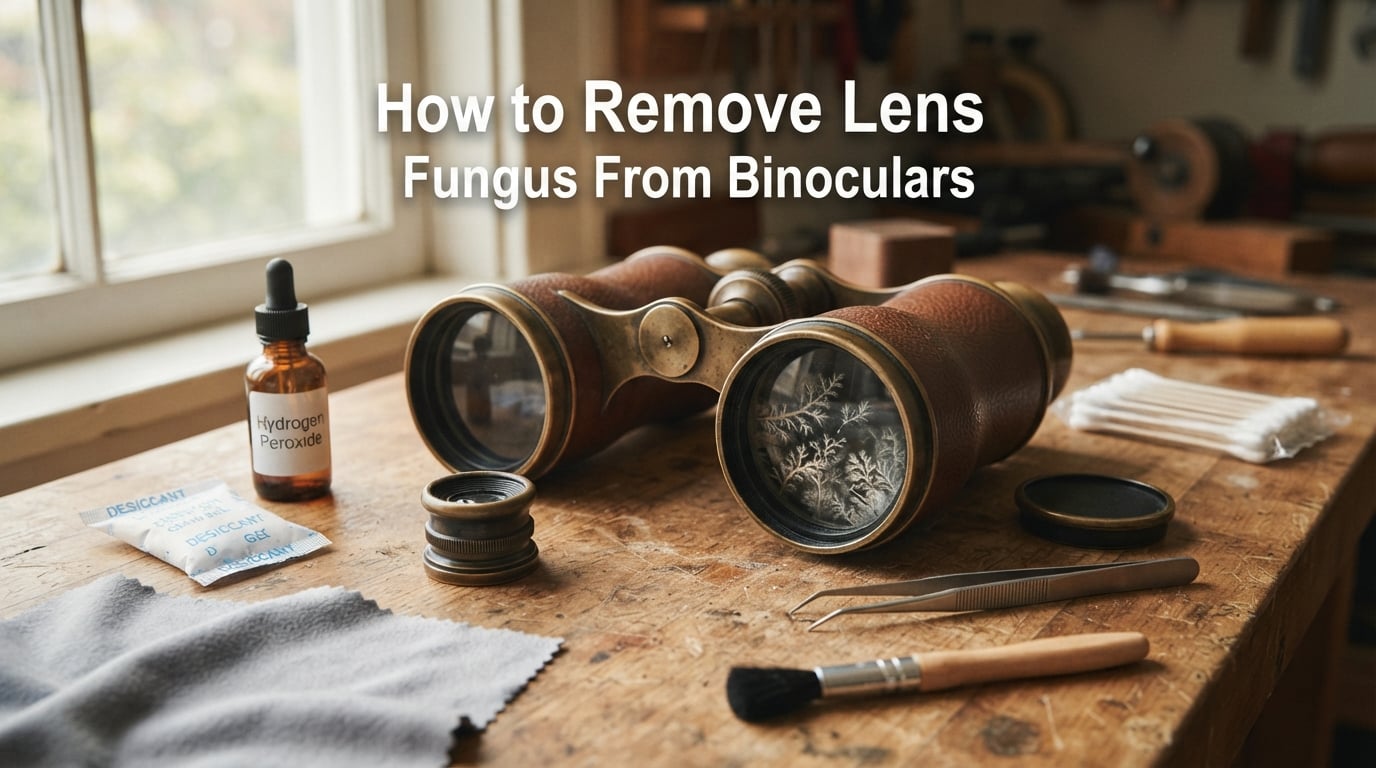
Last summer I pulled my grandfather’s 1960s Porro prism binoculars out of a cardboard box in our garage, and the view through the right barrel looked like a spider had been living inside it. Wispy white threads, dark splotches, the works. That moment kicked off weeks of research, three failed cleaning attempts, and eventually a complete restoration. This guide is everything I learned, distilled into a single workflow you can follow to remove lens fungus from binoculars without ruining the optics.
If you’ve just noticed a milky haze, branching threads, or speckled dots inside one of your binocular barrels, you have lens fungus. The good news: in most cases it’s removable at home with supplies that cost less than a restaurant dinner. The bad news: if you use the wrong solvent on the wrong lens element, you can permanently dissolve the optical cement holding multi-element groups together. I’ll walk you through exactly which solutions are safe, which steps to follow, and when the smart move is to ship it to a professional instead.
Before we dive in, if you want a refresher on the gear basics, our best theater binoculars roundup explains prism types and coatings in plain English. And since good cleaning starts with good supplies, our lens cleaning kits guide covers the tools we’ll mention here.
Lens fungus is the visible growth of fungal spores and thread-like tendrils on the internal surfaces of optical glass. It typically appears as a milky haze, branching white threads, dark splotches, or a fine speckled pattern that doesn’t wipe off the outer lens surface. If you can rotate the binocular in bright light and see what looks like a web or branching structure inside, that’s almost certainly fungus, not dust or balsam separation.
Fungus grows when airborne spores land on a lens surface, find moisture and a food source, and germinate. The three things every fungus needs are humidity, warmth, and organic nutrients. In optics, the “nutrients” come from dust, skin oils transferred during handling, and the organic compounds in some anti-reflection coatings. The moisture comes from humidity above about 60 percent relative humidity. The warmth is just room temperature, anything between roughly 15 and 30 degrees Celsius is enough. Darkness helps too, which is why stored gear is so vulnerable.
Once spores germinate, they send out tendrils called hyphae that spread across the glass surface and dig into the anti-reflection coating. If left long enough, the fungus can etch the glass itself, leaving permanent pits and haze even after the fungus is removed. This is the single most important reason to act early: cleaning fungus off is usually straightforward. Repairing etched glass is not.
Fungus also spreads to other equipment stored in the same humid environment. That vintage Takumar in your camera bag, the spotting scope in the closet, your birding binoculars on the shelf, they’re each a buffet waiting for spores to land on them. Cleaning one piece and leaving the rest in the same humid conditions means the fungus will eventually return to all of them.
Storage above 60 percent relative humidity, ambient warmth, darkness, an organic nutrient source, and time. If you tick four of those five boxes, you will get fungus eventually. Tropical and subtropical climates hit four or five of those almost year-round. Garages, basements, and unheated sheds in temperate climates hit them for several months every year. Air-conditioned apartments hit maybe one or two, which is why most “modern” gear in climate-controlled homes never develops fungus.
Yes, you can technically still use binoculars with fungus, but image quality will be reduced and the fungus will spread to other optics stored nearby. Light scatters off the fungal threads and haze, which lowers contrast and creates a milky overlay on bright subjects. You may also see dark specks or web-like shadows drift across the field of view as the fungus grows and sheds particles.
Quick Answer: Removing Lens Fungus From Binoculars in 5 Steps
Cleaning promptly is recommended, and severe cases may warrant professional service. If you have a vintage pair with sentimental or financial value, or if the fungus has already etched the glass, the safer path is to pay a professional rather than risk permanent damage.
You don’t need much, but you do need the right things. Using Windexes with surfactants, or aggressive solvents like acetone, can strip anti-reflection coatings or dissolve the Canada balsam cement in older binoculars. Here’s the safe list.
| Solution | Effectiveness on Fungus | Coating Safety | Cost | Best For |
|---|---|---|---|---|
| Hydrogen peroxide 3% | Moderate | Safe on most coatings | Low | General cleaning, prevention soak |
| Ammonia (clear) | High | Safe in short contact; avoid on damaged coatings | Low | Killing active spores |
| White vinegar 5% | Moderate | Safe; can dull some coatings if left too long | Low | Mineral deposits, etching residue |
| Isopropyl alcohol 90%+ | High | Very safe; evaporates clean | Low | Final wipe, light haze |
| Commercial lens fluid | Low for active fungus | Very safe | Medium | Surface cleaning only |
| Athlete’s foot cream | High for accessible growth | Safe after thorough rinse | Low | Internal lens surfaces you can reach |
| Equal-parts peroxide + ammonia + vinegar | Very high | Risky on cemented elements past 3 minutes | Low | Heavy infestations on single-element lenses |
On Reddit’s r/Binoculars, several users have reported success applying over-the-counter athlete’s foot cream (clotrimazole or miconazole) directly to the affected lens, leaving it overnight, then rinsing with mild detergent and distilled water. The antifungal compounds in those creams are the same class of drug used to treat human fungal infections, and they work on optical fungus for the same reason. The catch: any residue left behind can smear or attract more dust, so the rinse step matters. Skip this method on cemented doublets unless you’re willing to soak the cement and risk separation.
Set aside a quiet afternoon with low humidity, a clean workspace, and good lighting. Work over a light-colored mat so you can spot any tiny screw or shim if something drops. If you’re new to binocular disassembly, our vintage lens adapters guide has general optical-handling principles that translate.
Before you take anything apart, look through the binocular in normal daylight. Rotate it slowly while shining a small flashlight through the front or rear. Real fungus looks like a web, branching threads, or fuzzy dots that don’t move when you tap the binocular. Balsam separation, which is common in vintage Porro prism binoculars, looks like a smooth milky blob between two lens elements and cannot be cleaned without a full optical rebuild. Surface dust wipes off with a blower. If you see clear, oily smudges you can wipe away, that’s not fungus.
If the fungus is on the outer surface of the objective lens or eyepiece, you can clean it without opening the binocular, just remove the rubber objective caps or eyecups and clean through the opening. If the fungus is between internal lens elements or on the prism surfaces, you’ll need to disassemble at least the objective or eyepiece cell to reach it. For vintage or expensive binoculars, this is the point where most people should pause and ask whether to ship it to a professional instead.
Work on one side at a time so you always have a reference for how the parts go back together. Photograph each step with your phone. Remove the rubber armor or objective cap. Unscrew the eyepiece cup or objective retainer using the correct size jeweler’s screwdriver. Set screws aside in a small magnetic dish. Pull out the cell slowly. Do not force anything, vintage binoculars often hide decades of thread-locking compound.
Under a magnifier or loupe, identify which lens element has the fungus. Single-element lenses are easy to clean in isolation. Cemented doublets (two lenses glued together with Canada balsam) cannot be soaked safely, the cement dissolves in strong solvents. If you see a yellow-brown edge around the affected area, that’s likely balsam breakdown, which means the doublet is failing and you should stop.
Before you apply any liquid, use a rocket blower to puff loose spores off the lens surface. Do this over a trash can and ideally outdoors or in a still-air space. Spores become airborne very easily, and you don’t want them landing on another piece of gear you’re using. Wipe down your workspace with a damp cloth afterward.
For mild cases, soak a cotton swab in 90 percent isopropyl alcohol and roll it gently across the affected surface, never scrub. For heavier growth, mix equal parts hydrogen peroxide, clear ammonia, and white vinegar in a small glass dish. Dip a cotton swab or lens tissue in the mix and apply it to the fungus. Do not let the mix contact a cemented doublet for more than 3 minutes, the cement will soften. On single-element lenses, 5 to 10 minutes is usually safe.
After the soak, use a fresh lens tissue or cotton swab to gently lift the softened fungus. Work in straight lines from the center of the lens outward in a spiral, never in circles. If residue remains, repeat the soak. For stubborn spots, the soft end of a clean pencil eraser can help, use very light pressure and stop at any sign of coating coming off on the eraser.
Wipe once more with a clean swab dampened with isopropyl alcohol to remove any remaining residue from the peroxide-ammonia-vinegar mix. Then let the element air-dry on a lint-free cloth for at least 30 minutes. Forced air from the blower speeds this up.
Put the lens element back into its cell, replace any shims exactly as they came out, then thread the retainer ring back in finger-tight. Snug it down with the screwdriver but do not over-tighten, you can crack the cell. Reattach the rubber armor or objective cap.
Before you celebrate, look through the binocular. Confirm the fungus is gone and the optical alignment still looks correct. Then leave the fully reassembled binocular in a low-humidity environment, ideally under 40 percent RH, for 24 hours before sealing it into a case. Any trapped moisture can restart the cycle.
The honest answer: most binoculars under 25 years old without cemented doublets are perfectly safe to clean at home using the steps above. Older binoculars, particularly Japanese vintage Porros and pre-1985 German roof prisms, often have cemented elements that are best left to a technician with the right solvents, ultrasonic baths, and re-cementing capability.
| Approach | Typical Cost | Time Required | Risk Level | Result Quality |
|---|---|---|---|---|
| DIY (supplies only) | Under 20 dollars | 2 to 4 hours | Moderate to high if inexperienced | Good on mild cases |
| Mail-in professional service | 50 to 150 USD | 2 to 6 weeks round trip | Very low | Excellent, with collimation check |
| Local optical repair shop | 75 to 250 USD | 1 to 3 weeks | Very low | Excellent |
| Manufacturer service (Nikon, Leica, Swarovski) | 100 to 400 USD | 3 to 8 weeks | Lowest | Factory-spec restoration |
As one BirdForum user reported, professional cleaning of a vintage Japanese 7×35 Porro cost about $65 USD / £55 GBP and they were extremely satisfied. That’s typical for mid-tier vintage gear. For flagship binoculars from Leica, Swarovski, or high-end Zeiss, expect manufacturer service to cost more but include a full collimation check and warranty.
The binocular is worth less than the cleaning service would cost. You have prior experience disassembling optical equipment. The fungus is on an external lens element or an easily accessible internal surface. The affected lens is a single element, not a cemented doublet. You’re cleaning as a hobby restoration on a piece with mostly sentimental value.
The binocular is worth more than 200 USD on the used market. The fungus is between cemented elements or on prism surfaces. The binocular is under warranty. You’re seeing yellow-brown balsam separation around the affected element. You’re hoping to sell the piece in the near future and a clean bill of optical health matters.
If you do ship, use a hard case, double-box it, and insure the package for the full replacement value. Document the condition with photos before packing. Most reputable services, including the birding-optics repair networks in the US, UK, and Australia, will quote a flat fee after inspection. For accessories that share similar disassembly logic, our lens hoods guide has general optical-handling tips.
Cleaning the fungus is only half the job. If you put the binocular back in the same humid closet, you’ll be doing this again in a year. Storage conditions matter more than anything else.
The single most important number is 50 percent relative humidity. Below that, fungal spores cannot germinate. Above 60 percent, they will. Aim for 40 to 50 percent in your storage environment for comfortable margin. A simple hygrometer, available for under 15 dollars at hardware stores, is the cheapest insurance you can buy for your optics. BirdForum expert Binastro recommends below 30 percent RH at 20 to 22 degrees Celsius for long-term vintage storage.
Use indicating silica gel (the orange or blue kind that changes color as it absorbs moisture) so you can see when it needs recharging. Don’t use the plain white beads, you’ll have no way to tell when they’re saturated. Keep the gel in a breathable pouch inside your case, not loose, so dust doesn’t get on the optics. For wider optical-storage context, our lens mount adapters roundup discusses storage environments for related optical gear.
This sounds almost too simple, but regular use is one of the best preventatives. Each time you use your binoculars, you wipe them down, expose them to light and drier indoor air, and break up any moisture pockets in the case. Gear that sits unused for years is the most common stat: gear that gets used weekly almost never develops fungus.
Forum users across BirdForum, Reddit, and Stargazers Lounge confirm that UV light exposure will kill active fungus growth but will not remove the residue. Leave the affected parts in direct sunlight for a few hours on a dry day to stop the spread, then clean with the steps above. UV doesn’t help you remove what’s already there, and it won’t reverse etching, but it’s a useful additional step.
If you live in a tropical or subtropical climate, assume your storage humidity is higher than you think and add silica gel. If you live in a temperate climate with cold winters, be especially careful about unheated garages and basements in spring and fall, when temperatures fluctuate and condensation forms inside stored cases. If you live in an arid desert climate, you have natural protection, just avoid sealing gear in airtight plastic bags that could trap any moisture.
Newer binoculars from Nikon, Leica, Swarovski, Vortex, and similar brands are typically nitrogen-filled and O-ring sealed. The nitrogen displaces the oxygen fungus needs, and the seal keeps humid air out. These can still develop fungus if the seal fails or if they’re stored wet, but they’re dramatically more resistant than older unsealed Porro prisms. If you live in a humid climate and you’re shopping for new gear, prioritize nitrogen-filled waterproof construction.
An equal-parts mix of hydrogen peroxide, clear ammonia, and white vinegar is the most effective DIY solution for heavy growth on single-element lenses. For mild cases, 90%+ isopropyl alcohol works on its own. Always keep the contact time under 3 minutes on cemented doublets, since strong solvents dissolve Canada balsam.
Yes, lens fungus can usually be removed with the right cleaning solutions and partial disassembly, but only if the fungus has not etched the glass. Once etching occurs, the optical damage is permanent even after the fungus is gone. Early action matters more than cleaning method.
You can technically still use binoculars with fungus, but image quality will be reduced and the fungus can spread to other optics stored nearby. Cleaning promptly is recommended, and severe cases may warrant professional service rather than continued use.
Professional binocular fungus cleaning typically costs between 50 and 150 USD depending on the brand, model, and severity. DIY cleaning costs under 20 in supplies but carries risk of damage to coatings or cemented elements. Manufacturer service on flagship optics can run 100 to 400 USD but includes a full collimation check.
Fungus will return if you put the binoculars back into the same humid storage conditions that caused it originally. Keep stored humidity below 50 percent RH with silica gel or a dry cabinet, and use the gear regularly. Cleaning without fixing storage is a temporary fix.
Learning how to remove lens fungus from binoculars comes down to three decisions. First, decide whether it’s worth cleaning at all or whether the value of the binoculars justifies a 50 to 150 dollar professional service. Second, identify whether the affected element is a single lens or a cemented doublet, because that single answer dictates which solvents are safe. Third, fix the storage conditions so you don’t have to do this again next year. Below 50 percent relative humidity with silica gel or a dry cabinet, plus regular handling, will prevent recurrence in nearly every case.
If you’re starting today, gather the supplies, photograph your disassembly, work over a clean mat, and don’t rush the cure time. A careful four-hour job now beats a rushed two-hour job that ruins a 400 dollar optic. If you’d rather hand it off, mail-in services across the US, UK, and Australia quote flat fees and ship back factory-spec cleanings. Either path works. Just don’t leave the binoculars in that humid closet and hope the fungus goes away on its own. It won’t.