How to Choose a Rifle Bipod (2026)
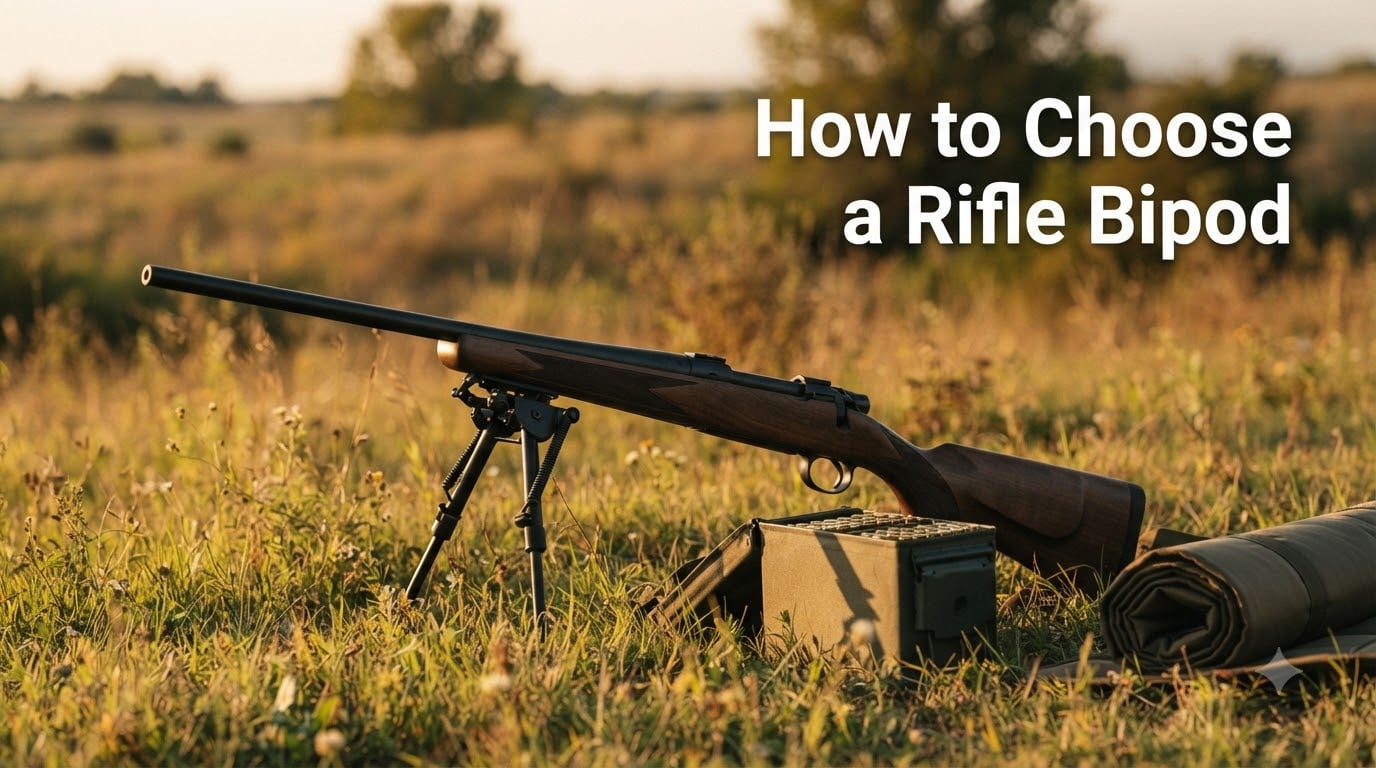
Choosing the right rifle bipod changed how I shoot at distance. After testing 12 bipods across hunting and competition setups,…

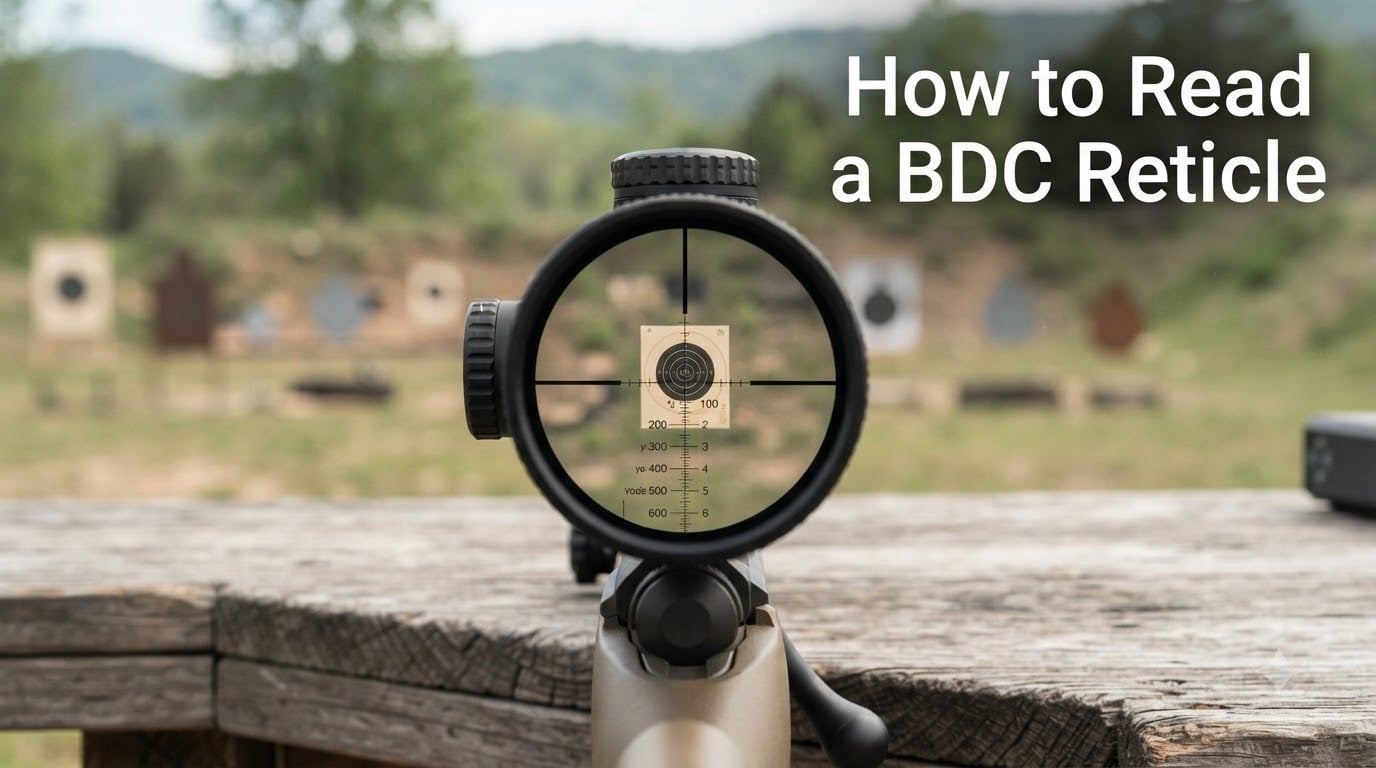
Reading a BDC reticle comes down to one skill: matching the hash marks below your crosshair to your target’s distance. A BDC (Bullet Drop Compensator) reticle uses calibrated holdover marks so you can compensate for bullet drop at set distances without touching your elevation turret. Zero the scope correctly, know what each mark means for your cartridge, and place the right hash on the target.
I’ve spent the last several range seasons shooting BDC-equipped scopes on everything from a 5.56 carbine to a 6.5 Creedmoor hunting rifle, and I keep a logbook of every confirmed mark. What I learned the hard way is that most people who complain their BDC “doesn’t work” are simply reading it wrong: wrong zero distance, wrong magnification, or wrong ammo assumptions. This guide fixes all three problems in about ten minutes of reading.
A BDC reticle is a rifle scope reticle with hash marks below the center crosshair, each calibrated to compensate for bullet drop at a specific distance for a particular cartridge. Instead of dialing your turrets, you simply hold the appropriate mark on the target. The concept was popularized by Nikon’s BDC line and Vortex’s Dead-Hold BDC, and nearly every major optics brand now offers some version of it.
The center crosshair is your aiming point at zero distance. Below it sits a vertical stack of stadia lines (also called hash marks), each representing a farther yardage. When your bullet leaves the barrel, gravity pulls it into an arc; the marks below center sit exactly where the bullet will be at those distances, assuming you zeroed correctly and you’re shooting ammo close to what the reticle was designed around.
Here’s the practical flow:
Many BDC designs add small dots or hashes on the horizontal crosshair for windage holds, though plenty skip them entirely. Some, like Primary Arms’ ACSS hybrids, blend BDC-style speed with MIL-based precision ladders. The core idea never changes: pre-calculated holdover baked into the glass.
This is the exact procedure I walk new shooters through at the bench. Follow it in order and you’ll have usable marks within one range session.
Run this drill once and you’ll know exactly how trustworthy your reticle is. Run it every time you switch loads and you’ll never be surprised by a miss.
Manufacturers rarely publish a clean editorial chart, so our team built one from published subtension data and my own logged drops. Treat these as starting points for a 100-yard zero (unless noted) and verify with live fire.
| Hash Mark | .223/5.56 (55gr) | .308 Win (150gr) | 6.5 Creedmoor (140gr) |
|---|---|---|---|
| Center crosshair | 100 yards | 100 yards | 100 yards |
| 1st hash | 200-250 yards | 200 yards | 250 yards |
| 2nd hash | 300 yards | 300 yards | 400 yards |
| 3rd hash | 400 yards | 450 yards | 550 yards |
| 4th hash | 500 yards | 600 yards | 700 yards |
| 5th hash | 600 yards | 750 yards | 850 yards |
Notice how much flatter 6.5 Creedmoor shoots than 5.56. The same physical hash spacing covers very different distances depending on trajectory, which is exactly why caliber matters when reading any BDC reticle.
Everything downstream depends on this step. Zero wrong and even a perfectly built BDC lies to you all day long.
Start with the manufacturer’s recommended zero. For most hunting BDC scopes that’s 100 yards. For AR-platform reticles like the Vortex AR-BDC, it’s typically 200 yards, chosen because it flattens the trajectory arc through mid-range distances. If your manual says 200 and you zero at 100, your 400-yard hash might be hitting several inches low without you knowing it.
On a first focal plane (FFP) scope, the reticle scales with magnification, so the hash marks mean the same thing at every power setting. Read them at 4x or at 24x and the subtension holds. That’s the simple answer to whether BDC reticles work at any magnification: FFP yes, SFP no.
On a second focal plane scope, the reticle stays a fixed size while the image zooms. The calibrations are only true at the magnification the manufacturer used when designing them, which is almost always maximum power. At lower magnification, the marks cover more angle than they’re supposed to, meaning each hash corresponds to a longer distance than labeled.
How big is the error if you ignore this? If your BDC is true at 12x but you read it at 6x, the effective subtension doubles. Your “500-yard” fourth hash is actually behaving like a 1,000-yard reference, and your shots sail high by feet, not inches. This single misunderstanding explains most of the “BDC reticles suck” sentiment you’ll find on shooting forums. Check your magnification ring every single shot.
A BDC reticle is calibrated to one trajectory curve, and trajectory is driven by muzzle velocity, bullet weight, and ballistic coefficient. Swap loads and you swap curves. In real testing I’ve tracked, Federal 55gr XM193-spec ammunition matched the AR-BDC’s design ranges to within roughly 0.4 MOA out to 600 yards with a proper zero. Switching to 77gr Black Hills OTM threw every mark significantly off until the scope was re-trued with an adjusted zero.
A free ballistic calculator app gets you close fast. Enter your cartridge, muzzle velocity (from the box or a chronograph), sight height, and zero distance, then compare the predicted drop at each distance to your reticle’s subtension sheet. Where they disagree, note the correction.
Calculators estimate; steel confirms. Here’s the protocol nobody else publishes in plain language:
One encouraging data point: across a full year of shooting in wildly different weather, density altitude changes never moved my impacts more than 1 MOA at 600 yards. Environment matters far less than shooters fear. Ammo choice matters far more.
Elevation is solved by the hash stack; wind is on you. If your reticle has windage dots, use them as bracket references rather than gospel. A 10 mph full-value crosswind pushes a typical .223 round roughly 7 to 9 inches at 300 yards, so start there.
The most practical method I’ve adopted comes straight from logged range data: memorize one hold point per common condition. For example, the end of the 300-yard stadia line equals a 7-10 mph hold at 300 yards for my load. One verified reference point beats a table of guesses you’ve never confirmed. For anything beyond 400 yards or above 15 mph, dialing turrets with a real solution is the better tool.
Buyers ask this constantly, so here’s the honest breakdown from someone who shoots all three.
| Factor | BDC | MIL | MOA |
|---|---|---|---|
| Ease of use | Fastest – no math | Requires training | Requires training |
| Precision at long range | Moderate, load-dependent | Excellent, repeatable | Excellent, repeatable |
| Flexibility with different ammo | Limited to calibrated curves | Fully universal | Fully universal |
| Ranging capability | Rarely | Yes, built-in ladder | Sometimes |
| Best for | Hunters, 3-gun, quick shots | Long-range precision, PRS | Precision shooters who prefer imperial units |
A BDC trades universal precision for raw speed inside its designed envelope. If you shoot one rifle with one load at targets between 100 and 600 yards, that trade favors you. If you reload multiple loads, shoot past 700 yards, or compete in precision matches, MIL wins.
I watch these same four errors ruin range days year after year.
BDC stands for Bullet Drop Compensator. It describes a reticle with hash marks below the crosshair, each calibrated to offset bullet drop at a set distance for a specific cartridge, letting you hold over without dialing turrets.
The center crosshair is your zero-distance aim point, and each lower hash mark sits where the bullet will arrive at its designated range. You range the target, place the matching mark on it, and fire. The marks encode a pre-calculated trajectory curve, so accuracy depends on correct zeroing and compatible ammunition.
Follow your scope manual: most BDC reticles are designed around a 100-yard zero, while AR-platform designs like the Vortex AR-BDC specify 200 yards. Zeroing at the specified distance is what makes every hash mark land on its labeled range.
First focal plane BDC reticles work at every magnification because the reticle scales with the image. Second focal plane reticles are only true at one setting, usually maximum power. Reading an SFP reticle at half its design magnification can double the subtension and cause large vertical misses.
Yes, within its design envelope. Real testing with matched ammunition has shown marks landing within about 0.4 MOA of design ranges out to 600 yards after proper zeroing. Expect fast, reliable hits on torso-size targets, but do not expect match-grade precision at extreme range.
You can, but the marks must be re-trued. Because each caliber flies a different trajectory, run a ballistic calculator for your new load, verify the marks with live fire, and log your own dope card. The reticle becomes accurate for whatever curve you confirm, not just its factory calibration.
If you want fast, turret-free hits on deer or steel between 100 and 600 yards, learning how to read a BDC reticle is the highest-value hour you’ll spend behind a scope. Zero to spec, read marks only at the correct magnification, verify with three-shot groups, and log everything.
Hunters should stick with a matched load and trust the verified marks. Competitors running varied loads should consider truing each one with a ballistic calculator. Precision shooters chasing sub-MOA groups at 800-plus yards already know the answer is a MIL reticle instead.
Grab your logbook, head to the range, and put these steps to work this 2026 season. Your first confirmed 400-yard hold will make you wonder why you ever dialed turrets.