How to Fix Foggy Binoculars 2026
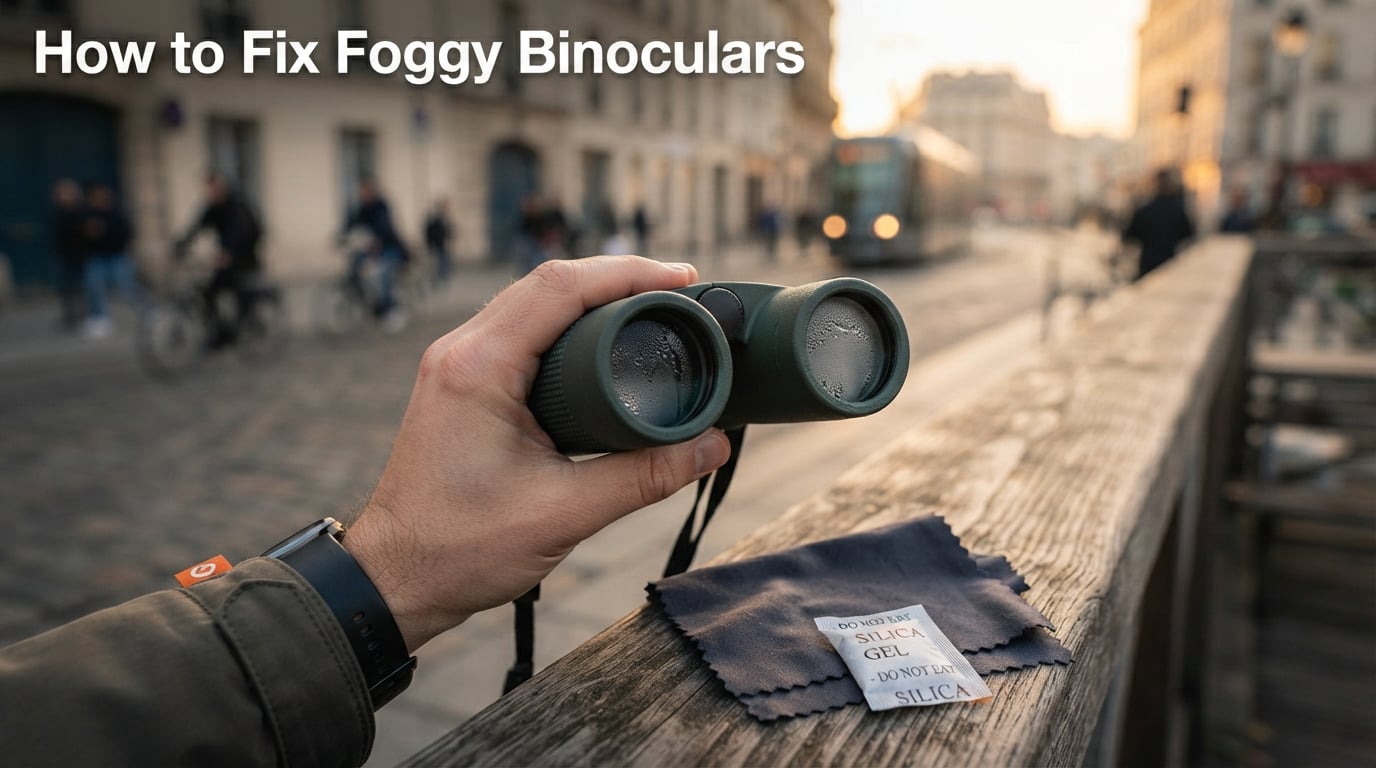
I learned how to fix foggy binoculars the hard way on a 4 a.m. street shoot in Hanoi, when steam…

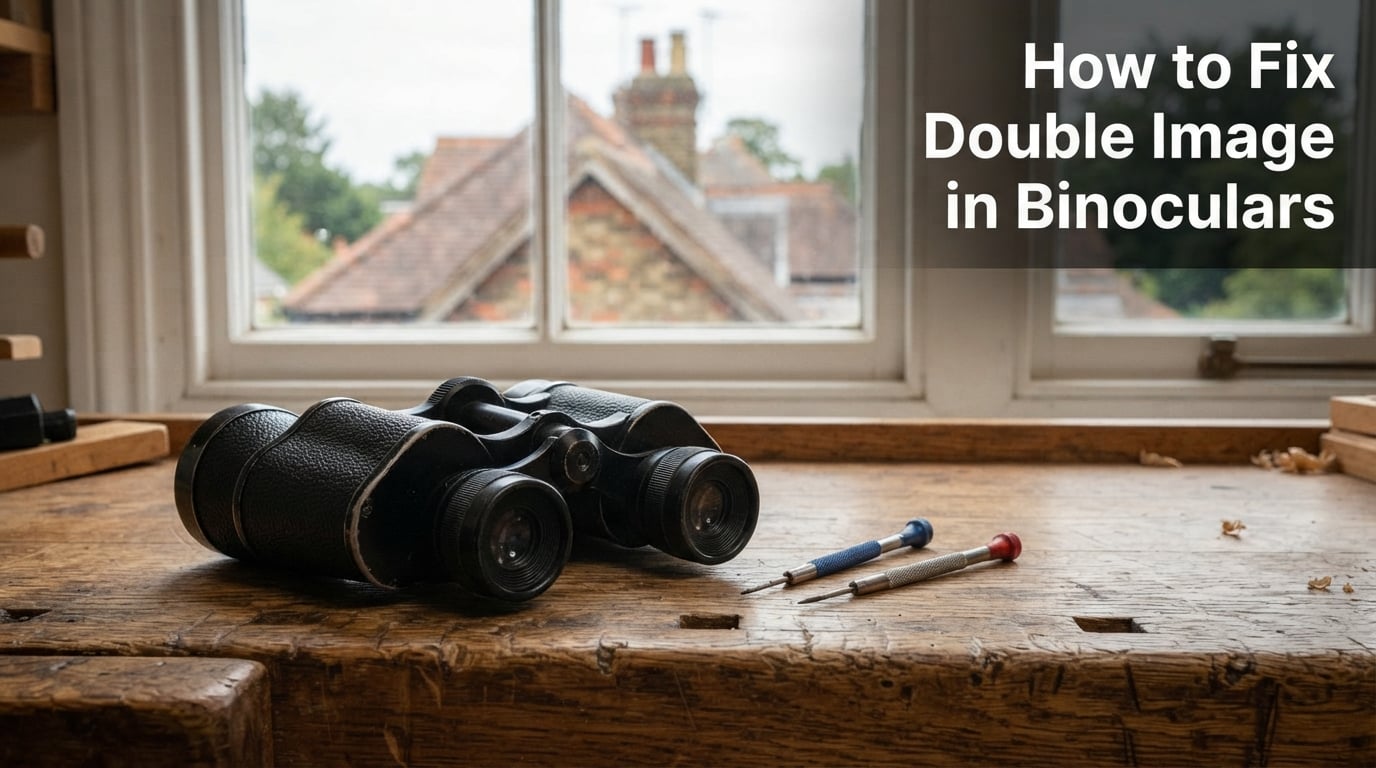
If you pick up your binoculars and see two overlapping circles instead of one sharp image, you are dealing with a collimation problem. I’ve fixed dozens of binoculars over the years, and I can tell you that most double-image issues come down to misaligned internal prisms, not a fatal defect. The good news is that many cases are fixable at home in under 30 minutes with two small screwdrivers and a steady hand.
This guide walks you through everything I’ve learned about diagnosing and repairing double vision in binoculars, from the 30-second non-invasive checks you should try first to the actual prism alignment procedure. I’ll also cover when it’s your eyes causing the problem (a surprisingly common confusion) and when you should stop and send the binoculars to a professional.
Double image in binoculars is a collimation failure. The internal prisms that fold the optical path have shifted out of alignment, so each eye receives a slightly offset view and the brain cannot fuse them into one image. Most causes are drop damage, loose factory screws, or a defective unit, and Porro-prism binoculars can usually be fixed at home by adjusting the hidden prism screws.
The single most common cause of binocular double vision is misaligned internal prisms. Every pair of binoculars uses either Porro prisms or roof prisms to fold the light path and present both eyes with the same image. When those prisms shift even a fraction of a degree, the left and right channels no longer point at the exact same focal point, and your brain rejects the image as two overlapping circles rather than one clean view.
Three things typically cause this shift. First, a drop or bump can jar the prisms loose from their mounting screws, especially on cheaper units where the screws were never locked tight from the factory. Second, age and thermal cycling can let adhesive bonds creep, producing intermittent double images that come and go as the binocular body flexes. Third, factory defects exist even on premium brands, which is why the warranty period matters so much.
It’s worth noting that vertical misalignment is much more disruptive than horizontal misalignment. A small horizontal jump is tolerable because your eyes can compensate by fusing slightly offset images. A vertical jump, on the other hand, almost never fuses comfortably and produces headaches within seconds. This is why the Astroshop team flags vertical miscalibration as a “send for service” situation more often than horizontal.
For a deeper look at common binocular problems and home fixes, our binocular repair guide covers collimation alongside focus, hinge, and eyepiece issues.
Before you touch a screwdriver, run through this five-step checklist. It mirrors the format Google’s AI Overview uses for this query, and it’s the fastest way to separate a real collimation problem from a settings issue or a user-eye problem.
If the circles won’t merge even with perfect hinge adjustment, you’re dealing with true prism misalignment. If they merge but one eye stays blurry, jump to the diopter section below before assuming collimation is needed.
Knowing which prism design your binoculars use determines whether you can safely fix them at home. Here’s a quick breakdown that none of the major competitors publish as a clear table.
| Feature | Porro Prism | Roof Prism |
|---|---|---|
| Body shape | Stepped, zigzag barrels | Straight, tube-shaped |
| Adjustment screws accessible? | Usually yes, under rubber armor | Rarely, often sealed or hidden |
| DIY-friendly? | Yes, with two small screwdrivers | Generally no, send for service |
| Warranty impact | Most brands accept DIY after warranty | DIY almost always voids warranty |
| Risk level | Low if you work slowly | High, factory collimation needed |
Porro prism binoculars use a traditional two-prism design with exposed adjustment screws hidden under the rubber armor. Roof prism binoculars use a Schmidt-Pechan or Abbe-Koenig prism pair that is essentially air-spaced inside a sealed housing. Most modern roof prisms cannot be reached without specialized equipment, and attempting DIY will usually void the warranty and risk permanent damage.
If you see stepped barrels with a visible Z-shape between the objective lenses and the eyepieces, you have Porro prisms and you can proceed with the procedure below. If the barrels are straight tubes from front to back, stop and read the “when to send for service” section.
This is the troubleshooting table no competitor publishes. Match your symptom to a likely cause and a sensible fix.
| Symptom | Likely Cause | Fix |
|---|---|---|
| Constant double image, both eyes open | Misaligned prism | Collimation (Porro DIY, roof service) |
| Intermittent double image, comes and goes | Loose prism screw | Tighten hidden screws gently |
| One eye blurry, other sharp | Diopter miscalibrated | Adjust diopter ring only |
| Image jumps horizontally when alternating eyes | Horizontal prism misalignment | Adjust horizontal screw, tolerable small error |
| Image jumps vertically when alternating eyes | Vertical prism misalignment | Adjust vertical screw, more disruptive |
| Two separate circles that never merge | Severe miscalibration | Professional collimation recommended |
| Different result for different users | User IPD or eye issue | Try IPD adjustment, see optometrist |
You don’t need a full optical workshop. For most Porro prism repairs, the toolkit is small and inexpensive.
Some users also use a piece of tape or chinch wax to gently pry back the rubber armor without tearing it. If the rubber armor is glued rather than fitted, removing it will likely damage it permanently, so proceed carefully.
This is the single biggest source of confusion I see on forums. A Reddit user on r/telescopes famously complained that his Celestron Cometron 7×50 showed every star doubled, yet his wife (with a stronger prescription) saw them fine. The binocular wasn’t broken. His eyes had a hidden phoria, a tendency for one eye to drift out of alignment, that the binoculars were simply exposing.
Phoria and vergence insufficiency are conditions where your eyes don’t perfectly converge at the same point. Most people never notice because everyday vision forgives small misalignments. Binoculars magnify the convergence demand, so a phoria that was invisible in daily life suddenly produces a glaring double image.
How do you tell? Have someone else look through the same binoculars at the same target. If they see one image and you see two, the problem is almost certainly your eyes, not the optics. The fix isn’t collimation, it’s an optometrist visit and possibly a Fresnel prism stick-on for one eyepiece, or a prescription with a built-in prism correction.
Before assuming you need to open the binocular housing, run through these two non-invasive adjustments. Both are zero-risk and take under a minute.
Interpupillary distance, or IPD, is the spacing between your pupils. Hold the binoculars up to your eyes and gently bend the central hinge until the two circles merge into one image with no dark shadow on either side. Most people set this once and forget it, but if you’ve never adjusted it, or if a family member with different IPD used the binoculars last, this could be your entire problem.
The diopter is a small adjustment ring, usually on the right eyepiece, that compensates for differences between your left and right eye prescriptions. Cover the right objective lens, focus the left eye sharply using the central focus wheel, then cover the left objective and adjust the diopter ring until the right eye is also sharp. Now both eyes should fuse the image cleanly. If you cannot get the diopter to bring both eyes into focus, your prescription may have changed and an optometrist visit is in order.
BirdForum users regularly confuse diopter miscalibration with collimation failure because both produce a “one eye is off” symptom. If adjusting the diopter solves your problem, you never needed to touch the prisms.
Now we get to the actual repair. Work slowly, test after every adjustment, and never force a screw. If at any point you feel resistance, stop and re-evaluate.
Flip the binoculars over and look at the underside of the prism housing. On most Porro models, you’ll find two or three small screws partly hidden under the rubber armor. The rubber armor is usually a friction-fit sleeve that can be gently rolled back to expose the screw heads. Use a plastic pry tool or your fingernail to lift the armor, never a metal screwdriver, which can tear the rubber.
Two of the screws adjust the prism tilt. One affects vertical alignment (up-down jump) and one affects horizontal alignment (left-right jump). A third screw, if present, locks the assembly. The vertical screw is usually closer to the eyepiece end, and the horizontal screw is closer to the objective end. Test which is which by turning each very slightly (1/16 of a turn or less) while looking through the binoculars at a straight line.
Mount the binoculars on a tripod or beanbag aimed at a straight-line target 500 to 1000 feet away. A horizontal roofline against a contrasting sky is ideal. Set the focus for your eyes and confirm the diopter is calibrated before making collimation changes.
This is where most DIY repairs fail. Turn the vertical or horizontal screw no more than 1/16 of a turn at a time, then look through the binoculars again. The two-screwdriver technique, where you brace one screwdriver on the locking screw while turning the adjustment screw, prevents the assembly from drifting during adjustment.
After each tiny turn, close your left eye, then close your right eye, and note whether the target moves in the field of view. You’re trying to bring both eyes to see the target in the same spot. If the right eye sees the target to the left of where the left eye sees it, turn the horizontal screw to shift the right channel rightward (or vice versa). Make small corrections until alternating eyes shows no jump.
Once horizontal is centered, check vertical by looking at a vertical line such as a utility pole or door frame. If the image jumps up or down when alternating eyes, turn the vertical adjustment screw in 1/16-turn increments until both eyes place the line in the same position.
When both axes are aligned, gently tighten the locking screw (if present) to hold the adjustment. Roll the rubber armor back into place and confirm the fix holds under normal handling.
For a deeper walk-through with diagrams, the complete binocular repair guide covers the same procedure with additional photos.
Three verification methods will tell you whether your collimation actually worked. Don’t skip them.
Look at your straight-line target and close one eye, then the other. The target should not jump in the field of view. If it does, your collimation is still off in the direction of the jump.
At night, aim at a bright star and defocus slightly. A misaligned binocular will show the star as two overlapping diffraction rings instead of one. After collimation, the rings should merge into a single Airy pattern.
Have a second person look through the same binoculars at the same target. Different people with different IPD and eye characteristics may see slightly different results. A binocular that is perfectly collimated for you may still show a small jump for someone with a wider IPD, and that’s normal. The goal is a comfortable single image for the primary user, not mathematical perfection.
Long-tail searches for specific brands show that users want targeted advice. Here’s what I’ve learned from working on each.
Nikon Monarch and Prostaff models are typically Porro prism designs with accessible screws under the rubber armor. Nikon’s factory collimation is generally excellent, so if you see double vision on a Nikon, check for IPD and diopter errors first. A drop is the most common cause of real collimation drift, and Nikon accepts owner-performed collimation after the warranty period.
Swarovski uses high-quality roof prisms in nearly all current models. The adjustment screws are not user-accessible, and the housing is sealed against moisture and dust. Do not attempt DIY on a Swarovski. Send it to an authorized service center, where professional collimation is moderately expensive depending on the model. Trying to open the housing will void the lifetime warranty on most lines.
Bushnell offers a wide range from budget Porro models to mid-range roof prism designs. The lower-cost Bushnell Powerview and H2O lines use Porro prisms with accessible screws and are good DIY candidates. The higher-end Legend and Forge roof prism models should go to professional service. Many Bushnell owners ask whether fixing cheap binoculars is worth it; for very inexpensive units, replacement is often more cost-effective than collimation tools and time.
Celestron’s Cometron and Skymaster lines are popular for stargazing, and the Cometron 7×50 is the model that produced the original Reddit thread about “I see double but my wife doesn’t.” Most Celestron Porro models have accessible adjustment screws and respond well to home collimation. Celestron roof prism astronomy binoculars, like the Cavalry series, are sealed and should be serviced professionally. Check your specific model before assuming DIY is safe.
Sometimes the right answer is to stop and let a professional handle it. Here’s when to back off.
Roof prism binoculars are almost always sealed. The Schmidt-Pechan and Abbe-Koenig prism pairs are air-spaced and require factory-grade equipment to align. Attempting DIY on a roof prism will usually void the warranty and risk permanent optical damage.
Premium brands under warranty should always go through the manufacturer. Swarovski, Leica, and Zeiss all offer factory service that preserves the warranty and uses calibrated equipment. The service fee varies by brand and model, but it is almost always worth it for a flagship optic given the warranty protection.
Sealed or waterproof models use O-rings and nitrogen fills that will be destroyed if you open the housing. Once opened, the binocular will fog internally and require re-sealing by a service center anyway.
Units where you’ve already turned screws more than a quarter turn are likely past the point of safe DIY. The adjustment range is small, and over-travel can lock the prism in a position that even a professional struggles to recover. If you realize you’ve gone too far, stop and send for service.
Professional collimation cost in the UK typically runs £30 to £40 plus return postage, per user reports on Stargazers Lounge and Cloudy Nights. US costs are similar in pound-equivalent terms. Compare that to the replacement cost of your binoculars before deciding.
If you’re shopping for binoculars less prone to collimation drift, our image-stabilized binocular guide and our 15×70 binocular roundup cover models with better factory tolerance.
Yes, in most cases. Double vision in binoculars is almost always a collimation issue, meaning the internal prisms have shifted out of alignment. Porro prism binoculars can usually be fixed at home in under 30 minutes using two small screwdrivers to adjust the hidden prism screws. Roof prism and premium-brand binoculars should be sent to a professional service center for collimation.
Start with non-invasive fixes: adjust the interpupillary distance by bending the central hinge, then calibrate the diopter ring on the right eyepiece. If double vision persists, your binoculars need prism collimation. For Porro models, locate the adjustment screws under the rubber armor and make 1/16-turn increments while alternating eyes. For roof prism or sealed models, send to a professional service center.
You see two images because the internal prisms in your binoculars are no longer perfectly aligned. Each eye is receiving a slightly offset view, and your brain cannot fuse them into one image. The technical term is collimation failure, and the most common causes are drop damage, loose factory screws, or thermal cycling that has shifted the prism mounts over time.
The most common cause is a misaligned internal prism, usually triggered by a drop, bump, or loose factory screw. However, user-side issues are nearly as common: an incorrectly set interpupillary distance or an uncalibrated diopter ring can produce the same symptom without any actual collimation problem. Always check IPD and diopter before assuming you need prism adjustment.
Adjust binoculars for double vision in three steps. First, bend the central hinge to set your interpupillary distance so the two circles merge. Second, calibrate the diopter by focusing the left eye on the central wheel, then adjusting the right eyepiece until both eyes are sharp. Third, if the circles still overlap as two images, perform prism collimation by adjusting the hidden screws under the rubber armor in 1/16-turn increments.
Have a second person look through the same binoculars at the same target. If they see one image and you see two, the problem is almost certainly your eyes, not the optics. This is called phoria or vergence insufficiency, where your eyes don’t perfectly converge at the same point. An optometrist visit and possibly a prescription with prism correction will solve it. If both users see double, the binoculars need collimation.
How to fix double image in binoculars comes down to a few key steps: check your interpupillary distance and diopter first, then diagnose whether you have a true collimation issue using the alternate-eyes test, and finally adjust the prism screws in tiny increments if you have a Porro model with accessible hardware. If you have a roof prism, sealed, or premium-brand binocular, send it for professional service rather than risking permanent damage.
The most important insight from the forum discussions I read while researching this guide is that the majority of “broken binocular” complaints turn out to be either a settings issue or a user-eye issue. Run through the diagnosis checklist before you touch a screwdriver. And if you want to explore binoculars that are less likely to drift out of collimation in the first place, our theater binocular guide and 15×70 binocular roundup cover models with solid factory alignment. With the right approach, you can usually get your binoculars back to delivering a single sharp image without the cost of replacement.