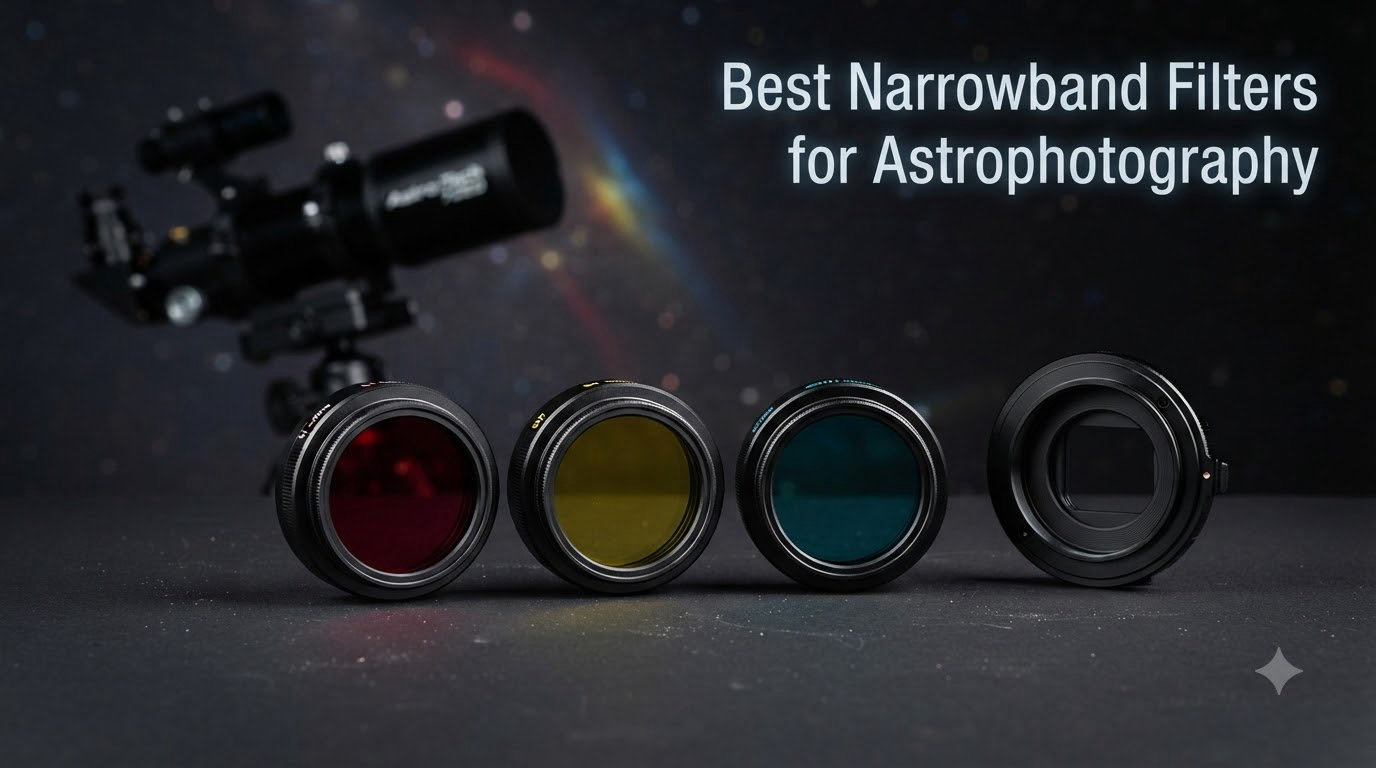
Narrowband Filters Astrophotography 2026
I shot my first emission nebula from a Bortle 8 backyard with a stock DSLR and no filter. The result…

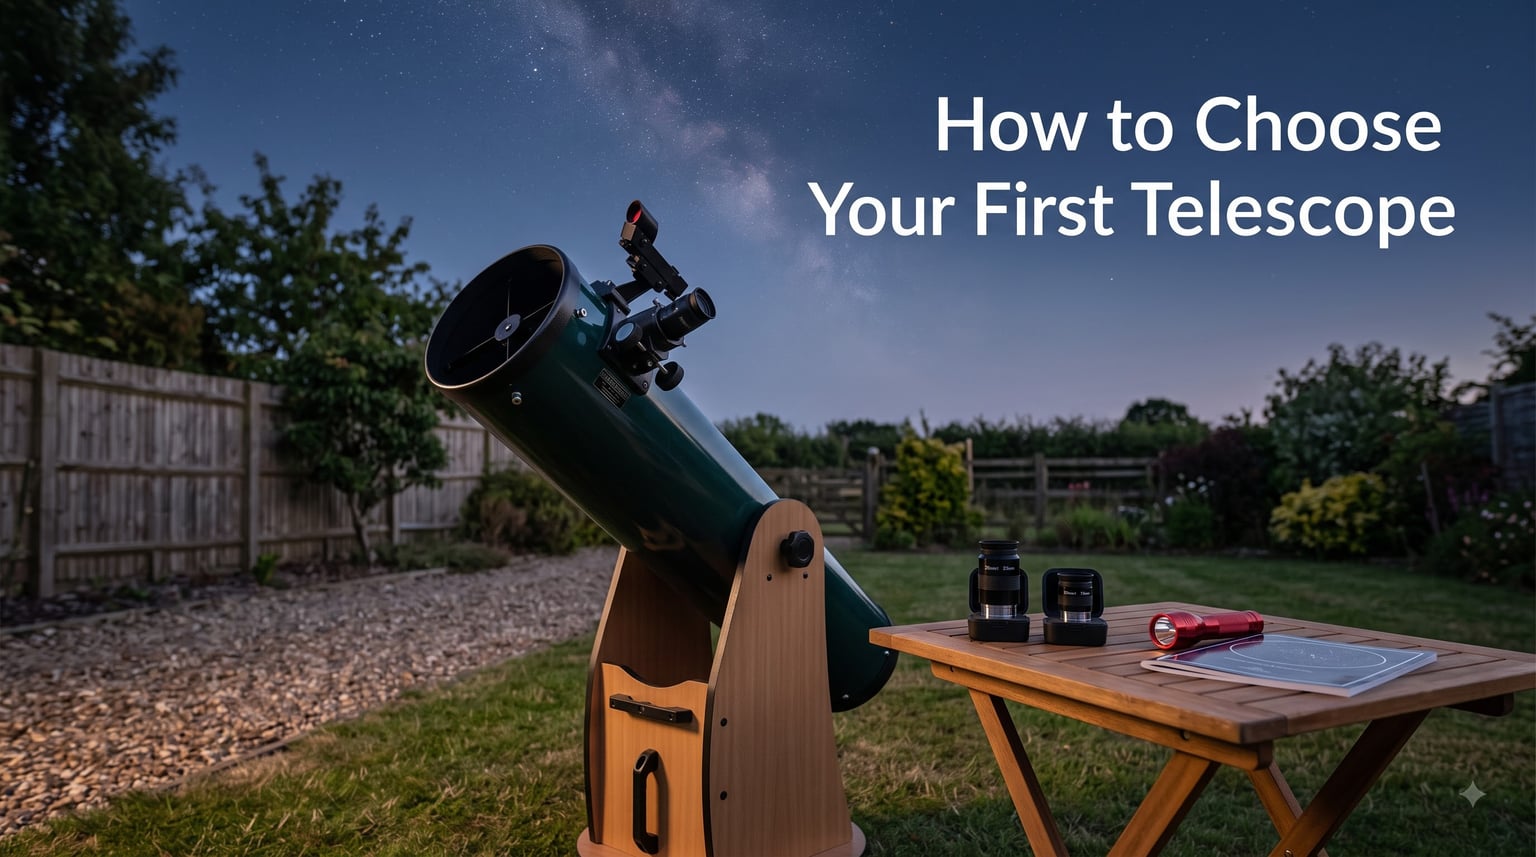
I bought my first telescope from a department store when I was 14, and it sat in a closet within six months. The mount wobbled, the magnification was useless at 600x, and I never once saw Saturn’s rings clearly. Twenty years later, after testing more than 30 scopes on dark-sky weekends with our team, I can tell you exactly how to choose your first telescope so you do not repeat that mistake.
Beginners who pick the right telescope the first time use it weekly. Beginners who pick the wrong one quit the hobby. This guide is built from real backyard sessions, forum threads with thousands of replies, and conversations with the same community of observers at street-photographers.com who share honest advice about gear. I will walk you through what actually matters: aperture, mount type, optical design, budget, and the mistakes that ruin first-time experiences.
A good first telescope has at least 70mm to 100mm of aperture, a stable Alt-Azimuth or Dobsonian mount, and comes from a reputable brand. Prioritize ease of use and light-gathering power over maximum magnification, because magnification is the spec beginners care about least and marketers oversell the most.
If you only remember three things from this entire guide, make them these: aperture beats magnification, a stable mount matters more than fancy optics, and a telescope you actually carry outside beats a bigger scope that stays in the closet. Everything below explains why, and how to act on it.
Aperture is the diameter of the main lens or mirror that gathers light, and it is the single most important specification on any telescope. Larger aperture means brighter, sharper, and more detailed views of planets, the Moon, and deep sky objects like nebulae and star clusters.
You will see telescope specs like “90mm aperture” or “8 inch reflector.” That number tells you how much light the telescope captures. Every doubling of aperture collects four times as much light, which translates directly into what you can see through the eyepiece. A 6 inch scope shows roughly four times more detail on Jupiter’s cloud bands than a 3 inch scope of similar quality.
For beginners, the practical aperture ranges I recommend are:
If you are starting from scratch and want the best balance of capability and ease, look for a 6 inch or 8 inch Dobsonian from a brand like Sky-Watcher, Zhumell, or Celestron. Our team consistently recommends these scopes to friends and family for one reason: people actually use them.
Telescopes fall into three main optical designs. Each has trade-offs, and the right one for you depends on what you want to look at, where you live, and how much hassle you will tolerate.
Refractors use a lens at the front of the tube to gather light. They are rugged, need almost no maintenance, and produce sharp high-contrast views of the Moon and planets. Small refractors under 100mm are the easiest scopes to set up, which is why they’re often recommended for kids and casual users.
The downside is price per inch of aperture. A quality 4 inch refractor can cost more than an 8 inch reflector that gathers more light. Achromatic refractors can also show color fringing around bright objects. Apochromatic refractors fix this, but cost significantly more.
Newtonian reflectors use a curved mirror at the bottom of the tube and a smaller diagonal mirror near the top to bounce light into the eyepiece. They give you the most aperture per dollar, which is why they dominate the beginner market.
Two practical points: reflectors occasionally need collimation, which is mirror alignment. Most beginners can learn this in 15 minutes with a YouTube video. Also, the open tube means dust can settle on the mirror over years, but a simple dust blower keeps this manageable. Dobsonians are Newtonian reflectors on a simple swivel base, and they are the most beginner-friendly option in 2026.
Compound or catadioptric telescopes use both lenses and mirrors folded into a compact tube. Schmidt-Cassegrain Telescopes (SCT) and Maksutov-Cassegrains are popular for their long focal lengths in a short, portable package, which is great for the Moon, planets, and double stars.
These are heavier, more expensive per inch of aperture, and usually paired with computerized GOTO mounts. A 4 inch or 5 inch Maksutov is a wonderful grab-and-go planetary scope, but a 6 inch Newtonian on a Dobsonian mount will show you more for the same money.
The mount is the part most beginners underestimate, and the part that decides whether you actually enjoy using your scope. A wobbly mount makes every view frustrating, no matter how good the optics are.
Alt-Azimuth mounts move up-down (altitude) and left-right (azimuth), which is exactly how your eyes already track. They are intuitive, fast to set up, and dominate beginner-friendly models including most computerized GOTO mounts from Celestron.
A Dobsonian is an Alt-Azimuth mount simplified into a wooden or particle-board box that swivels and tilts. It is the most stable, easy-to-use beginner mount you can buy. A 6 inch Dobsonian on the ground is more stable than a tripod-mounted 4 inch scope, which is why community consensus strongly favors Dobsonians for new observers.
Equatorial mounts align with Earth’s rotational axis so you can track objects with a single slow-motion knob. They are essential for serious astrophotography, but a poor match for casual beginners. The setup procedure frustrates most first-time users, and a wobbly equatorial mount on a flimsy tripod is the most common reason new telescopes end up abandoned.
If you are not doing long-exposure astrophotography, skip equatorial mounts for now. Start with a Dobsonian or a sturdy Alt-Azimuth mount and add an equatorial later if you need one.
Beyond aperture and mount, a few features separate a beginner telescope you will keep using from one that frustrates you into the closet.
One often-overlooked accessory: a Moon filter. The Moon is so bright at high magnification that details wash out. Our telescope filters guide breaks down which filters help with lunar and planetary viewing.
This is the question every beginner asks, and most articles dance around it. Here is what I have seen through 6 to 8 inch Dobsonians at moderately dark sites, and what you can realistically expect.
The Moon is the showpiece: craters, mountain ranges, and shadows along the terminator (the day-night line) look stunning even in a small 70mm refractor. Jupiter shows cloud bands and four bright moons. Saturn reveals its rings clearly at around 100x magnification. Mars shows polar ice caps during opposition. Bright deep sky objects like the Orion Nebula, Andromeda Galaxy, and globular clusters like M13 in Hercules are easy targets in any scope over 4 inches.
What you will not see: galaxies as colorful Hubble photos, fine planetary detail without steady atmospheric conditions, or most deep sky objects from a light-polluted city without dark-adapted eyes and a UHC filter. Set your expectations honestly and the views will still impress you every time.
Budget is unavoidable, but spending more does not always mean a better experience. Here is what each tier buys you.
For most beginners, $300 to $500 is the right range. You get a real telescope that will keep you observing for years, not a toy that ends up at a yard sale.
After years in this hobby, the same mistakes show up in every forum thread, in every beginner’s first question, and in the back of every closet where a neglected scope lives. Avoid these and you are ahead of 80 percent of beginners.
A new category has emerged that changes how beginners approach the hobby: smart telescopes. Devices like the ZWO Seestar S50, Unistellar eQuinox, and Vaonis Vespera integrate camera, computer, and telescope into one app-controlled unit. They capture images of deep sky objects in minutes that would take years of practice with a traditional eyepiece setup.
Smart telescopes are not traditional visual instruments. You observe objects on your phone or tablet, not through an eyepiece, and the views are processed images rather than live views. For casual users in light-polluted cities or anyone drawn to astrophotography, they are a fast way to start.
If your goal is photographing stars or capturing deep sky images, smart telescopes and dedicated astrophotography mounts are worth researching. For classic visual observing with your eye to the eyepiece, a Dobsonian is still hard to beat.
A good first telescope for beginners has at least 70mm to 100mm of aperture, a stable Alt-Azimuth or Dobsonian mount, and comes from a reputable brand like Celestron, Sky-Watcher, or Zhumell. A 6 inch to 8 inch Dobsonian is the most recommended beginner choice because it offers maximum light gathering for the price and is simple to use. Prioritize ease of use and aperture over maximum magnification.
Plan to spend between $300 and $500 on your first telescope for the best balance of capability and value. This range covers 6 inch to 8 inch Dobsonians that the astronomy community consistently recommends. Avoid spending under $100, as most scopes in that price range have plastic optics and unstable mounts that lead to frustration.
Avoid telescopes advertised with inflated magnification claims like 600x power, department store scopes under $100, equatorial mounts with flimsy tripods, and any scope too heavy to carry outside easily. Useful magnification tops out around 50x to 60x per inch of aperture, so larger magnification numbers are marketing, not capability. Stick with established brands and prioritize aperture and mount stability over features you do not yet need.
To see planets like Jupiter and Saturn clearly, you need at least 70mm of aperture, though 100mm or more will show noticeably more detail. Saturn’s rings become visible at around 60x magnification, which any 90mm or larger telescope can achieve on a steady night. For meaningful planetary detail like Jupiter’s cloud bands or Mars’s polar caps, a 6 inch (150mm) reflector or 4 inch (100mm) apochromatic refractor is ideal.
The best telescope mount for a beginner is a Dobsonian mount or a simple Alt-Azimuth mount. Both move up-down and left-right like your eyes naturally track, so they are intuitive and quick to set up. Equatorial mounts are useful for long-exposure astrophotography but are overkill and frustrating for beginners focused on visual observing.
If you want one answer and you want it now: buy a 6 inch or 8 inch Dobsonian from Sky-Watcher, Zhumell, or Celestron, with at least two decent eyepieces and a red-dot finder. Budget around $400. That combination handles 90 percent of what beginners want to see, fits in most cars, and sets up in under three minutes.
If you live in a small apartment or want maximum portability, get a tabletop Dobsonian or a 90mm refractor on a sturdy Alt-Azimuth mount. If you are drawn to astrophotography or app-controlled smart telescopes, research the ZWO Seestar and Unistellar lines separately, since they are a different category of gear. Either way, prioritize aperture, mount stability, and a brand with a real warranty.
Choosing your first telescope is the first step in a hobby that rewards patience, dark skies, and time spent under the stars. Pick a scope you will actually use, get outside, and let the night sky do the rest.