How to Fix Foggy Binoculars 2026
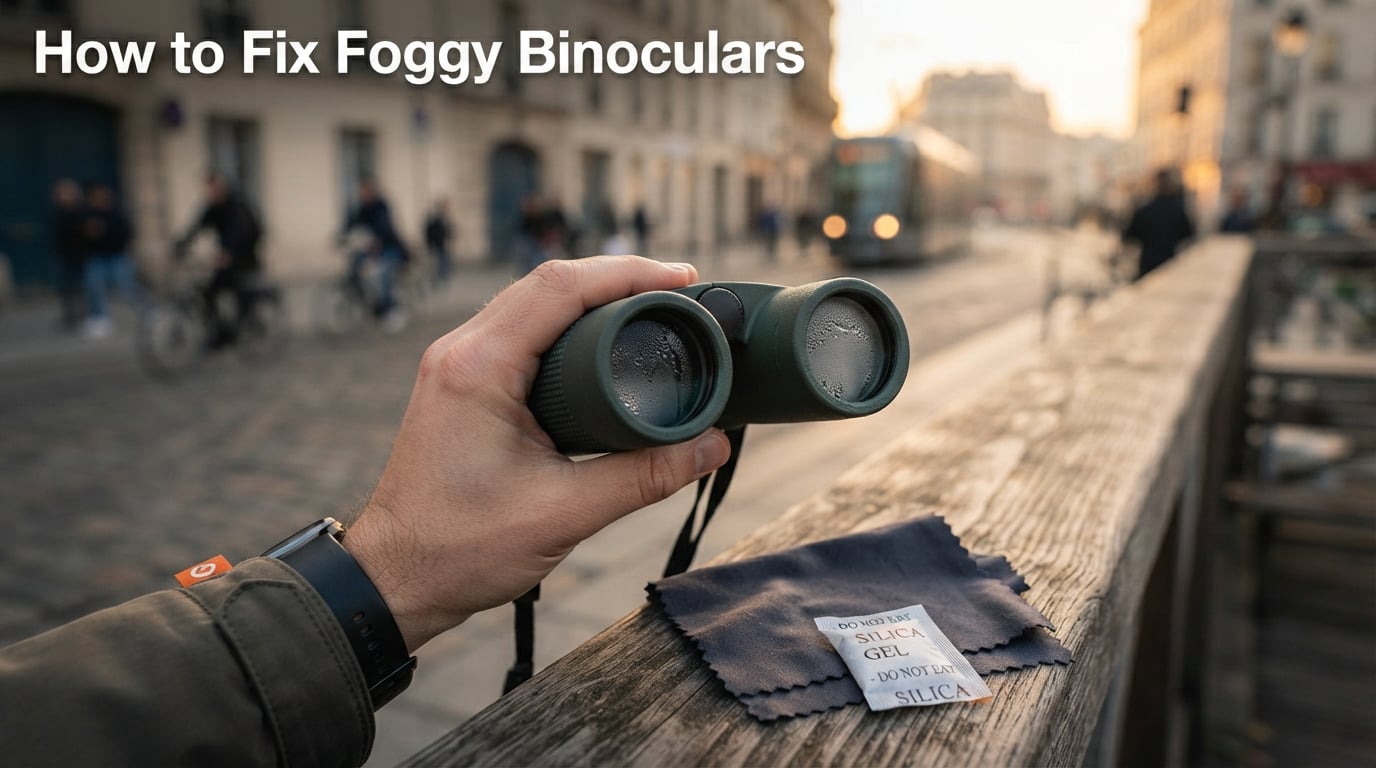
I learned how to fix foggy binoculars the hard way on a 4 a.m. street shoot in Hanoi, when steam…

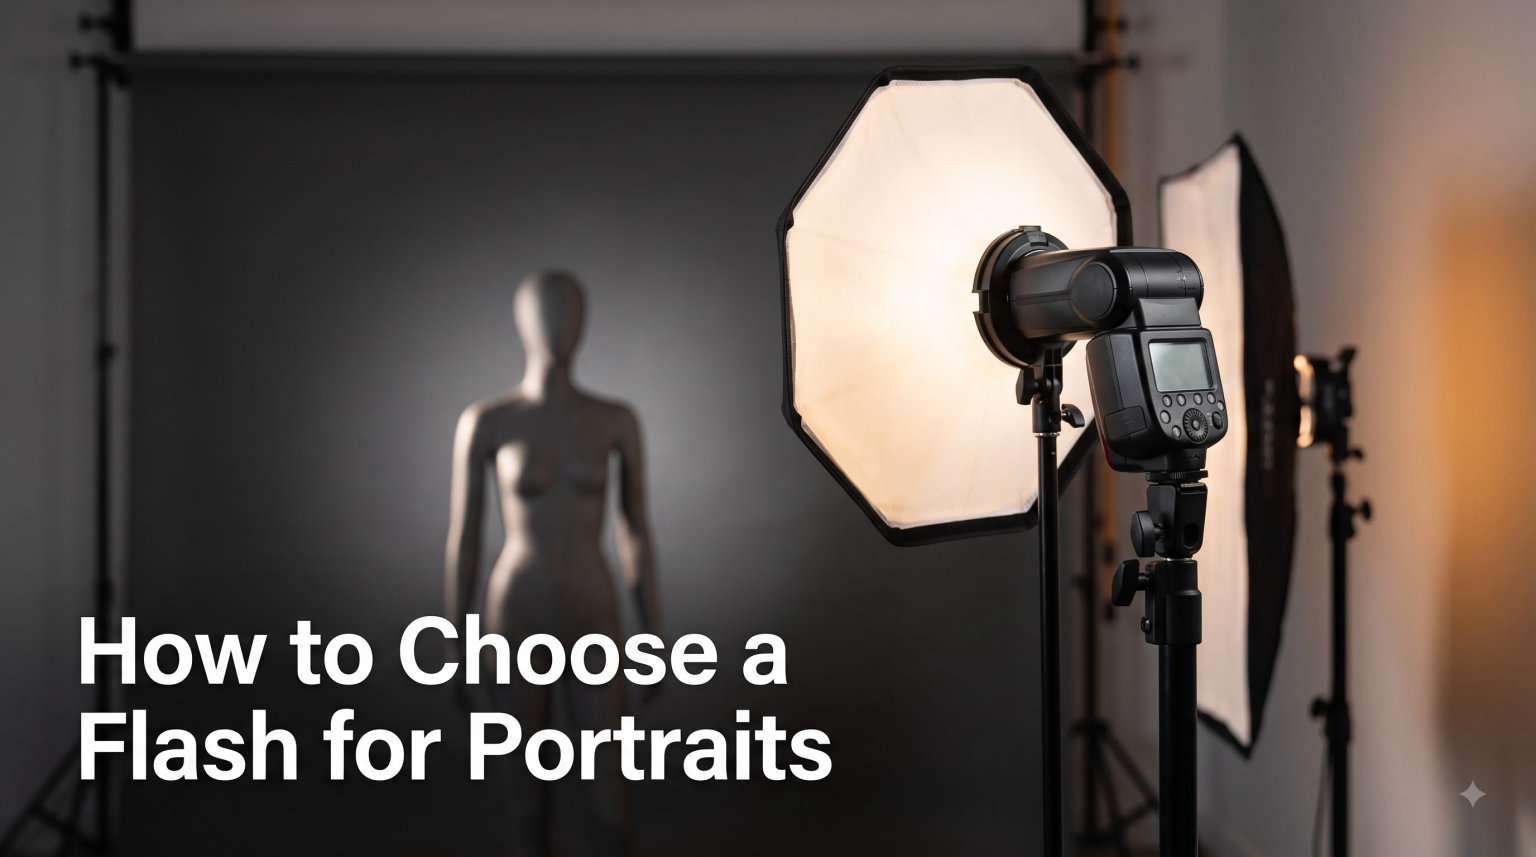
The first portrait I ever lit with flash looked like a police interrogation. Hard shadows under the eyes, shiny forehead, a startled expression from my subject who clearly wondered why I’d agreed to this. I almost gave up on flash entirely that night. Then a friend loaned me a softbox, and the same speedlight that had just tortured my sitter produced a soft, wrapping glow that looked like late-afternoon window light. Same light, different modifier, completely different portrait.
That experience taught me what choosing a flash for portraits really means. It’s less about the flash itself and more about the whole lighting system: power, control, modifier, position, and how all of those work with your camera. In this guide, I’ll walk you through how to choose a flash for portraits in 2026 using the same framework I now teach in workshops. You’ll learn the three flash categories, the five specifications that actually matter, the difference between on-camera and off-camera setups, and the modifiers that separate harsh snapshots from flattering portraits. By the end, you’ll know exactly which direction to invest in for your own style.
I’m a working portrait photographer who shoots roughly 200 sessions a year, and I’ve owned everything from a budget speedlight to a 600-watt monolight. Everything below is filtered through that hands-on experience, plus research from the top guides on the topic and feedback from photographer forums where beginners share their real confusion.
Before you can choose a flash, you need to know what’s actually on the market. Photographers throw around terms like speedlight, strobe, and monolight as if everyone knows the difference, so let’s untangle them. For portrait work, your choice will come down to three main categories, each with very different strengths.
A speedlight is the small flash unit that mounts on your camera’s hot shoe. It’s battery-powered, lightweight, and portable enough to toss in a camera bag. Guide numbers typically range from GN 30 to GN 60 (meters, ISO 100), which is plenty for headshots and small groups when used with a modifier.
I keep two speedlights in my bag at all times. They cover roughly 80 percent of my portrait assignments because they travel well, set up in under a minute, and run on AA batteries I can buy anywhere. The trade-off is power. Speedlights are weaker than studio strobes, so they’re harder to use in bright sun or with large modifiers without pushing them to full power.
Studio strobes, sometimes called monolights, are larger AC-powered units that sit on light stands. Power usually starts around 200 watt-seconds and goes up to 1,000+ ws. That extra power lets you overpower midday sun, use big softboxes, and shoot at lower ISO for cleaner files.
When I’m shooting in my home studio or on location with a car full of gear, monolights are my first choice. The downside is weight, bulk, and the need for power outlets or heavy battery packs. They are not as spontaneous as speedlights.
Ring flashes mount around your lens and produce a flat, shadowless light that’s popular for beauty shots and macro work. Specialty flashes include bare-bulb units, twin-head flashes, and battery-powered strobes that try to bridge the speedlight-monolight gap. Most portrait photographers won’t need these day-to-day, but they earn their place in fashion and beauty work.
Specs sheets are full of numbers that don’t actually matter for portraits. After testing roughly two dozen flashes over the past decade, I’ve narrowed the list to five specifications that consistently affect image quality and shooting experience. Use this as your checklist when comparing models.
Guide number (GN) tells you how powerful a flash is at ISO 100. The higher the GN, the more light you have to work with. A rough rule: GN 40 is enough for headshots at f/5.6 from 6 feet; GN 60 gives you room to push the aperture lower or add a modifier.
For studio-style portraits indoors, a GN 50 speedlight is plenty. For outdoor portraits where you want to overpower the sun as fill, look for GN 55 or higher, or consider a monolight.
Sync speed is the fastest shutter speed at which your camera can expose the entire sensor while the flash fires. Most cameras sync at 1/200s or 1/250s. Going faster usually produces a black band across the frame.
High-speed sync (HSS) lets you shoot at faster shutter speeds by pulsing the flash, which is essential for outdoor portraits at wide apertures in bright light. If you plan to shoot sun-lit portraits at f/1.8 on a beach, HSS is non-negotiable.
Recycle time is how long the flash takes to recharge between shots. A recycle time of 2 to 3 seconds at full power is comfortable; anything over 5 seconds gets frustrating during a portrait session. Battery performance matters too. A speedlight that delivers 200+ full-power shots per charge will outlast one that dies after 80.
When I shoot a 90-minute portrait session with continuous shooting, I get through it on one set of rechargeable AAs. That kind of stamina comes from flagship speedlights, not entry-level models.
TTL (through-the-lens) metering lets the camera and flash talk to each other so the flash fires at the right power for a correct exposure. Each brand uses its own flavor: Canon calls it E-TTL and E-TTL II, Nikon calls it i-TTL, and Sony uses ADI and P-TTL. The technology differs slightly but the user experience is similar: point, shoot, and the flash sorts out the exposure.
For portraits, TTL is great for moving fast at events, but most experienced shooters switch to manual once they lock in a look. Still, having TTL is useful for first shots and unpredictable situations.
A flash head that tilts up (and ideally rotates side to side) lets you bounce light off ceilings and walls instead of firing directly at your subject. Bounce flash is the single fastest way to turn harsh speedlight output into flattering portrait light. Skip any flash without a tilting head – it’s almost always wasted money.
The choice between on-camera and off-camera flash isn’t really about the flash – it’s about the kind of portrait you want to make. On-camera flash is fast, simple, and always with you. Off-camera flash takes setup but gives you total control over direction, quality, and shadows.
For environmental portraits, headshots, and any situation where you need spontaneity, on-camera flash with a bounce card or small diffuser is plenty. For studio-style portraits where you want dramatic catchlights in the eyes, sculpted shadows on the cheek, and a clean background, off-camera flash is the answer.
My rule of thumb: start with on-camera bounce for the first three months of learning flash, then invest in a wireless trigger and one light stand. That single upgrade will permanently change how your portraits look.
A bare flash – no matter how expensive – produces hard, unflattering light. Modifiers are what turn flash into portrait light. Here’s what each major modifier does and when to reach for it.
Softboxes are fabric boxes that fit over your flash and create a larger surface area of light. The bigger the softbox, the softer the light. A 24-inch softbox on a speedlight gives you a softness similar to a north-facing window. Softboxes are directional – meaning light only goes where the box points – which lets you control spill and shadows precisely.
For portraiture, a 24″ to 36″ softbox is the sweet spot for headshots and small groups. Anything larger gets soft enough to flatten features, which can look unflattering on mature skin.
Umbrellas are the cheapest and fastest modifier to set up. A shoot-through white umbrella produces soft, wrapping light perfect for environmental portraits. Reflective umbrellas create a more focused, contrasty light. Umbrellas are great for beginners because they’re forgiving and forgiving setups usually mean more shooting and less fiddling.
A beauty dish is a shallow parabolic modifier that produces a focused, slightly contrasty light with a distinctive circular catchlight in the subject’s eyes. Fashion and beauty photographers love beauty dishes because they sculpt facial features without going harsh. Most beauty dishes require monolights because they’re too large to mount on a standard speedlight without serious modifications.
Grids narrow a light’s beam for hair lights and rim lights. Snoots create a tight spot for accent lighting. Gels (colored plastic sheets) let you warm or cool your flash to match ambient light or create stylized effects. These accessories aren’t essential day-one, but they belong on every portrait photographer’s shopping list within the first year.
When I started, I thought I had to choose between TTL and manual forever. In reality, the best portrait photographers use both, switching between them depending on the moment. TTL is brilliant for unpredictable situations: events, kids running around, candid portraits where you can’t tweak settings between shots. The camera measures a quick pre-flash, calculates exposure, and fires the flash at the right power. You can usually get a correct exposure in one shot, maybe two.
Manual flash is where you dial in a specific power setting (1/4, 1/16, 1/64, etc.) and the flash fires at that level every time. Manual is more predictable once you have your exposure locked, and it’s the only way to keep multiple flashes consistent across a portrait. For studio work, manual is essential. For run-and-gun, TTL saves the day.
The 80/20 rule I’d suggest: 80 percent of your portraits will benefit from manual mode once you find a look you like, and 20 percent (the fast-moving, unpredictable ones) will benefit from TTL. Don’t let either camp tell you the other is wrong.
The 20-60-20 rule is a quick mental shortcut for balancing flash and ambient light. The idea: 20 percent of your image’s light should come from the flash, 60 percent from the key (main) ambient light source, and 20 percent from fill or secondary sources. In practice, this produces portraits that look natural because the flash is doing less work than your eye expects.
Here’s how to apply it. Start with your camera in manual mode and set the exposure for the ambient light (background, room, sky) the way you normally would. Then add flash at a power level that is roughly two stops below what would make the flash the dominant light source. The result: your subject is properly lit, the background looks normal, and no one can tell you used flash at all.
This rule works especially well for outdoor portraits where you want to fill in shadows under the eyes and chin. It’s also why many wedding and event photographers look like they’re not using flash even when their flash is firing constantly.
One of the most common questions beginners ask is whether a flash from one brand will work on another brand’s camera. The short answer: it might fire, but you’ll lose the smart features that make modern flash worth using.
Canon cameras expect E-TTL or E-TTL II signals. Nikon cameras expect i-TTL signals. Sony cameras expect ADI or P-TTL signals. Each protocol tells the camera how to communicate pre-flash data, exposure calculations, and zoom settings. Cross-brand flashes will fire, but you’ll lose TTL, HSS, and zoom automation. For portraits where you want consistent exposure without manual tweaking, staying within your camera brand’s flash ecosystem (or buying a compatible third-party flash) is the way to go.
Third-party brands like Godox, Profoto (with adapters), and Yongnuo make flashes that work across brands within their own product lines, often for less money than the camera maker’s own flashes. If budget is a concern, a Godox speedlight plus a Godox trigger is usually the best value for beginners shooting Canon, Nikon, or Sony.
Continuous lighting (LED panels, tungsten, daylight-balanced lamps) is sometimes pitched as an alternative to flash for portrait photographers who want to see the light before they shoot. There are real advantages: what you see is what you get, autofocus is easier because the light is always on, and video shooters can use the same lights for both photo and video. The downsides are significant for still portraits: continuous lights produce heat, eat batteries or pull serious power, and have to run at lower output to avoid frying your subject.
Flash produces a brief, intense burst that freezes motion and gives you far more light per watt of power. A modest speedlight puts out more usable light than a $400 LED panel. Flash also lets you overpower the sun outdoors, which continuous light essentially cannot do.
My honest recommendation: if you shoot primarily still portraits and want maximum light quality per dollar, choose flash. If you shoot hybrid stills and video, or you want the simplest learning curve, choose continuous. Either can produce beautiful portraits – the question is which workflow fits your style.
Now that you know the categories, specs, and modifier options, here’s the step-by-step process I use when helping photographers pick a flash. Walk through these in order and you’ll end up with a clear answer.
Are you shooting indoor studio portraits, outdoor environmental portraits, events, or a mix? Indoor studio work leans toward monolights with bigger modifiers. Outdoor and event work leans toward speedlights. Mixed shooting means you want both, and you probably want to start with a speedlight because they’re more versatile.
Entry-level speedlights from third-party brands start at very accessible prices and deliver roughly 80 percent of what flagship speedlights offer. Mid-tier speedlights add features like HSS, faster recycle, and longer battery life. Flagship speedlights from Canon, Nikon, and Sony (plus premium third parties) include weather sealing, more power, and refined TTL. Studio strobes start higher but include modeling lights and far more power.
Outdoor portrait shooter? Prioritize HSS and high GN. Event photographer? Prioritize fast recycle, reliable TTL, and tilt/swivel head. Studio shooter? Prioritize consistent color temperature, modeling light, and monolight power. Make a short list of two or three features you must have – everything else is nice-to-have.
Budget for at least one modifier alongside your flash. A 32-inch shoot-through umbrella is the cheapest way to transform portrait light. A 24″ softbox offers more directional control. Add a wireless trigger, a light stand, and a reflector, and you have a complete portrait lighting kit for less than some people spend on a single flash alone.
Whatever you buy today should grow with you. Look for systems that allow multiple flashes, easy trigger upgrades, and compatibility with a wider modifier ecosystem. Brand loyalty matters less than ecosystem compatibility. If you buy into Godox, Profoto Air, or another radio system, you can add lights for years without replacing your triggers.
The best flash for portrait photography depends on your style. For most beginners, a mid-tier TTL speedlight (GN 50+) with a tilting head and HSS works for 80% of situations. For studio-style work, a monolight in the 200-400 watt-second range gives you more power for big modifiers. Pair the flash with a 24-36 inch softbox or shoot-through umbrella for flattering portrait light.
A classic single-light setup includes one speedlight or monolight, a wireless trigger, a light stand, and a softbox or umbrella placed at a 45-degree angle to your subject slightly above eye level. Add a reflector on the opposite side to bounce light back into shadows. For more advanced work, add a hair light or rim light behind the subject to separate them from the background.
The 20-60-20 rule is a flash exposure guideline: 20% of the image’s light comes from the flash, 60% from the key ambient light source, and 20% from secondary fill or ambient sources. In practice, you set your camera for the ambient exposure first, then add flash at a power level about two stops below what would make the flash dominant. This produces natural-looking portraits where the flash is doing less work than your eye expects.
Flash is generally better for still portraits because it produces more light per watt of power, freezes motion, can overpower daylight outdoors, and stays cool. Continuous LED lighting is better for hybrid photo/video shooters, beginners who want to see the light before shooting, and situations where flash recycling would slow you down. Both can produce flattering portraits when used with the right modifiers.
A flash from one brand can usually fire on another brand’s camera in basic manual mode, but you will lose brand-specific features like TTL metering, high-speed sync, and automatic zoom. Canon uses E-TTL, Nikon uses i-TTL, and Sony uses ADI/P-TTL. Third-party brands like Godox make flashes that support multiple TTL protocols across Canon, Nikon, and Sony, often for less money than the camera maker’s own flashes.
Choosing a flash for portraits in 2026 comes down to three honest decisions. First, decide whether you need the portability of a speedlight or the power of a monolight. Second, prioritize the five specs that actually matter: guide number, sync speed, recycle time, TTL, and tilt head. Third, plan a modifier from day one, because bare flash on bare faces is what turns people off flash for good.
If you’re a beginner starting out, I’d point you toward a mid-tier TTL speedlight with a tilting head plus a 32-inch shoot-through umbrella and one wireless trigger. That kit covers the majority of portrait scenarios and teaches you the core skills without overcommitting. If you already shoot portraits regularly and want more power, look at a 200-400 watt-second monolight with a 36-inch softbox. And if you’re somewhere in between, a hybrid setup with one speedlight for location and one monolight for studio will carry you through almost any assignment.
The flash itself is rarely the bottleneck in portrait photography. The bottleneck is usually modifier, position, and practice. Pick a flash that fits your camera system and budget, learn to use it in TTL and manual, and spend the rest of your time learning how light falls on a face. That’s how you go from harsh snapshots to portraits that look like window light – even when there isn’t any.