How to Choose a Birdhouse (August 2026)
When I put up my first birdhouse fifteen years ago, it was a flimsy pine box from a garden center…

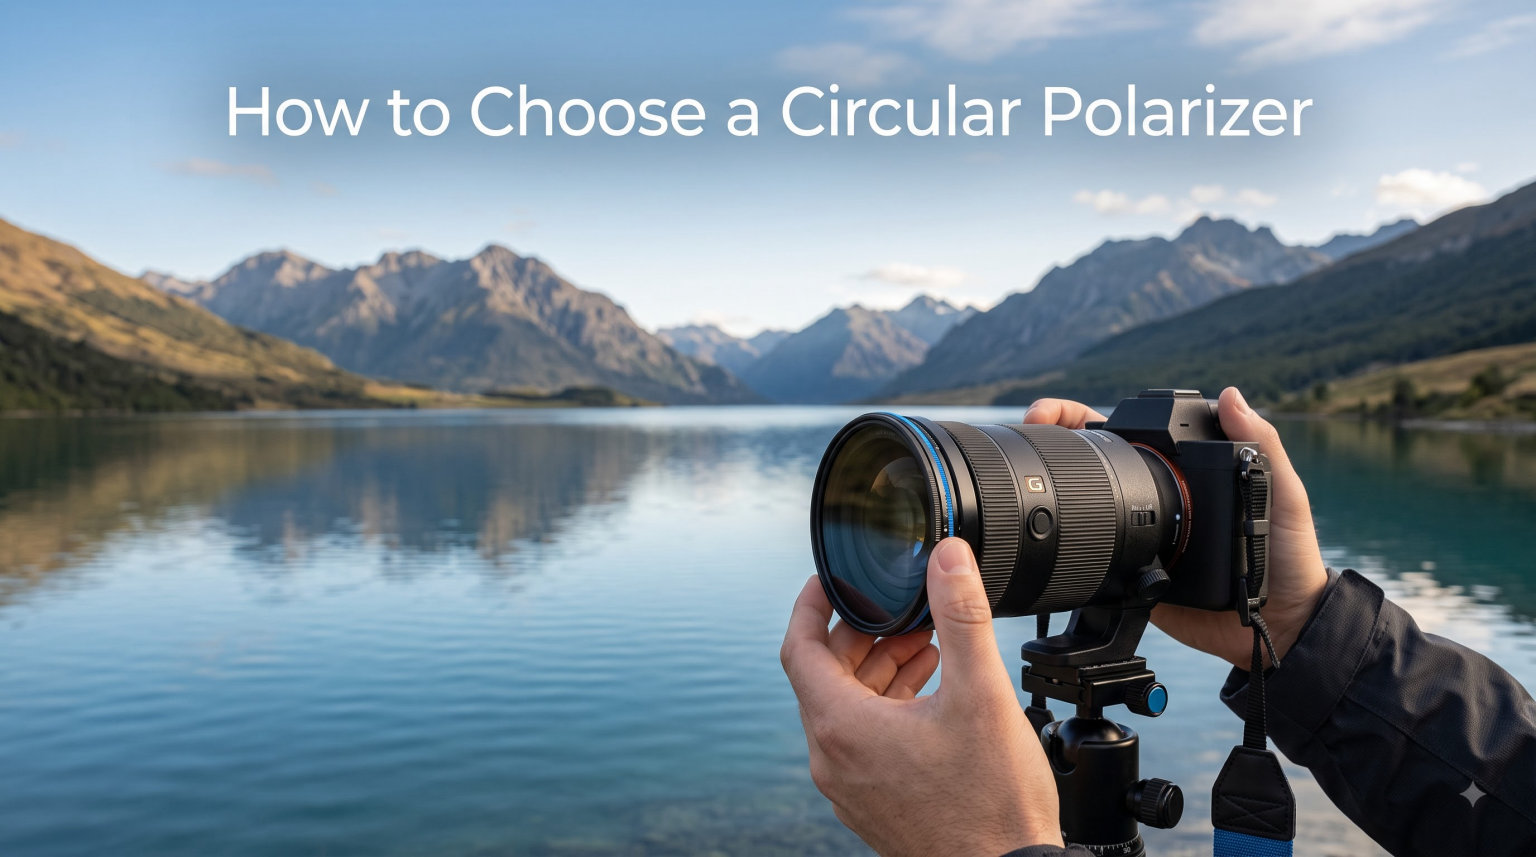
Choosing a circular polarizer is one of the highest-leverage decisions a photographer can make, because the right filter quietly transforms flat, hazy scenes into vivid, contrast-rich images without any digital editing at all. I remember the first time I screwed a circular polarizer onto my 24-70mm lens at a mountain overlook: the sky went from pale gray-blue to a deep, almost indigo color, and the haze over the valley simply vanished. That single accessory changed how I shoot outdoors. In this guide I’ll walk you through how a circular polarizer works, the differences between linear and circular types, how to match a polarizer to your lens, the rotation technique that controls the effect, and how to spot quality filters worth your money in 2026.
A circular polarizer is a screw-on camera lens filter that reduces reflections, eliminates glare, deepens blue skies, and boosts color saturation by selectively blocking polarized light waves. Light bouncing off non-metallic surfaces like water, glass, and foliage becomes polarized, meaning the light waves vibrate in one dominant direction, and a circular polarizer filters those waves out. What remains is cleaner color, stronger contrast, and visibly darker skies.
Think of it like polarized sunglasses for your lens. Just as sunglasses cut glare off a wet road, a circular polarizer cuts glare off a stream, a lake, or a glass-fronted building. Because the filter physically blocks light before it hits your sensor, the effect happens in-camera and is baked into your RAW or JPEG file. There is no post-processing trick that fully replicates it.
Circular polarizers are most useful for landscape photography, nature photography, architecture, water scenes, and any outdoor work shot in bright, directional sunlight. Street photographers working in mixed lighting also reach for them to tame reflections off shop windows. They are less useful in low light, indoors, or when you specifically want to keep reflections for storytelling.
Light travels in waves, and under most natural conditions those waves vibrate in every direction. When light hits a flat, non-metallic surface at a low angle, the reflected light tends to vibrate mostly along one axis. We call this polarized light. A circular polarizer contains two key elements: a linear polarizer layer that blocks light vibrating in a specific direction, and a quarter wave-plane element that re-circularizes the remaining light so your camera’s autofocus and metering systems still work correctly.
As you rotate the outer ring of the filter, the linear polarizer layer turns relative to your lens. When the blocked axis lines up with the dominant vibration of reflected glare, glare disappears and colors deepen. When it rotates 90 degrees, the effect flips and you may suddenly see MORE reflection, which is a useful trick when you want to capture a reflection as part of the composition.
This is why the “circular” in circular polarizer is important. Older linear polarizers break autofocus and auto-exposure on modern cameras, especially DSLRs and mirrorless bodies with sophisticated metering. The quarter wave-plane element keeps the light arriving at your sensor behaving in a way your camera can interpret, so you can shoot confidently in aperture priority, shutter priority, or program modes without exposure surprises.
Linear polarizers filter polarized light the same way a circular polarizer does, but they lack the quarter wave-plane element on the back. For purely manual focus cameras without autofocus or through-the-lens metering, linear polarizers work fine. For any modern DSLR, mirrorless camera, or even a point-and-shoot with autofocus, you need a circular polarizer to avoid erratic exposure and focus behavior.
In 2026, there is essentially no reason to buy a linear polarizer unless you shoot with a vintage manual-focus film camera. Manufacturers have largely phased them out of consumer lines. If you see an unusually cheap polarizer listed as “linear,” treat that as a red flag for budget gear that pre-dates modern camera electronics, or a mislabeled product. When in doubt, buy circular.
One common misconception: the “circular” label does not describe a round shape. It describes the circular polarization effect created by the quarter wave-plane element. All screw-on polarizers are physically round. The name refers to the optical physics, not the form factor.
The filter size you need is determined by your lens’s filter thread, which is the diameter of the front of the lens measured in millimeters. You can find this number two ways: printed on the front of the lens near the glass (look for the diameter symbol, like Ø72mm), or listed in your lens specifications.
Common filter sizes by brand and lens type:
Canon and Nikon DSLR kit zooms: 58mm, 67mm, 72mm, 77mm
Sony mirrorless zooms: 49mm, 55mm, 62mm, 67mm, 72mm, 77mm, 82mm
Fujifilm mirrorless primes: 39mm, 43mm, 52mm, 58mm, 62mm, 67mm, 72mm, 77mm
Sigma and Tamron third-party zooms: often 67mm, 72mm, 77mm, 82mm, 86mm, 95mm
If your lens takes an unusual size, or you own several lenses with different thread sizes, a step-up ring system lets you buy one 77mm or 82mm polarizer and use it across all your lenses with adapter rings. This saves money and keeps your bag lighter. The trade-off: step-up rings can introduce vignetting on wide-angle lenses and prevent you from using a lens hood designed for the smaller thread.
Quick tip: never force a filter that does not thread smoothly. Forcing it cross-threads the filter and your lens mount, and a repair is far more expensive than buying the right size.
Once the filter is mounted on your lens, slowly rotate the front ring while looking through the viewfinder or at your live view screen. You’ll see the effect change continuously. Watch for these key positions:
Maximum polarization: glare disappears, skies are deepest blue, colors saturate.
No polarization: the filter is rotated 90 degrees from maximum; reflections return at full strength.
On most circular polarizers, the rotation range you need is roughly 90 degrees of total travel between maximum and minimum effect. There is a tactile detent or smooth friction depending on the brand. Higher-end filters turn more smoothly and hold position better, which matters when you shoot at unusual angles.
For landscapes, set up your composition first, then rotate the polarizer to darken the sky without making it look unnaturally black. The goal is a pleasing sky, not a midnight effect, which can look artificial. For water scenes, rotate until surface glare vanishes enough to reveal what’s beneath, but leave a hint of reflection if it adds depth.
A circular polarizer works hardest when the sun is roughly 90 degrees to your shooting axis, meaning the sun is to your side, not behind you and not in front of you. When you shoot toward the sun or with the sun directly behind you, polarization has minimal effect. When the sun is to your left or right at roughly a right angle, polarization is at its strongest.
This is why landscape photographers talk about “golden hour with side light” as ideal polarizer conditions. The low sun sits off to the side, the sky is at maximum polarization angle relative to your lens, and the effect is dramatic. At noon with the sun overhead, the effect diminishes. With sun directly behind you shooting at a subject in front, you get virtually no polarization effect at all.
Practical test: extend your arm and point at the sun. Rotate your pointing finger 90 degrees to either side. That’s roughly where your subject should sit relative to the sun for maximum polarizer effect. Once you internalize this rule, you can predict polarizer performance without test shots.
A circular polarizer typically loses between 1 and 3 stops of light depending on how much polarization is active at that rotation. At maximum effect, expect closer to 2 stops; at minimum effect, the loss drops to about 1 stop. This light loss matters in two ways: it affects exposure, and it affects shutter speed and depth of field choices.
In bright daylight at ISO 100, 1-2 stops of light loss is rarely a problem. In shaded forests, overcast weather, or indoor conditions, the same polarizer can force you to push ISO higher, slow the shutter, or open the aperture, all of which affect image quality. Some photographers carry a polarizer only when conditions are bright enough to absorb the light hit.
Your camera’s through-the-lens metering handles the loss automatically when set to aperture priority or program mode. You do not need to manually compensate. But if you shoot in full manual mode, dial in 1.5 to 2 stops of compensation after mounting the filter and rotating to a typical working position, then adjust from there based on your scene.
Wide-angle lenses reveal a polarizer weakness that longer focal lengths hide: uneven polarization across the frame. Because the angle of incoming light varies more dramatically from one edge of the frame to the other at 16mm or 24mm, the polarizer darkens the sky more in some parts of the frame than others. The result is a visible band or gradient that looks unnatural and is difficult to fix in post.
Solutions for wide-angle shooters: use a thinner filter ring (often called “slim” or “wide-angle” versions) to avoid vignetting, consider a smaller rotation range so the effect is moderate across the frame, and accept that some wide-angle sky shots simply will not benefit from full polarization. On ultra-wide lenses like 14-24mm zooms, many photographers skip the polarizer altogether and rely on graduated ND filters or post-processing.
For 35mm and longer focal lengths, uneven polarization is rarely visible. These focal lengths handle circular polarizers beautifully and are where you’ll see the most dramatic results.
Quality differences between budget and premium circular polarizers show up in three places: coatings, glass, and mechanical build. A cheap polarizer can introduce color cast, lower contrast, and ghosting in backlit scenes. A premium one stays optically neutral and lets your lens perform as the manufacturer designed.
Coatings to look for:
Multi-Resistant Coating (MRC): reduces reflections on the filter surface, improves light transmission, and makes the glass easier to clean.
Nano coatings: an evolution of MRC that bonds to the glass at a molecular level, repelling water and oil more aggressively than standard coatings.
Anti-reflective backside: a coating on the rear element that prevents light bouncing between filter and lens, which reduces flare and ghosting.
Glass quality to look for:
Optical glass from makers like SCHOTT or Hoya is a strong quality signal. Polished, water-white glass with consistent thickness across the filter matters. Cheap glass can introduce subtle distortion, especially at wide apertures. Resin filters are lighter and cheaper but rarely match optical glass for image quality.
Build details that matter in the field:
A smooth, well-damped rotation ring that holds position when you let go. A thin or slim profile that does not cause vignetting on wide-angle lenses. Front filter threads that accept a lens cap or a second filter for stacking. A knurled grip that turns easily with cold or wet fingers. These small touches separate daily-use filters from budget ones you tolerate.
You generally do not need to buy the most expensive brand to get a good result. Mid-tier options from respected manufacturers often deliver 90 percent of the image quality of flagship filters at half the cost. The difference between mid and premium often comes down to coatings and build feel rather than raw optical performance.
The polarizer buying decision collapses into four practical checks. Walk through them in order and you’ll land on a filter that matches your lens, your subjects, and your budget without overpaying for features you’ll never use.
Start with size, because the wrong size is unusable no matter how good the optics. Check the front of your lens for a diameter marking, look up your lens specs, or buy a step-up ring system if you own multiple lenses. When in doubt, call the retailer with your lens model and confirm the thread size before ordering.
Shoot near water, in humid coastal air, or in places where you’ll be cleaning the filter constantly? MRC or nano coatings save real time and produce cleaner images. Shoot mostly in dry, easy conditions? A standard multi-coated filter will serve you well and cost less.
If you shoot RAW and correct color cast easily in post, basic optical glass works fine. If you shoot JPEG or rely on in-camera color straight from the sensor, invest in water-white glass with neutral coatings. The marginal cost is justified by the time saved in editing.
Buy the best filter your budget allows for the lens you use most. A premium filter on a kit lens is wasted; a budget filter on a professional prime is a bottleneck. Match quality to your lens and treat the filter as part of the optical system rather than a generic accessory.
A circular polarizer is a camera lens filter that reduces reflections and glare by blocking polarized light reflected from non-metallic surfaces, while enhancing color saturation and contrast in photographs. It cuts haze, deepens blue skies, and removes surface glare from water and glass before the light reaches your sensor.
Match the filter thread size printed on the front of your lens, listed in millimeters with a diameter symbol like Ø72mm. Common filter sizes include 58mm, 67mm, 72mm, 77mm, and 82mm. If you own multiple lenses with different threads, use step-up rings to share one polarizer across all of them.
Linear polarizers filter polarized light but lack a quarter wave-plane element, which causes autofocus and auto-exposure to behave erratically on modern DSLR and mirrorless cameras. Circular polarizers add that quarter wave-plane element so light arrives at the sensor in a form your camera can interpret, making them the correct choice for any autofocus camera in 2026.
A circular polarizer typically loses between 1 and 3 stops of light depending on rotation position. At minimum effect expect about 1 stop; at maximum effect expect closer to 2 stops. Your camera’s meter compensates automatically in aperture priority mode.
You can use a circular polarizer with any lens that has a filter thread, but wide-angle lenses below 24mm often show uneven polarization across the frame. For ultra-wide zooms, use a slim filter ring and accept moderate rotation, or skip the polarizer entirely and rely on graduated ND filters.
Yes, you can stack a circular polarizer with other screw-in filters like UV or ND filters, but every layer of glass risks introducing flare, ghosting, or vignetting on wide-angle lenses. Premium anti-reflective coatings reduce these issues, and stacking is generally safe on standard zooms and primes at 35mm and longer.
The right circular polarizer is the one matched to your lens diameter, coated well enough to stay neutral, and rotated carefully for the scene you are framing. Start by confirming your filter thread size, then choose a mid-tier coated filter from a known brand, mount it on a 35mm-or-longer lens, and practice the rotation technique at the 90-degree sun angle. Within a single afternoon of shooting, you’ll have a feel for how the filter shapes reflections and skies, and you’ll know whether to upgrade to premium glass or stick with what you have. In 2026, a single well-chosen circular polarizer remains one of the most efficient tools in any outdoor photographer’s bag.