What Scope for a Deer Rifle? 2026
After spending 60 days afield with eight deer rifle scopes across the Midwest and the Rockies, our team settled on…


I once watched a friend burn through two boxes of premium hunting ammo at the range without ever touching a 100-yard target. Every miss was avoidable, because he had just mounted a new scope and never aligned it with his barrel first. That alignment step is called bore sighting, and learning how to bore sight a rifle at home takes about 20 minutes and costs you nothing if you use the free method I’ll walk you through below.
Bore sighting is the process of aligning your scope’s reticle with the rifle’s actual barrel axis so your first live shots land on paper. Our team has set up dozens of rifles this way in garages and basements, from bolt guns to ARs, and a properly bore-sighted rifle can reach a confirmed zero in as few as three to five rounds. If you’re pairing this with new glass, our picks for the best rifle scopes under $300 are all straightforward to bore sight at home.
Bore sighting and zeroing are two different jobs. Bore sighting gets your reticle roughly lined up with where the barrel points; zeroing confirms exactly where the bullet hits at a specific distance using live rounds.
The distinction matters because of two terms: point of aim (where your reticle sits) and point of impact (where the bullet actually lands). Bore sighting closes the gap between them before you spend a single cartridge.
I think of it as a head start, not a finish line. Skip it, and you may be cranking turrets blind while expensive rounds land somewhere off-target entirely.
Yes, boresighting can absolutely be done at home – a garage, basement, or even a long hallway works fine. Here’s the short list:
The stable rest is the one item people try to skip, and it ruins the whole process. If the rifle shifts an inch between when you look through the bore and when you check the reticle, your adjustments are meaningless.
At what distance should you bore sight a rifle? Anywhere from 10 to 30 feet indoors up to 25 yards outdoors, with 25 yards being the standard because it balances precision against space requirements. At that distance, small turret adjustments produce visible reticle movement on the target, yet the setup still fits most driveways or backstops.
You might wonder why not just do it at 100 yards. Indoors, it’s physically impossible, and even outside, a tiny laser dot or target becomes hard to see precisely at long range. Reddit shooters in r/ar15 consistently note it’s much easier to see the dot at 10 yards than 50, and one common workflow is boring sighting at around 30 yards indoors – basically as far as the space allows – then finishing at the range.
If you only have a hallway, don’t worry: bore sighting at 25 feet still gets you close enough that range confirmation is quick.
Here’s the condensed procedure, then each step explained:
This is non-negotiable. Remove the magazine, open the action, and physically look and feel that the chamber is empty before anything else. For a bolt-action, remove the bolt entirely – that also opens your viewing path down the barrel.
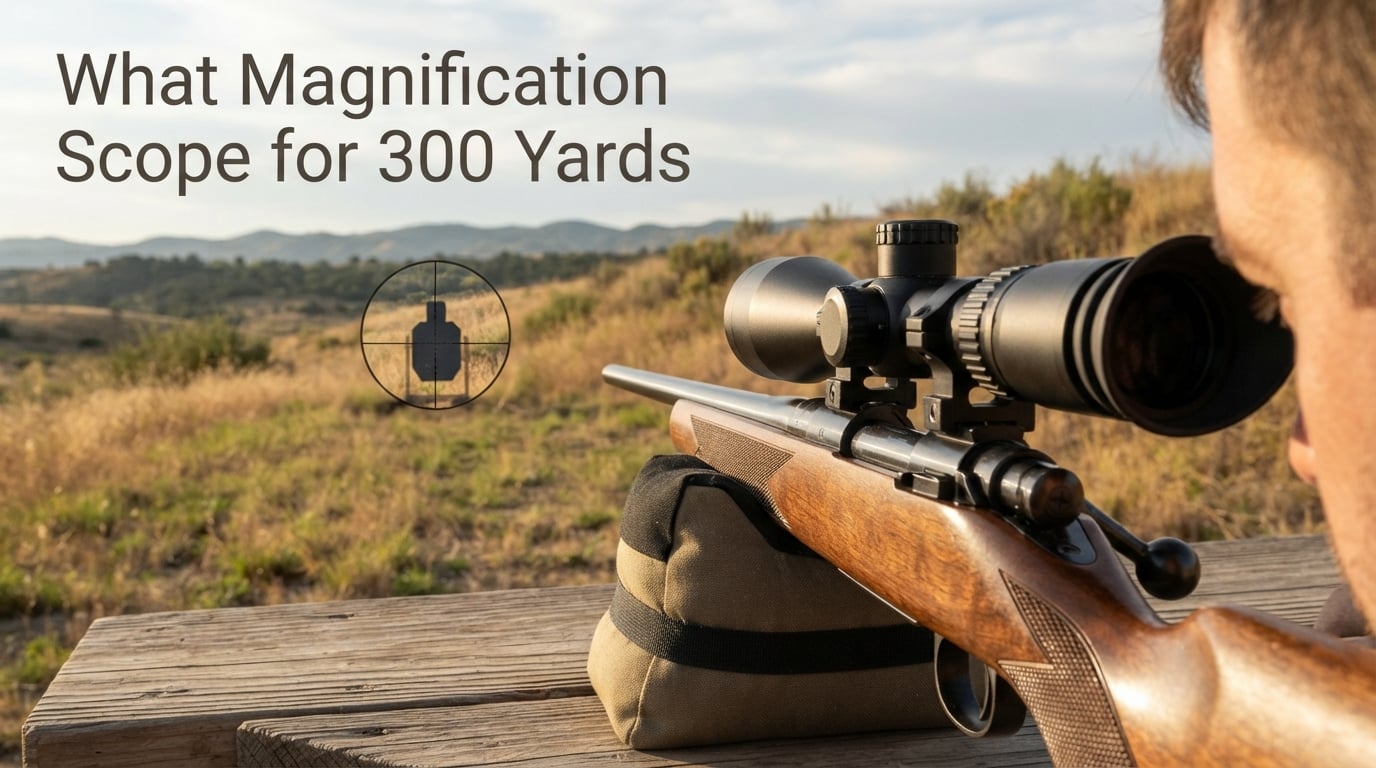
Tape your bullseye target at the measured distance and lock the rifle into the rest, muzzle pointing safely downrange toward the wall or backstop. Level the rifle left-to-right as best you can; a canted rifle tilts your reference frame.
With the bolt out, position your eye behind the action and center the bullseye inside the circular bore opening. This is the rifle’s true point of aim – the honest truth of where the barrel points. Rifles you can’t see through, like lever-actions, need the laser method covered below.
Here’s the part that confuses everyone: the reticle moves opposite to how the bullet would move. If the reticle sits low-right of the bullseye while the bore is centered, turn elevation up and windage right until they match. If you want the deeper mechanics, we explain how windage and elevation turrets work in a separate guide.
Click math helps here: a quarter-MOA scope needs 16 clicks per inch at 25 yards. Count your clicks so you know roughly where you stand.
No bolt hole? Some semi-autos won’t give a clear view down the barrel. Use the mechanical center fallback: turn each turret fully one direction counting clicks, then come back half the total count. That’s the mechanical center of the turret, a decent starting point before laser work or range time.
What is the best way to bore sight a rifle? For most home users with a removable bolt, the free look-through method wins; for lever-actions, AKs, or ARs, a chamber-type cartridge laser is the practical choice. Here’s how the four main methods stack up:
One warning from experience and from forum consensus alike: a muzzle brake adds spacing ahead of the crown, which throws muzzle-type lasers off. With a braked rifle, use a chamber-inserted cartridge laser instead.
AR-platform rifles make bore sighting easy in a different way. Pull the rear pin, separate the upper from the lower, remove the bolt carrier group, and set the upper on a rest. Look straight down the barrel from the receiver end, center your target, then adjust the optic to match – no disassembly beyond that needed.
Lever-actions and many AK-pattern rifles block the view through the action, so the free method is out. A cartridge laser sized to your caliber solves this in minutes; slide it into the chamber, close the action, and align the dot with your reticle.
Digital and night vision optics follow the same logic, though their menus differ. If you run electronic glass, our guides to bore-sighting a digital night vision scope like the Wraith 4K Max, and zeroing a digital night vision scope like the Pulsar Digisight Ultra N455, cover the device-specific quirks.
Want your bore sighting session to pre-load a 100-yard zero instead of a 25-yard zero? Use the classic rule: place the reticle 1 inch low at 25 yards rather than dead-center.
Because of sight height above the bore, a trajectory zeroed at 100 yards crosses the line of sight in a way that puts it roughly 1 inch high at 25 yards – so aiming your reticle 1 inch low mimics that relationship indoors. For AR-style rifles, height over bore is greater, so use about 1.5 inches low at 25 yards instead.
This trick comes from Army Marksmanship Unit instructors and hunting writers who swear by it. It’s approximate, and your specific cartridge and mount height shift the numbers slightly, but it turns a rough alignment into a genuine head start on a 100-yard zero.
What are the common bore sighting mistakes? These five account for nearly every failed attempt I’ve seen:
How accurate is bore sighting a rifle? Honest answer, backed by r/guns community consensus: it reliably gets you on a piece of paper at roughly 15 to 20 yards, and that’s the ceiling of its promise. As one r/liberalgunowners shooter put it, a bore sight “isn’t meant to set an accurate zero, just give you a head start.”
Laser bore sighters are worth the money if you shoot multiple rifles, own a lever-action or AR, or re-check zeros after off-season storage. If you have one bolt-action with a removable bolt, the free look-through method does the same job.
I’ve seen marketing claim at-home lasers deliver a 100-yard zero. Treat those claims skeptically – the community certainly does.
Bore sighting ends at the range, not replaces it. Here’s the confirmation sequence:
Total ammunition cost: usually three to five rounds. Compare that to my friend’s two boxes of premium ammo, and the value of 20 minutes at home becomes obvious. This workflow pairs well with proper mounting technique – see how we bore sight a new scope before heading to the range in our varmint scope setup guide.
Bore sight at anywhere from 10 to 30 feet indoors up to 25 yards outdoors. Twenty-five yards is the standard because turret adjustments show clearly at that range and it supports the 1-inch-low rule for a 100-yard zero. Closer indoor distances still get you close enough for quick range confirmation.
Yes. A garage, basement, or hallway with a taped target and a stable rest is all you need for the free look-through method. Laser bore sighters make the process even easier at home, especially for rifles where you cannot see through the bore.
Bore sighting reliably puts your shots on paper at roughly 15 to 20 yards, per widespread community consensus. It is a rough alignment, not a true zero. Live-fire confirmation at the range remains essential before hunting.
They are worth it if you own multiple rifles, a lever-action or AK that blocks the bore view, or an AR-15 you re-zero often. For a single bolt-action with a removable bolt, the free visual method accomplishes the same result.
Not for the initial alignment. At 100 yards the target details and laser dots become too imprecise to adjust against, and most homes lack the space. Bore sight at 25 yards using the 1-inch-low rule, then confirm the actual zero at 100 yards with live rounds.
Fire one round at 25 yards to verify you are on paper, adjust to center or 1 inch low, then move to 100 yards and dial a three-shot group onto your zero point. Most rifles reach a confirmed zero in three to five rounds after a good bore sight.
If you prioritize spending zero dollars, use the look-through-bore method with a sandbag rest. If your rifle hides its bore, buy a chamber-type cartridge laser. If you want a running head start on a 100-yard zero, apply the 1-inch-low-at-25-yards rule either way.
Learning how to bore sight a rifle at home converts wasted range money into confirmed zeroes in three to five rounds. Pick your method, set your 25-yard target, and get your rifle on paper before your next trip out in 2026 – your ammo budget will thank you.