How to Fix a Loose Scope2026
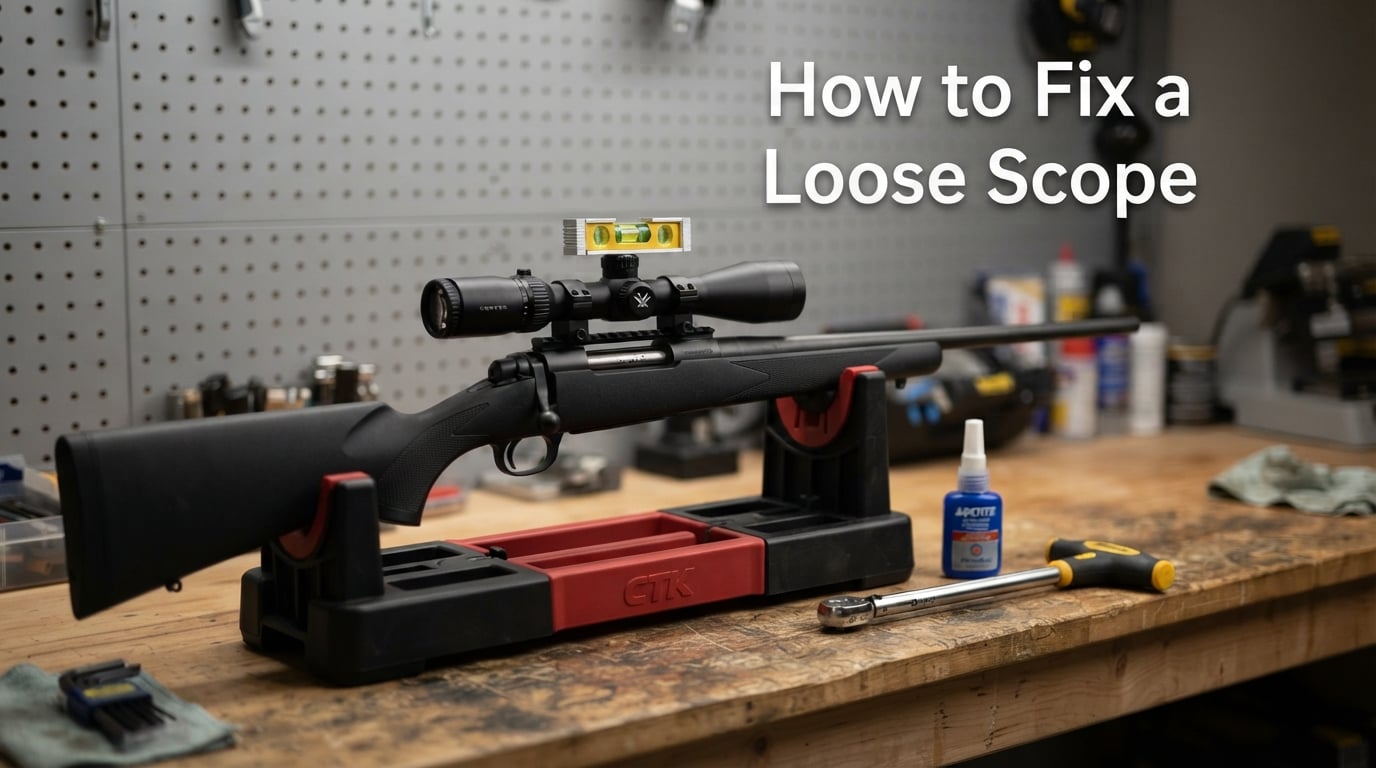
A loose scope almost always comes down to one of three joints losing clamping force under recoil or vibration, and…

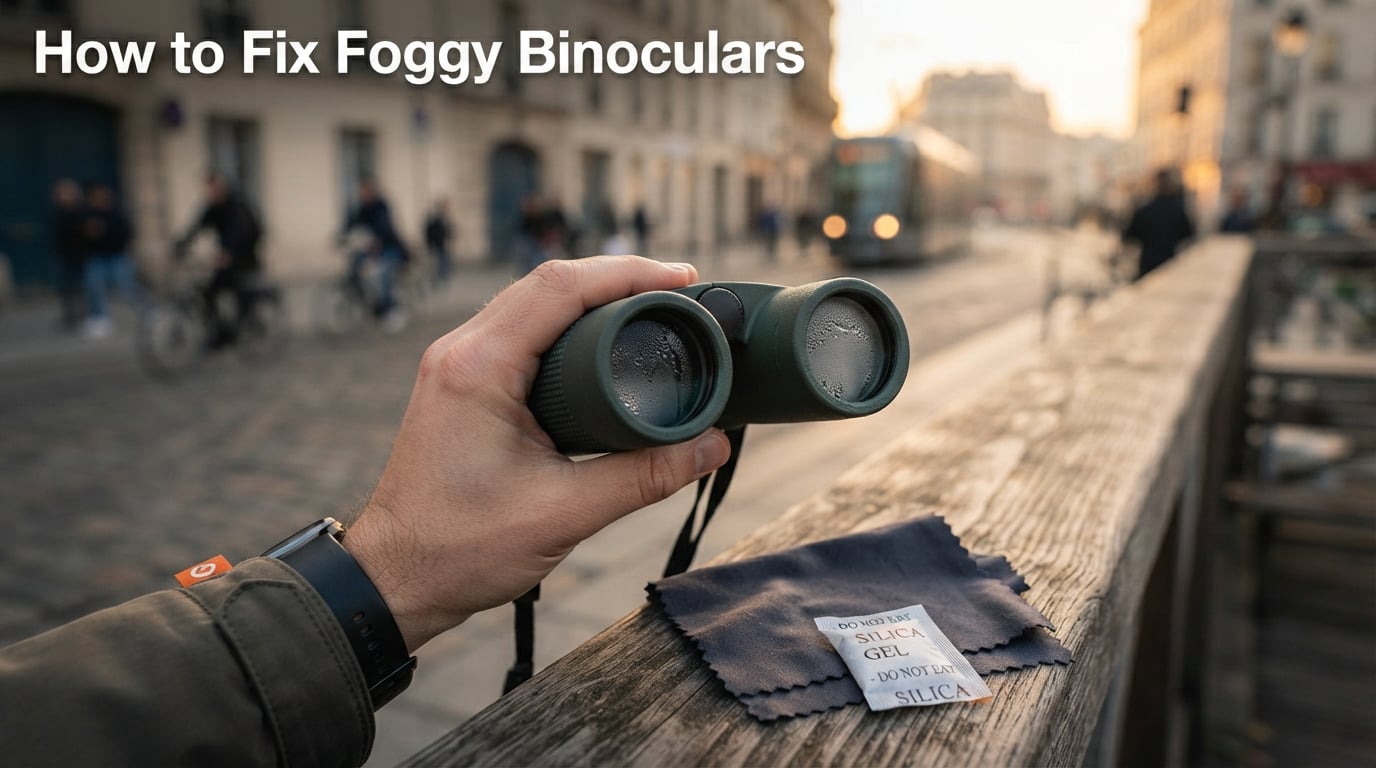
I learned how to fix foggy binoculars the hard way on a 4 a.m. street shoot in Hanoi, when steam from a noodle cart turned my optics into a soft-focus blur right as a cyclist cut across the frame. If you shoot in cold mornings, tropical humidity, or any climate that swings between hot and cold, fog will find you.
The good news: most fog is fixable in the field in under five minutes. The rest is fixable at home with a bag of silica gel. Only a small slice of binocular fog is genuinely terminal, and even then the fix is a warranty claim, not the trash can.
This guide is built for street, travel, and wildlife photographers who actually use their binoculars in rough conditions, not just in climate-controlled showrooms. I’ll walk you through the physics, the two types of fog, the fastest fixes, and the prevention habits that make fog a rare event instead of a daily annoyance.
Quick answer: There are only two kinds of binocular fog. External fog is condensation sitting on the outer glass or eyepieces from humidity or temperature change, and it wipes off with a microfiber cloth or a breath of anti-fog spray. Internal fog is moisture trapped inside the sealed body from a broken seal, and it cannot be wiped off; that needs silica gel drying at home or, if the seal has failed, a warranty repair.
Fog is just condensation. It happens when humid air touches a surface that is colder than the air’s dew point, the temperature at which water vapor turns back into liquid. The glass inside your binoculars does not care whether you are hunting, birding, or framing a dawn street scene. It only cares about temperature and moisture.
Three things cause the condensation you see:
For street photographers specifically, the worst combo is dawn air in the 60–70°F range, body heat rising off your chest, and a binocular body that has been sitting in a cooler bag overnight. Breath fog, lens fog, and eyepiece fog all show up in the same half hour of shooting.
Anti-fog coatings, nitrogen purging, and sealed bodies all attempt to control the same variable: keeping liquid water off optical surfaces. None of them fully beat the physics. They just buy you more time.
Before you do anything, run the wipe test. It takes ten seconds and tells you which fix path to follow.
That distinction matters because the two fogs have completely different causes and completely different fixes. External fog is a moisture event. Internal fog is a seal failure, full stop. No amount of wiping, breathing, or anti-fog spray will clear moisture trapped inside the housing.
One more tell: if your binocular was advertised as fog-proof or waterproof, internal fog means the seal has been compromised. It was once filled with dry nitrogen or argon gas; a leak let humid air in, and the vapor condensed on the cooler internal glass. That is a warranty repair in most cases, which I’ll cover below.
External fog is the easy one. Your job is to remove the moisture without scratching the lens coating. Here is the fastest routine I use.
Lens-coating safety warning. Not every anti-fog spray is safe on multi-coated glass. Avoid ammonia-based glass cleaners, household Windex, or anything with alcohol listed as the first ingredient; they will haze or strip anti-reflective coatings over time. If your optic has a factory hydrophobic coating, check the manufacturer’s anti-fog compatibility list before applying anything new. When in doubt, a clean microfiber cloth alone is safer than the wrong spray.
If you have nothing else, a clean breath on the lens followed by a soft wipe of a microfiber cloth can do the job in a pinch. The saliva has a tiny amount of surfactant that resists re-fogging. Birders call this the “spit and polish” trick, and it works in a real bind.
Internal fog is harder. The moisture is sealed inside a chamber you cannot reach. But you can still dry it out at home with the right protocol, and the trick is consistent: pull the water vapor out through the seal, or, if the seal is broken, replace the seal under warranty.
Why a sealed bag matters: the silica gel needs to capture moisture from a small, contained air volume, not from an open room. A loose pair sitting on a shelf will absorb almost nothing.
Can you use a drying chamber instead? Yes. The big orange silica gel canisters sold for camera storage work well for the same reason, and they let you leave the binocular on a rack. They are a worthwhile accessory if you shoot in humid climates regularly.
Short answer: not really. Rice is a popular trick shared across Reddit, hunting forums, and YouTube, but it fails on three counts that matter.
First, plain white rice is a weak desiccant. Its moisture absorption is a fraction of silica gel’s, and it saturates in hours, not days. For internal fog you need to pull significant amounts of water out, and rice simply cannot keep up.
Second, rice is dirty. The dust and starch coating can find its way through even a closed case and end up on rubber armor and focus wheels. I have cleaned visible rice residue out of binocular eyepieces twice on other people’s gear.
Third, rice can introduce its own moisture. Starchy grains release trace water vapor as they age, which is the opposite of what you want.
If you have no silica gel, a proper desiccant pack from a shipping supply store is a much better substitute. Or skip the at-home fix and contact the manufacturer directly, which is what most warranty teams will advise anyway.
Internal fog in a binocular costs time, patience, and a silica gel budget. Before you invest in three rounds of drying, ask whether repair makes sense.
For binoculars under about $60, internal fog usually means the original seal was poor from the factory. Most reviewers on hunting forums report these leak again within months of any repair. Buying a new pair with a real warranty is faster and cheaper than chasing the same fix twice.
For mid-range binoculars in the $100–$500 range, repair is often worth one round of drying plus a warranty claim. Brands like Vortex, Nikon, and Bushnell have well-known warranty service for fog under normal use. If your optic is significantly more expensive, the manufacturer (Zeiss, Leica, Swarovski) almost always covers internal fog with a paid or no-cost service. For more on home repair work, our DIY binocular repair guide walks through safe disassembly. If your optic has a separate issue like a misaligned image, the double-vision binocular repair guide covers that path.
Rule of thumb: if repair cost approaches half the replacement cost, and your optic is more than three years old, replace rather than repair. Internal fog in older units is rarely a one-time event.
Every fix in this guide is faster than dealing with fog mid-shoot. The habits below cut your fog rate dramatically.
If you shoot theater, opera, or indoor long-exposure work, fog is rare but compact theater binoculars still benefit from the same habits, especially leaving them out of camera bags between uses.
Marketing terms in optics are notoriously fuzzy. “Fog-proof” almost always means the binocular body is sealed and filled with dry nitrogen or argon gas at the factory. The dry inert gas prevents internal condensation across normal temperature ranges.
This only works as long as the seal holds. The seal is a set of rubber O-rings and gasket joints that age with temperature cycles, impact drops, and exposure to sweat. Once a seal fails, humid outside air enters, and the gas fill is gone for good.
“Waterproof” means the same thing plus a higher resistance to liquid water entry. It does not mean the binocular is invincible. Submersion past the rated depth, or impacts that deform the housing, will break the seal regardless.
For street and travel photographers in variable climates, look for at least a nitrogen-purged seal and an IPX7 or equivalent waterproof rating. Argon-purged units tend to hold pressure longer because argon molecules are larger than nitrogen, but the difference is small for most uses.
| Fog Type | Cause | Field Fix | Prevention |
|---|---|---|---|
| External surface fog | Humid air hitting cold glass | Microfiber wipe, anti-fog spray | Cap lenses, jacket carry, stable temperature |
| Eyepiece / breath fog | Warm breath hitting cold eyepiece | Anti-fog wipe on eyepiece, shift face angle | Rain guard, neck gaiter, chest carry |
| Internal fog (light) | Minor condensation in sealed body | Silica gel sealed bag, 48–72 hours | Avoid impact, store at room temperature |
| Internal fog (heavy) | Broken seal, humid air inside | Manufacturer warranty claim | Buy nitrogen/argon-purged optics with warranty |
| Fog after submersion | Seal overwhelmed by water pressure | Dry at home, then warranty repair | Avoid submersion past rated depth |
No product will fix a broken seal, but a few accessories make the field and home routine much smoother for working photographers.
If you are shopping for a binocular that resists fog by design rather than by habit, our picks for the best binoculars for foggy conditions and the best rangefinders for foggy conditions walk through sealed, nitrogen-purged options by use case.
Place the binocular in a sealed zip-lock bag with 4 to 6 ounces of fresh color-indicating silica gel and leave it for 48 to 72 hours at room temperature (20 to 25 degrees C). Light internal condensation usually clears in 24 hours; heavier moisture needs the full three days. If fog returns within a week of use, the seal has failed and you should file a warranty claim instead of repeating the drying cycle.
First run the wipe test: wipe the outer lens and eyepiece with a clean microfiber cloth. If the fog clears, it is external condensation from humidity or temperature change, and you can treat it with a microfiber wipe, an anti-fog spray safe for multi-coated optics, or body heat from a jacket pocket. If the fog is still there or you see droplets between the prisms, the moisture is inside the housing, which means a broken seal that needs silica-gel drying or a warranty repair.
Use the sealed silica gel drying protocol. Put the binocular in a 1-gallon zip-lock bag with a generous amount of fresh indicating silica gel, squeeze out excess air, seal it, and wait 48 to 72 hours at room temperature. Do not use a hairdryer or direct heat, which can crack lenses and warp seals. If the condensation returns after the third drying cycle, the seal is broken and the binocular needs manufacturer service.
It depends on age, brand, and replacement cost. If your binocular is under about $60, internal fog usually means a weak factory seal, so replacing it is faster than chasing repeat repairs. Mid-range optics from brands with strong warranties (Vortex, Nikon, Bushnell) are usually worth one round of drying plus a warranty claim. Premium optics from Zeiss, Leica, or Swarovski are almost always worth repairing through the manufacturer. As a rule, if repair cost approaches half the replacement cost and the optic is more than three years old, replace rather than repair.
Internal fog means moisture entered the sealed housing through a failing O-ring or gasket, so humid outside air replaced the dry nitrogen or argon gas that was factory-installed. Temperature swings, impact drops, and aging rubber all break down the seal over time. The only at-home fix is silica-gel drying in a sealed bag; if fog returns within a week of use, the seal needs professional replacement under warranty.
Rice is not a good substitute for silica gel, despite being a popular forum trick. Plain white rice is a weak desiccant that saturates quickly, it sheds starch dust onto the binocular, and it can release trace moisture as it ages. Use indicating silica gel in a sealed plastic bag for 48 to 72 hours instead, or skip the at-home fix and contact the manufacturer.
The most reliable method is a sealed silica-gel chamber: a 1-gallon zip-lock bag, 4 to 6 ounces of fresh color-indicating silica gel, the binocular inside, and a 48 to 72 hour wait at room temperature. A desiccant canister or dry cabinet works the same way. Never use a hairdryer, oven, or any direct heat source on binocular glass; the temperature gradient can crack internal lenses and permanently warp the seals.
Fog-proof is a factory seal filled with dry nitrogen or argon gas that prevents internal condensation across normal temperature ranges. It only works while the seal holds, and seals degrade with temperature cycles, impact drops, and age. Once a seal fails, humid air enters and the nitrogen or argon fill is gone. So fog-proof is true for the life of the seal, not the life of the binocular.
Learning how to fix foggy binoculars comes down to one decision: is the moisture on the glass or inside it? External fog is a five-minute field fix with a microfiber cloth, anti-fog treatment, and a bit of patience for temperature equilibration. Internal fog is slower, but a sealed silica-gel bag for 48 to 72 hours handles most cases.
If your binocular fogs again within a week of drying, the seal has failed. Stop trying to fix it at home and contact the manufacturer. For most reputable brands, internal fog under normal use is exactly the kind of warranty repair they cover.
The single biggest fog prevention habit is the simplest one: carry the binocular inside your jacket when you are not actively shooting, and the dew point stops being your problem.