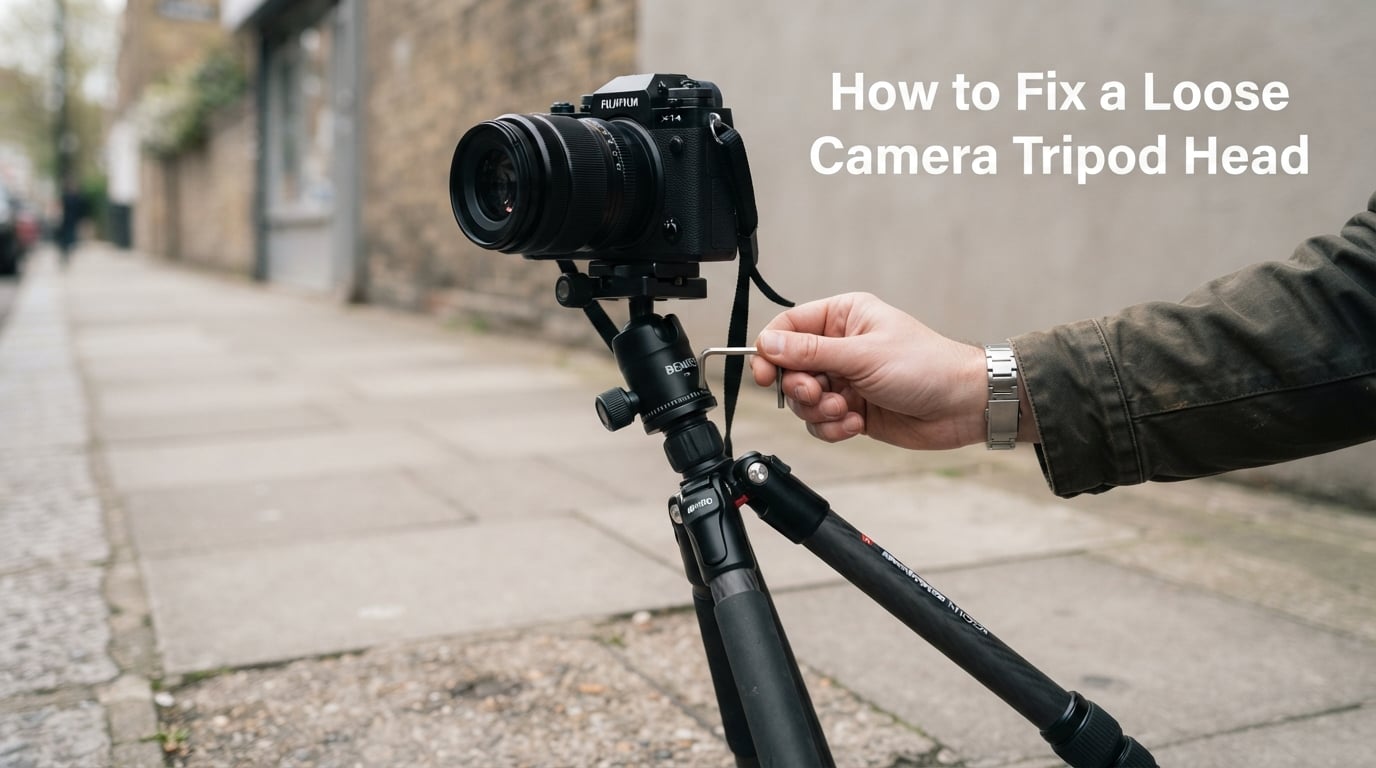
How to Fix a Loose Camera Tripod Head 2026
A loose camera tripod head is usually caused by the quick-release plate, the connection between the head and the tripod,…

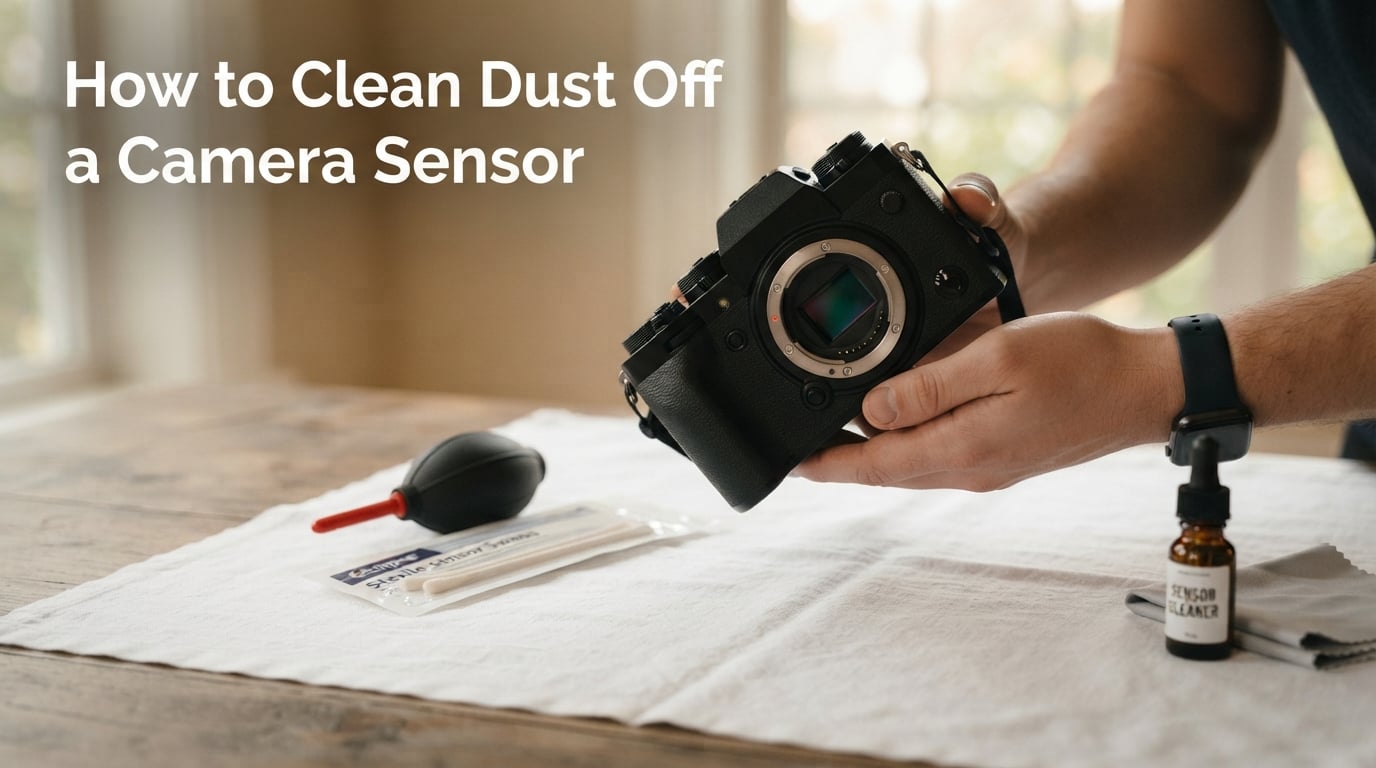
I noticed the problem the day I shot a wedding at f/11. Every blue-sky frame had three stubborn dark dots in the same spot, and they were driving my client crazy. That is the moment most photographers start searching how to clean dust off a camera sensor, and it is exactly the moment I realised I needed a workflow I could trust.
Over the last several years our team has cleaned sensors on everything from beat-up entry-level DSLRs to flagship mirrorless bodies, in dust storms at Burning Man and in controlled studio conditions. This guide combines that hands-on experience with the consensus from manufacturer docs and forums like r/AskPhotography. By 2026 you will know not just how to clean dust off a camera sensor, but when to use each method, when to stop and send it to a pro, and how to prevent dust from coming back the next time you change a lens.
Before you reach for a single swab, confirm the dust is actually on your sensor and not on the front or rear element of your lens. The fastest check is a white-wall test, and you do not need any special gear.
Set your camera to aperture priority at f/16 or f/22, switch to manual focus so the camera does not hunt, point at a clean white wall or a clear blue sky about a meter away, and shoot a frame. Open the file at 100% on your computer. Any dark soft-edged blobs that appear in the same place across several frames are sensor dust. Blobs that move when you rotate the lens are on the lens, not the sensor.
How visible the dust is depends heavily on the aperture you choose. The table below summarises what our team and most forum testers see in practice:
| Aperture | Dust Visibility | Typical Verdict |
|---|---|---|
| f/2.8 to f/5.6 | Dust is faint or invisible | Many shooters never notice dust for months |
| f/8 | Light specks visible on smooth backgrounds | First sign to inspect |
| f/11 | Clear soft dots, especially on sky | Time to consider cleaning |
| f/16 | Sharp-edged dark blobs on sky and walls | Visible in almost every landscape |
| f/22 | Maximum visibility, dust becomes a sharp mask | Cleaning is overdue |
If you want to inspect the sensor directly under magnification, a dedicated loupe makes a huge difference. We have a comparison of the best options in our roundup of camera sensor loupes and magnifiers.
A good sensor cleaning kit has four things: a way to blow dust off, a way to lift stuck particles, a way to wipe if needed, and a way to inspect. Brand-name tools earn their trust because they are designed for low-shed, residue-free use. The trusted names across photography forums are Eclipse optic cleaning fluid, Visible Dust sensor swabs, Sensor Swab ULTRA, and Arctic Butterfly static brushes.
Here is the minimum kit our team uses for a typical clean:
If you want a curated shortlist with current options, our guide to the best camera sensor cleaning kits breaks down the kits we have tested. For blowers specifically, the comparison of air blowers for camera sensors is the quickest way to pick one that will not leak or spit.
Most sensor scratches we see in repair forums happened because the photographer rushed this step. Take ten minutes here and the actual clean takes 30 seconds.
Below is the exact workflow our team uses, ordered from least to most aggressive. Stop at the first step that leaves the sensor clean.
Modern cameras from Sony, Nikon, Canon, and Fujifilm all ship with a piezoelectric or ultrasonic cleaning mode. In the setup menu it is called Clean Image Sensor or Sensor Cleaning. Activate it, wait for the camera to confirm the cycle finished, and re-shoot your f/16 white-wall test. A surprising percentage of loose particles shake loose here, and zero of them cost you anything.
Hold the camera with the lens mount facing down. Squeeze the blower away from the sensor first to clear any dust trapped inside the bulb, then bring the nozzle close (without touching) and give two or three firm puffs. The rocket blower is the consensus first move across r/AskPhotography and r/photography because it handles the majority of common dust without ever touching the sensor surface.
One warning from real users: if your blower seems to be making the dust worse, you are probably puffing dust back into the chamber because the nozzle is too far away. Get the tip close — within a centimeter — and the puff velocity does the work.
If dust remains after two blower passes, you need to make physical contact. This is where technique matters most.
If you have an IBIS-equipped mirrorless camera, read the next callout before you touch the sensor with a wet swab.
Do not use a sensor gel stick on any camera with in-body image stabilisation (IBIS). The gel can transfer to the moving IBIS suspension and end up smearing the sensor the moment the camera is moved.
For mirrorless IBIS bodies our team only uses Sensor Swab ULTRA (or Visible Dust equivalent) with Eclipse fluid, single-pass, single-direction. This matches the 2022 update from Jason Waltman and the consensus on r/SonyAlpha after several users reported gel residue issues. The full-frame Sony a7 IV, Nikon Z6 III, and Canon EOS R6 II all fall into this group, as do every modern Fujifilm X-H and X-T body.
Not every method is right for every situation. This table is the one I wish I had when I first started cleaning sensors — it pulls together what works, what is risky, and how much each option costs you.
| Method | Best For | Effectiveness | Risk Level | Typical Cost |
|---|---|---|---|---|
| Rocket blower | Loose dust on DSLRs and mirrorless | High for new dust | Very low | Low |
| Arctic Butterfly static brush | Light dust, no fluid available | Moderate, mixed reviews | Low if used gently | Moderate |
| Wet swab + Eclipse fluid | Stubborn or oily particles | High | Moderate (swab pressure matters) | Low per clean |
| Sensor Gel Stick | DSLRs only, last resort | High on non-IBIS bodies | High on mirrorless IBIS | Moderate |
| Professional service | Heavy grime, oil smears, scratched sensors | Highest | Lowest for the user | Highest |
For most readers the path is simple: built-in cleaning mode first, rocket blower second, wet swab third. The other two methods have their place, but only when the first three cannot get you the result you need.
This list is short and absolute. Every item below has been blamed, in forums and repair shops, for a damaged sensor:
Do not trust the swab. Trust the photo. After each cleaning method, put the lens back on, repeat the white-wall test at f/16 or f/22, and compare the new frame to the one you took before cleaning.
For a more thorough check, import the new shot into Adobe Lightroom. Open the Library module and switch the view to Visualize Spots at the bottom of the right-hand panel. This overlay highlights every dust spot on the sensor in red so you can see exactly what is left. If you still see red over the sensor area, repeat the relevant step — usually a second wet swab.
For batch inspection across a trip, some photographers set Visualize Spots on every imported frame for a week after a major clean, then turn it off once they are confident the sensor is staying clean.
Forum threads consistently report the same finding: lens changes are the number one source of new sensor dust. A two-minute habit change at the moment of every swap will dramatically reduce how often you need to clean.
If you shoot in environments where dust is unavoidable, look at our guide to the best sensor cleaning kits and budget for a kit you can keep in your bag.
DIY cleaning is the right call for routine dust. It is not the right call for oil smears, sticky residue, suspected scratches, or any sensor you cannot fully inspect yourself. A reputable camera service will do a wet clean under a stereo microscope and check the low-pass filter for damage. Typical cost is in the modest range many local shops charge, and they can usually turn it around in a few days. For modern mirrorless bodies where the sensor is fused to the IBIS unit, sending it in is often safer than a home wet clean because a tech can hold the IBIS assembly locked during the wipe.
Ask your local camera store which service they use, or check the manufacturer’s authorised service network. Most brands also offer a return-to-factory option for sensors with warranty or known defects.
Dust rarely scratches a sensor directly, but oily or sticky particles can bond to the low-pass filter over time and become harder to remove. The bigger problem is image quality: a single speck shows up as a soft dark blob in every narrow-aperture shot and forces time-consuming retouching.
For most users, three tools cover it: a rocket blower for loose dust, a single-use sensor swab matched to your sensor size (APS-C, full-frame, or Micro Four Thirds) for stuck particles, and a sensor cleaning fluid such as Eclipse applied as one drop per swab. Add a 10x sensor loupe for inspection.
No. Pharmacy rubbing alcohol has inconsistent purity and a higher water content than optics-grade cleaners, which leaves streaks and residue on the low-pass filter. Stick with a purpose-made sensor cleaning fluid such as Eclipse or a Visible Dust equivalent.
No. Generic cotton swabs shed lint onto the sensor and their shape does not match the recessed cavity, which causes uneven pressure. Use single-use sensor swabs sized to your exact sensor format instead.
Set your camera to aperture priority at f/16 or f/22, focus manually on a plain white wall or a clear blue sky, and shoot a frame. Open the image at 100% on your computer. Any dark soft-edged spots that appear in the same place across several shots are dust on the sensor. Spots that move when you rotate the lens are dust on the lens instead.
Only when you see dust in real photos, not on a fixed schedule. Most shooters clean every six to twelve months; heavy lens changers or beach and desert shooters clean more often. Always confirm with a white-wall test at f/16 before cleaning, so you do not swab a sensor that does not need it.
If you are a casual shooter who changes lenses a few times a year, the built-in cleaning mode plus a rocket blower is almost always enough. If you are a wedding, landscape, or travel photographer who swaps lenses in the field, keep a properly sized sensor swab and a bottle of Eclipse in your bag and learn the single-pass wet technique now, before you need it. If you shoot on a modern mirrorless body with IBIS, skip gel sticks entirely and stick to swab plus fluid.
The fact that you now know how to clean dust off a camera sensor in 2026 puts you ahead of most photographers who avoid the topic for years and then panic at the first wedding shoot. Set a reminder every six months to do a white-wall test, change lenses with the body facing down, and your sensor will rarely need more than a blower. Bookmark this page, share it with a friend who just bought their first mirrorless camera, and your photos at f/16 will thank you.