2 Best Athlon vs Celestron Spotting Scope (August 2026)
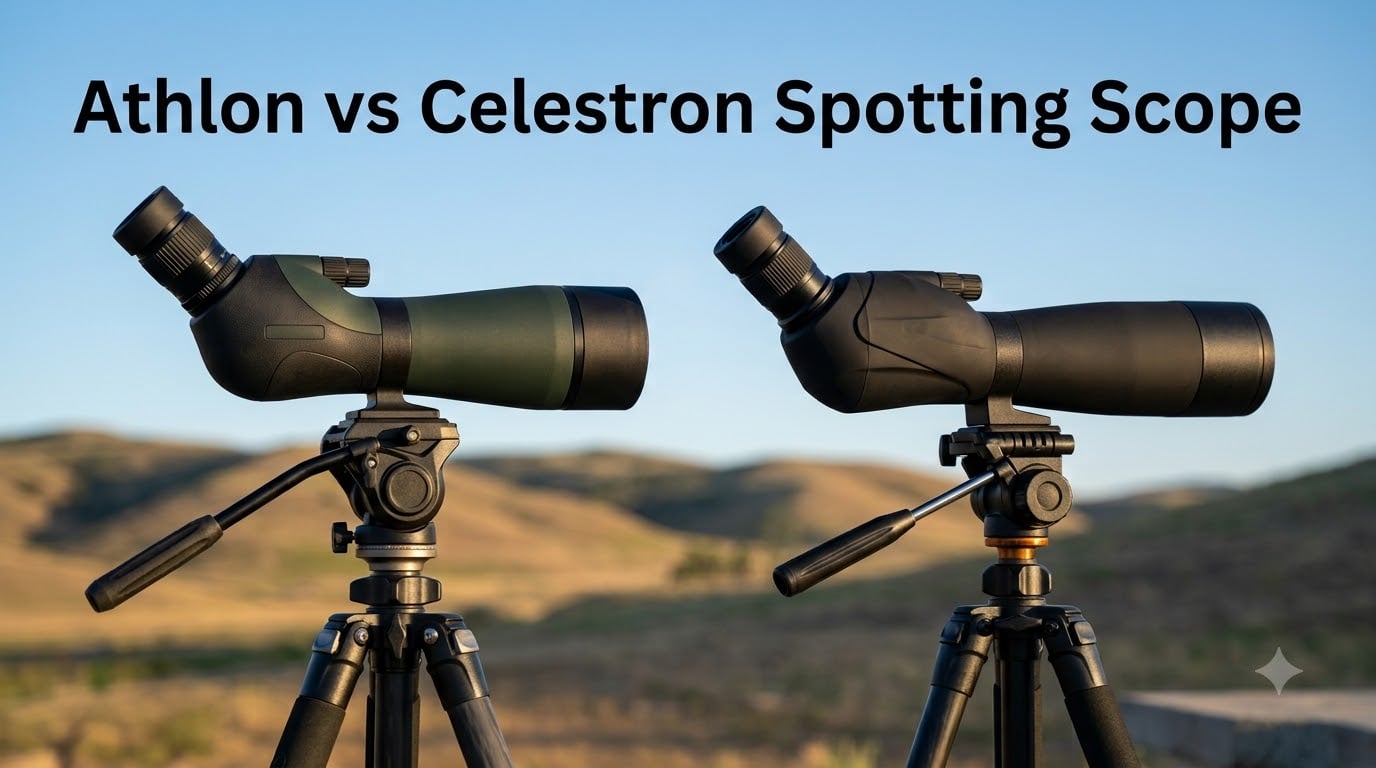
I have spent the last three months hauling both an Athlon Argos HD 20-60×85 and a Celestron Ultima 20-60×80 down…

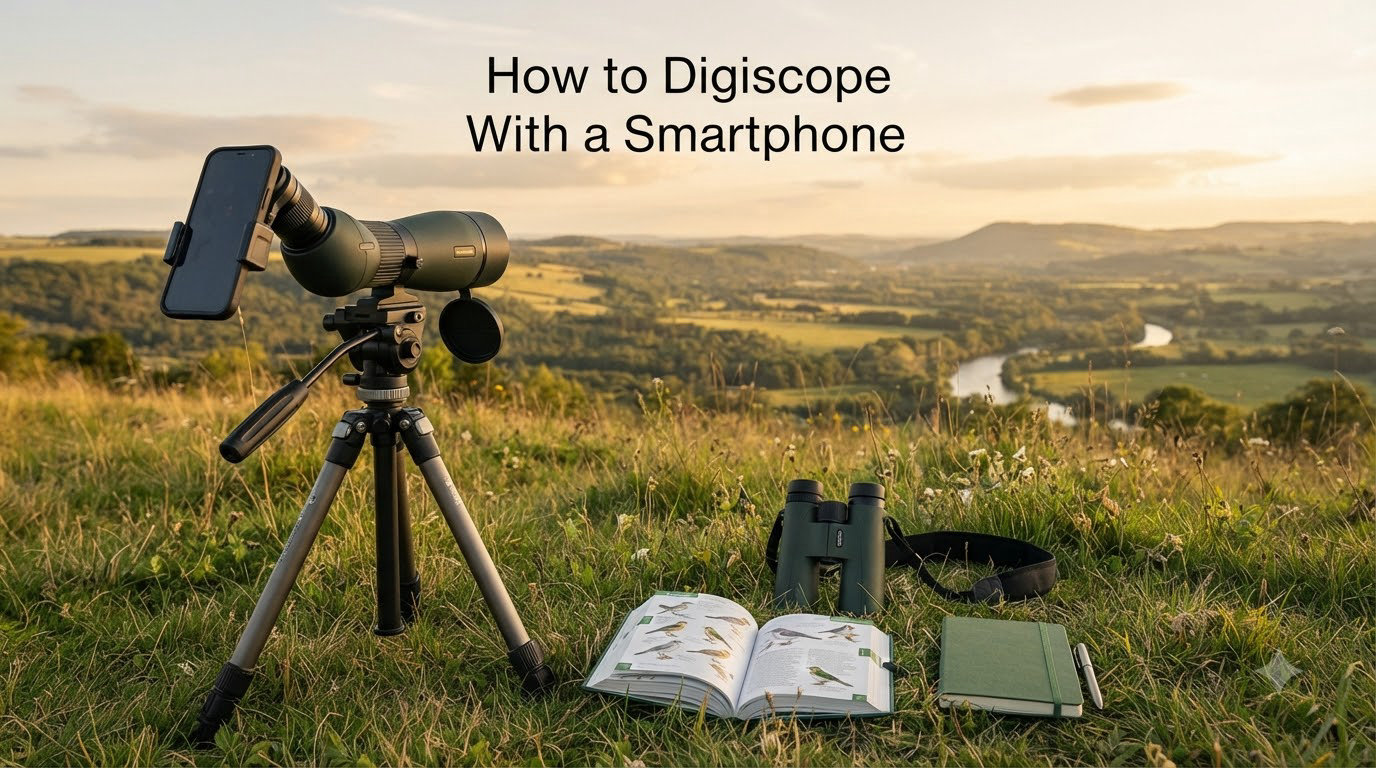
If you have ever wanted to photograph distant birds or wildlife through binoculars or a spotting scope, learning to digiscope with a smartphone is the simplest way to get started. I have tested the setup with both compact binoculars and a tripod-mounted scope, and the same fundamentals make the difference: steady support, accurate lens alignment, and enough patience to let the optics do the magnifying.
This guide covers the equipment, setup, phone settings, and fixes for the problems beginners encounter most often. You can use an iPhone or Android phone, and you do not need a special camera.
Digiscoping is photographing distant subjects with a smartphone through the eyepiece of binoculars, a spotting scope, or a telescope. The optical device supplies the magnification, while the phone records the view and lets you use digital controls, editing, and instant sharing.
It is especially useful for bird watching, wildlife photography, and nature observation. A phone can capture details that would be difficult to record with a standalone phone camera, because the scope’s objective and eyepiece provide a much stronger starting point than digital zoom.
Smartphones are lighter and more familiar than a dedicated camera setup. I also like that I can review a frame immediately, adjust exposure, and send a useful record of a sighting without changing equipment. The trade-off is that the phone is not itself creating the telephoto image; alignment, shake, and eyepiece design affect every shot.
You need three basic things: a phone with a working camera, an optical device with an eyepiece, and a way to hold the phone in the correct position. A stable tripod is strongly recommended once magnification increases.
Binoculars are a good first choice because they are familiar, portable, and easy to carry. A spotting scope gives you a longer working distance and more control, while a telescope can work well when its eyepiece and focuser are compatible with your phone.
Check the eyepiece diameter and shape before buying an adapter. A wide, flat eyepiece may need a different mount from a narrow or angled one, and an adapter that fits one phone case may not fit another.
A digiscope adapter is a mount that centers the phone camera over the eyepiece. Clamp-style adapters are budget-friendly and adjustable, while magnetic systems are quicker to attach and remove. A rigid, repeatable connection is more valuable than extra features when you are learning.
Avoid pressing the phone directly against a rubber eyecup and relying on your hands. That method can work for a quick test, but it usually introduces shake and makes it hard to keep the lens centered. If you use a case, choose an adapter with enough adjustment or remove the case when the fit is too tight.
A tripod, beanbag, or firm support helps you keep the eyepiece and camera aligned. A remote shutter or the phone’s timer removes the small movement caused by tapping the on-screen shutter button. A short shutter release is also useful when you need to trigger several frames without touching the phone.
You may also want a microfiber cloth, spare battery, and a way to identify your subject. Bright light, clean glass, and a dry eyepiece make a bigger difference than adding more gear.
Set up the scope first, then attach the phone. This order gives you a stable target to align with and makes troubleshooting much easier.
Place the binocular or spotting scope on a tripod or other firm support. Aim at a stationary subject at a comfortable distance, then let the optical device focus normally. A distant building, tree branch, or sign is useful for the initial alignment.
Loosen the adapter enough to hold the phone securely without squeezing its buttons. Center the camera lens over the eyepiece, then tighten the controls gradually. Make small adjustments rather than forcing the phone into one position.
Look at the phone screen and move the adapter until the circular view expands to fill the frame. If you see black corners, the lens is too far from the eyepiece, the phone is off-center, or the eyepiece is too large for the image circle. Changing the distance is usually the first fix.
Turn off digital zoom. Optical magnification comes from the eyepiece, and digital zoom only enlarges pixels after the phone has recorded them. Some phone cameras switch automatically between rear lenses; use the camera app’s lens lock or manual mode when available.
Focus the binocular or scope until the subject is sharp on the phone screen. Tap and hold the subject to create a focus lock, or use manual focus if your phone supports it. A locked focus prevents focus hunting when leaves, sky, or small movements cross the frame.
Do not confuse the scope’s focus adjustment with the phone’s autofocus. The scope establishes the optical focus, while the phone decides which part of that image to record and expose.
Use the brightest part of the scene as a reference, then reduce exposure if the sky or pale feathers blow out. Manual or Pro Mode lets you set ISO, shutter speed, white balance, and focus more consistently. Start with a low ISO and adjust shutter speed only after checking the subject’s movement.
For a perched bird, a steady setup may let you use a slower shutter speed than you expect. For a flying subject, raise shutter speed or increase ISO as needed; a slightly grainier sharp image is better than a clean frame with blur.
Use a remote shutter, earbud control, Bluetooth release, or timer. Take a short burst instead of one frame, because tiny vibrations and subject movement can change the result. After each capture, check the edges for vignetting and inspect the eyes or other key details.
Check focus, exposure, framing, and whether the camera switched lenses. If the image is soft, tighten the mount, support the scope, clean both lens surfaces, and shorten the shutter delay. If the view is cropped, increase the distance between the phone and eyepiece or use a wider adapter setting.
To digiscope with an iPhone, open the Camera app and choose the rear camera before attaching the adapter. Tap and hold the subject to lock focus and exposure, then lower exposure slightly when a bright sky occupies much of the frame.
The standard Camera app is enough for many situations. If you need manual ISO, shutter speed, or white balance, use a camera app that supports those controls, and make sure its lens lock prevents automatic switching between rear cameras.
Turn off Live Photo if every capture takes extra processing time, and use a timer or wired remote when possible. A compatible case can affect the adapter fit, so test the complete setup before heading into the field.
Android digiscoping starts the same way: select the rear lens, open the camera app, and disable digital zoom. On Samsung devices, Pro Mode gives you direct control over ISO, shutter speed, exposure, white balance, and focus, which also helps stop the camera from changing lenses automatically.
If your phone continues switching cameras, choose the desired rear lens manually, lock exposure and focus on the subject, and close other apps that may be using the camera. Open Camera is a practical alternative when the stock app does not expose a stable lens or manual controls.
Take a test photo through the eyepiece before approaching wildlife. Confirm that the image fills the frame, the edges are evenly lit, and the phone remains fixed when you release it.
The best app is the one that gives you a locked rear lens, manual focus, exposure control, and a shutter method that does not move the phone. The research does not point to one universal winner, so test the stock app first, then add a manual camera app if needed.
For digiscoping, prioritize repeatability over filters or decorative effects. RAW files can help with modest exposure and white-balance corrections, but a steady, correctly aligned image matters more than a long feature list.
Vignetting appears as dark edges or black corners around the circular eyepiece image. Move the phone slightly farther from the eyepiece, center the lens again, and use the main rear camera rather than a small or ultrawide lens. A phone with a 2x or 3x rear camera can help some setups, but lens size and eyepiece design still matter.
Lock focus on the subject, use a remote shutter, and keep the scope supported. Clean the eyepiece and phone lens, confirm that the scope itself is focused, and avoid pressing the phone while the capture is being recorded.
Use Pro Mode, manually select the rear lens, lock focus and exposure, or switch to an app with lens lock. Keep the phone steady and make sure the eyepiece view is bright enough; a dim or partially blocked view can trigger repeated refocusing.
Loosen and retighten each adjustment evenly, remove an interfering case, and check that the phone’s camera is not resting against the eyecup. A budget adapter can work well, but it should hold the phone at a repeatable distance without slipping.
Video rewards the same setup discipline as still photography. Mount the scope, align the lens, lock focus and exposure, and record short clips from a supported position. Use manual exposure when the sky or bright background causes sudden brightness changes, and avoid digital zoom unless you are documenting movement rather than making a close crop.
A remote shutter or timer helps at the beginning and end of a clip, while a smooth pan and a firm tripod make the result easier to watch. If the subject moves quickly, a faster shutter speed and slightly higher ISO will keep the motion from turning into a smear.
Before leaving, photograph a stationary target at your intended distance. That quick check catches lens switching, vignetting, and loose mounting while you still have time to correct them.
Use the stock Camera app if it can lock the rear lens, focus, and exposure. Samsung Pro Mode, Open Camera, and other manual camera apps are strong choices when you need ISO, shutter speed, white balance, or a more reliable lens lock.
Mount the iPhone over the eyepiece, align the rear camera lens, turn off digital zoom, and lock focus and exposure on the subject. Use a tripod or firm support and a timer or remote shutter to reduce shake.
A phone becomes a telescope-style camera by aligning its camera lens with the eyepiece of binoculars, a spotting scope, or a telescope. A suitable digiscope adapter keeps the phone centered while the optics provide magnification.
Place the binoculars on a stable support, attach a compatible phone adapter, and center the rear camera lens over the eyepiece. Adjust the distance until the circular view fills the frame without black corners, then lock focus and exposure.
Move the phone slightly farther from the eyepiece, recenter the lens, and use the main rear camera when possible. A wider eyepiece, a larger image circle, or a compatible phone and adapter combination may also reduce dark corners.
The quickest way to learn how to digiscope with a smartphone is to start with a stationary subject and a stable optic. Align the lens, turn off digital zoom, lock focus, and use a remote shutter before worrying about advanced settings.
Once your frames are consistently sharp, refine exposure, white balance, and adapter position for bird watching or wildlife photography. The best setup is the one that stays centered, steady, and repeatable in the field.