How to Choose a Birdhouse (August 2026)
When I put up my first birdhouse fifteen years ago, it was a flimsy pine box from a garden center…

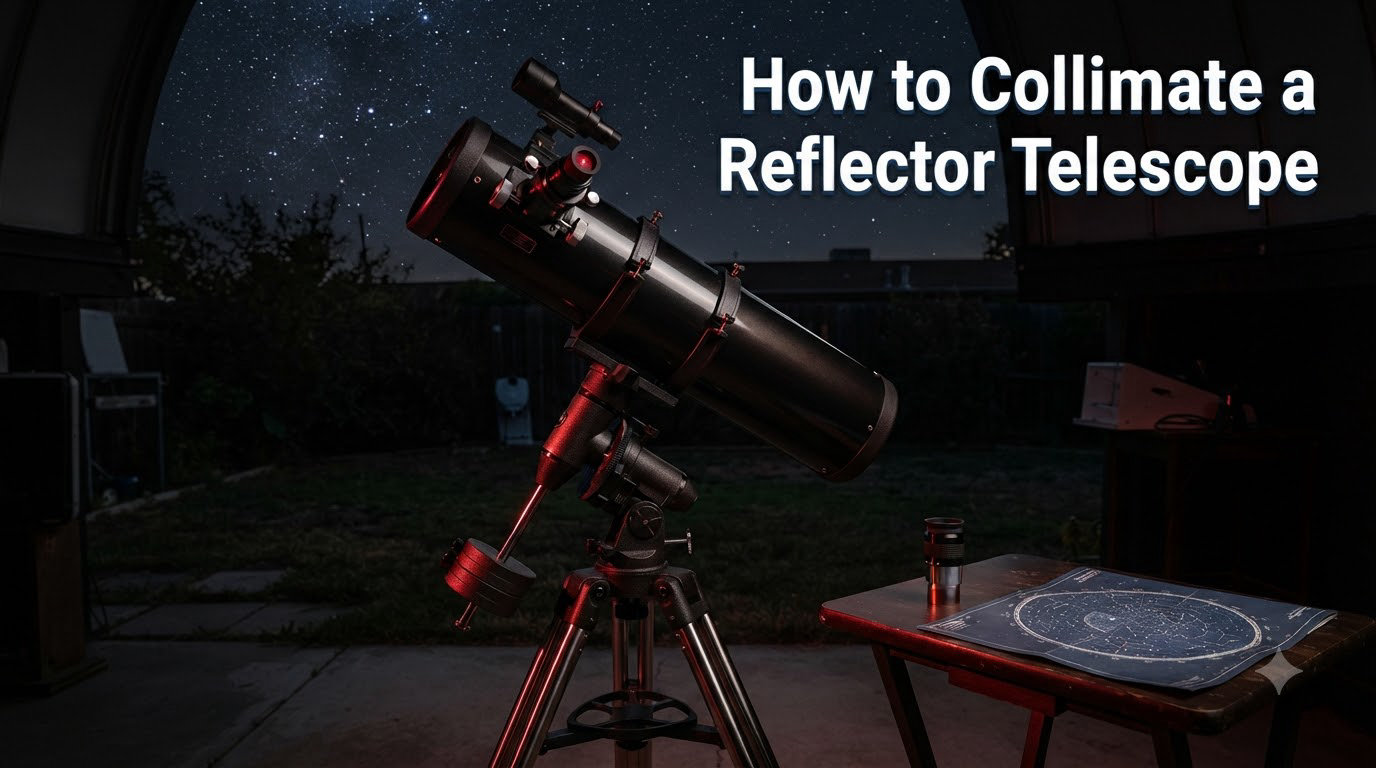
If you’ve ever aimed your reflector telescope at a bright star and gotten a fuzzy comet-shaped blob instead of a crisp pinpoint, your mirrors are out of alignment. The fix is called collimation, and learning how to collimate a reflector telescope is the single most useful skill a Newtonian owner can pick up.
I spent my first two months fighting blurry Jupiter views before I finally learned the 3-step process. Once I did, my 8-inch Dobsonian went from producing soft, comet-shaped stars to splitting double stars I never knew I could see. This guide walks you through exactly what I do at the start of every observing session, what tools actually matter, and the troubleshooting steps that save you from the days-long frustration I see beginners struggle with in every telescope forum online.
Collimation is the process of aligning the optical axis of your primary mirror, secondary mirror, and focuser so that light traveling through the telescope focuses at exactly the right spot. When those three elements line up, stars appear as sharp pinpoints and planets snap into crisp detail.
When your reflector is out of collimation, light bounces off the primary at a tilted angle. The result is coma, a comet-like smearing of stars that gets worse toward the edge of the field. Fast Newtonians (f/4 and below) show coma dramatically even with minor misalignment. Slower scopes (f/8 and above) tolerate small errors, but push it too far and the same fuzziness creeps in.
Newtonians need collimation more often than other telescope designs because both mirrors are exposed to bumps, temperature swings, and vibrations. Dobsonians that get carried outside every session are especially prone to drift. A good rule of thumb: check collimation every time you set up, and adjust only when needed. The whole process takes 1-2 minutes once you know what to look for.
Before you touch any screws, you need to know the three components involved in collimation. Look at your scope with the eyepiece removed and you will see them.
The primary mirror sits at the back of the tube in a metal cell held by clips. Three (sometimes six) collimation screws and locking screws at the back of the cell let you tilt the mirror. The center of the mirror should have a small visible dot or ring. If it doesn’t, you’ll add one before collimation.
The secondary is the small oval or round mirror at the front of the tube, suspended by a four-vane spider. Light from the primary bounces off it and into your focuser. The secondary has three small screws on its holder that tilt it left, right, up, and down. There is also a central screw that controls its rotation around the focuser.
The focuser is the part you slide your eyepiece into. The opening at the top should sit exactly under the center of the secondary mirror. If your focuser has adjustment screws, you can tilt the whole drawtube, but most beginners never need to touch it.
You can collimate a Newtonian with three different tools, ranging from free to about $80. Each has tradeoffs.
A collimation cap (sometimes called a sight tube) is the cheapest option. It is a small cap with a tiny peephole and a crosshair, or you can make one with a 35mm film canister and a paper doughnut that sits against the focuser. It works well enough for fast alignment on most beginner scopes.
A Cheshire eyepiece is a metal tube with a peephole on one end and an angled reflective surface inside. Light from the primary mirror bounces off that surface and shows you the mirror’s center dot plus the secondary’s reflection. Chesbires cost around $30 and give clearer feedback than a cap. Many amateur astronomers consider them the sweet spot for value.
A laser collimator is the fastest tool, especially in the dark. It drops into your focuser and shoots a red beam down the tube. When the beam hits the primary center mark and bounces back into the laser, you are collimated. Quality lasers run $40-$80. The catch: a cheap laser may itself be misaligned, so you need to verify it once before trusting it.
For this guide, I will walk you through the 3-step process using a Cheshire eyepiece first, then explain laser collimation. If you have only a cap, the same steps apply, just harder to see.
If your primary mirror already has a center ring or sticker, skip this section. If it does not, mark it now. The center of the mirror is the pivot point for all collimation adjustments, and you cannot align to something you cannot see.
The classic method is to make a paper doughnut. Place the mirror face-down on a flat surface, set a pencil eraser in the center, and trace around it. Cut out the doughnut, slide it onto the back of the mirror, then carefully flip the mirror into its cell and use the doughnut as a guide to place a small dot of electrician’s tape or a self-adhesive reinforcement ring at the exact center. Remove the doughnut. Many mirror manufacturers like Sky-Watcher and Orion now ship their primaries with center dots pre-applied, so this step is becoming less common, but it is essential on older or budget scopes.
This is the core method that works on every Newtonian reflector. It is a 3-step process: align the secondary first, then the primary, then verify. Do it in this order every time.
Remove your eyepiece and look down the focuser. You should see three things: the secondary mirror reflection in the middle, the primary mirror reflection inside it, and your eye peeking back. The reflection of the primary mirror should appear perfectly centered inside the outline of the secondary.
If the primary’s reflection is off to one side, adjust the secondary’s collimation screws. Turn the screws in tiny quarter-turns, alternating between screws, until the primary reflection sits dead center in the secondary. If your focuser opening is not centered under the secondary, you will need to adjust the central rotation screw on the spider hub, but that is rarely needed.
Now insert your Cheshire eyepiece (or collimation cap) and look through the peephole. You will see a series of concentric circles: the Cheshire’s reflective crosshair, the primary mirror, the secondary, and the dot you placed at the mirror’s center. The center dot should appear directly under the peephole crosshair.
To move the dot, adjust the three collimation screws at the back of the primary cell. Turn them in small increments, never more than an eighth of a turn at a time, alternating between screws. You will see the dot drift toward the crosshair. Stop when the dot sits perfectly centered. Tighten the locking screws gently to hold the position.
Remove the Cheshire and look down the focuser again. Confirm the primary mirror’s reflection is still centered in the secondary, and confirm the secondary reflection is now centered in the focuser opening. If either is off, repeat Step #1, then re-verify Step #2. Most beginners skip this verification and discover later that they are still slightly off.
The whole process, including verification, takes 90 seconds on a stable Newtonian once you have done it five or six times.
The 3-step process above works regardless of which tool you choose. Here is how each method plays out.
With the cap in place, look through the hole. You should see the primary mirror, the secondary’s reflection, and the focuser’s inner wall. The center of the primary should sit directly behind the cap’s crosshair. Adjust the primary screws until it does.
Pros: free or under $10. Cons: hard to see in low light, no reflective surface to show the secondary’s position relative to the focuser, and you cannot confirm the secondary is centered without removing the cap.
The Cheshire’s angled mirror shows you the primary center mark while you look through the peephole. You can also tilt your head to see the secondary’s reflection in the focuser walls, which makes it easier to spot a misaligned secondary. Recommended for beginners who want to learn the geometry of what they are doing.
Drop the laser into the focuser and turn it on. Rotate the laser in the focuser and watch the dot on the primary’s center mark. If the dot stays put as you rotate, you are collimated. If it wanders in a circle, your secondary needs adjustment. After fixing the secondary, adjust the primary screws until the laser beam hits the center mark exactly, then bounces back into the laser.
Warning: an out-of-the-box laser can be misaligned by a degree or two. Before trusting the laser, test it by rotating it in your focuser. If the dot traces a circle on the primary, the laser itself needs calibration. Most telescope stores offer laser calibration services, or you can shim the laser body with paper until it self-tests clean.
Dobsonian owners get the most out of collimation because Dobsonians are designed to be moved and used frequently. A few details matter.
If you have a truss tube Dobsonian, fully extend the trusses to the proper locked position before collimating. Users on Cloudynights report that the “two click” extension setting is where the optical tube assembly is mechanically aligned, and a half-click off position shifts the secondary enough to require re-collimation. Always check that both upper and lower truss pairs click into identical positions.
For solid tube Dobsonians, collimate the scope in the position you observe in. If you have an altazimuth mount with a low base, sit on a chair and adjust from there. Bending over awkwardly while reaching the back of the tube causes subtle mirror shifts as you move away. The adjustments you make should be the ones the scope actually sees during use.
Even with the steps above, things go wrong. Here are the issues I see most often in telescope forums and how I solve them.
Problem: Adjusted everything, but stars still show coma. Check that your scope has reached ambient temperature. A warm primary mirror distorts the figure and produces coma-like aberrations that mimic poor collimation. Let the scope sit outside for 30-45 minutes before judging.
Problem: Laser collimator dot keeps moving when I rotate. The laser itself is misaligned, not your scope. Either return the laser for a refund or shim its body until the dot stops wandering.
Problem: Adjustment screws feel loose or won’t hold position. Older scopes, especially budget ones from the early 2000s, wear out the springs under the collimation screws. Replacement springs are cheap and available online, or upgrade to thumbscrews. Bob’s Knobs are a popular drop-in replacement that makes collimation tool-free.
Problem: Factory collimation was wrong out of the box. Yes, this happens. Beginner scopes especially arrive with mirrors knocked out of alignment during shipping. Do not trust factory collimation. Re-do it yourself before your first night out.
Problem: I cannot see the center dot. The mirror may have a small factory ring sticker rather than a tape dot. Both work. If there is no mark at all, use the paper doughnut method described earlier.
Problem: Two people at a star party fiddled with the focuser thumbscrews and now everything is off. Re-do Step #2 (primary adjustment) at the start of every session if your scope gets touched by anyone other than you. Focuser drawtube alignment rarely moves on its own, but humans bump things.
Use a Cheshire eyepiece or a simple collimation cap. Insert it into the focuser and adjust the primary mirror’s three collimation screws until the center mark sits directly under the peephole crosshair. Then verify the secondary by looking down the focuser with no eyepiece and confirming the primary’s reflection is centered in the secondary. A 35mm film canister with a paper doughnut can substitute for a commercial cap.
Check collimation at the start of every observing session and adjust only when the alignment has drifted. Dobsonians that are carried outside frequently may need adjustment every session. Larger truss tube Newtonians or scopes that stay set up indoors can go weeks or months between adjustments. A 90-second check each session prevents fuzzy views during the night.
Yes. The 3-step process (align the secondary, then the primary, then verify) takes 90 seconds once you have done it a few times. Most beginners struggle because they skip the verification step or do not have a center dot on the primary. Adding a center mark and following the steps in order makes the process straightforward, even for first-time telescope owners.
Refractors generally do not need user collimation because their lenses are fixed in the tube by the manufacturer. Small alignment issues are corrected at the factory with spacers. If a refractor produces distorted stars, the issue is more likely a pinched optic, a defective lens, or poor atmospheric seeing rather than misalignment. Schmidt-Cassegrain and Maksutov-Cassegrain telescopes occasionally need secondary mirror collimation, but the procedure is different from a Newtonian.
Use the same 3-step process as any Newtonian reflector. For truss tube Dobsonians, fully extend both upper and lower truss pairs to their locked click position before collimating. Adjust the primary screws while the scope is in its normal observing position, since bending awkwardly changes the mirror’s tilt. Solid tube Dobsonians follow the standard procedure without any extra steps.
For beginners, a Cheshire eyepiece offers the best balance of price (around $30) and visual feedback. Laser collimators are faster in the dark but cost more and need their own calibration. A simple collimation cap or paper doughnut works on a budget but is harder to use. Many experienced amateur astronomers own both a Cheshire and a laser and use whichever fits the situation.
Learning how to collimate a reflector telescope turns the hobby from frustrating to fun. The first few times feel slow, but the 3-step process becomes muscle memory by your fifth session. After that, your scope will reward you with sharper stars, clearer planetary detail, and the kind of deep-sky views that make cold nights worth the effort.
Start by adding a center dot to your primary mirror if it does not have one, pick up a Cheshire eyepiece if your budget allows, and run through the steps in order every time you set up. Within a few weeks, collimation will be the easiest 90 seconds of your night, and you’ll never go back to wondering why your stars look soft.
For more telescope tips and observation guides, browse our astronomy and telescope accessories sections for in-depth walkthroughs on eyepieces, mounts, and maintenance routines.