How to Choose a Birdhouse (August 2026)
When I put up my first birdhouse fifteen years ago, it was a flimsy pine box from a garden center…

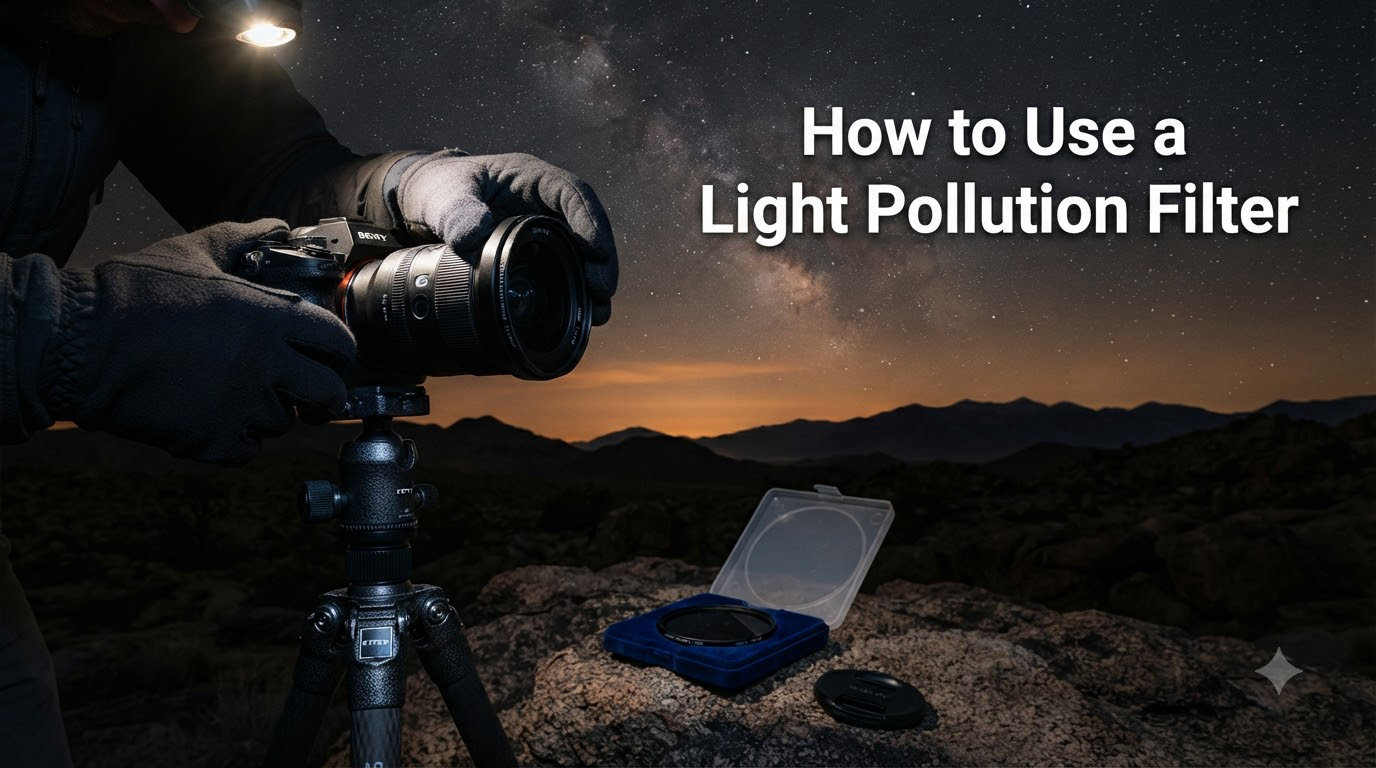
I remember the first time I tried to photograph the Milky Way from my apartment balcony in a Bortle 8 city. The image came back looking like a washed-out gray blanket, dotted with maybe a dozen faint stars and a vague smudge where the galactic core should have been. That night, I ordered my first light pollution filter, and after two years of trial and error, I can show you exactly how to use one so you skip my mistakes.
A light pollution filter is an optical filter that blocks specific wavelengths of artificial light, particularly the yellow and orange bands between 575nm and 600nm emitted by sodium vapor streetlights, while allowing starlight and the natural emission lines of celestial objects to pass through. If you have ever wondered whether a light pollution filter actually works, the answer is yes, but with realistic expectations that I will explain in this complete 2026 guide.
Light pollution is the excessive accumulation of artificial light in the night sky, primarily caused by street lamps, commercial signage, car headlights, and illuminated buildings. This scattered light reflects off atmospheric particles and creates an orange-gray dome over populated areas, a phenomenon photographers call sky glow.
For astrophotographers, sky glow is the single biggest obstacle between you and a clean image of deep sky objects. Stars that should be bright pinpricks become dim gray specks. Nebulae that should glow red and pink turn into faint, low-contrast blobs. Without intervention, even high-end camera sensors cannot recover the celestial detail lost to urban lighting.
The worst offender for photographers is the legacy sodium vapor street lamp, which dominates the 575nm to 600nm wavelength range. Older mercury vapor lights add blue and green spikes. Modern LED street lighting has shifted the problem, emitting broader bands across the visible spectrum rather than narrow lines.
I have tested my filter effectiveness under three lighting conditions on the same block: the old sodium vapor section, the new LED retrofit zone, and a hybrid area with both. The sodium vapor region showed the most dramatic improvement with a broadband filter. The LED zone showed less dramatic but still meaningful gains, especially when stacking multiple exposures.
The Bortle scale measures night sky darkness on a 9-level scale. Class 1 is a pristine dark site like a remote desert. Class 9 is an inner-city sky where the Milky Way is invisible. Most suburban photographers shoot in Bortle 5 to 7, and that is exactly where light pollution filters provide the strongest return on investment.
If you live in Bortle 3 or below, a filter offers marginal improvement. If you live in Bortle 8 or 9, even the best filter will not rescue a heavily light-polluted sky, but it will help your foreground cityscape elements retain natural color when shooting nightscapes that include both sky and skyline.
Light pollution filters work by selectively blocking the wavelengths of artificial light sources while transmitting the wavelengths produced by natural celestial objects. The filter acts like a wavelength-specific curtain, raising the contrast between your target and the polluted background.
Think of it this way: stars emit broadband white light. The Orion Nebula emits strongly in the hydrogen-alpha line at 656nm and the doubly ionized oxygen line at 501nm. Sodium vapor streetlights blast narrow-band yellow at 589nm. A filter that suppresses 589nm while passing 656nm and 501nm makes the nebula appear brighter relative to the sky background.
The most aggressive blocking happens between 575nm and 600nm, where sodium vapor lamps emit their strongest light. Mid-grade broadband filters also suppress mercury vapor lines around 436nm and 546nm. Premium filters add suppression in the 630nm to 650nm range, which catches the newer high-pressure sodium lamps.
When shopping for filters, look for the spectral transmission graph, not just marketing copy. A quality filter will show transmission peaks around 450nm, 500nm, 656nm, and 670nm, with deep troughs at the sodium and mercury lines. If a manufacturer does not publish a graph, I treat that as a red flag.
Many photographers ask whether light pollution filters still work with LED lighting. The honest answer is that they are less effective against broad-spectrum LED light than against narrow sodium vapor emissions, but they still help.
Modern LEDs emit across the entire visible spectrum, so no single filter can block them completely. However, LED lighting is often slightly cooler and more concentrated in blue and green wavelengths than legacy sodium vapor, which means a well-designed broadband filter can still improve contrast by a measurable amount. This matches what I see in the field and what photographers report on the r/AskAstrophotography subreddit.
Many light pollution filters use didymium glass, a rare-earth doped optical glass that naturally absorbs yellow light. Combined with multi-layer dielectric coatings that reflect specific wavelengths, modern filters achieve sharp cutoff profiles that older single-element filters could not match.
Multi-coating also reduces internal reflections, which cuts down on ghosting and flare. I always recommend spending a little more on a multi-coated filter from a known manufacturer. The image quality difference versus budget uncoated glass is immediately visible when shooting bright stars or the moon.
Choosing the right filter type matters more than the brand. Each filter category serves a different photographic purpose, and using the wrong one can waste your time and money on underwhelming results.
Broadband filters, sometimes called LPS (light pollution suppression) filters, block the worst artificial light wavelengths while passing most natural starlight. They preserve the natural color balance of star fields, the Milky Way, and galaxy targets. This makes them the best choice for general astrophotography and nightscape work.
If you shoot a mix of deep sky objects and wide-angle Milky Way panoramas, a broadband filter is your safest starting point. I keep one permanently mounted on my wide-angle lens for nightscapes and only swap to specialty filters for specific nebula targets.
Narrowband filters transmit only the specific emission lines produced by glowing gas clouds, primarily hydrogen-alpha at 656nm, oxygen III at 501nm, and sulfur II at 672nm. They excel at capturing emission nebulae like the Veil, North America, and Rosette nebulae, even from heavily polluted skies.
The trade-off is that narrowband images are nearly monochromatic and must be processed using the Hubble palette or SHO techniques to produce color. If you do not enjoy heavy post-processing, narrowband is not the path for you.
UHC (ultra-high contrast) filters are a middle ground. They pass hydrogen-alpha and oxygen III while blocking everything else. Dual narrowband filters combine these two transmission windows into one filter, cutting imaging time roughly in half compared to separate H-alpha and OIII filters.
For urban astrophotographers shooting nebulae, a dual narrowband filter is often the best investment. I use mine for all nebula targets from my Bortle 7 backyard and capture usable data that would be impossible with a broadband filter alone.
This is the section I wish I had when I started. Most guides skip the practical mechanics and assume you already know how to mount a filter and dial in camera settings. Here is the workflow that I refined over two years of astrophotography from light-polluted locations.
First, identify which filter format your camera and lens accept. Screw-in filters thread directly onto the front of your lens and work with any camera body. Clip-in filters drop into the camera body bayonet and only work with specific models from Canon, Nikon, and Sony. Square filters slide into a holder mounted on a step-up ring on the front of the lens.
For screw-in filters, thread the filter onto the lens with the coated side facing the subject. Most filters have a small arrow or indicator etched into the frame. Always grip the filter by its edges to avoid leaving fingerprints on the coating.
For clip-in filters, remove the lens and align the filter with the camera body’s bayonet mount, following the arrow indicators on both the filter and the body. Slide it in until it seats with a click. Reattach your lens and confirm focus is still calibrated to infinity.
Set your camera to manual mode with the lens focused at infinity. Start with these baseline settings for astrophotography with a filter: ISO 800 to 1600, aperture wide open or stopped down one stop, shutter speed between 10 and 25 seconds depending on your focal length, and white balance set to daylight (around 5500K) as a starting point.
Disable in-camera long-exposure noise reduction, since you will handle noise in post-processing with better control. Turn off any image stabilization on tripod-mounted shots. Shoot in RAW format to preserve maximum flexibility for white balance and color adjustments later.
Frame your target before mounting the filter if possible. Some clip-in filters make focusing harder because they reduce the viewfinder brightness. Use live view at high ISO to compose your shot and to focus on a bright star using magnified live view.
Manual focus is mandatory. Autofocus will hunt and fail in low light. After achieving sharp focus, switch off autofocus and tape the focus ring if you have a sticky problem with accidental bumps during long sessions.
Take a 30-second test exposure and review the histogram. The goal is to push the histogram toward the right without clipping the highlights of bright stars. If the histogram is too far left, increase ISO or extend shutter speed. If bright stars are clipping, reduce ISO or shorten exposure.
Light pollution filters typically reduce light transmission by 25 to 50 percent. This means you will need roughly one stop more exposure than you would use without the filter for the same scene brightness. Plan accordingly when calculating total integration time.
Single exposures show noise and gradient artifacts. Stacking 20 to 50 sub-exposures in software like DeepSkyStacker or PixInsight averages out random noise while preserving real signal. I typically shoot between 30 and 100 light frames per target, plus 20 dark frames and 30 flat frames for calibration.
If you use a star tracker, each sub-exposure can run two to five minutes at lower ISO for cleaner data. If you shoot untracked on a tripod, stick to short sub-exposures under 25 seconds to avoid star trailing at typical focal lengths.
Filters are not magic. Every light pollution filter introduces optical trade-offs. Knowing what to expect helps you decide whether the benefit outweighs the cost for your specific shooting scenario.
The single biggest side effect is reduced overall light transmission. Even premium filters cut total incoming light by 25 percent or more. This means longer exposures, higher ISO, or both. In cold winter conditions, longer exposures also risk condensation on the filter surface, which I have learned the hard way.
Plan for an extra stop of exposure compared to your filter-less baseline. If you normally shoot at ISO 800 and 15 seconds, expect to push to ISO 1600 or 30 seconds with the filter mounted.
Broadband filters introduce a slight magenta or green color cast depending on the design. This is correctable in post-processing with white balance eyedropper or by setting a custom color temperature. The cast is most obvious in star fields and the Milky Way, less so in emission nebula targets.
Shoot in RAW and ignore the JPEG preview’s color tint. You can recover natural-looking color in 30 seconds with a white balance adjustment in Lightroom, Photoshop, or any dedicated astrophotography editor.
Cheap filters and filters used at wrong wavelengths can introduce halos around bright stars. This happens because the filter reflects rather than absorbs certain wavelengths, causing internal bounce inside the lens. Multi-coated filters minimize but do not eliminate this.
If you see persistent halos, stop down the lens by one stop, which reduces the angle of incidence at which light hits the filter and often cleans up the artifact. Also check that your filter is not stacked with other filters, which compounds the reflection problem.
Post-processing is where the filter’s work pays off. The raw file captured through a light pollution filter still contains residual gradient and color cast that need correction. Here is the workflow I use on every single frame.
Open your stacked image in your editor of choice. Use the white balance eyedropper on a neutral patch of sky background to set the temperature. Adjust tint until the sky reads as a clean neutral gray or a slight warm tone, depending on your artistic preference.
For Milky Way shots, I aim for a sky background around 4500K with a slight magenta tint for natural feel. For nebula targets, I let the dominant emission color guide the temperature setting, since nebulae should retain their characteristic hues.
Even after filtering, urban skies often show a residual brightness gradient from the city direction. Use a synthetic flat calibration frame or the built-in gradient removal tool in Photoshop, PixInsight, or GIMP to flatten the background.
I prefer PixInsight’s DynamicBackgroundExtraction for serious deep sky work. For quick Milky Way edits, the Lightroom gradient tool works fine. Either way, the goal is a clean, even background before you start stretching.
Pulling detail out of a deep sky image means stretching the histogram, which also stretches noise. Use masked stretching, luminance masks, or curves adjustments on targeted areas to bring out nebula and galaxy detail without blowing up background noise.
Noise reduction is your friend at the end of the workflow. Apply luminance noise reduction at moderate strength, then chrominance noise reduction at lower strength. Avoid over-smoothing stars, which look unnaturally soft if processed too aggressively.
The same filter behaves differently depending on where you point your camera. Here are the patterns I have found useful for the three most common scenarios I encounter.
In heavy light pollution, broadband filters offer modest improvement but cannot rescue the sky alone. Narrowband and dual narrowband filters become essential for nebula targets. For Milky Way work, accept that the galactic core will appear fainter than under dark skies and lean into foreground composition instead.
I have had my best urban results shooting in the hour or two after astronomical twilight, when the sky is at its darkest. Even in a Bortle 8 city, this window provides measurably better signal-to-noise than later in the night when the lights have been on longer and fully charged.
Suburban skies are the sweet spot for broadband filters. The Milky Way becomes dramatically more visible through the filter, and natural star colors come through beautifully. I shoot most of my Milky Way work from Bortle 5 to 6 sites with a broadband filter and a fast wide-angle lens, and the results consistently impress me.
Use a star tracker for sharpest results if you want to expose longer than 15 seconds. Without a tracker, follow the 500 rule, dividing 500 by your focal length to get your maximum untracked exposure in seconds before stars begin to trail.
Smartphone astrophotography has exploded in recent years, and clip-in style smartphone light pollution filters are now available from several manufacturers. They mount over the phone’s main lens and work with night mode apps that allow manual focus and exposure control.
Results are limited by the small sensor size, but a smartphone filter still cuts sky glow noticeably and can transform a phone shot of the Milky Way from invisible to recognizable. Pair with a tripod and a remote shutter for best results.
Yes, light pollution filters genuinely work. They block specific wavelengths of artificial light, particularly sodium vapor emissions between 575nm and 600nm, which reduces sky glow and increases contrast for stars and nebulae. Effectiveness depends on your sky quality, target type, and filter design. Urban astrophotographers get the biggest improvement.
Light pollution filters are less effective against modern LED lighting than against legacy sodium vapor lamps, because LEDs emit across a broader spectrum. A quality broadband filter still improves contrast measurably under LED skies. For best results with LED-heavy environments, narrowband or dual narrowband filters outperform broadband options.
Broadband filters pass most natural starlight while blocking artificial light wavelengths, preserving natural star colors and working well for the Milky Way and galaxies. Narrowband filters pass only specific emission lines like hydrogen-alpha and oxygen III, which makes them ideal for emission nebulae but produces nearly monochromatic images that require special processing.
The coated side of the light pollution filter faces the lens, with the uncoated or less reflective side facing the subject. Most filters have a small arrow or indicator on the frame showing the correct orientation. Mounting the filter backwards reduces performance and increases ghosting and flare.
Light pollution filters work for both visual astronomy and photography. Visual observers use larger-format filters in eyepieces or in front of telescope objectives, with broadband filters helping galaxy and star cluster observation and narrowband filters helping emission nebula viewing. Results vary based on sky quality, telescope aperture, and the specific targets being observed.
Learning how to use a light pollution filter is less about memorizing steps and more about understanding the trade-offs. Pick the right filter type for your target, mount it carefully with the correct orientation, and plan for one stop of extra exposure. Then process your stacked images with white balance correction and gradient removal to bring out the detail hiding under that urban sky glow.
Start with a broadband filter if you shoot the Milky Way or galaxies. Move to a dual narrowband filter when you are ready to chase emission nebulae from your balcony or backyard. Whatever filter you choose, get out under the stars this season and start capturing the sky our ancestors took for granted.