8 Best Rifle Scope Bubble Levels (September 2026)
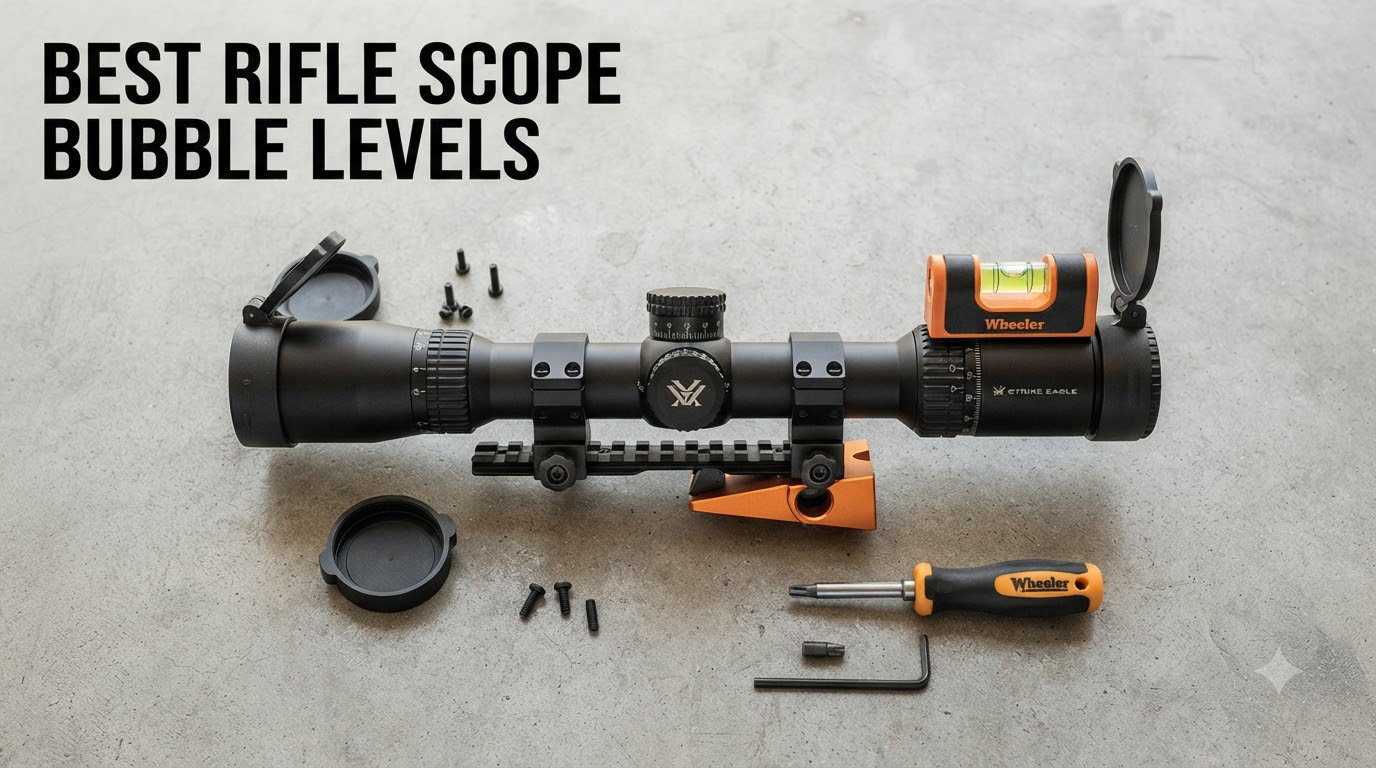
I lost a whitetail at 412 yards last fall because of something I couldn’t see through my scope. A subtle…

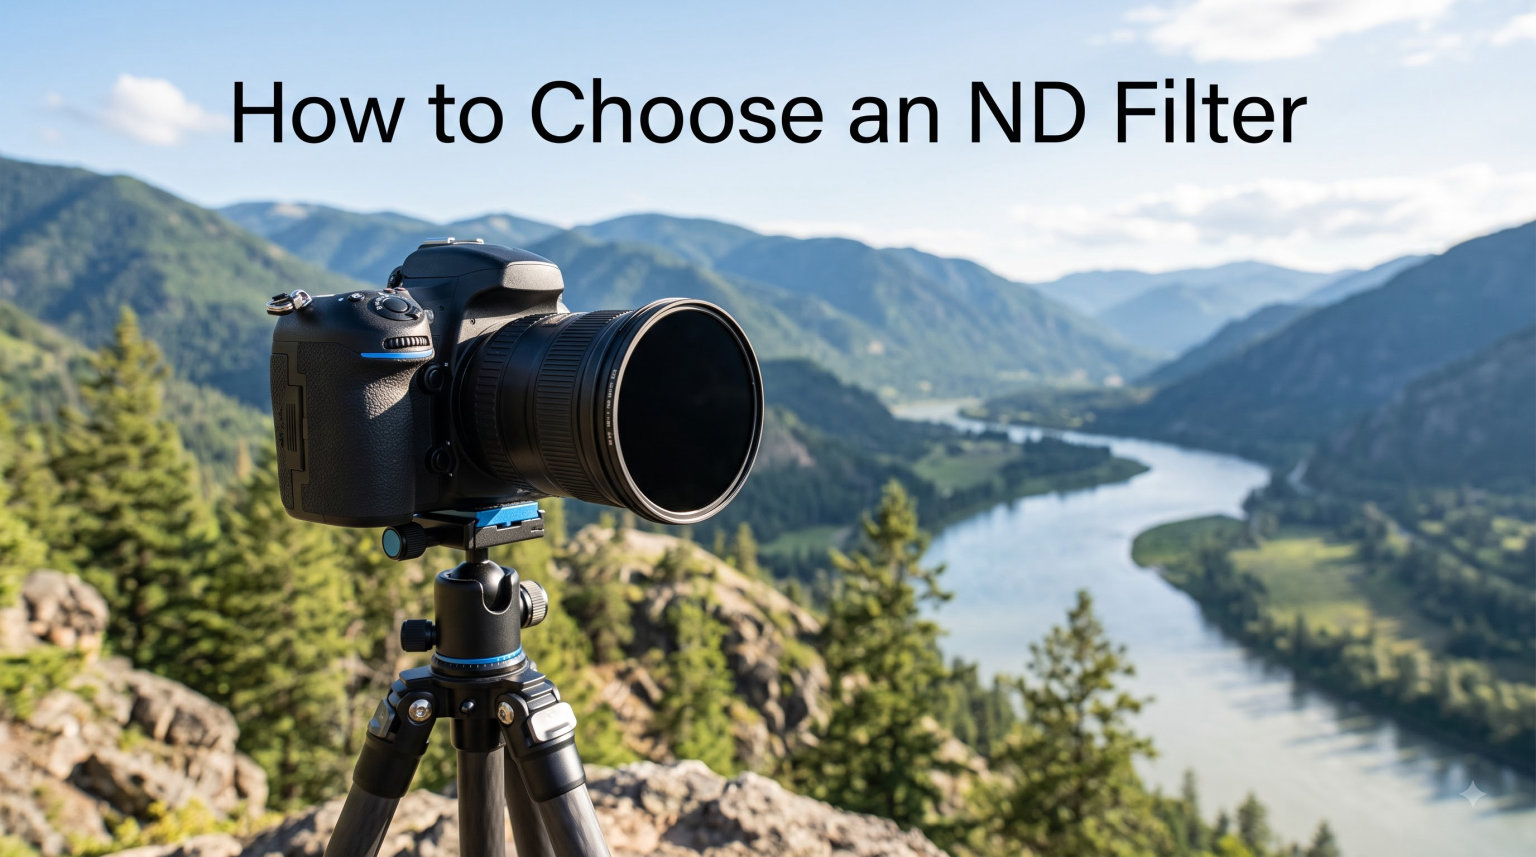
Learning how to choose an ND filter used to confuse me more than any other piece of camera gear. I remember standing in a shop holding three boxes labeled ND8, ND64, and ND1000, with no clue which one would actually help me shoot waterfalls and silky clouds. After testing roughly 40 filters over the past three years on everything from Sony mirrorless bodies to DJI drones, I finally understand what each density actually does in the field. This guide will save you that same confusion and walk you through the exact decision process I now use when picking the right camera filters for any situation.
An ND filter is one of the most practical tools a photographer can own, yet the labeling system makes it feel harder than it should be. By the end of this guide, you will understand stops, optical density, filter factors, and the difference between fixed, variable, and graduated options. You will also know exactly which density to buy first, how to find the correct thread size for your lens, and when a square filter system actually beats a round screw-in filter.
An ND filter, short for neutral density filter, is a piece of darkened glass that reduces the amount of light reaching your camera sensor. Think of it as sunglasses for your lens. It cuts light uniformly across all visible wavelengths, so your colors stay accurate while your exposure drops.
The core purpose of an ND filter is creative control. In bright daylight, your camera will hit its maximum shutter speed and minimum aperture long before you can achieve the look you want. An ND filter removes that light so you can use slower shutter speeds for motion blur, wider apertures for shallow depth of field, or both.
I use ND filters for three specific effects. First, long exposure photography: turning rough oceans into glassy surfaces and streaking clouds across the sky. Second, controlling depth of field in bright sun: shooting portraits at f/1.8 at noon without overexposing. Third, cinematic video: matching the 180-degree shutter rule for natural motion blur in footage.
Every photographer eventually runs into a scene where they need less light. Harsh midday sun at a beach. A waterfall they want silky. A video clip they want cinematic. That is when an ND filter becomes essential, not optional.
ND filters are labeled by how much light they block, but the labeling system varies confusingly between stop notation, ND numbers, and optical density. Once you understand the relationship between these three systems, choosing the right filter becomes straightforward.
A “stop” is a doubling or halving of light. One stop of ND reduction cuts light in half. Two stops cuts it to one quarter. Three stops cuts it to one eighth, and so on. The higher the stop count, the darker the filter, and the longer your shutter speed needs to be to compensate.
The ND number printed on filters follows a logarithmic scale based on the filter factor. ND2 blocks 1 stop of light (filter factor of 2). ND4 blocks 2 stops. ND8 blocks 3 stops. Each doubling of the ND number adds one additional stop of reduction. This is why a jump from ND8 to ND16 is just one more stop, even though the numbers look very different.
The transmission percentage tells you exactly how much light passes through. An ND2 filter transmits 50% of light. An ND8 transmits 12.5%. An ND1000 transmits only 0.1%. Knowing the transmission helps when you need to calculate exposure precisely, especially for long exposures where small errors compound quickly.
Optical density is the more technical measurement. It describes the logarithm of light reduction. ND 0.3 equals 1 stop. ND 0.6 equals 2 stops. ND 1.0 equals 3 stops. Professional filter manufacturers often use optical density notation, while consumer brands lean on the ND number system.
Here is the stop conversion reference I keep taped inside my camera bag:
| Filter Name | Optical Density | Stops | Light Transmission |
|---|---|---|---|
| ND2 | 0.3 | 1 | 50% |
| ND4 | 0.6 | 2 | 25% |
| ND8 | 0.9 | 3 | 12.5% |
| ND16 | 1.2 | 4 | 6.25% |
| ND32 | 1.5 | 5 | 3.1% |
| ND64 | 1.8 | 6 | 1.5% |
| ND128 | 2.1 | 7 | 0.78% |
| ND256 | 2.4 | 8 | 0.39% |
| ND512 | 2.7 | 9 | 0.19% |
| ND1000 | 3.0 | 10 | 0.1% |
| ND4000 | 3.6 | 12 | 0.025% |
| ND32000 | 4.5 | 15 | 0.003% |
When you see a filter labeled “ND2-ND400” on a variable ND, that means it can dial in any density between 1 stop and approximately 8-9 stops. The range covers most practical situations but cannot reach the extreme 10 to 15-stop territory of dedicated long exposure filters.
Once you understand stops, the next decision is which physical filter type fits your shooting style. There are three main categories, each with clear strengths and weaknesses.
Fixed ND filters offer one specific density per filter. Buy an ND8, and you always get exactly 3 stops of reduction. Buy an ND1000, and you always get 10 stops. Most photographers start with a 6-stop filter (ND64) because it covers the widest range of common scenarios.
Fixed filters deliver the best optical quality at their specific density. There is no risk of cross-polarization or X-pattern artifacts. Color neutrality is typically excellent in reputable brands. The main downside is that you need multiple filters if you shoot different scenarios, which adds cost and bulk.
Variable ND filters use two polarizing layers that rotate against each other to dial in any density from roughly 1 to 8 stops in a single filter. They are incredibly convenient. One filter replaces an entire set, making them popular for travel and video work.
The trade-off is optical compromise. At minimum density, image quality is usually clean. As you crank toward maximum density, you risk a dark X-pattern crossing the frame, color shifts, and uneven light transmission. Cheap variable ND filters suffer from these problems aggressively. Higher-end options from brands like PolarPro and NiSi handle the wide end much better.
Reddit photography forums consistently warn that variable ND filters below roughly $100 tend to disappoint. If you go variable, spend enough to get a well-reviewed model. Otherwise, a set of fixed filters gives better results per dollar.
Graduated ND filters have a density that transitions from dark to clear across the frame. They are primarily used for landscape photography where the sky is significantly brighter than the foreground. By darkening only the sky portion, you balance exposure without affecting the entire image.
Hard grad filters have an abrupt transition, ideal for horizons like seascapes with no objects crossing the line. Soft grad filters have a gradual transition, better for mountains, trees, and uneven skylines. Most landscape photographers keep at least one soft grad in their kit.
Graduated ND filters are almost always square or rectangular, which means you need a filter holder system. They cannot be screwed directly onto a lens like fixed or variable round filters.
The density you need depends entirely on what you shoot. After hundreds of test sessions, here is the practical breakdown I share with photographers who ask me which filter to buy first.
For landscape work, the two most useful densities are ND64 (6 stops) and ND1000 (10 stops). The ND64 handles moving water, light cloud movement, and daytime exposures from roughly 1/15 second down to 1 second. The ND1000 handles 30-second to 5-minute exposures for that dramatic minimalist look where clouds streak and water goes glassy.
If I had to pick just one filter for landscape work, I would choose an ND1000. Ten stops opens up the most creative possibilities, and you can always stop down further by stacking or closing your aperture.
Portraits in bright sunlight call for wide apertures. Shooting f/1.8 at noon requires serious light reduction, typically 5 to 8 stops. An ND64 to ND256 range covers most portrait situations. Variable ND filters work particularly well here because you can dial in exactly the density needed as light changes.
Be careful with stacking. Combining a fixed ND with a polarizing filter, or stacking two ND filters, can introduce vignetting on wide-angle lenses and degrade sharpness. One high-quality filter usually beats two mediocre ones.
Video shooters follow the 180-degree shutter rule, which means your shutter speed should equal twice your frame rate. At 24fps, you need 1/48 second. At 30fps, you need 1/60 second. At 60fps, you need 1/120 second.
These shutter speeds are often too slow for bright daylight, which means you need an ND filter to avoid overexposure. For video, variable ND filters are almost standard equipment because light conditions change constantly and you need to adjust density on the fly.
Aim for an ND filter that provides 2 to 6 stops of reduction for video. ND4 to ND64 covers the typical range. Higher densities are occasionally useful for outdoor shoots in very bright conditions, but most videographers rely on the variable 1-to-5-stop sweet spot.
Drone ND filters are a category almost no competitor covers well. Drones have fixed apertures, so you cannot adjust exposure by changing f-stop. You must use ND filters to control shutter speed and achieve the 180-degree rule for cinematic aerial video.
Most drone pilots need a set of three to four filters: ND4, ND8, ND16, and ND32. These cover the typical outdoor shooting range. Buy filters specifically designed for your drone model, since thread sizes and camera mounting systems vary significantly between manufacturers like DJI and Autel.
Photographing the sun requires extreme density, typically 15 stops or more. ND100000 or ND320000 filters are standard for solar work. Crucially, these filters are NOT the same as eclipse glasses and must meet specific solar safety standards. Never point a camera at the sun without a proper solar filter.
For general sun photography without a solar-rated filter, you risk damaging both your camera sensor and your eyes through the viewfinder. This is one photography genre where skimping on equipment can literally cost you your eyesight. Use dedicated solar filters from reputable astronomy suppliers.
Theory only matters when it helps you in the field. Here is how to actually use your ND filter once you own one.
The basic formula for calculating long exposure with an ND filter is simple: multiply your base exposure time by the filter factor. If your correct exposure without a filter is 1/125 second, and you add an ND8 (filter factor of 8), your new exposure becomes 1/15 second. With an ND1000 (factor of 1000), it becomes roughly 8 seconds.
I keep this quick reference handy for common scenarios:
| Base Shutter Speed | With ND8 (3 stops) | With ND64 (6 stops) | With ND1000 (10 stops) |
|---|---|---|---|
| 1/1000s | 1/125s | 1/15s | 1s |
| 1/500s | 1/60s | 1/8s | 2s |
| 1/250s | 1/30s | 1/4s | 4s |
| 1/125s | 1/15s | 1/2s | 8s |
| 1/60s | 1/8s | 1s | 16s |
| 1/30s | 1/4s | 2s | 32s |
For very long exposures, switch to bulb mode and use a remote trigger or your camera’s built-in timer. Mirror slap can introduce vibration at slow shutter speeds, so enable mirror lock-up on DSLRs or use electronic shutter on mirrorless bodies.
Stacking means combining multiple filters to achieve higher total density. An ND8 plus an ND64 stacked gives you roughly ND512, which is 9 stops total. Stacking works, but each additional piece of glass risks introducing optical flaws like vignetting on wide-angle lenses, reduced sharpness, and color cast.
Quality matters more than quantity. A single well-coated ND1000 outperforms two cheap ND64 filters stacked together. If you find yourself stacking constantly, invest in higher-density filters instead.
Filters come in two physical formats, and choosing between them is one of the most practical decisions in this guide.
Round filters screw directly onto your lens’s filter thread. They are simple, fast to attach, and work with any lens that has a filter thread. Most photographers start with round filters because the learning curve is minimal.
The main limitation is that you need different thread sizes for different lenses. A 77mm filter does not fit a 58mm lens. Step-up rings solve this problem by letting larger filters fit smaller lenses, though they add bulk and can vignette on ultra-wide angles.
Square filter systems use a holder that mounts to your lens via an adapter ring. You slide square or rectangular filters into the holder. The advantage is that one set of square filters fits any lens with the appropriate adapter ring. Switching from a 77mm lens to a 58mm lens only requires swapping the adapter ring, not the filters.
Square systems also enable graduated ND filters and ease the use of multiple stacked filters. The downside is bulk and cost. Holders, adapter rings, and individual filters add up quickly.
Your lens filter thread size is printed on the lens barrel or lens cap, marked with the diameter symbol (a circle with a line through it). Common sizes include 52mm, 58mm, 67mm, 72mm, and 77mm. Look for the number followed by mm.
If you cannot find the marking, check your lens manual or the manufacturer’s website. Buying the wrong size is one of the most common beginner mistakes. Reddit threads about wrong filter sizes outnumber almost any other photography gear complaint.
Step-up rings let you use a larger filter on a smaller lens. Step-down rings do the opposite, but they are rarely useful and often cause vignetting. Most photographers buy the largest filter size that matches their biggest lens, then use step-up rings for everything else.
Buy quality adapter rings. Cheap metal rings seize up on your lens and can be nearly impossible to remove. Aluminum or brass rings from reputable brands like B+W or Sensei are worth the few extra dollars.
Check the front of your lens or the inside of your lens cap for a number followed by mm, such as 67mm or 77mm. That number is your filter thread size. If you own multiple lenses with different sizes, buy filters in your largest size and use step-up rings for smaller lenses.
The ND number refers to the filter factor, or how much the filter reduces light. ND2 cuts 1 stop of light (50% transmission). ND4 cuts 2 stops (25% transmission). ND8 cuts 3 stops (12.5% transmission). Each doubling of the ND number adds one more stop of reduction. ND400 blocks roughly 8-9 stops of light and is common on variable ND filters.
For landscape and seascape long exposures, an ND64 (6-stop) or ND1000 (10-stop) covers most needs. For portraits in bright sun, ND8 to ND64 (3-6 stops) works well. For video, ND4 to ND32 (2-5 stops) is the practical range. Start with one filter that matches your primary photography type, then expand your kit as needed.
Find the filter thread diameter printed on your lens barrel or lens cap, marked as a number with mm. Match that size when purchasing round filters. For square systems, buy the holder and adapter ring that matches your lens thread size. Most photographers standardize on one or two common sizes to avoid buying duplicates.
Fixed ND filters provide one specific density, like ND8 or ND1000. Variable ND filters can dial in any density between roughly 1 and 8 stops by rotating two polarizing layers. Fixed filters offer better optical quality at their density. Variable filters offer convenience and flexibility for changing light conditions.
Yes, stacking two ND filters combines their densities. An ND8 stacked with an ND64 gives roughly 9 stops total. Stacking works but risks vignetting on wide-angle lenses, reduced sharpness, and color cast. One high-quality high-density filter usually outperforms two cheap filters stacked together.
Choosing the right ND filter stops being complicated once you understand stops, density numbers, and your own shooting priorities. If you shoot landscapes and seascapes, start with an ND1000 for dramatic long exposures. If you shoot portraits or video, a quality variable ND between 1 and 5 stops gives the most flexibility. If you fly drones, buy a set of drone-specific filters in ND4 through ND32.
The most common beginner mistake is buying too many filters before understanding how each density actually performs in the field. Start with one filter that matches your main photography type, shoot with it for a few weeks, and let your shooting style guide the next purchase. Filter collections grow naturally from real use, not from theoretical needs.
Now you have the framework to confidently choose the right ND filter for any situation in 2026. Get out, shoot in midday sun for the first time, and watch your creative options expand the moment that filter clicks onto your lens.