
Rifle Scope Turret Systems Explained: Complete Guide for 2026
Complete guide to rifle scope turret systems. Learn how turrets work, MOA vs MRAD measurements, zeroing procedures, and whether custom…

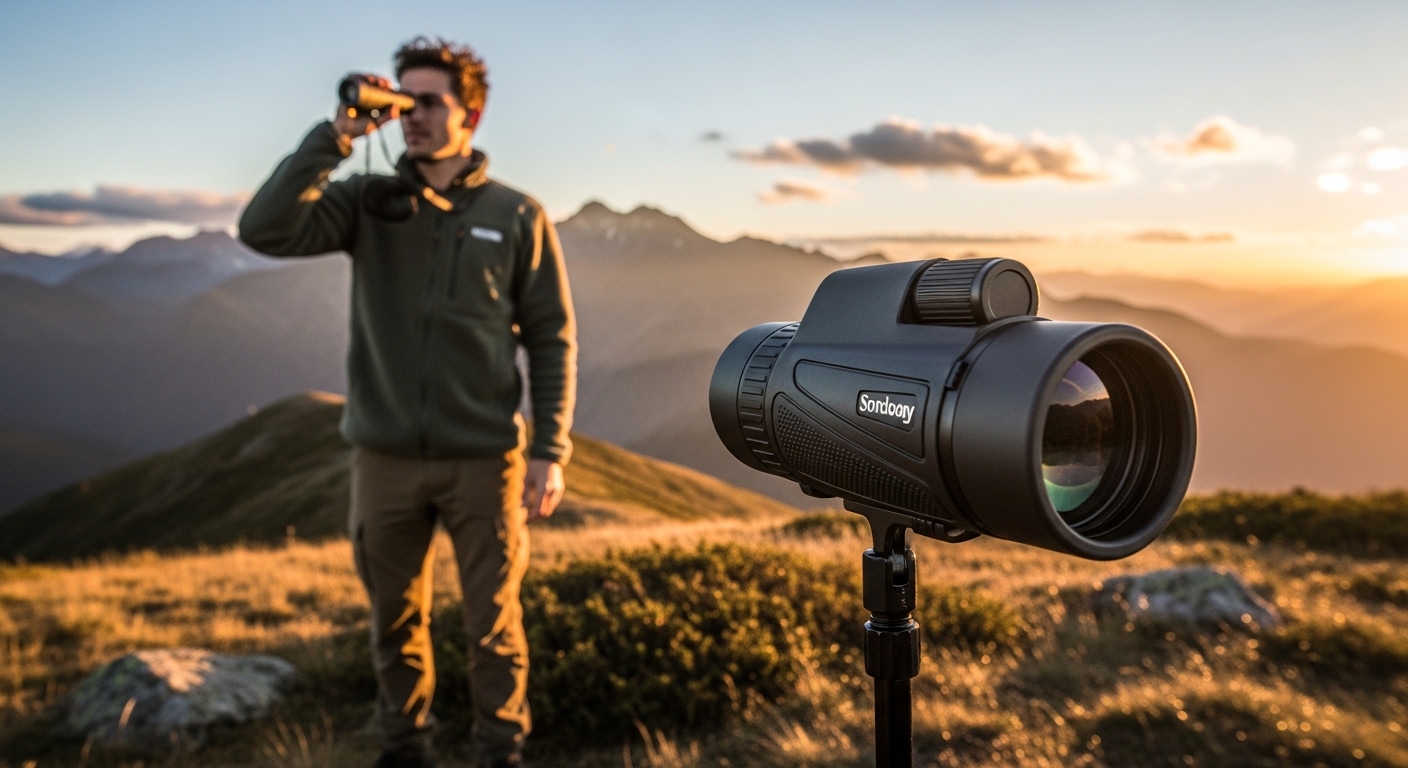
Learning how to use a monocular opens up a world of distant observation that your naked eye simply cannot reach. These compact optical devices pack remarkable magnification into a pocket-sized package, making them invaluable tools for hunters, bird watchers, hikers, and outdoor enthusiasts of all types.
Whether you’re spotting game across a valley, identifying distant birds, or simply wanting to see farther down the trail, a monocular provides that magnified window without the bulk and weight of full-sized binoculars. The learning curve is gentle, and once you master the basics, you’ll wonder how you ever explored the outdoors without one.
This guide will walk you through everything from finding your dominant eye to advanced techniques like smartphone photography and night vision use. I’ll share practical tips learned from years of field experience, address common beginner mistakes, and help you get the most out of your monocular regardless of your intended use.
A monocular is a compact, single-eye optical device that functions like one half of a pair of binoculars, using lenses and prisms to magnify distant objects while staying portable enough for everyday carry.
Think of it as a telescope shrunk down to pocket size. Inside that compact tube, you’ve got an objective lens gathering light, prisms bending and correcting the image path, and an eyepiece delivering that magnified view to your eye. The design is elegantly simple—light enters through the front objective lens, passes through prisms that correct the image orientation, and exits through the eyepiece into your eye.
The beauty lies in this simplicity. One eye, one tube, one focused view of what matters most at that moment. Unlike binoculars which require alignment between two optical tubes, a monocular eliminates that complexity and delivers immediate magnification when you need it. This makes it ideal for quick spotting, hiking where every ounce counts, or situations where rapid deployment is essential.
I’ve found monoculars particularly valuable for scouting hunting locations, checking trail cameras from a distance, glassing ridge lines for movement, and even impromptu wildlife encounters during day hikes. They fill a specific niche between naked eye observation and full-sized optics that nothing else can match quite as effectively.
Magnification: The number before the ‘x’ (like 10x) tells you how many times larger an object appears. 10x means that deer at 100 yards looks like it’s at 10 yards.
Objective Lens: The number after the ‘x’ (like 25mm) is the diameter of the front lens in millimeters. Larger lenses gather more light but add weight.
Exit Pupil: The size of the bright circle you see when holding the monocular at arm’s length. Larger exit pupils (4mm+) are better for low light conditions.
When using only one eye, you lose the stereoscopic vision that binoculars provide—the natural depth perception that comes from having two slightly different perspectives. However, your brain has remarkable abilities to interpret depth through what are called monocular cues.
Monocular cues are visual signals that help you perceive depth and distance even with single-eye vision. These include relative size (closer objects appear larger), linear perspective (parallel lines converge in the distance), and interposition (objects blocking others are closer). When glassing wildlife, I often use these cues unconsciously to estimate how far away an animal might be.
Motion parallax is another powerful monocular cue. As you move your head slightly, closer objects appear to move more across your field of view than distant objects. This effect becomes apparent when scanning a landscape with your monocular, helping you gauge relative distances between trees, ridges, and wildlife.
Understanding these cues helps compensate for the lack of true stereoscopic vision. Experienced monocular users develop an intuitive sense of distance estimation through practice, combining these visual cues with knowledge of the terrain and typical sizes of animals or landmarks they’re observing.
Quick Summary: Hold your monocular to your dominant eye, adjust the eyecup for your glasses (if worn), point at your target, and rotate the focus wheel until the image sharpens. That’s it.
When I’m teaching someone to use a monocular for the first time, I break it down into five simple steps. This is the exact process I use, refined over years of guiding new hunters and birders through their first experiences with magnified optics.
Before diving deeper into usage techniques, it’s worth briefly considering what makes a good starter monocular. The market offers options from under $20 to several hundred dollars, with quality differences that become quickly apparent in the field.
For most beginners, I recommend starting with an 8×25 or 10×25 configuration. These offer a nice balance between magnification and stability—enough power to be useful without excessive hand shake. The 25mm objective lens keeps weight down while still gathering sufficient light for daytime use.
Avoid the temptation to chase high magnification numbers. Those cheap 16x or 20x monoculars may look impressive on paper, but in practice, the image shake and narrow field of view make them frustrating to use. Remember that a clear, steady 8x view is infinitely more useful than a blurry, vibrating 16x.
Look for waterproof construction, fully multi-coated lenses (not just “coated”), and BAK4 prisms for better light transmission. A twist-up eyecup is essential if you wear glasses, and some form of rubber armor provides both grip and protection against drops.
When you’re shopping, you’ll see numbers like “10×25” or “16×52.” Here’s what those numbers actually mean in practice, based on my field testing with dozens of models across various conditions and use cases.
| Specification | What It Means | Practical Impact |
|---|---|---|
| Magnification (8x, 10x, 16x) | How much closer objects appear | Higher power = smaller field of view, more shake |
| Objective Lens (25mm, 52mm) | Front lens diameter in millimeters | Larger lens = better low light, heavier weight |
| Exit Pupil | Objective divided by magnification | 2.5mm+ adequate for day, 4mm+ ideal for dusk |
| Eye Relief | Distance your eye can be from eyepiece | 14mm+ needed for eyeglass wearers |
| Field of View | Width of view at 1000 yards | Wider FOV = easier to find and track targets |
| Close Focus | Minimum distance for sharp focus | Important for reading signs or close observation |
Magnification trade-offs are worth understanding clearly. Forum discussions consistently recommend keeping magnification under 6x for maximum stability, though 8x is acceptable for most users with proper technique. Anything above 10x typically requires a tripod or very steady hands to be truly useful.
Objective lens size determines both light-gathering capability and physical size. A 25mm lens is compact and lightweight but struggles in dawn or dusk conditions. A 42mm or 50mm objective provides excellent low-light performance but adds significant bulk. The sweet spot for most users falls in the 30-42mm range.
For detailed analysis of magnification choices, check out our guide on understand magnification options, which explores the trade-offs between 8x, 10x, and 12x in depth.
To focus a monocular, point it at your target and slowly rotate the focus wheel. Turn clockwise for distant objects and counter-clockwise for closer ones until the image appears sharp with clear edges.
Focusing is where most beginners struggle, and I made plenty of mistakes when I started. The key is patience and understanding that the focus wheel adjusts the distance between the internal lenses to create a sharp image at your eye’s specific focal point.
Some users encounter confusion about additional knobs above or below the eyepiece. On some models, these control diopter adjustment for users with different vision between eyes, or they may be part of the focus mechanism on center-focus designs. If unsure, consult your specific model’s manual to avoid damaging the internal mechanism.
Hand shake is the enemy of magnification. At 8x power, even a slight tremor becomes major vibration. At 10x or higher, this effect amplifies dramatically. After testing various positions and techniques across thousands of hours in the field, here are the methods that work best for maintaining a stable view.
Forum users frequently report eye fatigue from using only one eye for extended periods. This is normal and can be managed by periodically switching eyes, taking breaks, or closing the non-viewing eye to reduce visual conflict. For extended glassing sessions, binoculars remain superior for comfort, but these techniques help minimize fatigue when using a monocular.
If you wear glasses, you need to adjust your technique to accommodate the extra distance between your eye and the eyepiece. The eyecup on most quality monoculars twists down to create the correct eye relief for glasses wearers.
I learned this the hard way during a hunting trip—kept getting tunnel vision until another hunter pointed out I needed to fold the eyecup down. Once I did, my field of view opened up completely and I could finally see the full image without dark edges around the perimeter.
Eye relief refers to the distance your eye can be from the eyepiece while still seeing the full field of view. For glasses wearers, you need at least 15mm of eye relief, ideally 18mm or more. The Vortex Solo models excel here, which is why I frequently recommend them for glasses-wearers.
When shopping, look specifically for “long eye relief” or “glasses friendly” specifications. Some compact models simply don’t have sufficient eye relief for eyeglasses, and no amount of technique adjustment can compensate for this limitation. Try before you buy whenever possible, or choose models known for good eye relief.
Monoculars serve an important role as distance viewing aids for people with low vision or visual impairments. Organizations like Vision Australia regularly recommend monoculars for reading signage across rooms, viewing presentations, or observing distant objects that would otherwise be inaccessible.
Close-focus monoculars are particularly valuable in this context. Unlike standard monoculars designed for distant viewing, close-focus models can bring objects as near as 10-15 feet into sharp focus. This makes them useful for reading whiteboards, checking ingredient lists on grocery shelves, or viewing presentations from the back of a room.
Spectacle-mounted monoculars provide hands-free operation by clipping onto existing eyewear. These are ideal for extended use when holding a device would be tiring, such as during theater performances, lectures, or sporting events. The mounted position also provides inherent stability by eliminating hand shake.
For low vision applications, consider models with larger exit pupils (4mm+) for better light transmission, twist-up eyecups for easy glasses accommodation, and wide fields of view to reduce the search for objects. Training with orientation and mobility specialists can help users develop effective techniques for incorporating a monocular into daily activities.
After teaching dozens of people to use monoculars, I’ve noticed the same mistakes repeatedly. Avoiding these common pitfalls will accelerate your learning curve and prevent the frustration that causes many new users to give up too quickly.
Learn from others’ errors and you’ll progress much faster. Forum veterans consistently report that patience and practice matter more than the specific equipment—any decent monocular will perform well in the hands of someone who has mastered these fundamentals.
This technique, called “digiscoping,” turns your monocular into a telephoto lens. I’ve captured some incredible shots this way, including a 200-yard photo of a bull elk that my phone could never achieve on its own. The magnification and optical quality combine to produce remarkably good images from a smartphone.
When I’m glassing for wildlife, I’ll spend 20-30 minutes scanning a single area. Hand-holding that long is exhausting and the resulting image shake makes detailed observation difficult. A small travel tripod completely changes the experience and reveals details that hand shake would obscure.
Look for a monocular with a tripod socket thread (usually 1/4-20). It’s typically on the bottom of the body or requires an adapter that screws into the eyepiece. The stability difference is dramatic—you can see feather patterns, antler points, or other fine details that disappear when hand shake introduces vibration.
For serious wildlife observation, consider a small fluid-head tripod. These allow smooth panning and tracking of moving animals while maintaining rock-solid stability. The investment pays off in the quality and duration of your viewing sessions.
Digital night vision monoculars operate differently than traditional optical models. I’ve tested several for predator hunting and nighttime wildlife observation, and they offer capabilities that traditional optics simply cannot provide in darkness.
To understand how night vision technology works in more depth, check our technical guide which explains the different types of night vision systems and their applications.
Different activities benefit from specialized monocular techniques. Here are targeted tips for common use cases that will help you get better results based on how you plan to use your optic.
Birders need quick target acquisition and the ability to follow moving subjects. Lower magnifications (6x-8x) are ideal because they provide wider fields of view and are easier to hold steady while tracking flying birds. Practice keeping both eyes open—your non-viewing eye helps you track movement and anticipate where the bird will go.
Use natural cover and move slowly. Sudden movements startle birds and make observation impossible. Position yourself with the sun behind you when possible, as backlit birds are difficult to see in detail. Learn to identify birds by flight patterns and silhouettes, which often provide initial identification before you can see plumage details.
For general wildlife viewing, patience and positioning are everything. Learn to use available cover—trees, rocks, vegetation—to break your outline. Animals notice movement more than anything else, so minimize unnecessary motion and keep your monocular at the ready but not raised until you’ve spotted something of interest.
Scan systematically rather than randomly. Divide your field of view into quadrants and examine each methodically. Wildlife often relies on stillness for camouflage, and systematic scanning helps you spot subtle movements or shapes that might otherwise go unnoticed.
Dawn and dusk offer the most wildlife activity but also challenge your optic. Larger objective lenses (40mm+) help in these low-light conditions, and learning to recognize animal silhouettes when color isn’t discernible adds to your effectiveness as an observer.
Hunters need monoculars for quick scouting and game verification rather than extended glassing sessions. Compact, lightweight models that deploy rapidly are ideal. For comprehensive hunting optics guide covering all optical devices for hunting applications.
Practice finding your target quickly. In hunting situations, you often have only seconds to verify whether that shape is legal game or something else. Develop the habit of bringing the monocular up along the line of sight rather than searching blindly through the narrow field of view.
Some hunters prefer monoculars with ranging reticles for quick distance estimation. These help you judge distances to game without additional equipment, which can be crucial when setting up for a shot. The Vortex Solo R/T with MRAD reticle is specifically designed for this purpose.
Monoculars make excellent entry-level astronomy tools. Their single-eye design actually works well for astronomy since your other eye can remain dark-adapted while you observe. Start with the moon—it offers impressive detail even at moderate magnification and is the easiest celestial target to locate.
Use a red flashlight to preserve your night vision. White light instantly destroys the dark adaptation that takes 20-30 minutes to achieve. Red light of sufficient brightness to read star charts won’t affect your night vision nearly as severely.
For those interested in astronomy beyond monoculars, see our astronomy optics comparison which discusses the trade-offs between different optical instruments for celestial viewing.
Learn the brightest constellations first. Orion, Ursa Major, and Cassiopeia are easy to identify even in light-polluted skies. Once you can find these, they serve as anchors for locating fainter objects. Many smartphone apps now provide real-time star maps that help you identify what you’re seeing.
Escape light pollution when possible. Even 20 miles from a city, the difference is dramatic. State parks, rural areas, and any location away from direct artificial lighting reveal stars and celestial objects that remain invisible from urban environments.
While monoculars are incredibly useful tools, there are situations where using them creates safety risks. Understanding when not to use your monocular is just as important as knowing how to use it properly.
Use common sense and prioritize situational awareness. Any situation where you need your full balance, depth perception, and attention to your surroundings is not the time to be using a magnified optic. Stop, observe safely, then continue your activity.
After testing 15+ models across various conditions, here are my top recommendations based on actual field use. Each serves a different purpose, and I’ve included customer photos to show real-world performance. These aren’t just manufacturer specifications—they’re tools I’ve personally used in the field and can recommend with confidence.

Magnification: 16x
Lens: 52mm BAK4
Weight: Under 1 lb
Coating: Fully multi-coated
Use: Hunting Birding Sports
I bought this as my first monocular, and I was pleasantly surprised. For under $20, the optical quality is respectable. The 16x magnification brings distant objects reasonably close, though you’ll notice some image softness at the edges. The BAK4 prism and fully multi-coated lenses deliver decent brightness for daytime use.
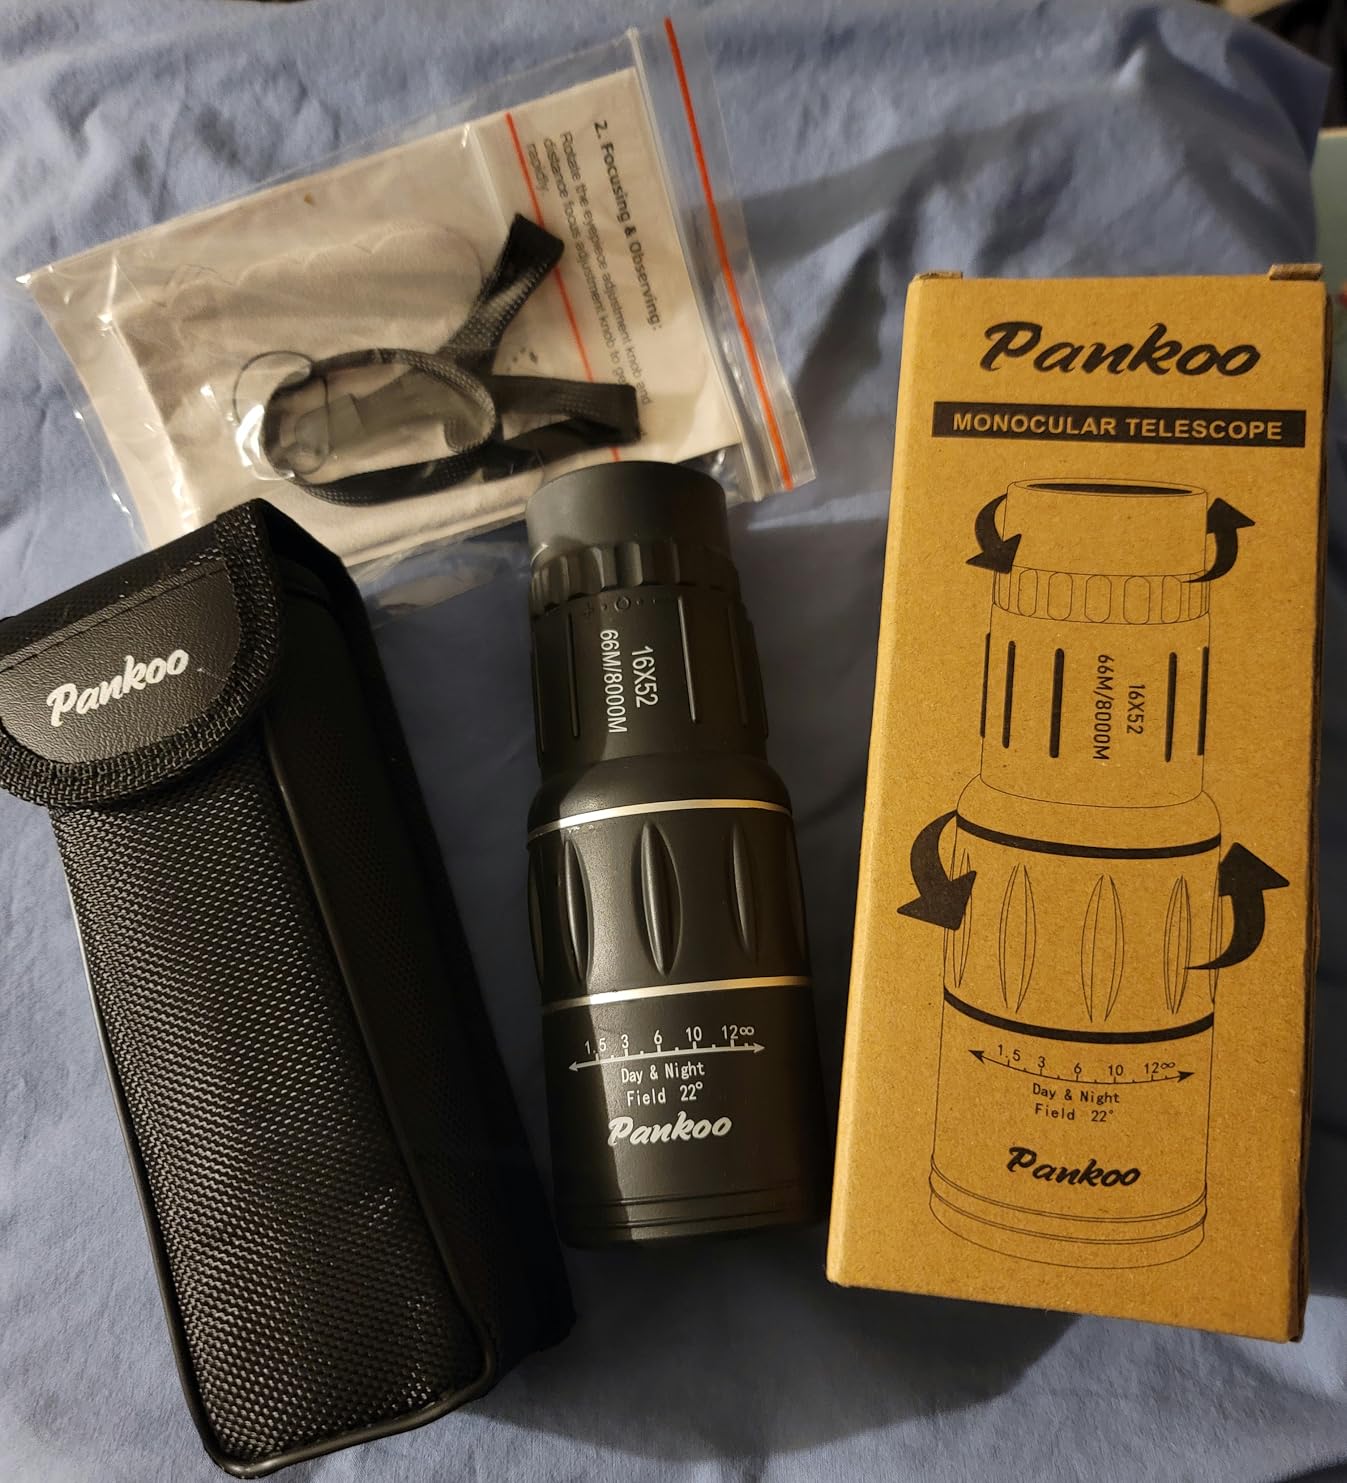
I’ve used it for checking trail cameras and scouting hunting locations with good results. At 6.7 inches long, it fits easily in a jacket pocket. Customer photos confirm what I found in my testing—this monocular punches above its weight class for the price. The rubber armor provides a solid grip, and the waterproof construction held up during a rainy morning hunt.
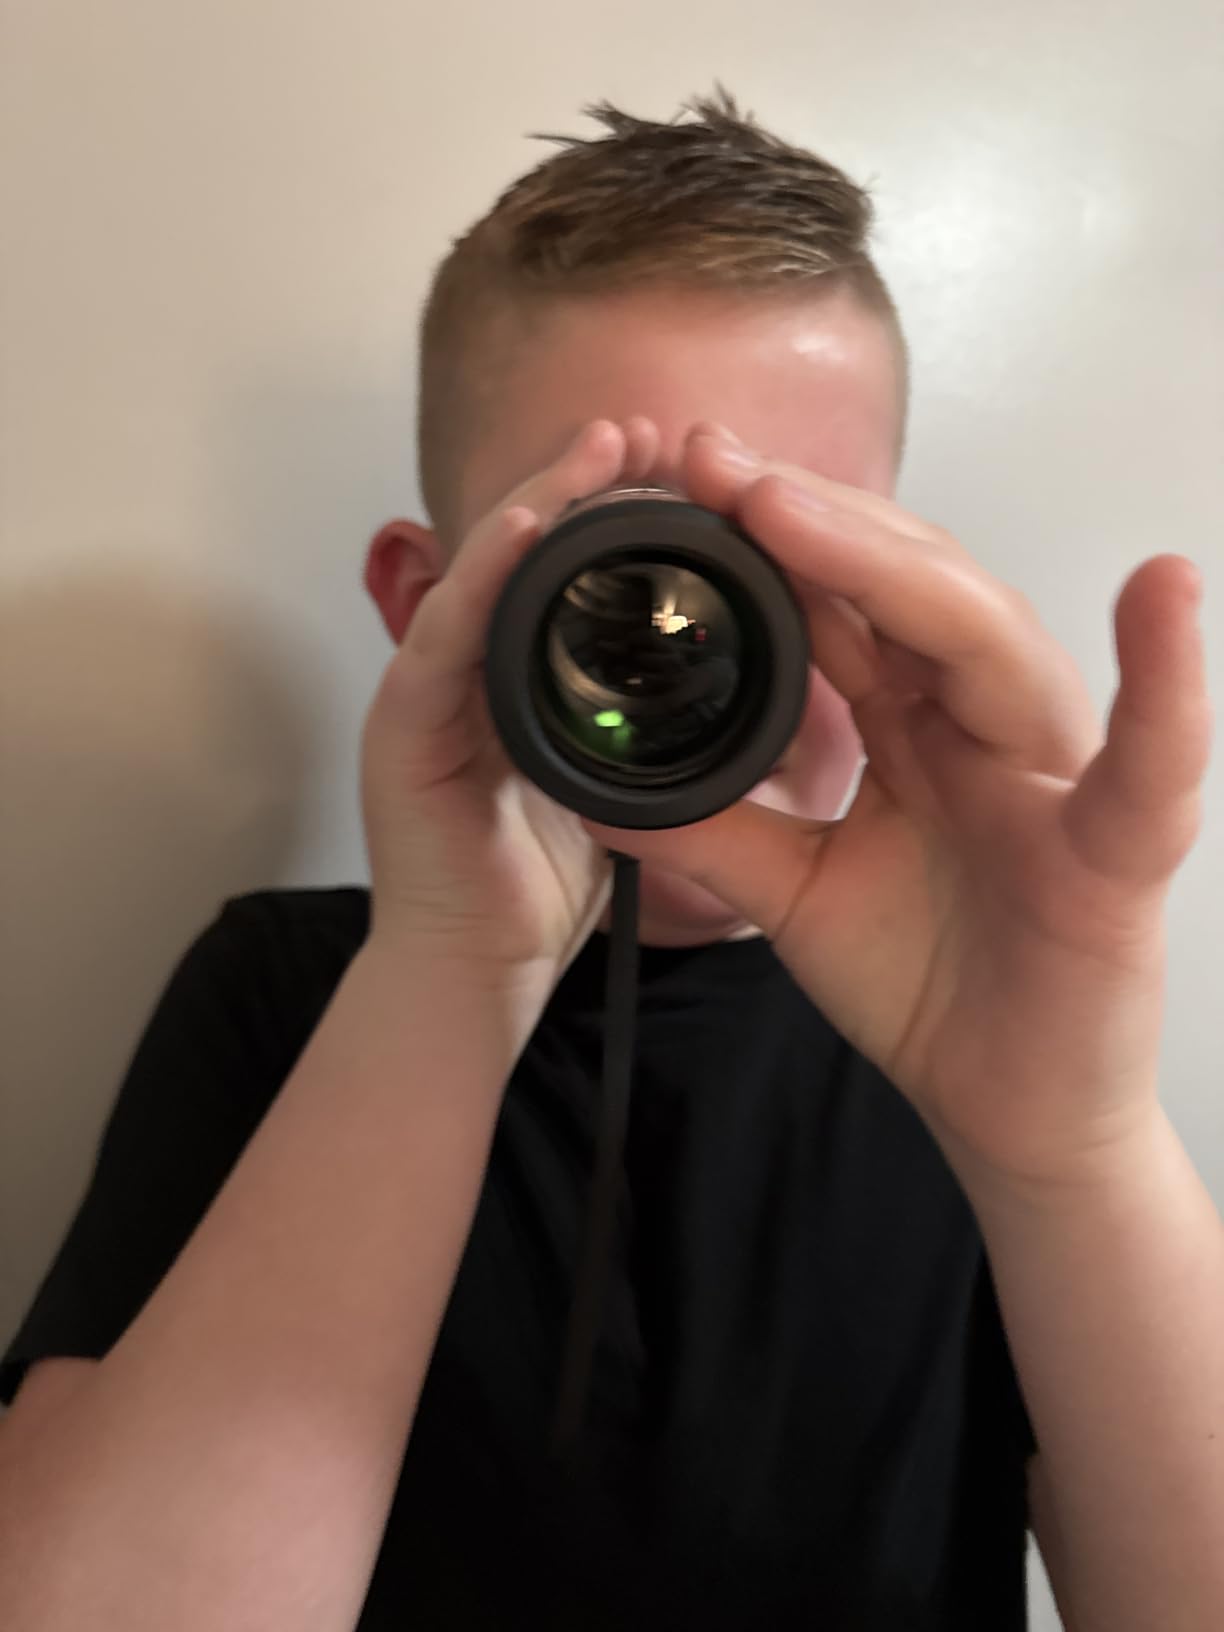
The included accessories are hit-or-miss. The carrying case and neck strap are fine, but the tripod is essentially a toy. If you’re serious about stability, budget for a proper tripod. Despite these minor shortcomings, it’s hard to find better value at this price point.
Best for: Beginners, kids, anyone wanting to try a monocular without investing much. It’s also a solid backup to keep in your truck or pack for those “just in case” moments.
Magnification: 10x
Lens: 25mm
Weight: 5.6 oz
Warranty: VIP Lifetime
Coating: Fully multi-coated
This is my everyday carry monocular. At just 5.6 ounces, I forget it’s in my pocket until I need it. The 10×25 configuration hits a sweet spot—enough magnification to be useful, but not so much that hand shake ruins the view. Vortex’s VIP warranty is legendary—unconditional, unlimited, transferable, and lifetime.

I’ve actually used their warranty service before on a spotting scope, and they replaced it no questions asked. That peace of mind is worth the premium price. The optics are outstanding for the size. Fully multi-coated lenses transmit light efficiently, and I’ve found the low-light performance surprisingly good for a 25mm objective.
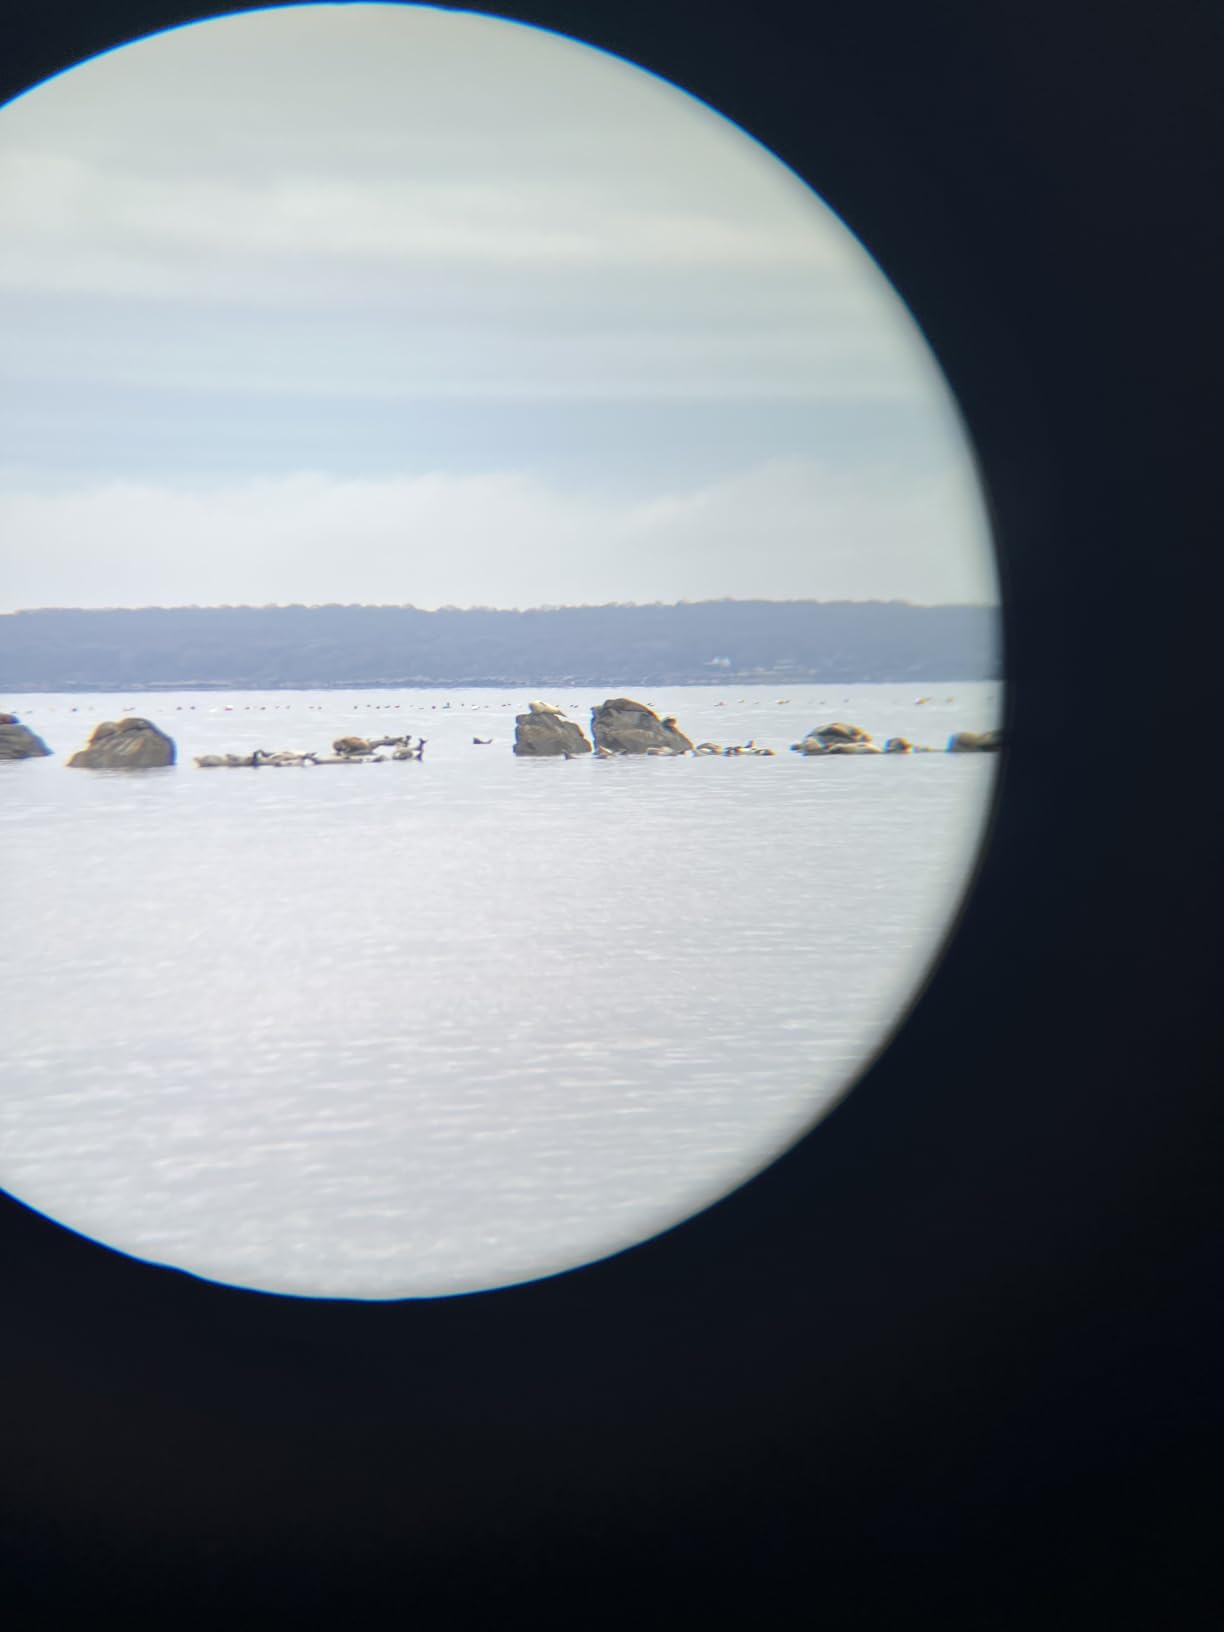
The field of view at 277 feet is wide enough to easily track moving animals. Customer photos from backpackers and hikers validate my experience—this is the monocular you grab when weight matters. The adjustable eyecup twists down smoothly for glasses wearers, providing the full field of view without vignetting.
Best for: Hiking, backpacking, travel, and anyone who prioritizes weight savings. It’s also perfect for glasses wearers thanks to the generous eye relief. If you need a compact binocular alternative, this monocular fills that niche perfectly.
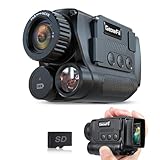
Type: Digital Night Vision
Sensor: 1.3MP CMOS
Screen: 2 inch IPS
Range: Up to 984 feet
Power: Rechargeable
This digital night vision monocular opens up a world of nocturnal observation. I’ve used it for spotting coyotes, watching wildlife at my feeders, and even property surveillance. The 850nm IR illuminator provides visibility in complete darkness out to nearly 1000 feet. For night vision generation differences, check our comparison guide.
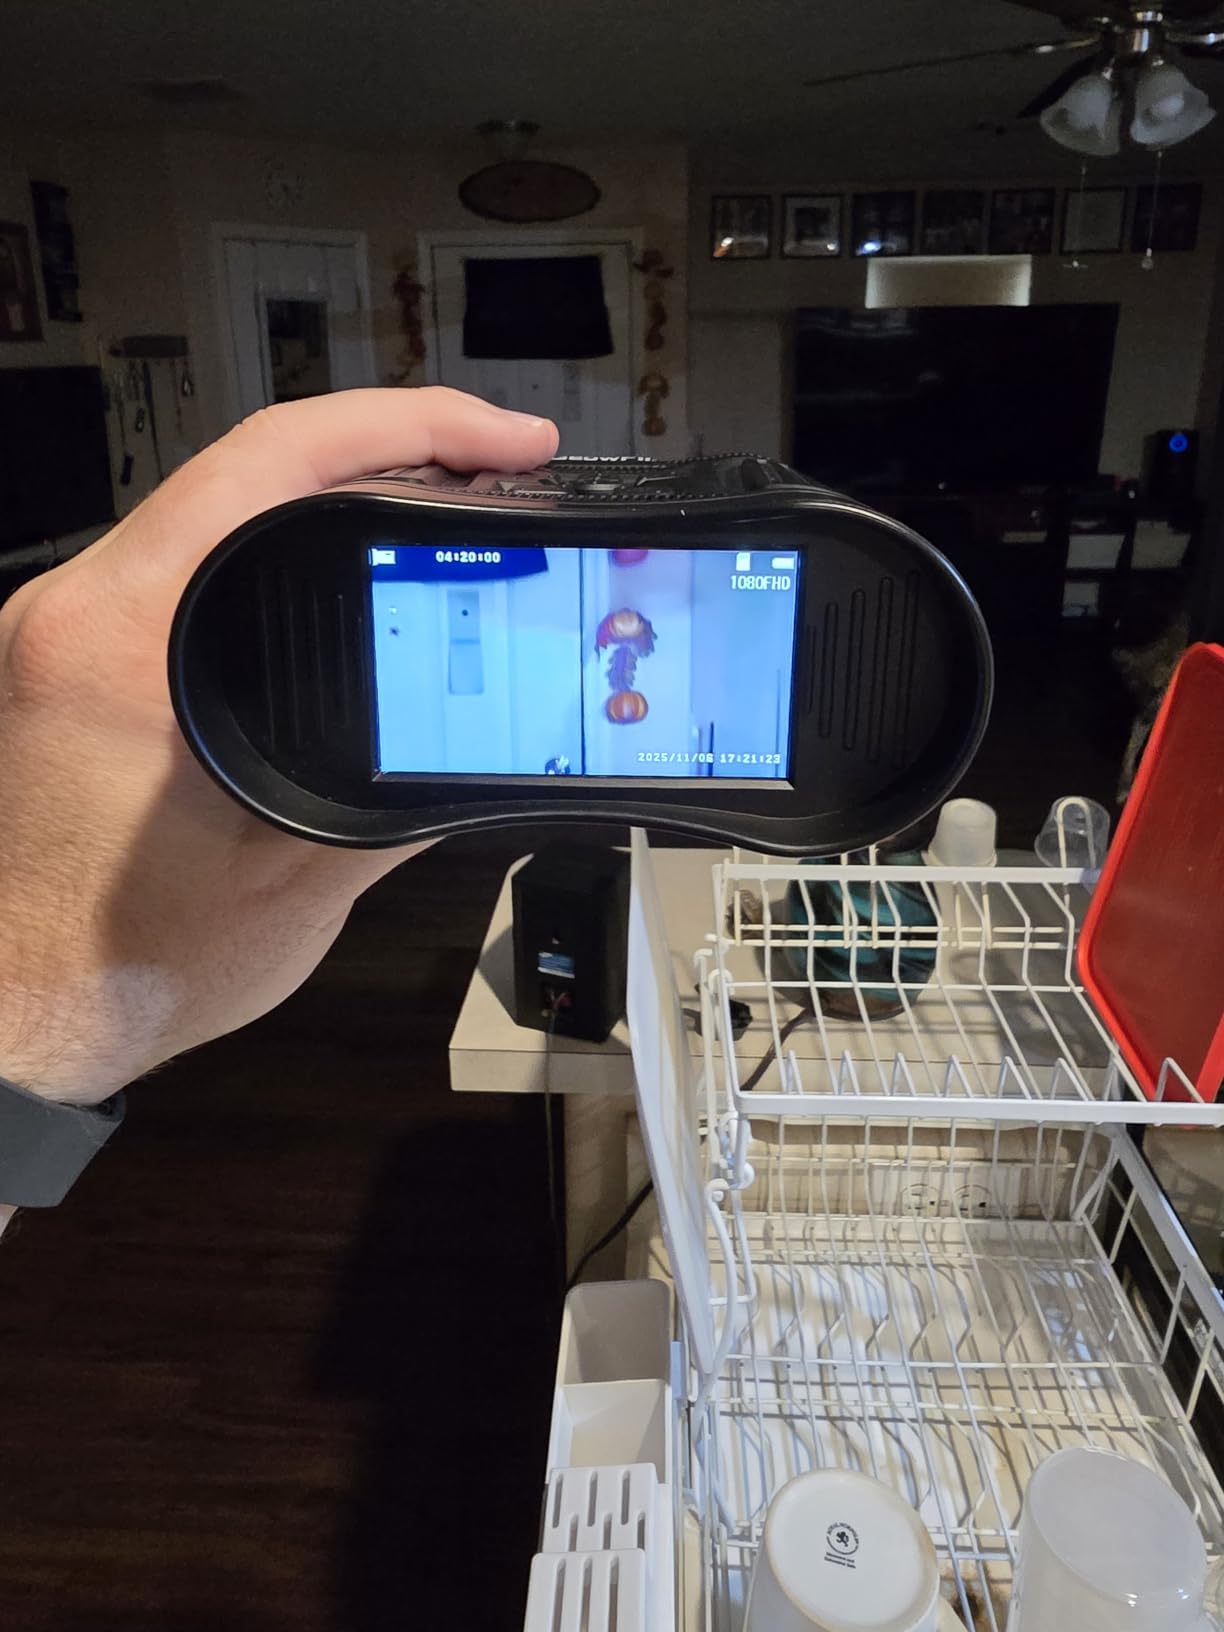
Unlike traditional monoculars, this has a 2-inch LCD screen showing you what the sensor sees. You can record 4K video with audio or capture 40MP stills to the included 32GB card. I’ve documented some incredible nighttime wildlife moments with this device. The 8x digital zoom is functional but not optical—you’ll notice some degradation at full zoom.
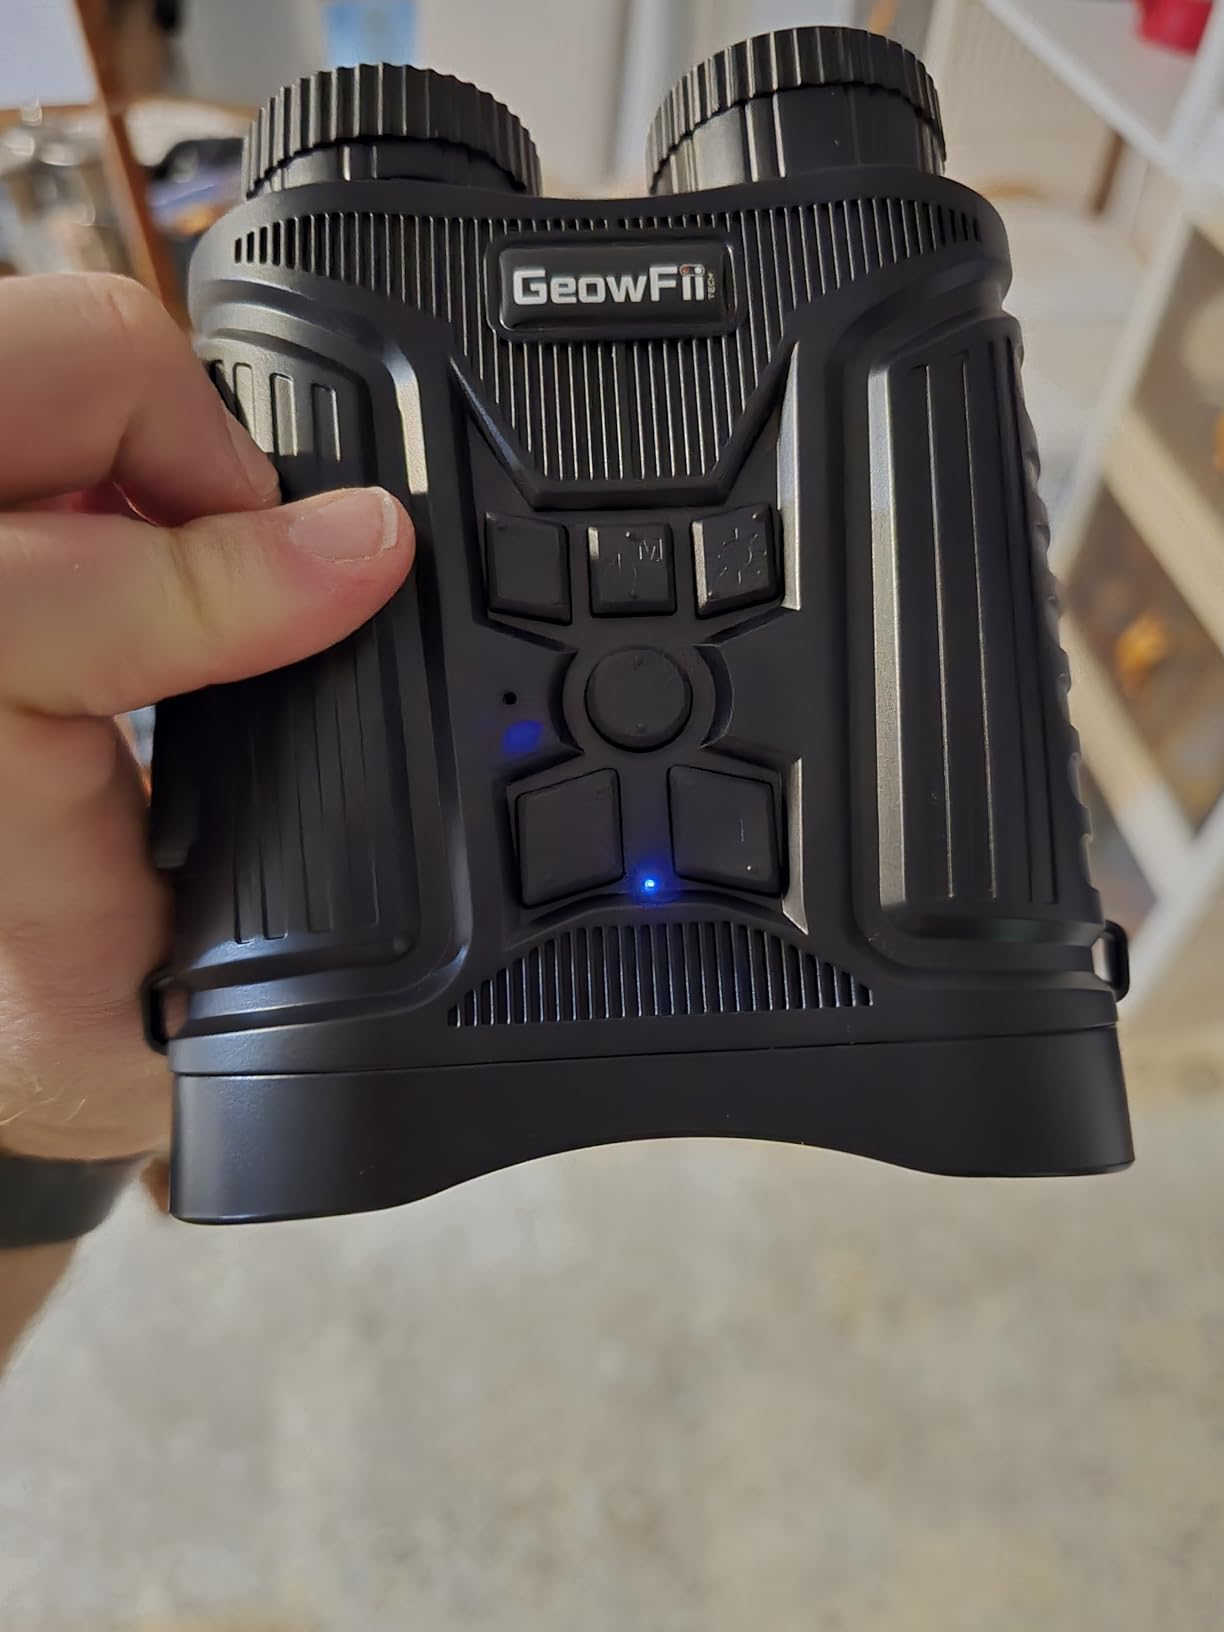
For serious work, I keep the zoom at 4-6x for better image quality. Customer photos from hunters and security personnel confirm this monocular excels in its niche. The 7-level IR adjustment lets you dial in the right amount of illumination for your distance, and the 10-hour battery life covers an entire night of observation.
The build quality feels plasticky, but after a season of use, mine has held up fine. Just treat it with the care you’d give any electronic device. For survival optics options including night vision devices, this represents an affordable entry point.
Best for: Night hunting, predator calling, property security, wildlife observation after dark, and anyone needing to see in complete darkness. Also serves as an excellent tactical/survival optics addition to your preparedness kit.

Magnification: 12x
Lens: 60mm
Weight: 14 oz
FOV: 325 ft at 1000 yds
Accessories: Phone adapter, tripod
This monocular shines when you want to capture photos through the optic. The large 60mm objective lens gathers impressive light, and the included smartphone adapter actually works well with most phone models. I’ve taken some remarkable shots with this setup—distant birds, landscapes, even wildlife that would have been impossible with my phone alone.
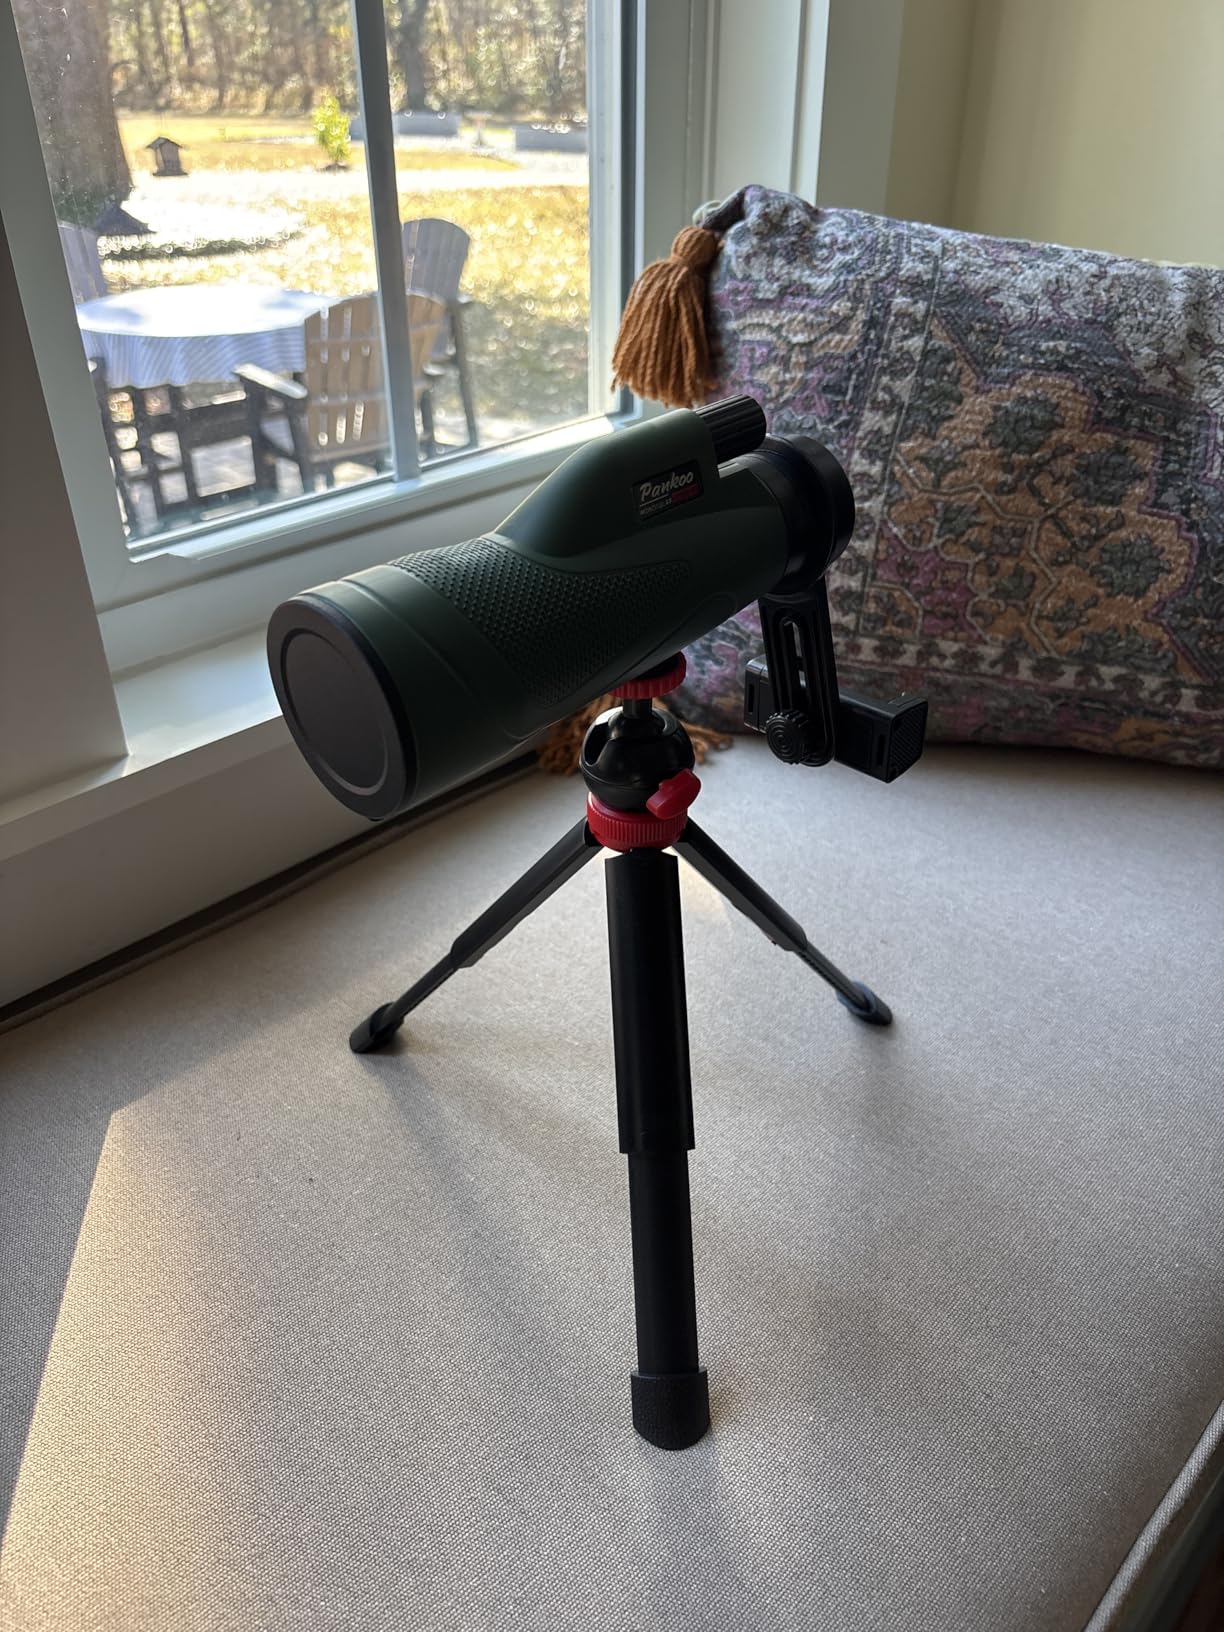
The 12x magnification paired with the 60mm lens provides a bright, clear image that translates well to smartphone photography. The fully rubber armored body provides a solid grip, and at 14 ounces, it’s still pocketable. Customer photos shared by birders show impressive detail—feather patterns visible at 50+ yards that look great on social media.

The smartphone adapter does require some finesse. I’ve found it works best when you remove your phone case and take your time aligning the camera. Once dialed in, the results are worth the effort. The field of view at 325 feet is reasonably wide for the magnification, making it easier to locate and track subjects.
Best for: Bird watchers who want to document sightings, wildlife photography, anyone wanting to capture telephoto shots with their phone. The large objective also makes it great for dawn/dusk use when light levels are lower.

Magnification: 8x
Lens: 36mm
Reticle: MRAD based
Warranty: VIP Lifetime
Weight: 12.8 oz
This is the monocular I reach for when precision matters. The MRAD-based ranging reticle lets me estimate distances to targets of known size—a game-changer for hunting and long-range shooting. After three seasons using this monocular, I can range a deer-sized animal within 50 yards at 500+ yards distance.
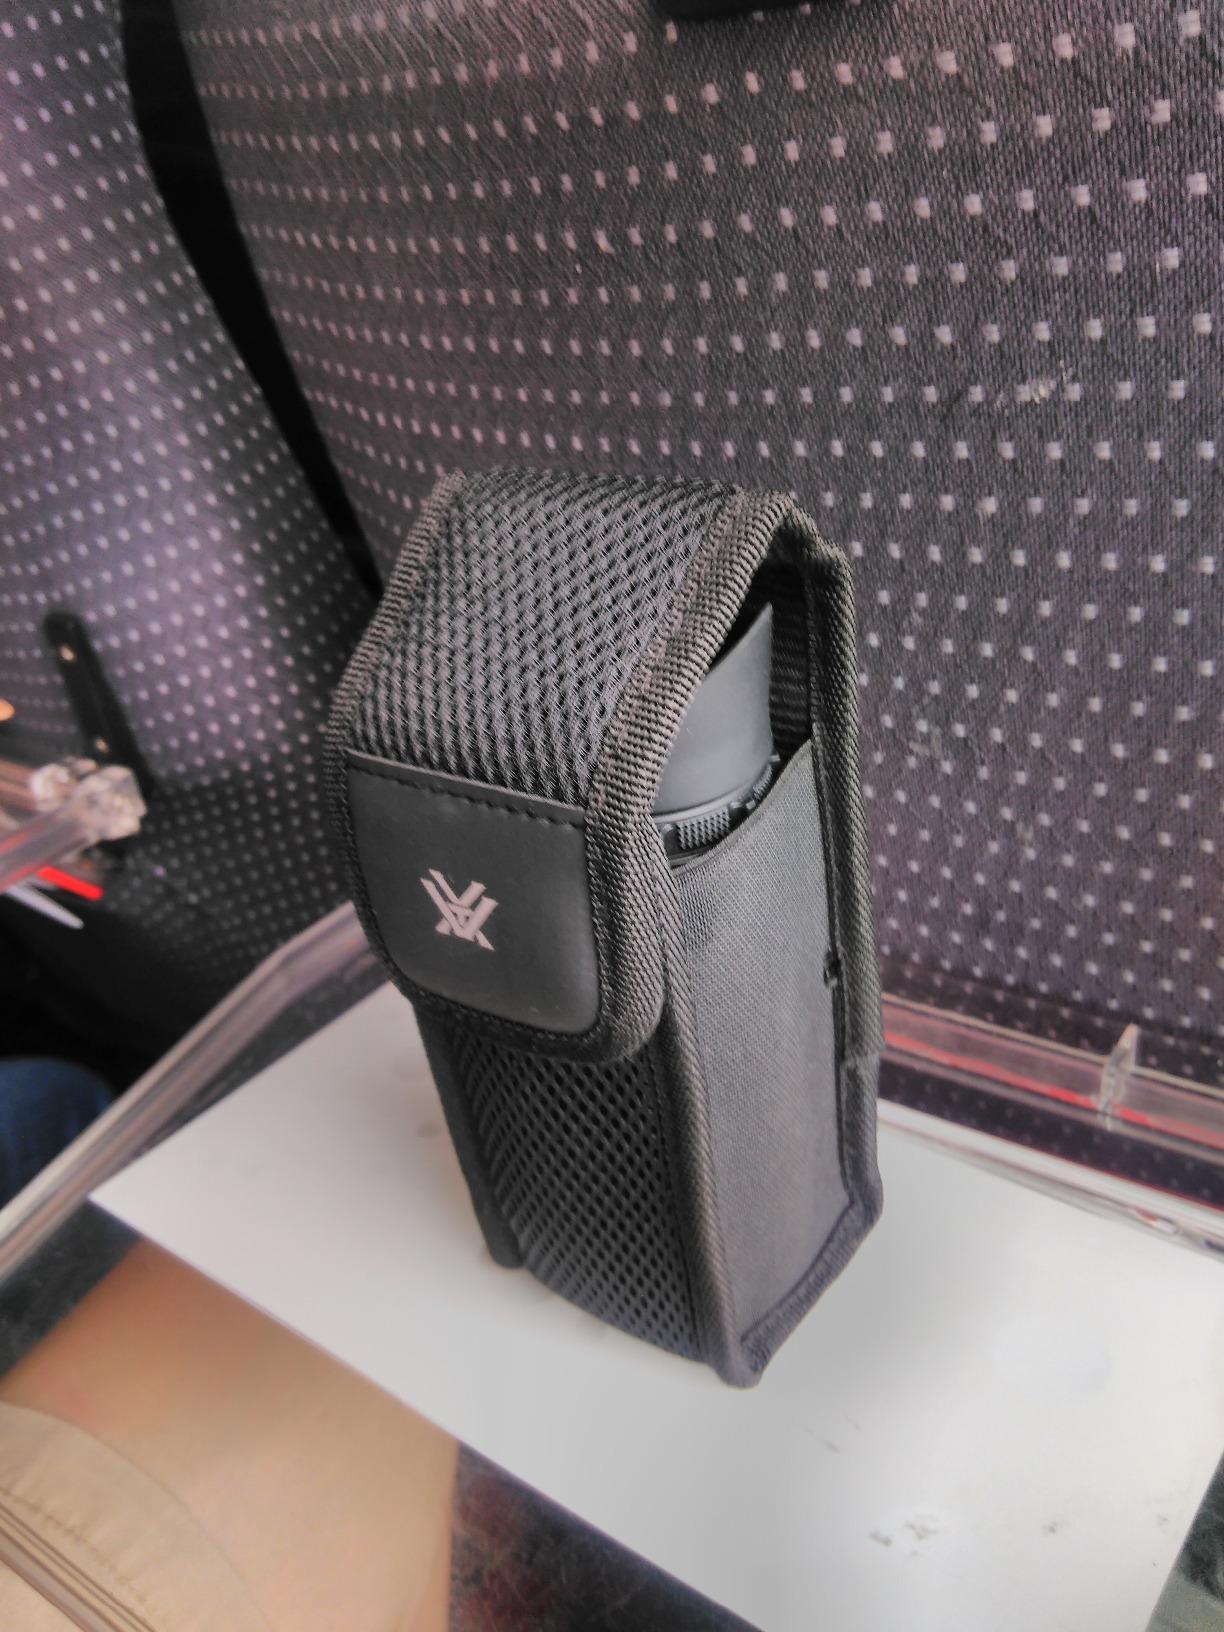
The 8×36 configuration provides an excellent balance. The 8x magnification is easier to hold steady than higher powers, and the 36mm objective gathers enough light for legal shooting hours. The 4.5mm exit pupil delivers a bright image even in fading light. For premium optic options, this represents excellent value.
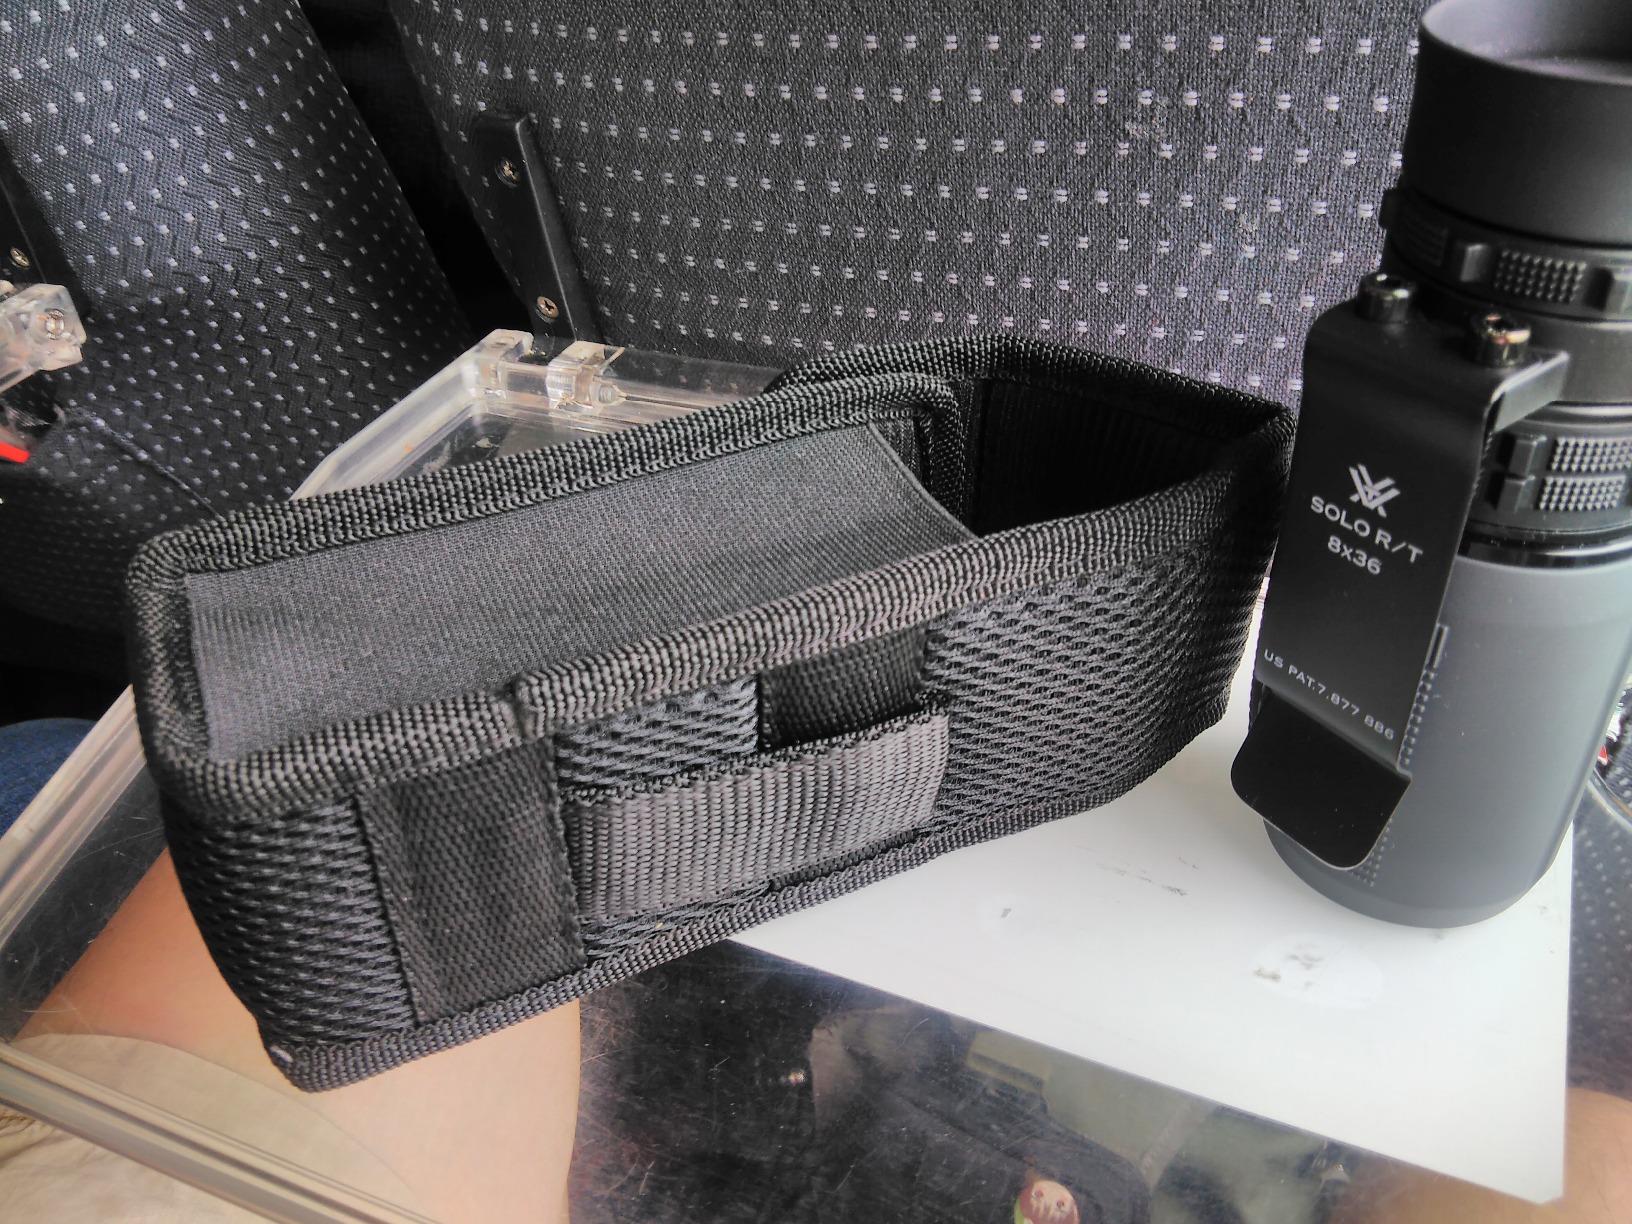
What really sets this apart is the optical quality. Vortex’s fully multi-coated lenses with anti-reflective coatings produce exceptionally crisp images with no fringing or vignetting. Customer photos from tactical users confirm the clarity and brightness. The utility clip is genuinely useful—I clip it to my pack strap or belt for quick access.
Learning the MRAD system takes practice, but Vortex includes helpful references. Once mastered, you can calculate both distance and object height using the reticle formulas. It’s like having a rangefinder and monocular in one package. If you’re interested in Vortex binocular comparisons, this monocular represents the quality you can expect from the brand.
Best for: Hunters, tactical users, long-range shooters, and anyone who needs range estimation capabilities. The premium build and optics also make it ideal for serious enthusiasts who want the best.
This question comes up constantly in forum discussions, and the honest answer is that both tools have their place. Experienced users often own both and choose based on the specific situation. Here’s a straightforward comparison to help you decide what fits your needs.
| Factor | Monocular | Binoculars |
|---|---|---|
| Weight | Typically 4-12 ounces | Usually 20-35+ ounces |
| Portability | Pocket-sized, easy EDC | Requires case or strap |
| Ease of Use | Fast deployment, one eye | Requires IPD adjustment |
| Depth Perception | Limited (2D view) | Full stereoscopic vision |
| Eye Fatigue | One eye can tire faster | Both eyes, less fatigue |
| Price | $20-150 typically | $50-500+ typical range |
| Field of View | Narrower, harder to find targets | Wider, easier scanning |
| Stability | Easier to hold steady with one hand | Two-handed, more stable but heavier |
I carry both. For all-day glassing sessions, I’ll grab binoculars. For quick scouting, hiking, or when weight matters, the monocular wins. They’re not competitors—they’re complementary tools for different situations. If you decide quality binocular alternatives better suit your needs, explore options like the Nikon line which offer excellent performance at reasonable prices.
Forum veterans consistently recommend binoculars for anyone who isn’t specifically committed to the monocular format. Unless you have a compelling reason for a monocular—extreme weight savings, single-eye vision, or specific applications like archery—binoculars generally provide a more comfortable and capable viewing experience.
That said, monoculars excel in specific niches: everyday carry, backup optics, quick spot-checking, and situations where rapid deployment matters more than extended viewing comfort. Understanding these differences helps you choose the right tool for your specific needs rather than chasing the “best” option in an absolute sense.
A well-maintained monocular will last years. Proper care protects your investment and ensures consistent performance. Here’s what I’ve learned from keeping my optics in good shape across seasons of hard use in various weather conditions.
Even with proper care, issues can arise. Most problems have simple solutions once you understand what’s happening. Here are the most common issues I’ve encountered and how to resolve them without immediately assuming your optic is broken.
Problem: You can’t get a sharp image no matter how you focus.
Solution: Check if the lens is clean or fogged inside. Make sure you’re holding it steady against your face. Some objects simply can’t be focused at extreme distances—test on something at 50-100 yards to confirm the optic works. If the image remains consistently blurry across various distances, you may have a defective unit.
Problem: You’re getting tunnel vision or black edges.
Solution: If you wear glasses, twist the eyecup down. If you don’t, twist it up. Move your eye closer to or farther from the eyepiece until the full circle appears. This is almost always an eyecup adjustment issue rather than a problem with the optic itself.
Problem: Everything looks dim compared to naked eye.
Solution: This is normal in low light with smaller objectives. A 25mm lens simply can’t compete with larger optics. If you need better dawn/dusk performance, upgrade to a 42mm+ objective lens. Also check that your lenses are clean—dramatic dimming can result from dirty optics.
Problem: The focus won’t turn or feels gritty.
Solution: Check for dirt or debris in the focus mechanism. A small burst of compressed air can help. If it’s internal, you may need warranty service—this is where Vortex’s warranty shines. Don’t force it, as you can damage internal components.
Problem: You see moisture or fog inside that won’t clear.
Solution: The waterproof seal has failed. Stop using it immediately to prevent damage. Contact the manufacturer for warranty repair or replacement. Attempting to dry it yourself typically causes more harm than good.
Hold the monocular to your dominant eye with the eyecup adjusted for glasses if needed. Press it against your brow for stability, point at your target, and rotate the focus wheel until the image appears sharp.
Point the monocular at your target and slowly turn the focus wheel. Turn clockwise for distant objects and counter-clockwise for closer ones. Fine-tune until edges are crisp and details are clear.
Use your dominant eye. To find it, make a triangle with your hands and look at a distant object through it. The eye that naturally focuses is your dominant eye—that’s the one for monocular use.
Yes, simply twist the eyecup down to the lowest position. This creates the correct eye relief for glasses wearers. Look for monoculars with 15mm+ eye relief for best results with eyeglasses.
Press the eyecup against your brow bone for stability. Use two hands with elbows braced against your chest. For extended viewing, use a tripod or lean against a solid object like a tree or fence post.
Neither is universally better. Monoculars are lighter, more compact, and faster to deploy. Binoculars provide depth perception and less eye fatigue. Choose based on your needs—monoculars for portability, binoculars for comfort during extended use.
Monoculars are used for hunting, bird watching, hiking, wildlife observation, sporting events, concerts, surveillance, and any situation where compact magnification is needed. They excel when weight and quick deployment matter more than extended viewing comfort.
Remove your phone case and mount the phone in the adapter. Align your phone’s camera with the monocular eyepiece. Start with the monocular focused on your target, then bring the phone into position. Use a timer or remote shutter to avoid shake.
The first number (12x) is the magnification, meaning objects appear 12 times closer. The second number (50) is the objective lens diameter in millimeters. A 50mm lens gathers more light than smaller lenses, performing better in low-light conditions.
You can, but keeping both eyes open is recommended. Your dominant eye views through the monocular while the other eye maintains peripheral awareness and depth perception, making it easier to find and track targets.
Learning how to use a monocular effectively opens up new dimensions of outdoor observation that enhance hiking, hunting, bird watching, and countless other activities. The techniques covered in this guide—from finding your dominant eye to advanced digiscoping—provide a foundation for getting the most out of these versatile optical tools.
Remember that practice matters more than equipment. A $20 monocular in experienced hands often outperforms a $200 model in the hands of someone who hasn’t mastered the fundamentals of steady holding, proper focusing, and target acquisition. Spend time with your optic in various conditions, and you’ll develop an intuitive understanding that goes beyond any written guide.
Whether you choose a compact everyday carry model, a night vision device for after-dark observation, or a premium optic with ranging capabilities, the principles remain the same. Your monocular will become an invaluable companion that reveals details and distances your naked eye cannot reach, enriching your outdoor experiences and deepening your connection to the natural world.


