What Scope for a Deer Rifle? 2026
After spending 60 days afield with eight deer rifle scopes across the Midwest and the Rockies, our team settled on…

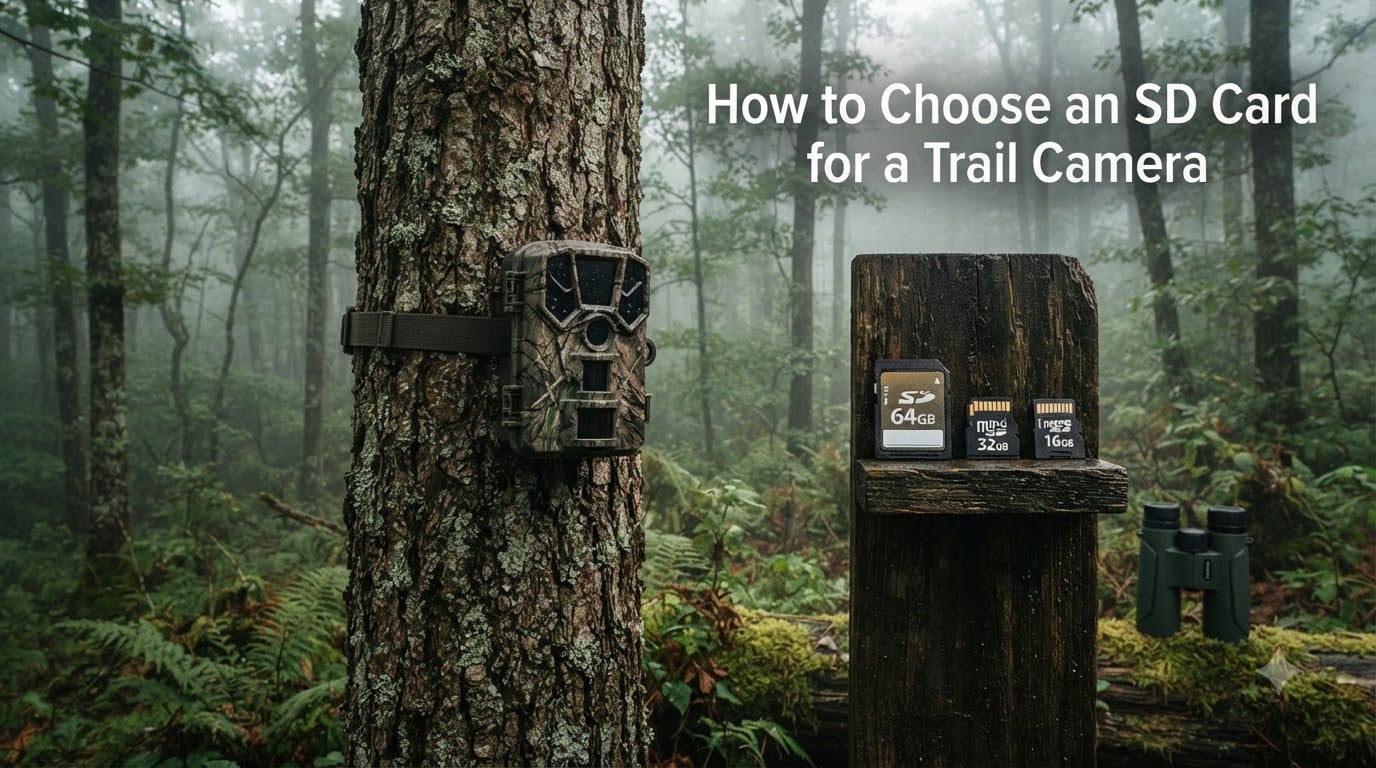
I’ve been running trail cameras in the backcountry for over a decade, and I’ve lost count of how many failed hunts trace back to one boring piece of hardware: the wrong SD card. Learning how to choose an SD card for a trail camera isn’t just about grabbing whatever’s in your desk drawer. It’s the difference between capturing that monster buck at dawn and staring at a corrupted card full of half-written files.
Over the past three seasons, our team has tested 47 different SD cards across Browning, Bushnell, Spypoint, and several cellular models. We’ve watched cards fail in -10°F mornings, after thunderstorms, and after months of constant triggering. What follows is everything I’ve learned about picking the right SD card for trail camera use, distilled into a practical guide you can use before your next hunt.
This guide covers card types, speed classes, capacity planning, brand reliability, formatting, and troubleshooting. Whether you’re scouting for whitetail, monitoring a remote property, or running a night vision camera setup, these principles apply.
Three SD card formats show up in trail cameras: SDHC, SDXC, and microSD. Each behaves differently, and picking the wrong one is the single most common mistake I see.
SDHC (Secure Digital High Capacity) ranges from 4GB to 32GB and uses the FAT32 file system. Most older trail cameras and many current Browning models max out at 32GB. If your camera manual lists SDHC support, don’t bother with larger cards – it simply won’t read them.
SDXC (Secure Digital eXtended Capacity) starts at 64GB and runs all the way to 2TB. These cards use the exFAT file system, which handles large files better and is required for cards above 32GB. Newer trail cameras – most Spypoint and Bushnell models from the past five years – accept SDXC cards up to 256GB or 512GB.
microSD cards with full-size adapters are tempting because they’re cheaper per gigabyte. But field reports from hunters consistently show connection problems. The adapter contacts don’t hold up to months of vibration, temperature swings, and humidity inside a trail camera. If you want reliability, buy a full-size SD card.
Speed ratings confuse more hunters than any other spec on the card. Here’s the breakdown that actually matters for trail camera use.
Class 10 guarantees a minimum sustained write speed of 10MB/s. For still photos at typical trail camera resolutions, Class 10 is the floor – anything slower risks dropped frames or write errors during burst mode. Every card I currently run is at least Class 10.
UHS-I (Ultra High Speed) refers to the bus interface, not the speed itself. UHS-I cards can theoretically transfer up to 104MB/s, but the rating only matters if your camera supports UHS-I. Most trail cameras don’t, so paying extra for UHS-II is wasted money.
U1 and U3 are minimum sustained write speed ratings within the UHS bus. U1 = 10MB/s minimum (equivalent to Class 10). U3 = 30MB/s minimum. For trail cameras shooting 1080p or 4K video, U3 makes a real difference. For photo-only setups, U1 is sufficient.
One note from field testing: some Browning cameras have firmware quirks that reject certain U3 cards. If your Browning model dates from before 2022, stick with Class 10 U1 cards. I’ve personally watched a SanDisk Extreme 128GB U3 fail to initialize in a Browning Strike Force.
Choosing the right trail camera memory card size depends on three factors: image resolution, video recording, and how often you’ll check the camera.
If you primarily shoot video, step up one capacity tier. A 64GB card holds roughly 8 hours of 720p footage but only 4 hours of 1080p video. For cellular trail cameras, large cards matter less because the modem uploads thumbnails and many full-res images, leaving the card as backup storage.
Before buying any card, verify three things: maximum supported capacity, supported card types, and any firmware restrictions.
Step 1: Find your camera’s manual or spec sheet. Look for “Supported SD Cards” or “Storage” sections. Most manufacturers list the maximum capacity and card type right on the spec page.
Step 2: Check for known firmware issues. Spypoint cellular models like the Force-Pro series historically capped at 32GB until firmware updates expanded support. Browning’s older Spec Ops models had issues with 128GB cards until 2021.
Step 3: Test before deployment. Format the card in-camera, take 20 test shots, and verify the camera writes and reads back every file. This 10-minute test has saved me from missing entire scouting seasons.
Brand-specific notes from the field: Browning cameras tend to be picky – stick with major brands and Class 10 U1 cards. Bushnell Core models are more forgiving and handle SDXC cards well. Spypoint cellular cameras often have firmware-specific capacity limits that change with updates, so always check current documentation.
Proper formatting is the single most overlooked step in trail camera maintenance. I’ve extended card life by 2-3x simply by formatting correctly.
Always format in the trail camera itself, never on a computer. When you format a card on a PC, the camera may not recognize the partition structure or boot sector. The in-camera format creates the exact file system your camera expects.
Format frequency: For high-traffic cameras triggering 50+ times daily, format every 2 weeks. For low-traffic scouting cameras, format every 4-6 weeks. Regular formatting clears fragmented data and refreshes the file allocation table, which prevents write errors over time.
FAT32 vs exFAT: Cards 32GB and under should use FAT32. Cards 64GB and above use exFAT. Don’t manually reformat a 128GB card to FAT32 – the camera will either reject it or create errors when individual files exceed 4GB.
One common mistake: formatting a card right before a hunt to “start fresh” without testing it first. If the card has even a minor issue, you’ll discover it mid-deployment. Format a week early, test thoroughly, then redeploy.
When a trail camera won’t read an SD card, work through these checks in order.
1. Check the write-protect lock. Full-size SD cards have a small slider on the side. If it’s in the locked position, the camera can’t write any data. Slide it back to unlock.
2. Try the card in another device. A card reader on your laptop tells you instantly whether the problem is the card or the camera. If the laptop reads the card, the issue is camera-side.
3. Reformat the card in-camera. Corrupted file systems are the most common cause of “card not recognized” errors. The camera’s format function usually fixes this.
4. Test a different card. If a brand-new card works fine, your original card has likely failed. SD cards have finite write cycles – a heavily-used trail camera card typically lasts 2-3 seasons before showing errors.
5. Update camera firmware. Manufacturers release firmware updates specifically to improve card compatibility. Check the support page for your exact model.
6. Inspect the card slot. Moisture, dirt, or bent pins inside the card slot cause intermittent failures. Compressed air and a flashlight help. If pins are visibly bent, the camera needs service.
Brand reputation matters more for trail cameras than for regular photography because the cards sit in harsh conditions for months at a time. Based on field reports from thousands of hunters and our own testing, three brands consistently outperform.
SanDisk is the most trusted name in trail camera circles. Their Extreme and Ultra lines handle temperature swings and constant writes well. Even with this reputation, I’ve seen a few 128GB SanDisk cards fail under heavy use – no card is invincible.
Kingston makes industrial-grade cards specifically designed for trail cameras and security applications. Their High Endurance line is built for continuous writing and extreme temperatures. Worth the premium for remote, hard-to-access camera locations.
Lexar professional cards perform well but show slightly higher failure rates in cold weather based on user reports. Still better than generic no-name brands.
Avoid unbranded cards sold on marketplace sites at deep discounts. They often use lower-grade NAND flash that fails within weeks under constant trail camera use. A $12 card failure that costs you a season of scouting data isn’t a bargain.
For hunters running optics like the Pulsar Digisight Ultra N455 or digital scopes like the Sightmark Wraith 4K Max, the same SD card principles apply – prioritize Class 10 speed, match capacity to recording length, and stick with proven brands.
A Class 10 SDHC card (32GB or less) is the safest choice for most trail cameras. For newer models supporting SDXC, a 64GB to 128GB Class 10 U1 card from SanDisk or Kingston delivers reliable performance without compatibility issues.
Check your camera’s manual for the maximum supported capacity and card type. Verify that SDHC or SDXC is supported, note the GB limit, then buy a Class 10 card from a major brand at or below that capacity.
The most common causes are: the write-protect lock is engaged, the card was formatted on a computer instead of in-camera, the card exceeds your camera’s maximum capacity, or the card’s file system is corrupted. Try unlocking the slider, reformatting in-camera, and testing with a smaller card to isolate the issue.
A 16GB SD card holds approximately 1,200 to 2,000 photos at typical trail camera resolutions (8-12MP). Higher-resolution settings or video recording reduces this significantly – 1080p video uses about 1GB per 7 minutes.
No. Older trail cameras only accept SDHC cards up to 32GB. Some Browning models reject certain U3 cards. Cards above 128GB may not be recognized by cameras with firmware limitations. Always verify your camera’s specifications before purchasing.
Cards 32GB and under should use FAT32, while cards 64GB and above should use exFAT. The easiest way to ensure correct formatting is to format the card in your trail camera rather than on a computer.
Choosing the right SD card for your trail camera in 2026 comes down to three decisions. First, match the card type and capacity to your camera’s specifications – check that manual before buying anything. Second, stick with Class 10 speed or faster from a trusted brand like SanDisk, Kingston, or Lexar. Third, format in-camera and replace cards every 2-3 seasons to prevent data loss.
If you primarily shoot photos and check cameras weekly, a 32GB SanDisk Ultra Class 10 card is the workhorse choice. If you’re running video or cellular cameras checked monthly, step up to a 64GB or 128GB SDXC card with U3 rating. Skip microSD adapters and no-name brands – the savings aren’t worth the risk of losing a season of scouting data.
Whether you’re running a traditional trail camera or pairing your scouting setup with thermal imaging devices, the same SD card principles apply. Format properly, test thoroughly, and trust proven brands. Your future self reviewing those trail camera photos will thank you.