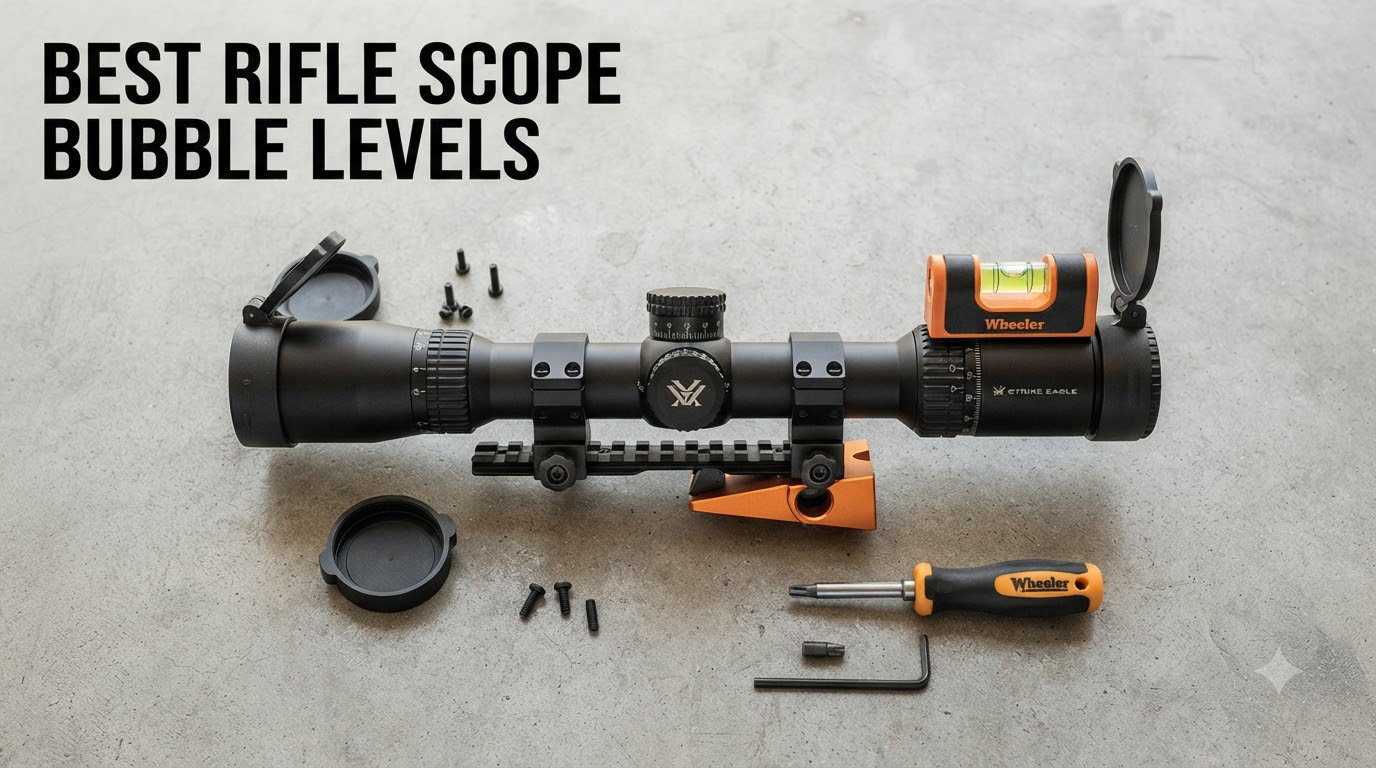
8 Best Rifle Scope Bubble Levels (September 2026)
I lost a whitetail at 412 yards last fall because of something I couldn’t see through my scope. A subtle…

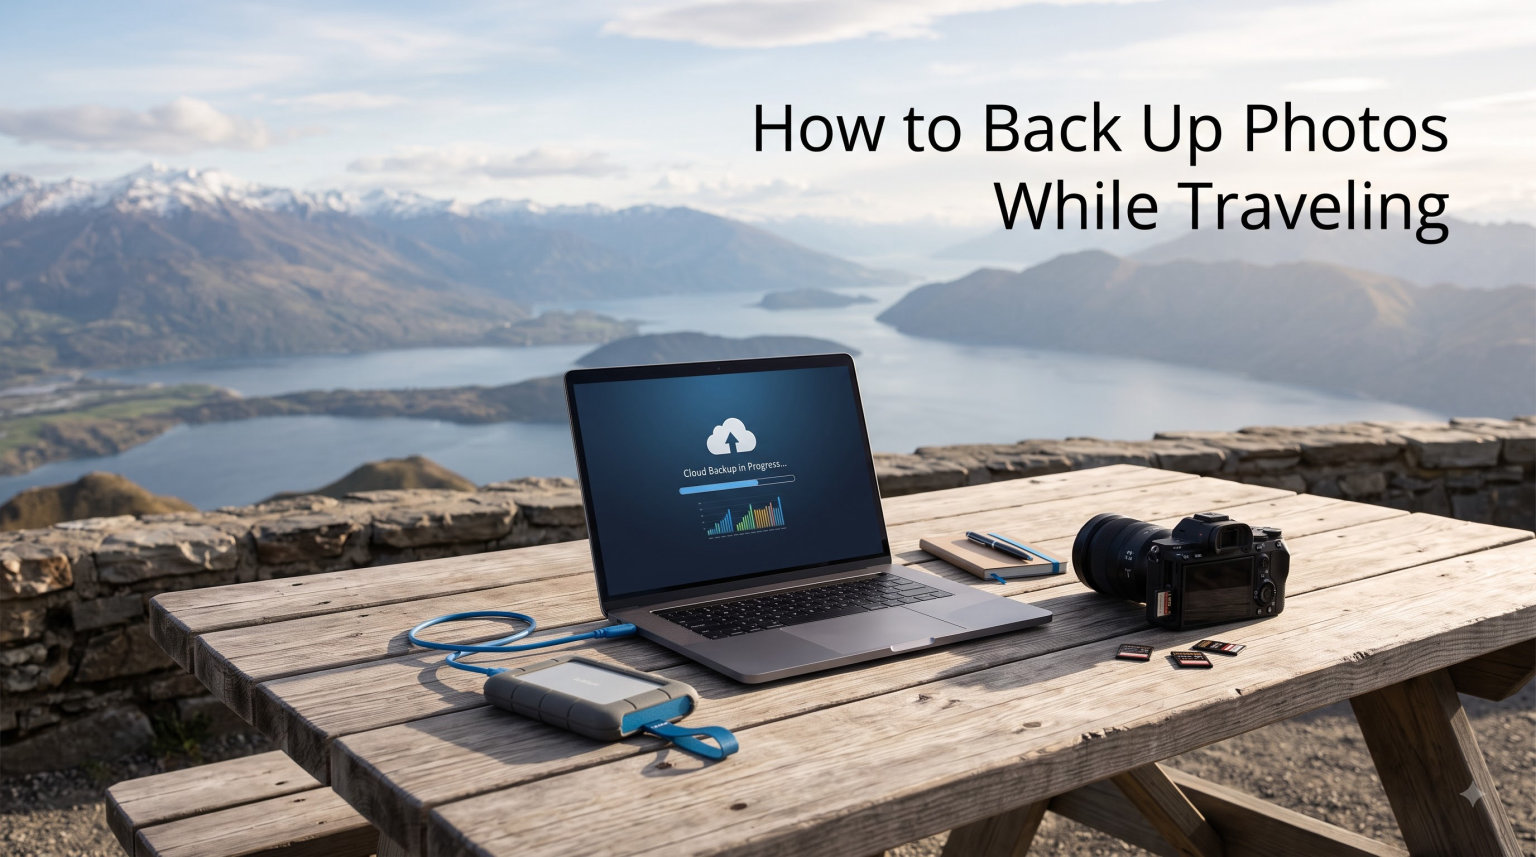
I learned the hard way that backing up photos while traveling is not optional. On a trip to Iceland in 2026, my camera bag was stolen from a rental car on day three. The only reason I still have those aurora shots today is because I had copied everything to a portable SSD the night before. That scare reshaped how I plan every shoot trip since.
Travel situations stack the odds against you. Gear gets dropped, cards fail in cold weather, hotel rooms aren’t safe, and Wi-Fi is rarely reliable enough to trust cloud uploads alone. In this guide I’ll walk you through the exact methods our team uses to back up photos while traveling, the gear that actually works, and the verification habits that prevent silent backup failures.
A single memory card is a single point of failure. Most photographers I talk to have either lost a card, corrupted one, or had gear stolen on the road. When you shoot once-in-a-lifetime scenes – a wedding in Tuscany, a wildlife moment in the Serengeti, a rare street scene in Tokyo – you cannot recreate those frames. Backups are how you turn fragile files into durable ones.
Card failure rates are higher than most people expect. SD and CFExpress cards are rated for write cycles, not for the bending, moisture, and temperature swings of travel. I have seen cards die in Patagonia winters and in tropical humidity. Theft is the bigger risk in cities: a hotel safe does not protect against a bag snatch, and a stolen camera means stolen files if you have not copied them off the card.
The emotional cost is usually worse than the financial one. A client wedding cannot be reshot. A family reunion cannot be staged again. Even casual travel photos carry memory value that grows over time. Building a backup workflow before you leave is the cheapest insurance you will ever buy.
The 3-2-1 backup rule is the industry standard for protecting any digital data, and it travels surprisingly well. It says you should keep three copies of every file, on two different types of media, with one copy stored offsite. For a working photographer on the road, you can adapt it without owning a server room.
Your three copies on a trip usually look like this: the original files on the memory card, a copy on a portable SSD in your camera bag, and a second copy on a different drive stored in your luggage or a hotel safe. The offsite piece is the cloud – uploaded at the end of the trip when you have reliable home Wi-Fi, or partially synced over hotel Wi-Fi during the trip.
The two-media requirement is easier than it sounds. Memory cards count as one medium, SSDs count as another, and your phone’s internal storage is a third. As long as the failure modes are independent – losing the card does not lose the SSD, and losing the SSD does not lose the cloud – you have real redundancy.
One copy is a hope. Two copies on the same device is barely better, since a single failure drops both. Three copies on independent media is the threshold where you can sleep through a hotel fire. I have watched colleagues learn this the expensive way, and I have watched others lose nothing across gear theft simply because they followed the rule.
There is no single correct way to back up photos while traveling. The right method depends on your gear, your trip length, and how paranoid you want to be. Below are the three workflows our team has tested across more than 40 trips, ranked by popularity and reliability.
This is the gold standard for travelers who do not want to carry a laptop. Your phone acts as the bridge: connect a hub with a card reader, plug in a portable SSD, copy files using the Files app (iPhone) or a file manager (Android), and eject. No laptop, no proprietary software, and the whole kit fits in a small pouch.
The downsides are real. Transfer speeds depend on your phone’s USB-C port, and some hubs cannot power both the reader and the SSD at the same time without an external power source. We will cover those caveats in the step-by-step section below.
Carrying a laptop gives you the most control. You can verify checksums, run incremental backups with software like Carbon Copy Cloner or SyncBack, edit in the field, and manage folder structures. For client work and RAW shooters who generate 60 to 100 GB per day, a laptop is often worth the weight.
The trade-off is bulk and battery drain. A 14-inch laptop plus a rugged SSD plus card readers is a meaningful chunk of carry-on space. Photographers who do multi-week wilderness trips usually skip the laptop entirely and rely on Method 1.
Cloud-first means uploading as the primary backup and keeping a local copy as the safety net. This works if you have fast, reliable Wi-Fi every night – rare on the road but possible in cities with good Airbnb setups. Tools like Google Photos, Amazon Photos, and Backblaze B2 can ingest thousands of RAW files over a stable connection.
The problem is that hotel Wi-Fi often caps at 5 to 10 Mbps shared across dozens of guests, and a single 64 GB card can take 8 hours to upload over such a link. Cloud-first is best treated as the third copy, not the only one.
I run this method on every trip under 14 days. It is fast, light, and the gear list is short. Follow these steps in order and you will have a verified backup before bed each night.
Connect the hub to your phone first, then plug the SSD into the hub. Insert your memory card into the reader slot. On iPhone, open the Files app and you will see both the card and the SSD under Locations. On Android, open your file manager (Solid Explorer or Files by Google) and confirm the same.
If only one drive shows up, your hub may not be supplying enough power. Try a hub with a dedicated power input, or attach the SSD through a short cable directly to the phone while the card reader stays on the hub. This is the most common hiccup I see on the road.
Create a folder on the SSD named after the trip and date, for example Iceland_2026-03-04. Select all photos and videos on the card, copy them into that folder, and wait for the transfer to complete. Do not eject anything yet.
Open the destination folder and confirm the file count matches the card. A quick visual count of thumbnails is enough for casual trips. For client work, run a hash verification – the Files app on iOS 17+ and most Android file managers will show CRC or SHA-256 checksums. If any file shows a mismatch, copy it again before formatting the card.
A flat dump of files becomes a nightmare after two weeks. I name folders by trip and date, then subfolder by shoot type: Iceland_2026-03-04/Aurora_Night_01, Iceland_2026-03-04/Street_Reykjavik. This lets me find specific frames months later without booting a catalog.
Do not rename individual files on the card before backup. Camera-generated filenames are unique, sortable, and contain the date. Renaming on the road is a fast way to create duplicates and lose metadata.
A backup that did not complete is worse than no backup, because it gives you false confidence. Verification takes five minutes and prevents the most common disaster story I hear from readers: “I thought I had copied the wedding, but the card formatted and the files were gone.”
After every copy, compare the number of files on the card to the number on the SSD. The counts should match exactly, including hidden files like sidecar XMPs if you shoot Adobe RAW. Anything less means the transfer was interrupted.
Open three to five random files from the SSD and confirm they preview correctly. Check the first and last shot of the day, since file system errors often appear at the boundaries of large transfers. If a file opens with corrupted thumbnails, recopy immediately.
For paid client work, generate SHA-256 hashes on both the source card and the backup drive, then compare them with a tool like HashTools or Terminal. Matching hashes prove byte-for-byte identity. This is overkill for a vacation, mandatory for a wedding.
These are the failure modes our team has seen most often, both in our own work and in forums like r/photography. Avoid them and you are ahead of 90 percent of travelers.
If you format your SSD as APFS or Mac OS Extended, an Android phone cannot read it. If you format it as NTFS, an iPhone cannot write to it. ExFAT is the only file system that works across both phones and laptops without extra software. Format once, before you leave home.
Bus-powered hubs and SSDs draw real current. A phone battery can sag during a 60 GB transfer, and many hubs will drop one of the drives mid-copy. Carry a 30 W power bank for trips longer than a week, and plug the hub into it when transferring more than 50 GB at once.
The single biggest mistake is treating the backup as done after one copy. Memory cards fail. SSDs fail. Phones get reset. Aim for three independent copies as described in the 3-2-1 rule above, even on short trips. The marginal effort is small and the upside is permanent.
Most travelers underestimate how much storage they need. A full-frame mirrorless body shooting RAW plus JPEG easily fills 30 to 60 GB per active shoot day. Add a second body and you can hit 100 GB. Plan capacity before you pack.
For a typical day of travel photography (200 to 400 frames, mostly RAW), budget 25 to 40 GB. For wildlife or sports bursts, double that. For video, assume 8 GB per minute of 4K 30p. Multiply by the number of days, then add 50 percent headroom for buffer and unexpected shoots.
Bring enough cards so that losing one does not lose a full day. I carry three 128 GB cards per camera rather than one 512 GB card. For drives, one 1 TB portable SSD covers most two-week trips. Two drives cover most month-long expeditions.
Buy cards and drives from reputable brands – SanDisk, Sony, Lexar, Samsung, WD. Counterfeit cards are common on marketplaces and report fake capacities that overwrite older files silently.
The most reliable way to back up photos while traveling is the 3-2-1 rule: three copies on two different types of media with one copy offsite. In practice that means keeping the original files on the memory card, a copy on a portable SSD, and a copy uploaded to the cloud as soon as you reach reliable Wi-Fi. This combination survives card failure, drive theft, and device loss independently.
Neither is safe alone. An SD card is fragile and small, easy to lose or corrupt. A flash drive or portable SSD is more durable but can still fail or be stolen. Use both, plus a cloud copy, for true redundancy. For travel, an SD card plus a portable SSD gives you two independent media types and covers the 3-2-1 baseline.
Yes. Connect a USB-C hub with a card reader to your phone, plug in a portable SSD, and copy files using the Files app on iPhone or a file manager on Android. This phone-plus-hub-plus-SSD method is the most popular laptop-free workflow and works reliably for trips up to two weeks. Just make sure the hub has enough power for both the reader and the drive.
Google Photos offers 15 GB of free storage, which holds several thousand JPEGs but only a fraction of a full RAW catalog. Amazon Photos gives unlimited photo storage to Prime members, with RAW support in some regions. For RAW-heavy libraries, Backblaze B2 and Wasabi charge a few dollars per terabyte per month and are the most cost-effective paid options.
Learning how to back up photos while traveling is less about gear and more about habit. Pick one method that fits your style, practice it on a local weekend shoot, and refine until the workflow feels boring. Boring workflows survive contact with jet lag, bad weather, and a tired photographer at 1 a.m. in a hotel room.
If you prefer traveling light and going laptop-free, start with the phone + hub + SSD method and add cloud uploads when you reach reliable Wi-Fi. If you shoot for clients, add a laptop and verify hashes. Whichever path you choose, follow the 3-2-1 rule and verify every transfer. The five minutes it takes to confirm a backup is the difference between a recoverable mishap and a lost trip.
Build the habit now, before your next flight. Your future self, scrolling through photos from a trip you can never repeat, will thank you.