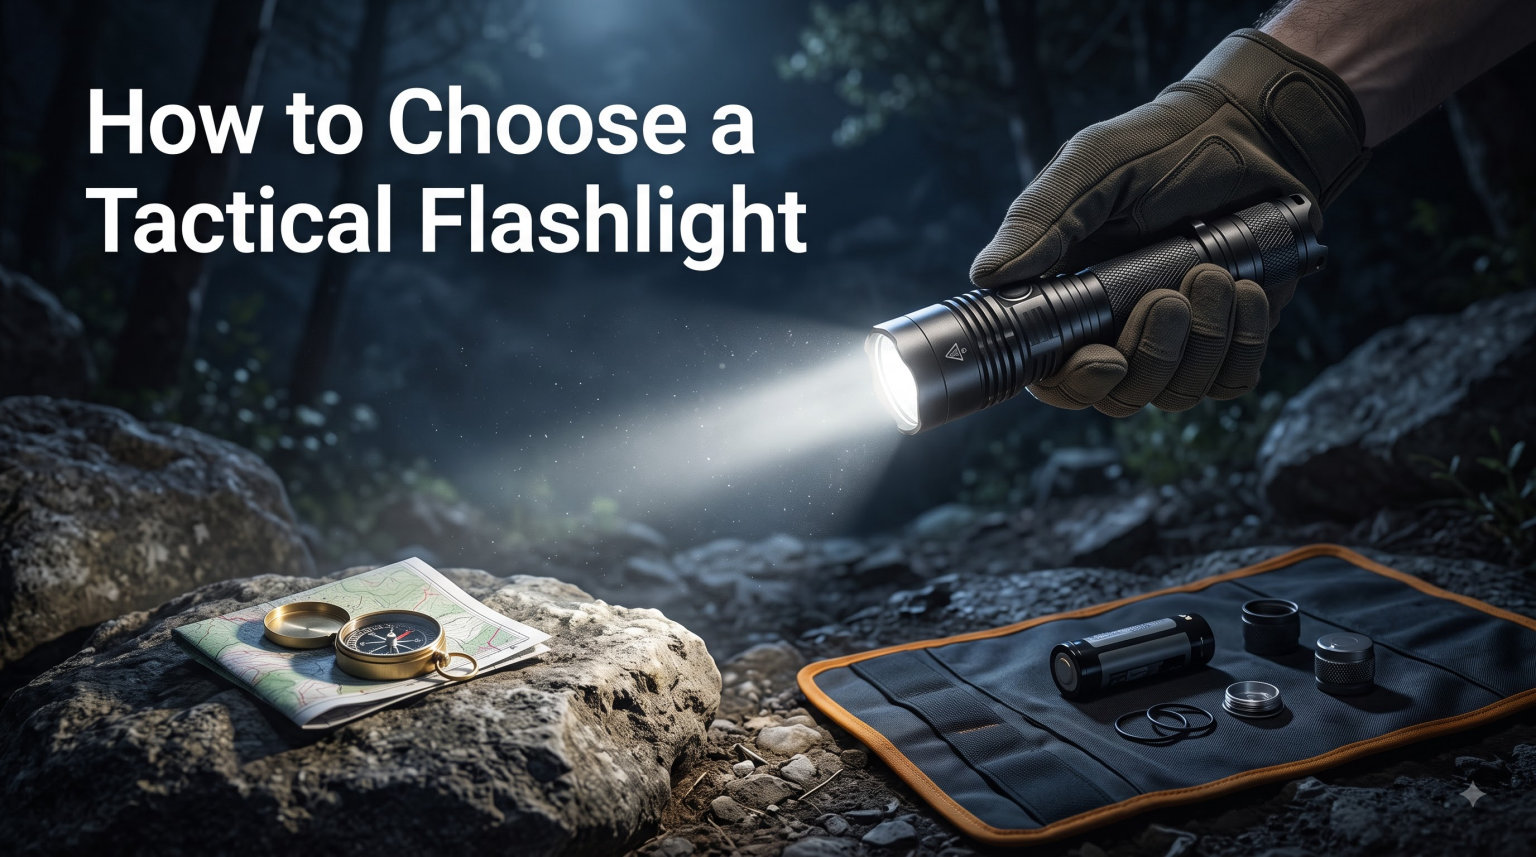
How to Choose a Tactical Flashlight: Complete 2026 September
I have spent the better part of five years testing lights on night shifts, range sessions, and backcountry trips, and…


After 15 years of shooting and teaching hundreds of students, I’ve learned that iron sights are the foundation of all marksmanship. When your red dot battery dies or your optic fails, iron sights are what you’ll rely on. I’ve seen shooters panic when their expensive optics go dark, but those who mastered iron sights first kept shooting without missing a beat.
To aim with iron sights, align the front sight post in the center of the rear sight notch or aperture, focus your eye sharply on the front sight while keeping the target slightly blurry, hold your breath, and press the trigger straight back without disturbing your sight alignment.
Quick Summary: Iron sight aiming comes down to three things: proper sight alignment (front sight centered in rear sight), sharp front sight focus (target will be blurry), and a smooth trigger press that doesn’t disturb your alignment. Master these fundamentals and accuracy follows naturally.
The beauty of iron sights lies in their reliability. They don’t need batteries, they won’t break when dropped, and they’re always on your firearm. I’ve trained with military personnel who can hit targets at 500 yards with nothing but iron sights. The skills you develop with iron sights transfer directly to any other sighting system you’ll ever use.
Iron sights are the simplest and most reliable aiming system for firearms. They consist of two components: a front sight post at the muzzle end and a rear sight notch or aperture closer to your eye. When properly aligned, they create a precise line pointing to your target.
Iron Sights: A category of mechanical aiming devices consisting of a front sight post and rear sight notch or aperture that align to help shooters aim firearms accurately without optical magnification.
The distance between your front and rear sights is called the sight radius. A longer sight radius means more precise aiming because small alignment errors show up less on target. This is why rifles with longer barrels are generally easier to aim accurately than shorter carbines or pistols.
Understanding the difference between sight alignment and sight picture is where most shooters go wrong. These two concepts get confused constantly, but they’re distinctly different and both essential for accurate shooting.
Sight alignment refers ONLY to the relationship between your front and rear sights. The target doesn’t matter yet. For proper sight alignment, the top of your front sight post must be level with the top of your rear sight, and centered within the rear sight notch or aperture. Equal height, equal light on both sides.
I tell my students to ignore the target completely at first. Just focus on getting those two sights aligned perfectly. When you’re learning, spend 80% of your mental energy here. If your alignment is off, your shot will miss regardless of anything else you do right.
Sight picture is what you see when you add the target to your aligned sights. You’ve already aligned your front and rear sights properly. Now you place that aligned system onto your target. The sight picture is the complete image: aligned sights + target.
Most shooting uses either a center mass hold (sights covering the center of the target) or a six o’clock hold (front sight at the bottom of the bullseye). Center mass is most common for defensive shooting. The six o’clock hold is used in target competition where you want a clear view of the bullseye.
| Concept | Definition | Your Focus |
|---|---|---|
| Sight Alignment | Relationship between front and rear sights only | 100% on sights, ignore target |
| Sight Picture | Aligned sights placed on target | Front sight sharp, target slightly blurry |
Before you can aim effectively, you need to know which eye should be doing the work. Eye dominance determines which eye your brain prefers for visual information. If you’re right-handed but left-eye dominant (cross-dominant), you’ll need to adjust your technique.
Most shooters simply close their non-dominant eye when aiming. This works but reduces your field of view and situational awareness. With practice, you can learn to keep both eyes open while your brain naturally favors the dominant eye’s input. I teach both methods and let students choose what feels most natural.
For cross-dominant shooters (right-handed, left-eyed or vice versa), you have options. Some shooters shift their head to align their dominant eye with the sights. Others learn to shoot with their non-dominant hand. I’ve seen cross-dominant students become excellent shots by simply moving their head a few inches to get proper eye alignment with the sights.
Quick Summary: The aiming process is a sequence: position yourself, align your sights, focus on the front sight, place on target, control your breathing, press smoothly, and follow through. Skip any step and accuracy suffers.
Your foundation determines everything else. For rifle shooting, I recommend starting from a solid supported position like prone or benchrest. Place the rifle firmly into your shoulder pocket. Grip the forend with your support hand, not too tight. Your cheek should naturally contact the same spot on the stock every time – this is your cheek weld, and consistency matters.
For pistol shooting, extend your arms toward the target with a slight bend in your elbows. A two-handed grip provides much more stability than one-handed shooting. The support hand should wrap around the firing hand, creating a solid platform.
Look through the rear sight aperture or notch and center the front sight post. The top of the front post should be level with the top of the rear sight. For aperture sights (common on AR-15s), simply center the front sight post in the rear peep hole – the eye naturally centers things in circular apertures.
This is where most beginners struggle. They try to focus on the target or rush the alignment. Slow down. Get your sights aligned first, then worry about the target. I spent weeks doing nothing but dry fire practice focusing solely on sight alignment before I ever took my first live shots at the range.
This is the golden rule of iron sight shooting: your eye can only focus on one distance at a time. You must choose the front sight. The rear sight will be slightly blurry. The target will be blurry. Only the front sight should be razor sharp.
Our eyes naturally want to focus on the target because that’s where our attention goes. You have to train yourself to fight this. I use a simple verbal cue with students: “front sight, front sight, front sight.” Say it in your head every time you aim.
Proper front sight focus will make the target look fuzzy. This feels wrong at first, but it’s correct. Your bullet hits where your front sight is pointing, not where you’re looking on the target. Sharp front sight focus is the single biggest accuracy booster for iron sight shooting.
With your sights aligned and your focus locked on the front sight, move the entire system onto your target. For most defensive shooting, use a center mass hold – align the sights so they cover the center of your target area.
Maintain that front sight focus as you move onto target. Don’t switch your focus to the target. The target should remain slightly blurry while your front sight stays sharp. This feels unnatural but becomes automatic with practice.
Your breath moves your body, and body movement shifts your sights. Before firing, take a normal breath, exhale about halfway, and hold. This natural respiratory pause gives you 4-6 seconds of relative stillness.
Don’t force your breath out completely – that creates muscle tension. Just exhale naturally, pause at the bottom of a normal breath, and take your shot during that window. If you miss your window, breathe again and reset.
I’ve seen students hold their breath until they turn blue, their sights weaving all over the target. Breath control isn’t about holding forever. It’s about timing your shot to coincide with your body’s natural pause between breaths.
Trigger control is the final and often most difficult element. The trigger should move straight to the rear without disturbing your sight alignment. No jerking, no anticipation, no flinch.
Place your trigger finger on the center of the trigger pad for pistols, or in the first joint for rifles. Apply steady, increasing pressure. The shot should be a surprise when it breaks. If you know exactly when the gun will fire, you’re probably anticipating and pushing your sights off target.
Follow through after the shot – keep pressing the trigger to the rear and hold your sight picture for a second. This prevents you from immediately moving the gun and calling a good shot bad. Watch the shot through your sights and call where it went based on what you saw.
Distance affects iron sight aiming in two main ways: target visibility and holdover. At closer ranges (within 25 yards for most rifles), your point of aim equals your point of impact. Just put the sights where you want to hit.
At longer distances, bullet drop becomes a factor. Most rifle iron sights are zeroed for 200-300 yards. Beyond your zero distance, you’ll need to hold high. For a 300-yard zero on a .223, you might hold at the top of a target’s head to hit center mass at 400 yards. This is called holdover and comes with knowing your particular rifle and ammunition.
For pistol shooting, most defensive encounters happen within 10 yards. At these distances, bullet drop is negligible. Focus instead on speed and proper sight alignment. At longer pistol distances (25 yards and beyond), take your time and really nail that front sight focus – small errors are magnified at distance.
This is the most common error I see. Shooters put the target in sharp focus and let their sights blur. The result is groups scattered all over the target. Remember: your bullet goes where your front sight points, not where you’re looking. Force your eye to focus on that front sight post even when everything else looks blurry.
Even with perfect front sight focus, you can’t hit consistently if your alignment is wrong. Common alignment errors include front sight higher than rear sight (shots hit high), front sight off-center in the notch (shots hit left or right), and inconsistent alignment from shot to shot.
The fix is slow, deliberate dry fire. I recommend 50 dry fire repetitions daily for two weeks. Focus only on sight alignment, no target needed. Just watch your front sight relationship to your rear sight and call it good or bad every single time.
Trigger jerk happens when you slap the trigger instead of pressing smoothly. Anticipation is when you flinch or push the gun forward in anticipation of the shot breaking. Both cause shots to go low and sometimes left (for right-handed shooters).
Ball-and-dummy drills fix this fast. Have a partner load your magazine with a mix of live and dummy rounds, randomized. When you get a dummy round, you’ll see your sights dip if you’re anticipating. Practice until your sights stay rock steady regardless of what’s in the chamber.
If your head position changes shot to shot, your sight picture changes too. Your eye needs to be in the same relationship to the sights every single time. Establish a consistent cheek weld and return to it like clockwork. I mark my stock with tape to show exactly where my cheek goes.
Longer sight radius means more precision potential but also more forgiveness of small alignment errors. A short sight radius (like on a pistol) means tiny errors show up as big misses on target. Be extra precise with your alignment on shorter guns.
Iron sights can reach out surprisingly far, but everyone has limits. If you’re struggling to hit consistently at a given distance, move closer. I’ve seen students frustrate themselves at distances they’re not ready for. Build confidence closer in, then gradually extend your range.
Dry fire practice is free and incredibly effective. Set up a safe backstop, remove all live ammunition from your training area, and practice the following routine 5-6 times per week:
This 40-rep routine takes about 5 minutes and builds muscle memory efficiently. I’ve had students improve dramatically in just two weeks of daily dry fire without firing a single live round.
When you get to the range, start close and work your way out:
For rifles, start at 25 yards and confirm your zero. Then move to 50, 100, and 200 yards as your skill improves. Keep a data book and record your groups – seeing your progress on paper is incredibly motivating.
Draw a 3-inch box on your target. Starting at 7 yards (pistol) or 25 yards (rifle), fire one shot into each corner of the box, clockwise, then one in the center. This tests your ability to call shots and make small corrections. If you’re consistently missing a particular corner, note the error and work on that specific issue.
In my experience teaching hundreds of students, most shooters develop basic competence with iron sights after about 500-800 rounds of deliberate practice spread over 2-3 months. Daily dry fire accelerates this dramatically. I’ve had students become solid shots in as little as 3 weeks with consistent daily practice.
The key is quality over quantity. 50 rounds of focused practice where you analyze every shot beats 200 rounds of mindless shooting. Keep a training log, set specific goals for each session, and track your progress. You’ll get good faster than you think.
Iron sights are mechanical aiming devices consisting of a front sight post at the muzzle and a rear sight notch or aperture near the shooter’s eye. When aligned, they create a precise line pointing to the target. Iron sights don’t require batteries or electronics and are the most reliable sighting system available.
Sight alignment is the relationship between your front and rear sights only – the front sight must be level with and centered in the rear sight. Sight picture is what you see when you place your aligned sights onto the target. Alignment comes first, then you add the target to create your sight picture.
You should keep both eyes open if possible for better situational awareness, but allow your dominant eye to do the work. If you must close one eye, close your non-dominant eye. Many shooters close their non-dominant eye initially and gradually learn to keep both open with practice.
The proper sight picture has your front sight post centered in your rear sight notch or aperture, with the top of the front sight level with the top of the rear sight. Your focus should be sharp on the front sight, making both the rear sight and target appear slightly blurry. Place this aligned picture where you want to hit on the target.
Consciously shift your eye’s focus to the front sight post. The front sight should appear razor sharp while the target and rear sight appear slightly blurry. This feels unnatural since our eyes want to focus on the target. Practice by saying “front sight focus” to yourself every time you aim. With repetition, sharp front sight focus becomes automatic.
Inconsistent accuracy usually comes from one of three issues: improper sight alignment (front sight not centered in rear), target focus instead of front sight focus, or trigger control problems (jerking or anticipating). Dry fire practice while watching your sights closely will reveal which issue is affecting you. Fix the fundamentals and consistency will follow.
Start close at 3-7 yards for pistols or 25 yards for rifles to build fundamentals. Once you’re consistent at close range, gradually extend your distance. Most defensive pistol practice should happen within 15 yards. For rifles, work out to your zero distance (typically 100-200 yards) and practice holdover beyond that.
Iron sights and red dots serve different purposes. Iron sights never run out of battery, won’t break when dropped, and build fundamental shooting skills. Red dots are faster for target acquisition and work better in low light. The best approach is to master iron sights first, then add a red dot with backup iron sights for when electronics fail.