
8 Best Binoculars for Elk Bugling (September 2026)
I’ve spent more than 30 days chasing bugling bulls across Colorado, Wyoming, and New Mexico over the past six seasons,…

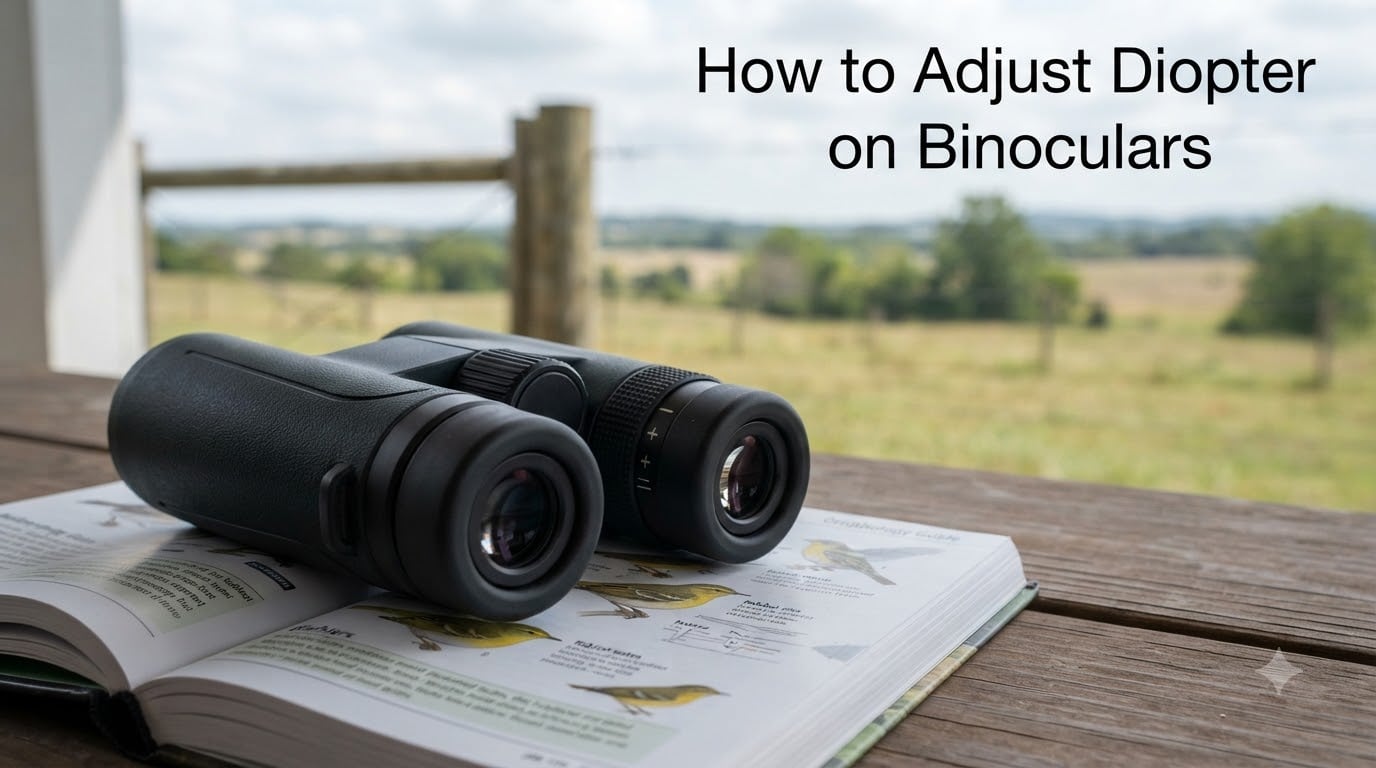
If your binoculars always look slightly fuzzy on one side, or you see a ghosted second image when you raise them to your eyes, the fix usually takes less than a minute. After 15 years of birding and field-testing optics, I’ve taught dozens of people to adjust the diopter on their binoculars, and the result is almost always the same: a noticeably sharper image and zero eye strain. This guide walks you through exactly how to adjust the diopter on binoculars, plus the troubleshooting steps most guides skip.
A binocular diopter is a small adjustment dial, almost always on the right eyepiece or just under the right ocular lens, that compensates for the difference in prescription between your left and right eyes. Most people have at least a tiny difference between eyes (often 0.25 to 1.0 diopter), and the central focus wheel alone cannot correct for it because it moves both sides in lockstep.
Think of the diopter as a fine-tune knob for one eye, while the central focus wheel handles the gross focus for both. Once you set the diopter to match your eyes, you only need the central wheel when you change targets at different distances.
The central focus wheel turns both eyepieces together. The diopter shifts only the right eyepiece. Without using the diopter, your two eyes end up focused at slightly different distances, and your brain has to merge two mismatched images. That is what causes headaches, double vision, and that nagging “something is off” feeling after an hour of glassing a field.
Almost all modern binoculars include some diopter adjustment, but the location and feel vary. Porro prism models often use a separate ring around the right eyepiece. Most roof prism binoculars hide the diopter on a small ring directly under the right ocular, sometimes flush with the bridge so it is easy to miss. A small +/- scale is usually printed next to it, with a zero mark in the middle.
Before you start turning knobs, two small prep steps make the rest of the process much faster. I learned this the hard way in the field trying to dial in diopter on a moving target.
Find a high-contrast object roughly 20 to 30 yards away: a sign, a fence post with a label, brick mortar, or tree bark with sharp detail. Anything beyond 50 yards makes the fine focus jump too small to feel, and anything closer than 15 yards exaggerates focus errors. Mid-distance targets give you the cleanest reference image.
Hold the binoculars up to your eyes and hinge the two barrels until you see a single round image with no overlapping crescents on the sides. That single image means your interpupillary distance is correct. If you skip this step, the diopter adjustment will seem unstable because each eye is looking through a slightly different part of the lens.
Follow these steps in order. The whole process takes under two minutes once you have done it a few times. Covering one eye at a time is the key technique that most guides rush past.
Turn the diopter ring until the small line on the dial aligns with the zero mark on the binocular body. This resets it to a neutral starting point so any further adjustment reflects only the difference between your eyes, not some old setting left over from the last user.
If you do not wear glasses, twist the eyecups all the way up. If you wear glasses, twist them down or fold them flat against the barrel. This sets the correct eye relief, the distance between your eye and the ocular lens, before you focus.
Cover the front of the right objective lens with your hand or a lens cap. Now look at your target with both eyes open and turn the central focus wheel until the image through your left eye is sharp.
Keep both eyes open and switch: cover the left objective lens instead. The right eye is now looking through the diopter-adjusted side. Slowly turn the diopter ring until the same target appears equally sharp through the right eye. Small turns make a big difference, so go in quarter-turn increments.
Uncover both lenses and look at the target. The image should snap into one crisp circle with no ghosting. If it still looks slightly fuzzy on one side, repeat steps 3 and 4 with even smaller diopter movements. If you see a sharp single image, you are done. Quick reference: a properly adjusted diopter leaves both eyes working at the same focal plane.
Glasses add about half an inch of distance between your eye and the ocular lens, which throws off the eye relief. Most binoculars today are designed so you can set the diopter correctly with glasses on, but only if you remember to lower or fold the eyecups first.
Twist-down rubber eyecups: turn them counter-clockwise until they click into the lowest position. Fold-back eyecups: press them flat against the barrel. Then follow the same five steps above. The image should be sharp to the edge with no black crescents cutting into the field of view.
If you do not wear glasses, the eyecups stay fully extended. With glasses down and diopter set, you should be able to scan a treeline for hours without your eyes getting tired.
Higher-end binoculars, including most of the options in our guide to the best 10×42 binoculars, include a locking diopter. After you finish step 5, slide or twist the diopter lock ring to secure the setting. This prevents the diopter from drifting during long walks, hunting trips, or when binoculars bounce around in a pack.
If your binoculars do not have a locking diopter, a small piece of artist tape across the ring can help keep it from accidentally turning. Several birders I have trained swear by this trick on older roof prism models.
Even after you set the diopter correctly, problems can show up later. Most of these come from forum threads I have read on Reddit r/Binoculars and BirdForum, where users describe the same handful of frustrations. Here is how to deal with each one.
Black crescents or kidney-bean shaped shadows around the edge of the image mean your eye relief is wrong, not your diopter. Twist the eyecups up or down in small increments until the entire field of view is illuminated. If the problem only shows up with glasses on, fold the eyecups all the way down.
If you reach the end of the diopter range and still cannot get a sharp image, your prescription difference may be outside the diopter’s compensation range. In that case, leave the diopter at its maximum setting and focus the left eye first with the central wheel, then fine-tune the right with whatever diopter travel remains. If that still does not work, the binoculars may need to be sent in for collimation. If your right eye is much weaker than your left, keep both eyes open during adjustment – closing one disrupts depth perception and makes sharp focus harder to judge.
A non-locking diopter can drift if it sits loose. Check that the ring is not worn out by rocking it gently side to side; any play means the mechanism may need service. In the meantime, mark your correct setting with a fine-tip pen on the binocular body so you can return to it quickly after slips.
Every person who shares a binocular needs a fresh diopter setting, since your diopter offset depends entirely on your own eyes. If you lend binoculars to a friend, family member, or trainee, reset to zero first and let them run through the five-step process above. Sharing without re-adjusting is the most common cause of “blurry binoculars” complaints in group settings.
Bookmark this checklist for your next trip or training session:
A binocular diopter is a small adjustment dial, usually on the right eyepiece, that compensates for vision differences between your left and right eyes so you see one sharp image instead of two mismatched ones.
Almost all modern binoculars include some diopter adjustment, though the location and feel vary. Porro prism models usually have a separate ring around the right eyepiece, while most roof prism binoculars put it on a small ring under the right ocular.
Reset the diopter to zero, cover the right lens and focus on a sharp target 20 to 30 yards away using the central wheel for your left eye, then cover the left lens and turn the diopter until the right eye sees the same target equally sharp. Uncover both lenses and confirm a single crisp image.
Blurry binoculars usually come from an unadjusted or drifted diopter, wrong eyecup position, or shifted interpupillary distance. Re-run the five-step adjustment process above, fine-tune eyecup height, and check that the barrels are hinged to your exact pupillary distance.
When one side looks sharper than the other, the diopter has drifted out of adjustment. Reset it to zero, then follow the cover-one-eye technique to refocus the weaker side until both eyes see the same crisp image.
Re-adjust every time a different person uses the binoculars, anytime the diopter ring slips from its set position, or when you notice eye strain, headaches, or double vision after long observation sessions. With a locking diopter, your setting should stay put between uses.
Adjusting the diopter on binoculars is the single highest-impact skill you can learn for sharper viewing. Do it once at the start of every session, once for every person who picks up the binoculars, and once after any long storage period. If your diopter is off, you are doing your eyes and your target identification a disservice.
If you are shopping for a new binocular and want one that holds its diopter setting, look for models with a locking diopter. Our picks in the best 10×42 binoculars roundup all include that feature, and our binocular selection guide for bird watchers breaks down the other features worth comparing. For persistent double vision even after diopter adjustment, see our separate guide on how to fix double vision in binoculars.