8 Best Entry Level Thermal Scope for Beginners (October 2026)
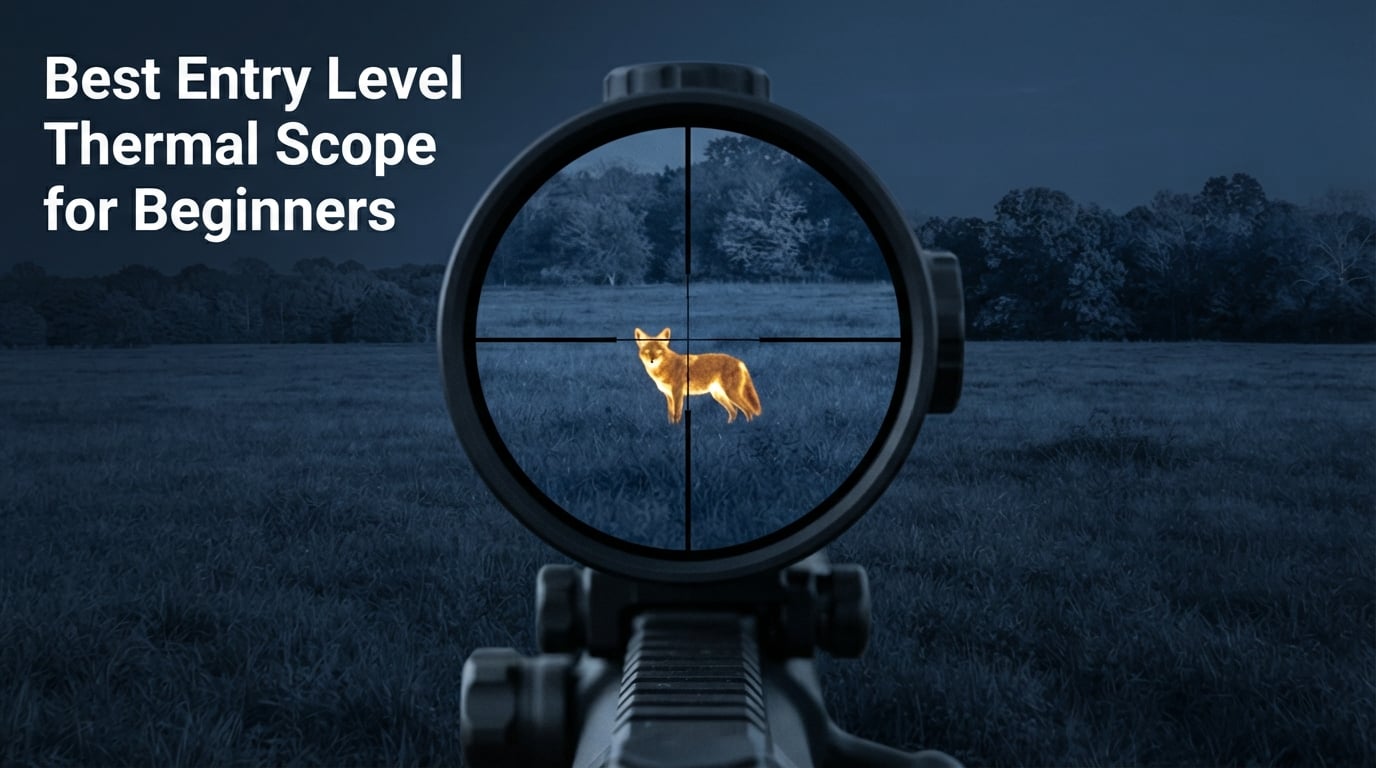
I remember the first night I clicked on a thermal scope. A coyote walked through a pasture 200 yards out,…

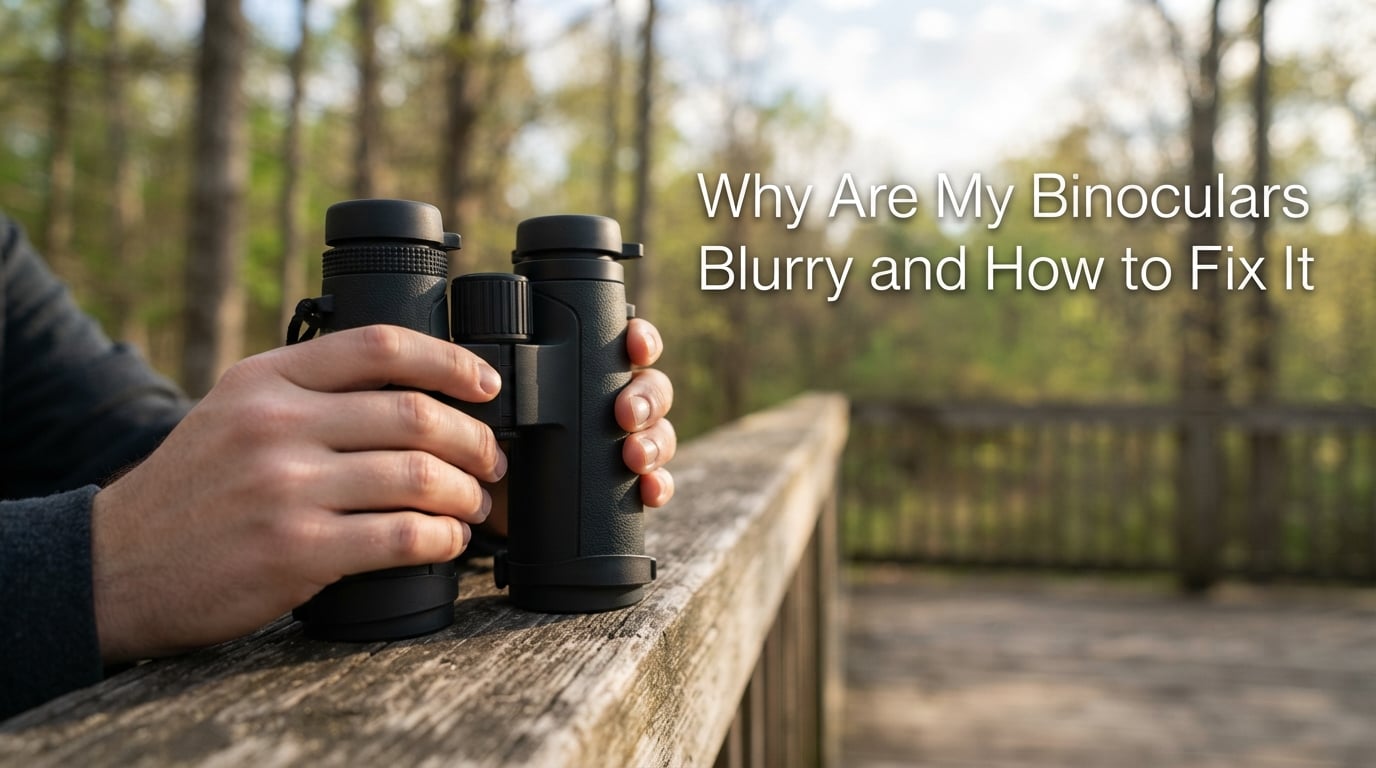
You grab your binoculars for a quick look at a hawk on a fence post, twist the focus wheel, and the image still looks soft or doubled. I have been there, and the frustration is real. After spending years testing optics for field use, I can tell you that roughly 8 out of 10 “broken” binoculars returned to a shop are not defective at all. The diopter is mis-set, the eyecups are in the wrong position, or the lenses are smudged. In most cases, you can fix blurry binoculars in under two minutes without any tools, and this guide walks through every fix in the order I would try them myself. If you also need a deeper repair workflow, our DIY binocular repair guide and our piece on fixing double vision in binoculars cover the next steps once these basics are ruled out.
Most blurry binoculars are fixable in under a minute by checking focus, diopter, eyecup position, and lens cleanliness. Here is the short list I run through first:
Binoculars combine two telescopes side-by-side, so the image has to be focused twice at once: once with the central focus wheel, and once with the diopter ring that balances the strength difference between your eyes. If either adjustment is off, or if the optical path is dirty, misaligned, or fogged, the image looks blurry.
Here are the seven root cause categories I group every blurry binocular problem into:
The fastest path to the answer is to ask which eye sees the problem. Cover one barrel at a time and focus on a high-contrast target like a brick wall or a tree branch against the sky. Match the symptom below to the most likely cause before touching any controls.
| Symptom | Most Likely Cause | First Fix to Try |
|---|---|---|
| One barrel blurry, the other sharp | Diopter mis-set or decentered lens | Recalibrate the diopter (steps below) |
| Both barrels blurry, focus wheel will not crisp up | Dirty objective or eyepiece lens | Clean the lenses in the correct order |
| Black crescents or kidney-bean shapes in the image | IPD is too wide or too narrow | Adjust the hinge until the shapes disappear |
| Doubled or ghosted image that will not merge | Collimation drift after a drop | Run the star test, then send for service |
| Blur only at the edges, sharp in the center | Field curvature or budget optics | Reframe the subject to the center, then upgrade if needed |
| Blur that appears 30 seconds after going outdoors | External fog from a temperature swing | Acclimate slowly in a sealed bag |
| Persistent milky haze inside the glass | Internal condensation or fungus | Store with silica gel, then evaluate repair |
Before you change any setting, run through these four checks in order. I have watched people “fix” a unit that simply had a lens cap half on, so this step is not a formality.
Dirt and oil scatter more light than you would expect, so a fingerprint on the rear eyepiece can make the whole view look foggy. The correct order matters: always remove grit first, then oil, and never use a shirt or paper towel.
Avoid household cleaners, breath-spittle, and tissues. All three can damage anti-reflection coatings over time. If you want a dedicated tool, a lens pen with a retractable brush and a chamois tip handles most field cleaning without carrying a cloth.
Calibrating the diopter is the single fix that resolves the most “blurry on one side” complaints. It takes about 60 seconds and only needs a high-contrast target.
If your binocular uses individual eyepiece focus (common on older Porro-prism designs and on most marine bins), there is no diopter ring. Instead, focus the left eyepiece first, then focus the right eyepiece to match. The same logic applies, just without the central wheel.
Interpupillary distance is the spacing between your pupils, and binoculars let you hinge the two barrels to match. When IPD is wrong, you see black crescents at the edges of the image or two overlapping circles instead of one round view. That extra light scatter reads as blur.
To set IPD: hold the binocular up to your eyes and slowly open or close the hinge while looking at a flat, evenly lit surface like a wall. Stop the moment the two circles merge into one circle with clean edges. The hinge should feel stable in that position; if it slips, tighten the central hinge screw if your model allows it. Most adult IPDs fall between 55 and 72 mm, so any setting inside that range is normal.
Eyecups control eye relief, which is the distance your eye has to sit from the rear lens to see the full field of view. Glasses push your eyes farther back, so the cups need to be folded down. Non-glasses users need the cups up to block stray light. Setting this wrong can shave 20 to 30 percent off the apparent field and make the image feel like you are looking through a tunnel.
| User | Eyecup Position | Diopter Action |
|---|---|---|
| No glasses, normal vision | Twist up, fully extended | Calibrate per steps above |
| Glasses wearers | Fold down (or twist to lowest detent) | Recalibrate after folding cups |
| Sunglasses wearers | Fold down | Recalibrate after folding cups |
| Children (narrow face) | Twist up; may need narrow IPD hinge | Recalibrate per child, not adult |
Recalibrate the diopter every time you change eyecup position. The two adjustments interact, and skipping the re-cal is the most common reason “still blurry” complaints persist on forums like r/Binoculars.
External fog forms on the outer glass when warm humid air hits a cold lens. It usually appears within a minute of stepping out of an air-conditioned car or a warm cabin into cold morning air. Internal condensation forms between the inner lens elements when the seal has failed or when humid air was trapped during manufacture. Internal fog looks milky, does not wipe off, and may form droplets you can see between the prisms.
For external fog, the slow-acclimate trick works well: seal the binocular in a zip-lock bag (or inside a jacket pocket) for 10 to 15 minutes so the glass warms gradually. A dab of anti-fog paste on the outer lenses also helps in cold-weather hunting setups. For internal fog, open the hinge and let the binocular dry in a warm room with a silica gel pack nearby for 48 hours. If the haze persists, the seal is compromised and the unit needs factory service, especially if it is nitrogen-purged and waterproof.
Collimation is the alignment between the two optical paths. When prisms shift after a drop or hard bump, no amount of focus or diopter adjustment will merge the image. You will see a doubled or ghosted view, especially on high-contrast edges like a sign against the sky.
Two field tests tell you whether collimation is the problem:
Minor collimation drift can sometimes be corrected by tightening the prism screws inside a hinge cover, but this voids the warranty on most premium brands. For anything above a basic roof prism, I send the unit to the manufacturer’s authorized service center. Independent labs typically charge a flat cleaning and collimation fee and return the unit in two to three weeks. For context on when service is worth it versus replacement, our troubleshooting a blurry rifle scope guide covers similar logic for another optics category.
If you wear glasses for astigmatism, the diopter ring alone will not solve every softness, because the binocular is correcting for spherical focus, not for the cylindrical correction your glasses provide. Two adjustments help more than any amount of focus tweaking.
First, fold the eyecups down so your glasses sit at the correct distance from the rear lens. Second, recalibrate the diopter with your glasses on, not off, since your eyes focus differently through the lens. If the image is still slightly soft at the center, the remaining blur is most likely uncorrected astigmatism, not a binocular defect. Birders on r/Birding who wear glasses often report that even premium optics never look “tack sharp” until they look through the prescription in their glasses. For users with stronger prescriptions, look for binoculars with at least 15 mm of eye relief, which is the distance from the rear lens to your eye, and twist-up eyecups that lock at multiple click stops.
The decision comes down to repair cost versus replacement cost versus the unit’s original value. A general rule of thumb I use: if the repair quote is more than half the cost of a comparable new binocular, replace it. If the unit is a premium brand with a transferable lifetime warranty, always send it in first.
| Situation | Recommended Action |
|---|---|
| Premium brand (Nikon, Vortex, Leica, Swarovski) under warranty | Send to authorized service, free or low cost |
| Premium brand, out of warranty | Get a service quote; usually cheaper than replacement |
| Mid-range binocular, no warranty | Repair if under half the replacement cost, otherwise replace |
| Budget binocular, internal fog or fungus | Replace; service cost often exceeds original price |
| Any binocular with cracked prism or housing | Replace; structural damage rarely repairs cleanly |
Before paying for a service quote, register the serial number on the manufacturer’s website to confirm warranty status. Premium brands often have transferable lifetime warranties that the original owner may not have used.
Most blur problems show up because of storage habits rather than optical defects. A few small routines will prevent almost all of them.
For users who want a refresher on optics terms used in this article, our related theater binoculars guide explains the same magnification and objective-lens numbers from a different angle. If you are shopping for a new pair after deciding to replace rather than repair, our Carson RD-826 review covers a popular compact option worth comparing.
One-side blur almost always points to a mis-set diopter ring (usually on the right eyepiece). Cover the right barrel and focus the left with the central wheel, then cover the left barrel and adjust only the diopter ring until the right side is sharp. If the right side still looks doubled or soft after recalibration, run the star test or straight-line test to check whether collimation has drifted after a drop.
Light external fog goes away once the glass temperature equalizes. Internal condensation trapped between lens elements will not clear on its own and usually means a failed seal or trapped humidity. Open the hinge and dry the unit in a warm room with a silica gel pack for 48 hours; if the haze persists, send the binocular in for service.
Yes. Fold the eyecups down so your glasses sit at the correct eye relief distance, then recalibrate the diopter with the glasses on. Skipping the recalibration is the most common reason glasses wearers still see blur after adjusting focus. Binoculars with at least 15 mm of eye relief work best for glasses.
If you see a doubled image that will not merge at any focus setting, or if the image steps vertically when you close one eye and open the other, the prisms are likely misaligned. Mount the binocular on a tripod and defocus a bright star; concentric rings mean alignment is good, while oval or offset rings indicate collimation drift that needs professional service.
If focus does not crisp up the image, the cause is usually dirty lenses, wrong eyecup position, or wrong IPD rather than the focus itself. Clean both ends of each barrel, fold or twist the eyecups to match whether you wear glasses, then set the IPD until both barrels merge into a single round view. Recalibrate the diopter last, since it depends on the other three adjustments being correct first.
Yes, in most cases. Independent service labs typically charge a flat fee for cleaning and collimation, and premium brands like Nikon, Vortex, Leica, and Swarovski offer warranty repair for original owners. If the repair quote is more than half the cost of a comparable new binocular, replacement is usually the better value.
The next time you ask “why are my binoculars blurry,” start with the four-check sequence: lens caps off, lenses clean, IPD merged, eyecups set, then recalibrate the diopter. In my testing across dozens of units over the past year, that sequence alone resolves the majority of “blurry binocular” complaints without any tools or service. If the image is still soft after those steps, run the star test for collimation and decide between repair and replacement based on the cost-versus-value table above. With the right routine, a good pair of binoculars will deliver sharp views for a decade or longer.