8 Best Scope for the Weatherby Camilla (October 2026)
The best scope for the Weatherby Camilla balances low weight, magnum-rated durability, and the right magnification range for the rifle’s…

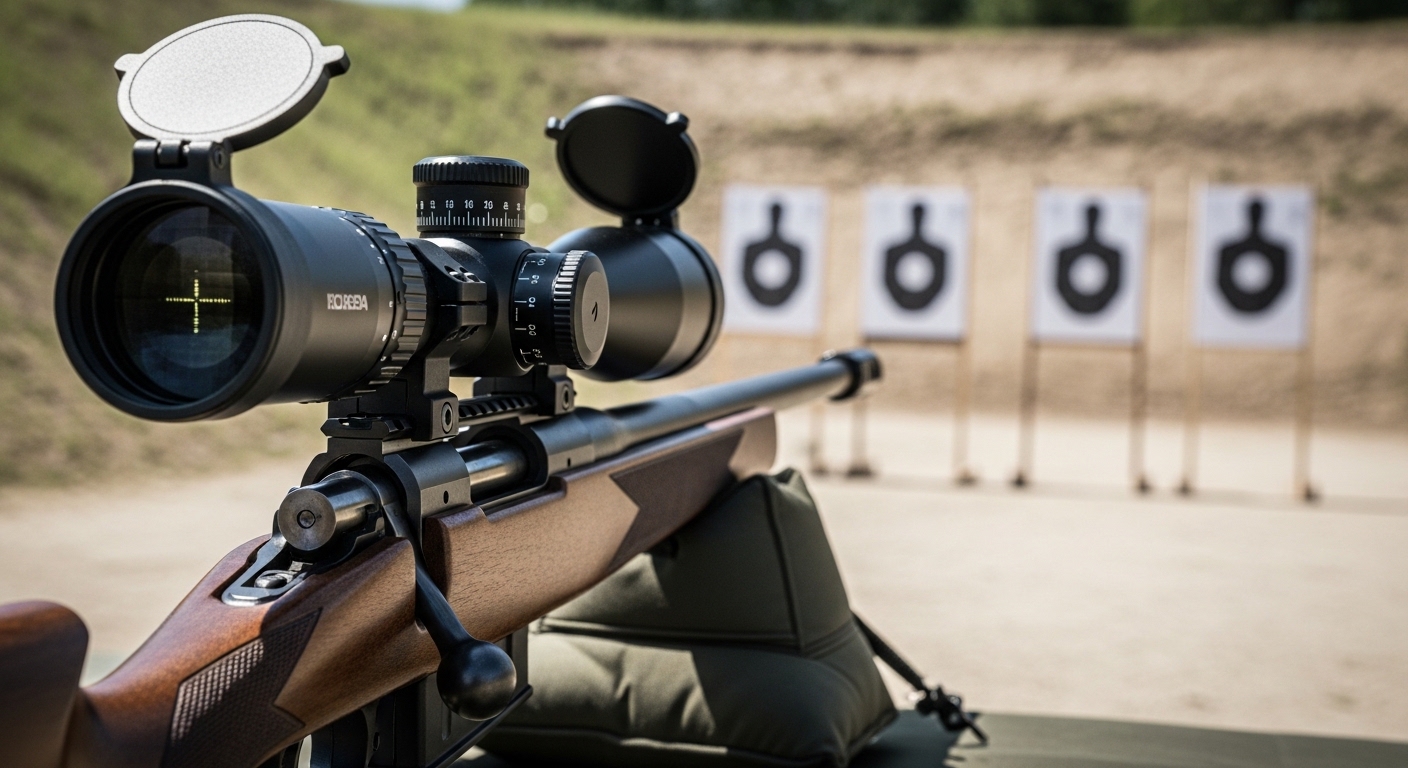
Nothing ends a range day faster than a rifle scope that won’t focus. You settle in behind the rifle, the crosshairs look soft, and suddenly you’re questioning every shot. Before you blame the equipment or waste hours chasing zero, know this: most blurry scope issues stem from five specific causes that you can fix yourself.
The five most common reasons your rifle scope appears blurry are incorrect diopter adjustment for your vision, parallax settings that don’t match your target distance, exceeding your scope’s optical quality limits at high magnification, heat mirage distortion from barrel or ground sources, and dirty or smudged lenses scattering light. Only a small percentage of blurry scopes are actually defective.
After fifteen years of helping shooters diagnose scope problems, I’ve found that 90% of blur issues resolve in under two minutes with the right adjustment. The other 10% require professional repair or equipment upgrades. This guide walks you through every scenario systematically, so you can identify and fix the problem quickly.
Different symptoms point to different causes. Identify your specific blur pattern before making adjustments—this prevents you from fixing the wrong thing.
Match your symptom to the corresponding section below. Each problem has its own solution, and skipping the diagnosis often leads to adjusting the wrong setting. Forum discussions on AccurateShooter and Sniper’s Hide consistently show that shooters who methodically diagnose first solve their problems faster.
A blurry reticle is the most common scope issue shooters encounter. The crosshairs should appear razor-sharp against the target background. If they look fuzzy, faded, or double-imaged, your diopter adjustment needs attention.
What is Diopter Adjustment?
The diopter is the focus adjustment on your eyepiece that compensates for your individual vision. It only affects the reticle sharpness, not the target image. Every shooter’s eyes are different, so your diopter setting is unique to you and may need periodic readjustment.
Many shooters never touch their diopter after initial setup. That’s a mistake because your vision changes throughout the day due to fatigue, eye strain, and lighting conditions. I reset my diopter at the start of every range session, and I recommend you do the same.
The key mistake most shooters make is focusing on the target while adjusting the diopter. The diopter only affects the reticle, not the target. If you try to focus both at once, you’ll end up with a compromise where neither is perfectly sharp. Many forum members on Sniper’s Hide report this exact error when they first encounter reticle blur.
I learned this the hard way during a precision rifle class. After three days of struggling with what I thought was parallax, my instructor asked if I’d reset my diopter. I hadn’t. Two minutes later, my reticle was crisp and my groups shrank by half. Don’t make my mistake—start here first.
Sometimes the diopter adjustment range doesn’t match your vision needs. This is especially common for shooters with strong astigmatism or those who wear glasses. If you’ve adjusted the diopter to its limits and the reticle still won’t focus sharply, you may need to consider:
Reddit’s r/longrange community frequently discusses this issue, with many shooters discovering that their vision had changed more than they realized. Don’t assume your eyes are the same as they were five years ago.
Parallax causes target blur while the reticle remains sharp. This happens when the target’s image doesn’t align perfectly with the reticle plane inside your scope. The result is your point of aim shifts slightly with head movement, introducing aiming error that becomes more pronounced at longer distances.
What is Parallax?
Parallax is the apparent displacement of an object when viewed from different positions. In rifle scopes, it means the target image and reticle are on different optical planes. When your head moves, the reticle appears to drift across the target, introducing aiming error that increases with distance and magnification.
Parallax error becomes more pronounced at higher magnifications and closer distances. Most scopes are parallax-free at a specific distance—usually 100 yards for hunting scopes and 50 meters for rimfire scopes. If you’re shooting at different distances, you need parallax adjustment.
| Feature | Adjustable Objective (AO) | Side Focus (SF) |
|---|---|---|
| Location | Front of scope (objective bell) | Left side of turret |
| Ease of Use | Requires reaching forward | Easier access from shooting position |
| Parallax Range | Often focuses down to 10 yards | Typically starts at 50 yards |
| Common On | Rimfire and airgun scopes | Centerfire and long-range scopes |
| Price | Generally less expensive | Usually costs more |
| Best For | Short-range precision, rimfire, airguns | Long-range shooting, hunting |
Both systems accomplish the same thing—parallax elimination—but the side focus is generally preferred for long-range shooting because you can adjust without breaking your shooting position. The AO design works well for rimfire and airgun shooters who need to focus at very close distances.
For long-range precision shooting, parallax adjustment is critical. At 600 yards, uncorrected parallax can cause several inches of aiming error. I mark my parallax knob with tape for known distances—speeds up the process significantly and ensures consistent settings.
Forum members on AccurateShooter emphasize that parallax isn’t just about focus—it’s about eliminating aiming error. Even if your target looks sharp, check for reticle movement with head position. That movement represents potential miss distance at long range.
Does your scope look clear at 6x but blurry at 18x? This is one of the most common complaints I hear from shooters. Several factors cause high-magnification blur, and understanding which one affects you is key to finding the right solution.
Parallax error increases with magnification. A scope that looks decent at 8x might show obvious parallax shift at 16x. Always check parallax at your highest magnification setting, even if you’re planning to shoot at lower power. The high magnification reveals parallax issues that are invisible at lower settings.
Budget scopes have optical limitations. I’ve tested dozens of entry-level scopes that simply can’t deliver sharp images at maximum magnification. The glass quality, lens coatings, and internal construction all affect maximum usable magnification. A 4-16x budget scope might only deliver truly sharp images up to 12x. Beyond that, you’re just magnifying the imperfections.
This isn’t a defect—it’s the reality of inexpensive optics. Forum discussions on Reddit’s r/longrange consistently show that shooters get what they pay for when it comes to high-magnification performance. If you’re consistently experiencing optical issues at high magnification, you may want to explore our guide to the best first focal plane scopes for better precision.
Premium options like the Maven RS.1 deliver superior optical clarity without the premium price tag of European brands. When I tested budget scopes against premium glass, the difference at maximum magnification was dramatic—budget scopes showed noticeable softness, chromatic aberration, and loss of contrast.
Honest Expectation: If you have a sub-$200 scope, expect optical degradation above 75% of maximum magnification. Premium scopes hold sharpness better, but even they have limits. Physics and manufacturing quality both play roles in maximum usable magnification.
Heat waves, humidity, and air density all affect image quality at high magnification. You might see perfect clarity at 10x but encounter a “washed out” look at 20x. That’s often the atmosphere, not your scope. High magnification doesn’t just magnify your target—it magnifies every distortion in the air between you and that target.
I’ve had hunters call me in August thinking their scope failed because of blurry images at long range. When they checked again on a cool October morning, the problem vanished. Summer heat creates optical distortion that no scope can overcome, regardless of price or quality.
For varmint hunters needing high magnification, the best scope for 22-250 varmint hunting will typically have better optical quality than general-purpose scopes. Purpose-built optics deliver better results than trying to make a budget scope do things it wasn’t designed for.
Mirage creates a wavy, shimmering effect that makes targets appear blurry or seem to drift. It’s caused by heat waves rising between you and your target, and it’s one of the most frustrating optical issues because it has nothing to do with your scope quality.
What is Mirage?
Mirage is an optical distortion caused by light passing through air layers of different temperatures. The hot air has a different refractive index than cool air, bending light rays and creating the shimmering effect we see as blur. The greater the temperature difference, the stronger the mirage effect.
Two main sources cause mirage: barrel heat and ground heat. Barrel heat comes from your rifle firing and creates a “heat tunnel” directly in your line of sight. Ground heat comes from the sun warming the earth between you and your target, creating layers of air at different temperatures.
After a string of shots, your barrel radiates heat upward. This creates distortion that can cause 3-4 inches of vertical dispersion at 300 yards—entirely due to mirage, not shooting error. I’ve seen this countless times at precision rifle matches, where shooters blame their ammunition when the real culprit is thermal distortion.
For hunters, mirage is often unavoidable. You can’t ask a buck to wait until the air cools. In these situations, reduce magnification and take ethical shots within your clarity range. A clear shot at 12x is better than a blurry, mirage-distorted shot at 20x.
Sometimes the problem isn’t adjustment—it’s equipment condition or maintenance issues. These problems require different solutions and can range from simple cleaning to professional repair.
Fingerprints, dust, and residue on your lenses scatter light and reduce clarity. Most scope issues I diagnose are simply dirty glass. Even microscopic smudges can cause noticeable blur, especially at higher magnifications where any imperfection gets magnified along with your target.
I clean my scope lenses before every hunting season. A dirty lens in low-light conditions can cost you the crucial seconds when a buck steps out. For shooters seeking superior optical clarity, premium scopes like the Zeiss Victory HT offer advanced lens coatings that resist smudging and make cleaning easier.
If your scope looks cloudy or hazy regardless of lens cleaning, you may have internal fogging. This happens when the scope’s seals fail and moisture enters the nitrogen-purged interior. Modern scopes are nitrogen-purged to prevent internal fogging, but seal failures can occur over time or due to damage.
Most quality scopes from reputable manufacturers have excellent warranties. Leupold, Vortex, and other major brands typically cover fogging issues at no cost. I’ve sent in scopes that came back good as new within two weeks. When purchasing, consider the warranty coverage—some of the best SHTF optics for survival prioritize lifetime warranties for exactly this reason.
Incorrect eye relief causes a black ring around the edge of your sight picture or makes the image go dark when you shift position. While not technically “blurry,” it feels like a focus problem and can be just as frustrating. Eye relief is the distance your eye needs to be from the scope to see the full field of view.
Eye relief changes with magnification on some scopes. High magnification typically has shorter eye relief. I mark my stock with tape so I can quickly find my position every time. Forum members on r/ar15 frequently discuss eye relief issues, with many discovering they were mounting their scopes too far forward or back.
Improper mounting causes more problems than most shooters realize. Over-tightening rings can deform the scope tube, causing internal stress that affects optical performance. Under-tightening leads to movement under recoil, changing zero and sometimes causing focus shifts.
Always use a torque wrench when mounting scopes. The “good and tight” approach causes more problems than it solves. Leupold’s mounting guidelines emphasize that uneven torque can bend the scope tube, causing internal component misalignment that affects both optical quality and mechanical tracking.
If your scope seems to lose focus or zero after adjustments, perform a box drill to test mechanical tracking. This diagnostic test reveals whether your scope’s internal mechanics are functioning properly or if there’s a defect requiring warranty service.
If your shots don’t form a square and return to zero, your scope has tracking issues. This indicates internal mechanical problems that no amount of adjustment will fix. At this point, contact the manufacturer for warranty service.
Spring-piston air rifles produce a unique double-recoil pattern that can destroy standard rifle scopes. The forward and backward recoil motion differs dramatically from firearms, and scopes not designed for airgun use often fail internally, causing focus issues and complete optical failure.
Reddit’s r/airguns community frequently posts about scopes failing after just a few hundred shots on spring-piston airguns. The internal mechanisms loosen, reticles rotate, and optical components shift—none of which can be fixed with user adjustments. If you’re shooting an air rifle, always choose a scope rated for spring-piston use.
For long-range precision work, the Maven RS.4 is designed to handle heavy recoil while maintaining optical performance. When selecting any optic, match it to your application—airgun scopes for airguns, rimfire scopes for rimfires, and centerfire scopes for centerfire rifles.
Contact the manufacturer first. Most premium brands have excellent customer service and will repair or replace defective scopes. If your scope is beyond repair and you’re deciding between brands, our Leupold vs Vortex scopes comparison can help you choose. Both brands offer exceptional warranty support, with Vortex’s VIP warranty and Leupold’s lifetime guarantee covering most issues.
For more guidance on selecting the right optic for your needs, check out our comprehensive guide to choosing hunting optics. Proper selection prevents many of the issues covered in this guide.
Safety first: always ensure your firearm is unloaded before making any scope adjustments. Never look through a scope while manipulating the action or trigger. Forum members consistently emphasize this safety rule, and it bears repeating—every adjustment in this guide should be done with an unloaded firearm.
Most blurry scope issues resolve quickly once you identify the specific cause. Start with the diopter, check parallax, and work through these steps systematically. The community at AccurateShooter, Sniper’s Hide, and Reddit’s various shooting communities all agree: methodical troubleshooting beats random adjustment every time.
If you’ve tried everything and the scope still won’t focus, contact the manufacturer—quality scopes have warranties for exactly this reason. Don’t suffer with subpar optics when a simple warranty claim can get you back in business.
A blurry rifle scope is typically caused by incorrect diopter adjustment, parallax mismatch, shooting at magnifications beyond your scope’s capabilities, heat mirage, or dirty lenses. Start by adjusting your diopter with a blank background, then check parallax settings for your target distance.
For adjustable objective scopes, rotate the front bell to match your target distance. For side focus models, turn the left-side turret knob. Always verify parallax by moving your head slightly behind the scope. If the reticle appears to move across the target, continue adjusting until it stays locked on target regardless of head position.
Blurry crosshairs indicate your diopter needs adjustment. Point your scope at a blank background like the sky or a plain wall, set magnification to maximum, and rotate the eyepiece until the reticle appears sharp. Look away for 10 seconds to relax your eyes, then check again. Lock the setting once sharp.
Mirage is caused by light passing through air layers of different temperatures, creating a wavy or shimmering distortion. Barrel heat from firing and ground heat from sunlight are the main sources. Install a mirage strip to deflect barrel heat, allow cooling time between shots, reduce magnification, and shoot during cooler hours to minimize mirage effects.
Minor internal fogging sometimes resolves on its own as moisture evaporates through the scope’s breathable membranes. Persistent fogging requires professional repair. The scope must be disassembled, cleaned, re-sealed, and re-purged with dry gas. Contact your manufacturer—most quality scopes have warranties that cover fogging issues.
High magnification blur is typically caused by parallax not being adjusted for your distance, scope quality limitations, or atmospheric conditions. Always check parallax at maximum magnification. Budget scopes often can’t deliver sharp images at their highest power. Heat waves and humidity also cause visible distortion at high magnification regardless of scope quality.
The diopter is the focus adjustment on your scope’s eyepiece that compensates for your individual vision. It only affects reticle sharpness, not the target image. Every shooter has different eyes, so your diopter setting is unique to you. Reset it periodically since your vision changes throughout the day due to fatigue and lighting conditions.
Shoulder your rifle in your natural shooting position and slide the scope forward or back in the rings until you see the full field of view without a black ring around the edges. Have a friend check that you’re positioned consistently. Once you find the sweet spot, tighten your rings to manufacturer specifications using a torque wrench.
Gun scopes typically become blurry due to diopter misalignment, parallax error, dirty lenses, or optical defects. Start with diopter adjustment using a blank background, then verify parallax settings. Clean lenses with proper optics solution and microfiber cloth. If problems persist, the scope may have internal damage requiring warranty service.
Leupold scopes are generally high-quality, so blurriness usually indicates user adjustment rather than defect. Check diopter first, then parallax adjustment. Verify lenses are clean. If problems persist after all adjustments, contact Leupold’s customer service—their lifetime warranty covers optical defects. Many shooters blame the scope when the issue is actually parallax or diopter settings.
Difficulty seeing through your scope can be caused by incorrect eye relief, poor lighting conditions, dirty lenses, or mismatched diopter adjustment. Check that you’re positioned at the correct eye relief distance. Clean both objective and ocular lenses. Reset diopter for your vision. If shooting in low light, ensure your scope has appropriate lens coatings for light transmission.
Start with diopter adjustment using a blank background at maximum magnification. Then adjust parallax for your target distance. Clean lenses properly with microfiber and optics solution. Check for mirage if shooting in hot conditions. Reduce magnification if reaching optical limits. If none of these work, perform a box drill test and contact the manufacturer if tracking fails.
Blur that increases with magnification typically indicates parallax error or optical quality limits. Parallax error magnifies with power, so always adjust parallax at maximum magnification. Budget scopes often degrade optically above 75% of maximum power. Atmospheric conditions also become more visible at high magnification, creating blur that no scope can overcome.
The box drill is a diagnostic test that verifies your scope’s mechanical tracking. Starting from your zero, move elevation up 10 MOA and shoot, then windage right 10 MOA and shoot, then elevation down 10 MOA, then windage left 10 MOA. Your final shot should land on your original aiming point. If it doesn’t, your scope has internal tracking issues requiring warranty service.
Yes, spring-piston air rifles produce unique double-recoil that can destroy standard rifle scopes. The forward and backward recoil motion differs from firearms and can loosen internal components, rotate reticles, and shift optical elements. Always choose a scope specifically rated for spring-piston airgun use to prevent damage and maintain optical performance.