How to Fix a Dark Microscope Image (September 2026)
A dark microscope image is almost always caused by one of five things: a dim light source, a closed or…

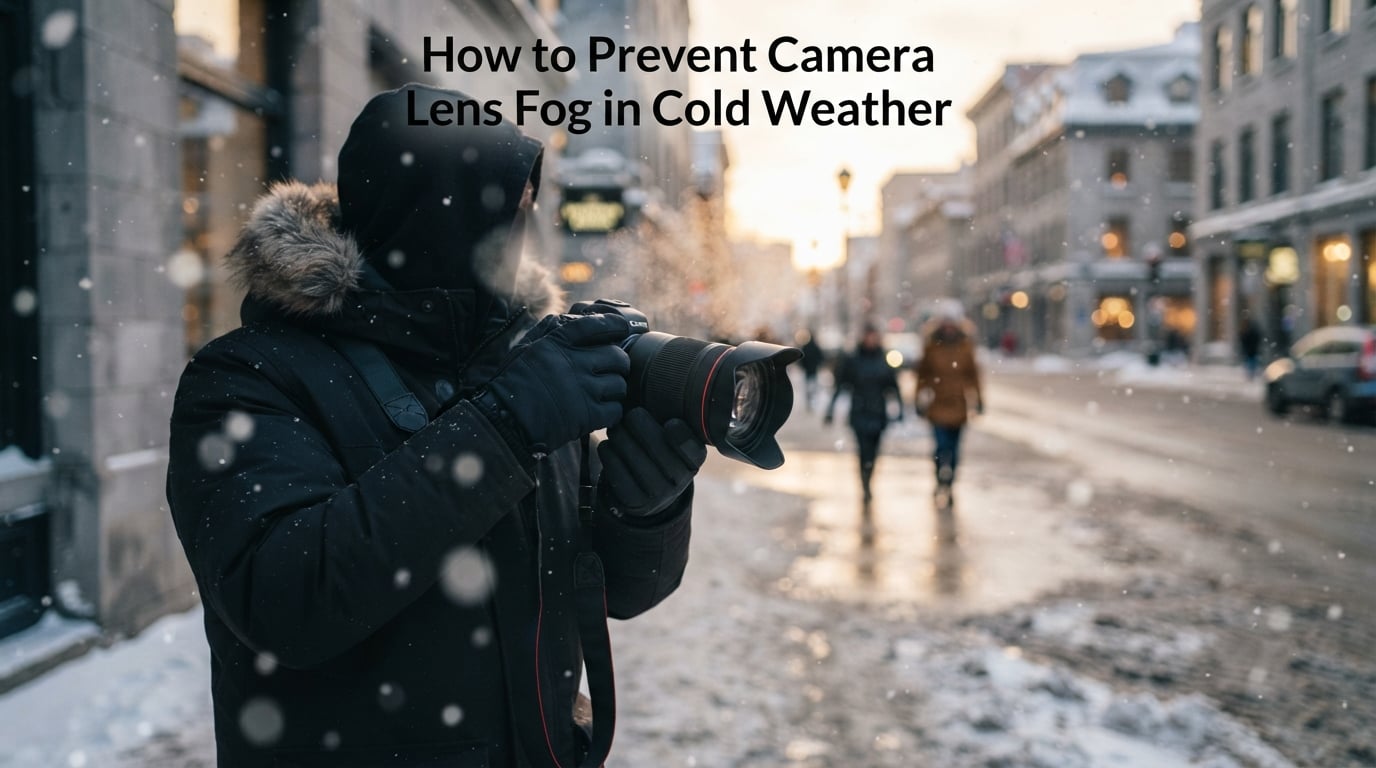
Camera lens fog is condensation that forms when cold glass meets warmer, humid air — water vapor in the air condenses into tiny droplets on the front element, rear element, viewfinder, or LCD. After shooting in winter for years, I’ve learned that stopping fog before it starts always beats trying to fix it mid-shoot, and the trick is layering a few simple techniques.
If you’ve ever pulled a cold DSLR out of a warm cafe and watched the front element turn into a sheet of white, you already know how fast condensation ruins a shot. In this guide, I’ll walk you through exactly how to prevent camera lens fog in cold weather, from the physics behind dew point to the field-tested tricks working street photographers use every winter.
Lens fog is pure physics. When a lens sits in cold air, its glass temperature drops below the dew point of the surrounding air, and any water vapor in that air instantly condenses into microscopic droplets on every cold surface. This is the same reason a cold bottle of water “sweats” on a summer table — except that on a lens, those droplets scatter light and turn your photo into a soft, hazy mess.
The dew point is the temperature at which air becomes saturated and can no longer hold all its water vapor. Once the lens is colder than that dew point, fog forms. Cold dry air has a very low dew point, which is why a -10C day in the desert rarely fogs your lens. A -5C day in a coastal city, on the other hand, can fog it within seconds because the air is loaded with moisture.
Relative humidity is the variable most people notice, but dew point is what actually controls fogging. Two days at the same temperature and 80% humidity can behave completely differently if one is at sea level and the other at altitude — the dew point is what matters.
Front-element fog is mostly cosmetic — a layer of condensation on the glass you can usually wipe away or wait out. Internal fog is worse: it forms between lens elements when the lens body itself is cold and humid air enters through the mount or focus ring. That kind of fog can take hours to clear and, in extreme cases, encourages fungus growth if the lens stays damp.
When you bring a cold camera into a warm room, the fog usually forms on the rear element and sensor area first because the body’s heat rises from the sensor and meets the cold glass at the back. When you step from a warm interior into cold air, the front element fogs first. Understanding which way the temperature differential flows tells you which technique to use.
Here’s the master list I’ve refined over four winters of street photography in New York, Berlin, and Reykjavik. Use one, use all seven, but layering them is what gives you a fog-free shoot.
Acclimation is the single most effective anti-fog technique, and it’s free. The idea is to let your gear change temperature gradually so it never crosses the dew point of the surrounding air. Photographers who’ve been doing this for decades call it the zip-lock bag trick, and it works because the sealed bag traps dry air around the camera while the temperature equalizes.
Before you walk out of a warm cafe or into a warm ski lodge, put your camera in a gallon-size zip-lock bag with a couple of silica gel packets. Seal it, then move between environments. By the time the camera has warmed up, it’s inside a micro-environment of dry air and won’t condense moisture on the glass. I keep four silica packets in my bag at all times — they weigh nothing and last for years if you dry them in the oven occasionally.
This is the opposite problem but the same solution. If you’re starting a winter shoot from a warm car or studio, the camera is hot and the air is cold — instant fog. Run your car heater on high for ten minutes with the camera inside (not in the trunk), or leave the camera in an unheated garage or porch for 15 minutes before stepping out. Street photographers who hop between cafes and cold streets sometimes carry their camera inside an outer jacket pocket just to keep the temperature ramp gentle.
Active heat is the most reliable defense when you’re stuck in a cold environment for hours. The goal is to keep the front element just a degree or two above the dew point of the surrounding air, not to make the lens hot.
A lens warmer is a USB or battery-powered strap that wraps around the lens barrel and gently warms the front element. They’re silent, run for hours on a small power bank, and don’t interfere with focus or zoom rings. If you shoot wildlife, alpine landscapes, or long ski tours, a lens warmer is the most hands-off solution. The warmth is enough to prevent condensation but not enough to affect image quality or cause the lens’s internal lubricants to thin out.
Taping a chemical hand warmer to the lens barrel is the cheap, field-tested alternative. Most photographers use a single hand warmer taped against the side of the lens, just behind the focus ring, with a small piece of cloth between the warmer and the rubber to protect the finish. The trick is keeping the warmer from sliding — gaffer tape or a rubber band works well. I replace the hand warmer every 2-3 hours in really cold conditions.
Be careful with chemical hand warmers on rubber focus rings. Direct contact at very cold ambient temperatures can transfer enough heat to soften the rubber grip over time. Always use a thin cloth barrier.
Chemical anti-fog is a thin film you apply to the front element that prevents water droplets from forming — instead, moisture spreads into a clear, even layer. There are two flavors: commercial wipes made for optics, and DIY soap-film treatments.
Optics-grade anti-fog wipes are pre-moistened with an isopropyl-alcohol-based solution that evaporates cleanly and leaves a surfactant film on the glass. They’re safe on modern multi-coated and nano-coated lenses, last a day per application, and are the fastest field solution. I keep a pack in my jacket pocket from October through April. Check the label — wipes marketed for ski goggles or safety glasses work just as well as photography-specific wipes, and they’re often cheaper.
Dilute a single drop of baby shampoo or fragrance-free dish soap in a cup of distilled water. Wipe a thin film onto the clean front element with a microfiber cloth, let it dry, then buff gently. The residue is invisible but it stops water from beading up. This is the same trick swimmers, divers, and skiers have used for decades. It’s free, it’s effective, and it lasts about a day before you need to reapply.
Avoid anything with lotion, scent, or moisturizers — those leave streaks and can interact poorly with lens coatings. Plain, clear dish soap is the safest option if you don’t have baby shampoo.
Physical shielding is the cheapest passive defense and the most overlooked. A lens hood doesn’t just block stray light — it also creates a small pocket of still air in front of the element, slowing the temperature transfer and reducing the chance of fog.
A standard tulip or round lens hood is worth carrying even in cold weather. In addition to its flare-fighting job, it adds a thin insulating air gap and shields the front element from direct contact with cold wind. Photographers who shoot into a bright, cold sky report noticeably less front-element fog when they keep the hood mounted.
A dedicated rain cover (think Think Tank, OP/TECH, or Peak Design) does double duty: it keeps snow and rain off the lens, and the slightly warmer micro-climate inside the cover reduces fog. Some covers have built-in hand-warmer pockets. A neoprene lens wrap or a thick camera sock serves the same purpose and packs flat. Pair your rain cover with a good pair of photography gloves for cold weather and you can shoot comfortably for hours.
Sometimes prevention fails. Maybe you stepped out of a warm shop too fast, or you left the camera in the trunk overnight. Here’s how to remove condensation safely without damaging the lens coatings.
First, resist the urge to wipe the fog with a shirt sleeve or a tissue. The front element is the most coating-heavy part of any lens, and abrasion ruins it faster than anything else. Instead, let the lens warm or cool to room temperature gradually. A gentle stream of room-temperature air from a rocket blower (not compressed air) speeds up evaporation. If you have a microfiber cloth, lightly dab — don’t rub — to lift the droplets without scratching.
For internal fog, the only real cure is patience. Keep the camera powered off with the lens cap off in a dry, room-temperature environment for several hours. Resist the temptation to point a hair dryer at the lens — the heat is uneven and can damage coatings and seals.
Don’t breathe on the lens. Don’t wipe with a shirt, paper towel, or tissue. Don’t use compressed air, which can push moisture deeper into the lens. Don’t try to heat the lens with a car heater vent — the temperature swing is too aggressive and can crack bonded lens elements.
This is the technique gap none of the big photography sites cover, and it’s the most common cause of fog for street photographers. Walking out of a heated cafe at 22C into -5C winter air is the fastest way to fog every glass surface on your camera — the temperature differential can be 25 degrees in a single doorway.
Before you push open the door, drop the camera into your jacket — not the bag, the inside of your coat. Body heat keeps it warm. Step outside. Wait 60 seconds for the lens to cool gradually while your body heat stabilizes it. Pull the camera back out and shoot. This routine sounds slow, but it works far better than any chemical treatment for rapid in-and-out shooting.
Better yet, plan transitions around the camera, not the other way around. Finish your drink, pack the camera in a sealed bag with a silica packet, settle your tab, then step outside. By the time you reach the street, the camera has cooled gently inside the sealed bag and stays fog-free for the next 20-30 minutes.
A small reusable silica gel pouch in your camera bag does two things at once. It keeps the interior dry so you don’t trap humid air around the lens, and it gives you a portable moisture sink for the zip-lock bag trick. Throw two or three of them in your kit and refresh them in the oven once a month. Cold-weather photographers swear by them — and if you’re heading out for a long winter shoot, pair them with one of the best power banks for cold weather so your batteries don’t die mid-walk.
If you shoot year-round in cold climates, gear choice matters. Weathersealed bodies and lenses shrug off light snow, fog, and the occasional condensation event much better than older unsealed kit. If you’re buying new, our guide to the best cameras for cold weather photography walks through which models stay reliable below freezing.
Your lens fogs when cold glass drops below the dew point of the surrounding air. Water vapor in that air condenses into microscopic droplets on the front element, rear element, viewfinder, or LCD — same physics as a cold drink sweating on a summer table. The faster the temperature change, the worse the fog.
Use a layered approach: acclimate your gear slowly in a zip-lock bag with a silica packet, pre-warm or pre-cool the camera before stepping outside, attach a lens warmer or hand warmer to the barrel, apply a soap-film or commercial anti-fog wipe, mount a lens hood for passive shielding, and keep the camera inside your jacket between shots.
Hand sanitizer is not a reliable anti-fog for camera lenses. The alcohol can strip lens coatings over time, and the moisturizers and fragrances leave residue that scatters light. Use an optics-grade anti-fog wipe or the diluted baby-shampoo soap-film method instead.
Yes, anti-fog wipes made for goggles, safety glasses, or optics are safe on modern multi-coated and nano-coated camera lenses. They evaporate cleanly, leave a clear surfactant film, and last about a day per application. Avoid generic household wipes, which may contain lotions or solvents that damage coatings.
Bring the camera into a dry, room-temperature environment, leave the lens cap off, and let the temperature equalize gradually for 15-30 minutes. Use a rocket blower to speed evaporation, and lightly dab with a microfiber cloth — never rub, never use compressed air, and never wipe with a shirt or tissue. Internal fog can take several hours to clear on its own.
If you take one thing from this guide on how to prevent camera lens fog in cold weather, let it be this: no single technique is bulletproof, but layering two or three covers almost every situation. For a casual winter walk, the zip-lock bag plus a soap-film treatment is enough. For a full day shooting in the mountains, add a lens warmer and a lens hood. For street photographers bouncing between cafes and cold streets, the 60-second body-heat transition is the trick that actually saves the shoot.
I’ve wasted more cold-weather shoots to fog than to anything else, and every one of those failures was preventable. Use the techniques that fit your style, carry a silica packet, and respect the physics of dew point — and your 2026 winter photography will look as crisp as your summer work.