8 Best Rifle Scope Bubble Levels (September 2026)
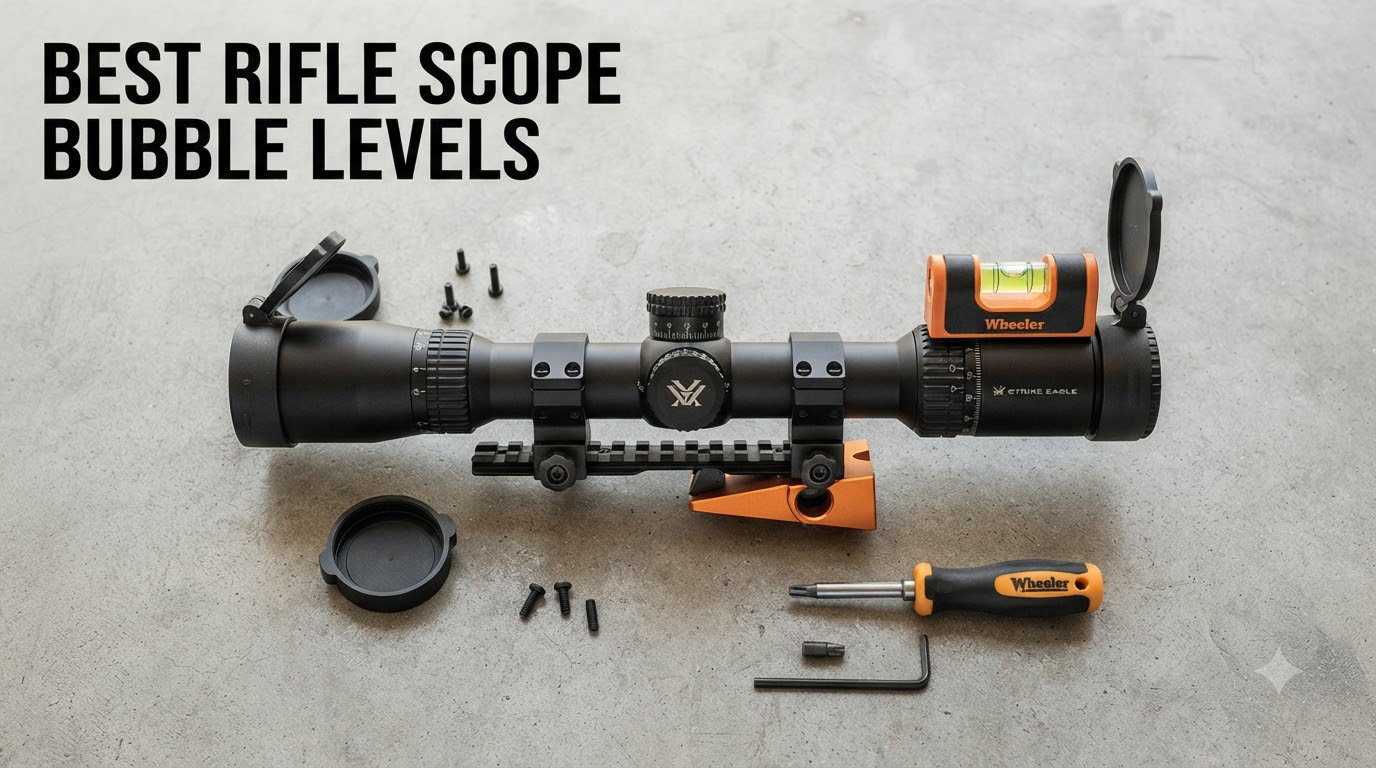
I lost a whitetail at 412 yards last fall because of something I couldn’t see through my scope. A subtle…

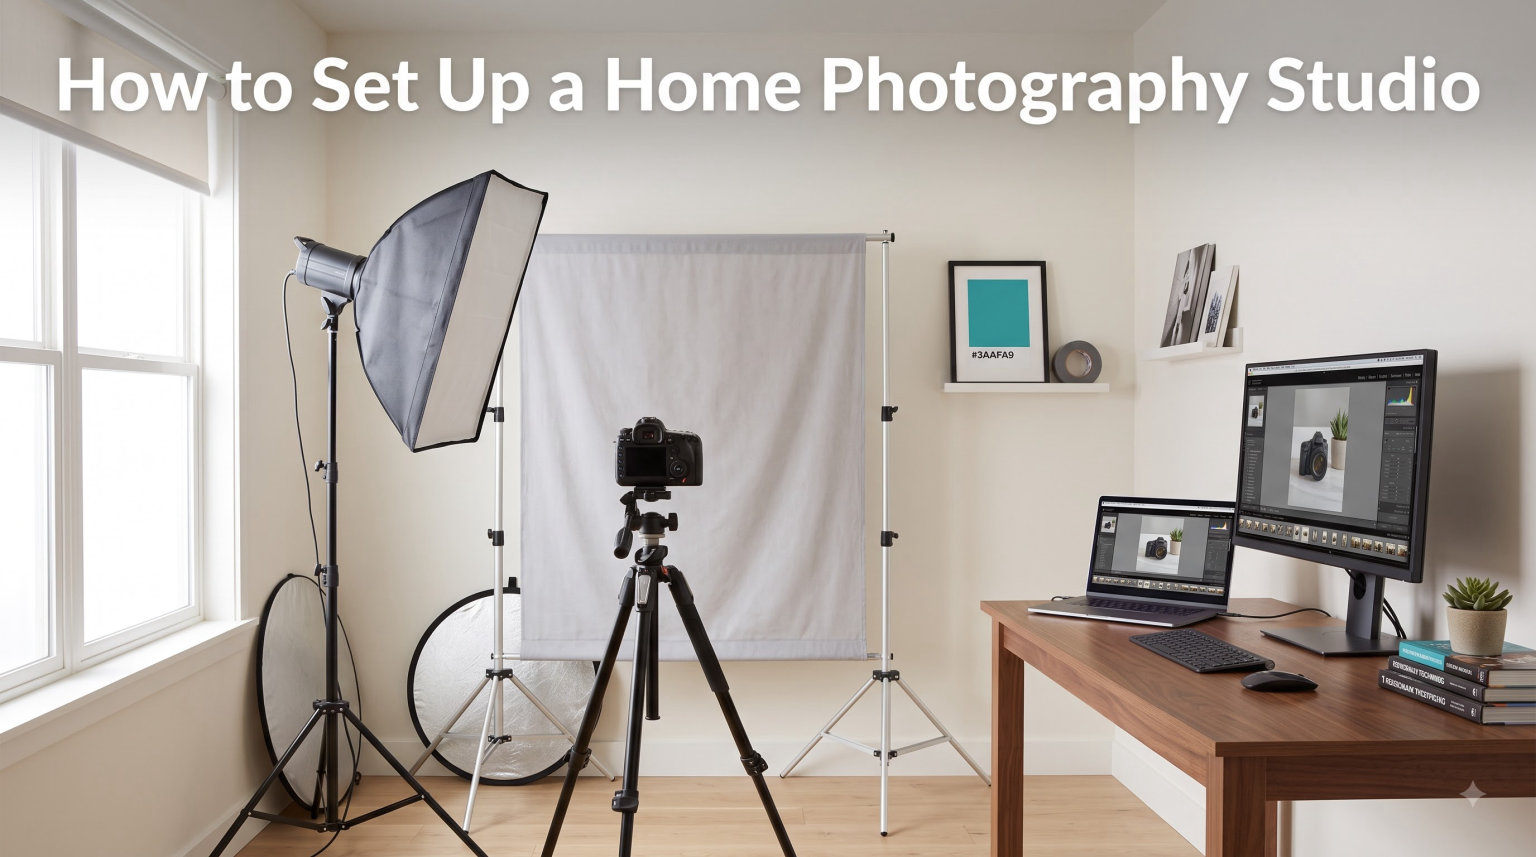
I built my first home photography studio in the corner of a 10×10 spare bedroom with two clip lights, a white bedsheet, and a folding table. The portraits were rough. But after two years of testing, swapping gear, and refining the layout, that same corner now produces images I happily deliver to paying clients. This guide shares everything I learned so you can skip the early frustrations and build a working home photography studio setup in 2026 without overspending.
Whether you shoot products for an Etsy shop, want better portraits of family, or are launching a content creator career, a home studio gives you full control of lighting, background, and timing. You stop chasing golden hour and start creating it on demand.
A home photography studio is a dedicated space inside your residence where you control lighting, background, and environment to capture professional-quality images on a consistent schedule. The space can be a full room, a converted garage, a corner of the living room, or even a closet repurposed as a light tent station.
The word “studio” often implies expensive gear, but the definition is simpler than that. A studio is any setup where the lighting, background, and subject distance are repeatable. Once you can produce the same look twice, you have a studio.
Who actually needs a home studio? I have seen four groups get the most out of one. E-commerce sellers photographing products, content creators producing video and stills, hobbyist portrait shooters, and small business owners who need reliable brand imagery for websites and social. If any of those describe you, the investment pays back fast compared to renting space every shoot.
The best space for a home photography studio is the largest room with the fewest windows. Windows are tricky because they flood the room with variable light, which fights your controlled lighting setup. North-facing windows in the northern hemisphere are the one exception because they produce softer, more even daylight.
For a single subject like products or headshots, a 10×10 foot area is enough. For full-body portraits, aim for at least 12×15 so you can stand back six to eight feet and still leave room behind the subject for lighting stands and modifiers. Ceiling height matters too. Anything under 8 feet makes overhead light placement awkward, and you will constantly clip the top of your subject’s head when shooting portraits.
Three practical space tips from my own setups. First, paint walls matte white or hang black fabric if you want light absorption. Glossy or colored walls bounce unwanted color into your shots. Second, look up and check the ceiling for fans and fixtures that will show in wide shots. Third, measure the distance between the wall your backdrop will hang on and where you want to stand. That distance is your shooting zone and it determines what lens choices you have.
You can run a working home photography studio with five core items. Camera and lens, two lights with stands, a backdrop stand with one backdrop, a tripod, and a tether or remote for shake-free capture. Everything else is an upgrade.
Here is the gear I tell beginners to start with.
Nice-to-have additions include a light tent for small products, a reflector kit (white, silver, gold), a gray card for white balance, and a softbox or two for softer light on faces. None of these are mandatory on day one. I added softboxes in month four and a reflector in month two, and that order was fine.
Lighting is where most home photographers overthink. The setup is straightforward once you know the role of each light. The key light shapes the subject, the fill light softens shadows on the opposite side, and the backlight or rim light separates the subject from the background.
The first decision is continuous versus flash. Continuous lighting means what you see is what you shoot. LED panels let you preview the shadow pattern in real time, which is invaluable when you are learning. Flash, whether speedlight or studio strobe, delivers more power and freezes motion better, but it requires test shots and learning manual exposure. For beginners, I recommend continuous LED panels. You can shoot video with the same setup, which makes the gear earn its keep twice.
Once you have lights, the next choice is modifiers. A softbox spreads the light into a softer, larger source that wraps gently around the subject. A beauty dish gives crisp, contrasty light popular in fashion and beauty portraits. A ring light produces the signature circular catchlight in eyes and is a favorite for beauty content. For products, a light tent diffuses light from all sides and removes harsh shadows almost entirely.
Here is a simple three-step lighting setup that works for most subjects. Step one: place your key light at a 45-degree angle to the subject, slightly above eye level. Step two: place the fill light opposite the key, lower and closer to the camera axis, dimmed by one or two stops compared to the key. Step three: place a rim light behind the subject aimed at the shoulders and hair to separate them from the background. Adjust distances until shadows look natural rather than harsh or flat.
Your background sets the entire mood of the image. The three most common choices for a home photography studio are seamless paper, muslin fabric, and vinyl rolls. Each has clear strengths.
Seamless paper is the industry standard for product photography. It comes in wide rolls, hangs on a backdrop stand, and unrolls smoothly onto the floor to create an infinite curve with no visible seam. It also catches the occasional coffee spill without ruining the image. Muslin fabric is cheaper and portable, but it wrinkles easily and you will spend time steaming. Vinyl reflects a slight sheen and wipes clean, which is great for food and messy products.
For portraits, a simple painted wall or solid curtain works fine. White walls give a clean high-key look. Dark walls produce dramatic low-key portraits. Keep at least three solid colors on hand: white, gray, and black. If you shoot products, pick neutral gray because it plays nicely with most subjects without competing for attention.
A budget DIY option I have used is a matte white poster board leaned against a chair, taped to a wall, or clipped to a backdrop stand. For smaller items, a sheet of white foam core from a craft store gives the same effect for almost nothing.
For a home photography studio setup, the lens matters more than the camera body. Lenses determine sharpness, how much of the scene fits in the frame, and how blurry or sharp the background looks. Camera bodies mostly determine sensor size, dynamic range, and autofocus speed.
For portraits in a home studio, a 50mm f/1.8 prime lens is the classic starting point. It produces flattering perspective on the face, lets you shoot in lower light, and costs very little. A 70-200mm telephoto zoom is the upgrade path for tighter, more compressed portraits with creamy background blur, but it requires more shooting distance and costs more.
For product photography, a 24-70mm zoom or a 60mm or 100mm macro lens is the usual choice. Macro lenses let you get very close to small items like jewelry, watch faces, and electronics. Set your camera to manual mode once you settle on a lighting setup. Pick an aperture around f/8 for products so everything is sharp, and f/2.8 to f/4 for portraits so the background blurs.
Two camera settings to lock down early. First, shoot in RAW so you have maximum editing flexibility. Second, set a custom white balance using a gray card under your studio lights. Auto white balance will drift as your lights warm up, and a custom setting keeps colors consistent across an entire shoot.
The total cost of a home photography studio varies wildly based on what you already own and what you shoot. I have built setups for clients ranging from just over a hundred dollars to several thousand. Here are three realistic tiers based on what I have seen work.
Starter budget (around $300-$500): One used DSLR or older mirrorless body, a 50mm f/1.8 lens, two small LED panels with stands, a basic backdrop stand with a muslin backdrop, and a sheet of foam core. This setup handles headshots, small product photography, and YouTube talking heads with ease.
Mid-range budget (around $900-$1,500): A current mid-tier mirrorless camera, a 24-70mm f/2.8 zoom lens, two continuous LED panels around 100 watts each, two softboxes, a reflector kit, and a vinyl or paper backdrop with a sturdy stand. This is the level where portraits and products start to look truly professional.
Pro tier (around $2,500 and up): A full-frame flagship body, prime lens kit including 35mm, 50mm, and 85mm, two or three studio strobes with modifiers, a full backdrop stand with multiple paper rolls, a tethered capture setup, and post-processing software like Capture One or Lightroom. You can recover the cost of this setup in months if you shoot paying clients.
Money-saving tip from experience. Buy the lens first, lights second, camera last. Lenses keep their value for decades. Camera bodies lose half their resale value in three years. If you already own a camera, spend your budget on glass and lighting first.
If you live in an apartment, you can still build a working home photography studio. I have set up portrait stations in 8×8 bedrooms, garage corners, and even walk-in closets. The trick is to design vertically and temporarily. Use backdrop stands that fold flat against a wall when not in use. Mount lights on wall-mounted boom arms or use light stands with small footprints. Store gear in labeled bins behind a curtain or under a bed.
For ultra-small spaces, a tabletop product studio works. A light tent about 24 inches square, two small LED panels, and a sheet of white cardstock turn any desk into a product photography station. This setup is what I use for photographing small items like watches, cosmetics, and accessories, and it produces client-ready images for under $200 total.
If you also shoot video in the same space, add a few sound treatment touches. Hang moving blankets on the walls behind the subject to absorb echo. Place a soft rug on the floor. Close any windows to reduce outside noise bleed. These small steps transform echoey audio into usable sound without buying expensive foam panels.
One final thought on small space studios. Resist the urge to buy more gear. Most small space problems come from too many stands and modifiers in a tight room, not too few lights. Edit ruthlessly, keep only what you use, and your small space will feel twice as big.
You need five core items to set up a working home photography studio: a camera body with a lens, two lights with stands, a backdrop stand with one backdrop, a tripod, and either a remote release or tether cable. Optional but useful additions include softboxes, reflectors, a light tent for small products, and a gray card for accurate white balance. Most beginners can start with used or entry-level versions of these items and upgrade over time.
A starter home studio setup runs roughly $300 to $500 if you buy used gear, covering a camera, a 50mm lens, two LED lights, a basic backdrop stand, and a tripod. Mid-range setups with better lenses and continuous LED panels fall around $900 to $1,500. Professional setups with full-frame cameras, studio strobes, and multiple backdrops start around $2,500. You can reduce costs by using DIY backdrops like foam core or painted walls and starting with continuous LED lighting instead of strobes.
The best home studio space is the largest room with the fewest windows. North-facing windows are acceptable because they provide soft, even daylight, but other window orientations flood the room with variable light that fights your controlled lighting. Aim for at least 10×10 feet for products and headshots, and 12×15 feet or more for full-body portraits. Ceilings under 8 feet make lighting placement awkward. Paint walls matte white or use black fabric for absorption.
Set up a three-point lighting system. Place the key light at a 45-degree angle to the subject, slightly above eye level. Place the fill light opposite the key, lower and closer to the camera axis, dimmed by one or two stops. Place a rim light behind the subject aimed at the shoulders and hair to separate them from the background. Continuous LED panels are best for beginners because you can preview the light pattern in real time.
Seamless paper rolls are the industry standard for product photography because they create a smooth infinite curve and are easy to clean. Muslin fabric is portable and affordable but wrinkles easily. Vinyl reflects slightly and wipes clean, making it ideal for food or messy products. For portraits, a painted wall or solid curtain in white, gray, or black works perfectly. A foam core sheet from a craft store is the cheapest DIY option for small items.
Building a home photography studio is more about decisions than dollars. Pick the right space, choose two lights over five, invest in a good lens before a fancy camera, and keep your backdrop simple. Once those pieces are in place, your home photography studio setup will deliver consistent, professional results in 2026 and beyond.
Start with the smallest setup that solves your actual problem, then upgrade one piece at a time as your needs grow. The most important step is the first shoot. Pick a corner, hang a sheet, and start capturing.