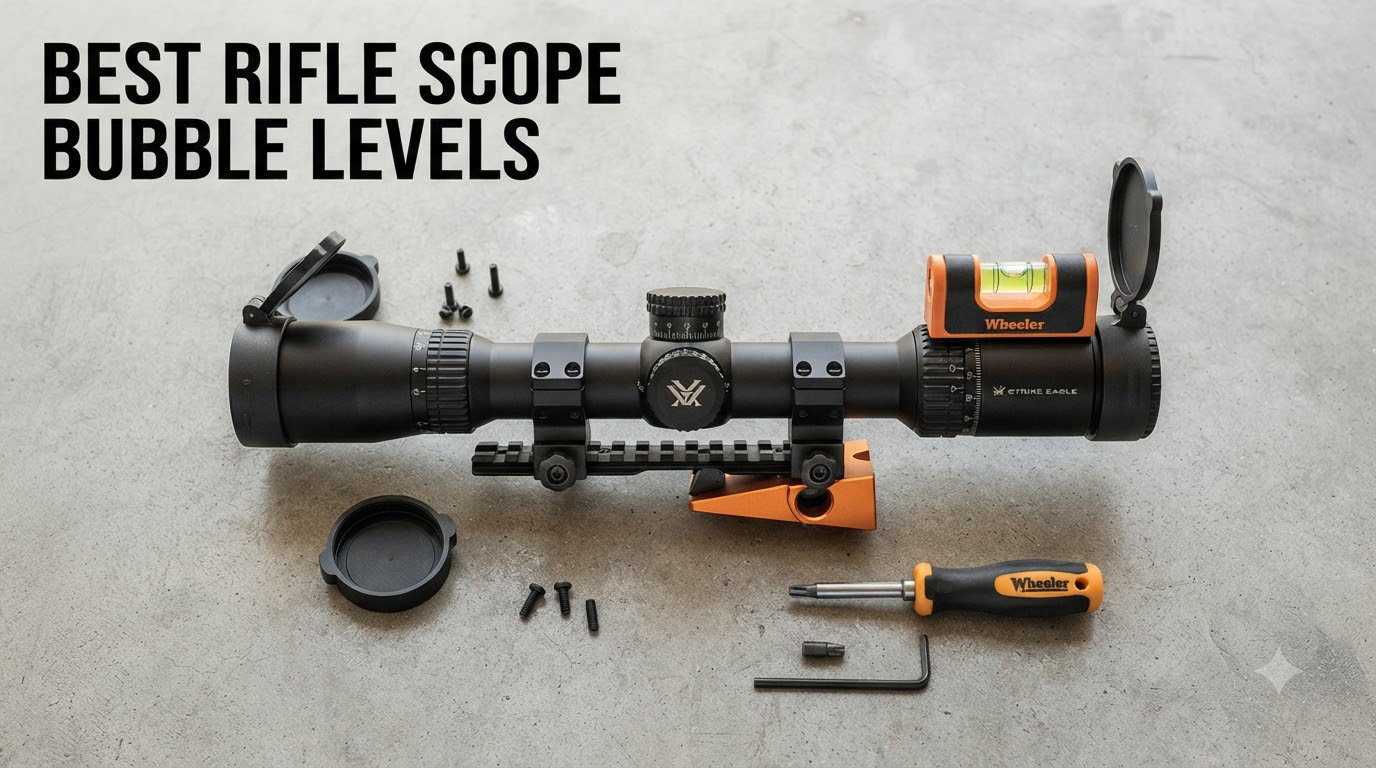
8 Best Rifle Scope Bubble Levels (September 2026)
I lost a whitetail at 412 yards last fall because of something I couldn’t see through my scope. A subtle…

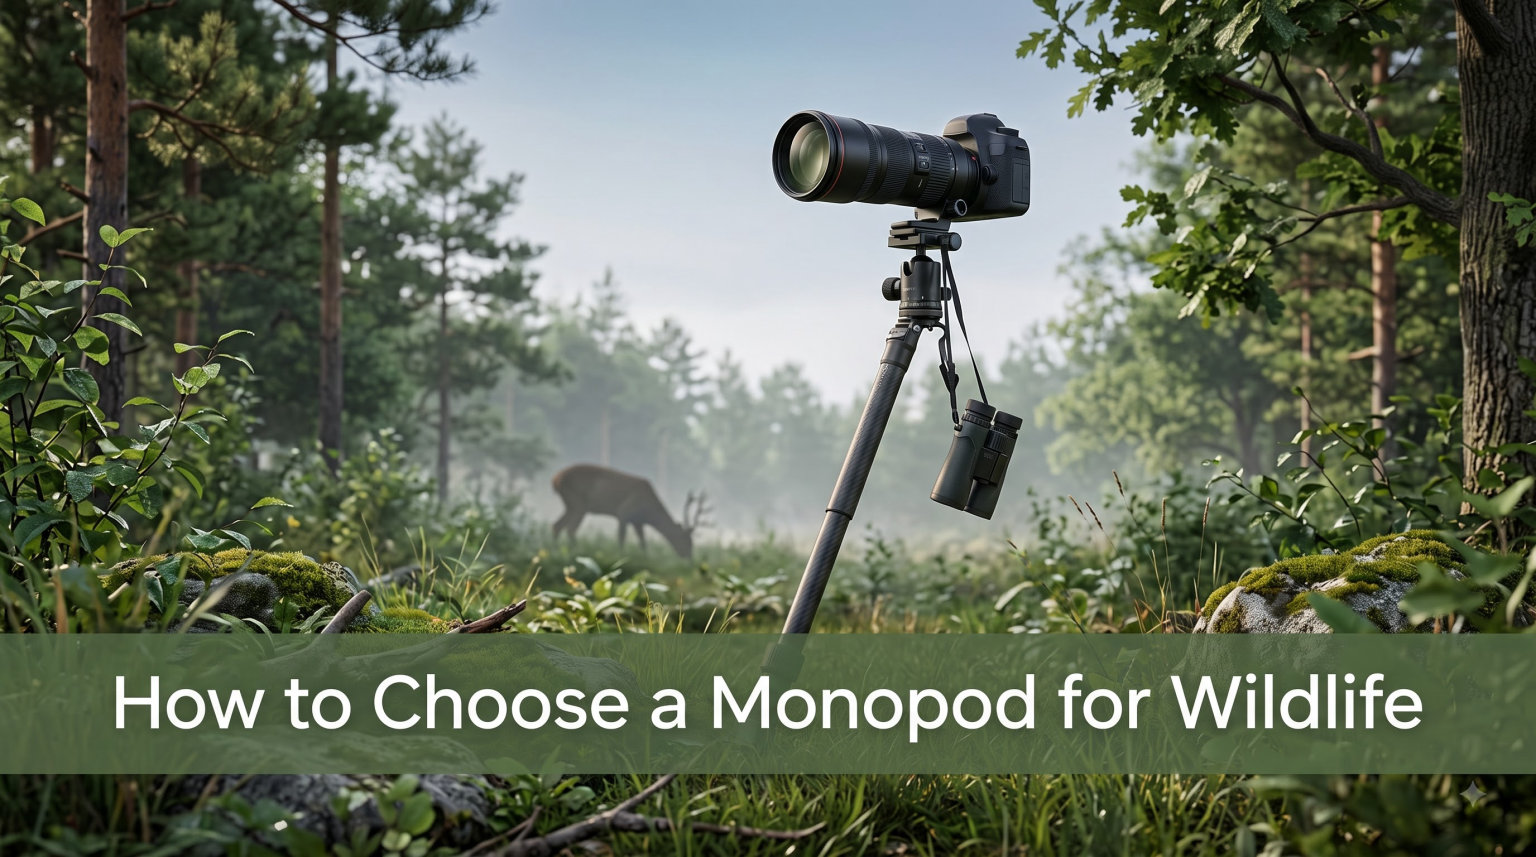
I still remember the morning my arms gave out. I had been tracking a pair of red foxes for nearly two hours with a 600mm lens balanced on my fingertips, and by the time one finally paused in good light, my shutter speed was fine but my arms were shaking enough to soften every frame. That was the day I started taking monopods seriously.
If you are searching for how to choose a monopod for wildlife, you are probably in the same place I was. You know you need support for heavy telephoto glass, but a full tripod feels like overkill when the subject keeps moving. Our team has spent the last three years shooting birds, mammals, and safari subjects with eight different monopods across four continents. This guide is the decision framework I wish someone had handed me on that cold morning with the foxes.
A monopod is a single-legged camera support that gives you one stable point of contact with the ground. Unlike a tripod, it does not stand on its own; you hold it. In return, you get faster setup, smaller footprint, and far better mobility than a tripod can offer.
For wildlife specifically, a monopod solves three problems at once. First, it cuts camera shake by 2 to 3 stops with heavy telephoto lenses, which means you can shoot at lower ISOs or wider apertures. Second, it lets you pan and track moving animals without the resistance of three locked legs. Third, it folds away in seconds when a subject bolts, so you never miss a frame wrestling with gear.
I have used monopods to photograph perched owls at 800mm, wading herons in marsh mud, and leopards from a safari cruiser. In every case, the monopod gave me stability I could not get handheld and mobility I could never get from a tripod.
Reduces camera shake with heavy lenses (typically 2-3 stops). Sets up in under 10 seconds. Weighs roughly half of a comparable tripod. Fits in or alongside most camera bags. Costs less than a tripod of equal build quality.
The short answer is that a tripod wins for static subjects and long exposures, while a monopod wins for moving wildlife, tight spaces, and travel. Most wildlife photographers end up carrying both and choosing based on the situation.
| Feature | Tripod | Monopod |
|---|---|---|
| Stability | Excellent (3 fixed points) | Good (1 point + your grip) |
| Mobility | Limited; bulky to move | Excellent; walks with you |
| Setup time | 30-60 seconds | 5-10 seconds |
| Footprint | Wide; can disturb wildlife | Tiny; almost invisible |
| Weight (typical) | 1.5-3 kg | 0.4-1 kg |
| Best for | Static perches, low light, long lenses stationary | Tracking, hiking, vehicle work, dense brush |
| Cost (similar quality) | Higher | Lower |
A reader on the r/wildlifephotography subreddit put it well: monopods are great for quick setup, small footprint, and versatility where you do not have a lot of room for a tripod. I agree completely. Tripods still earn a spot in my kit for static subjects and slow shutter work, but the monopod is what I reach for 80% of the time in the field.
It does not stand alone, so you must hold or lean it at all times. It cannot lock down a composition for long exposures below 1/30s reliably. It offers no wind protection beyond your body. And if you drop it, the camera goes with it. These are real limitations worth weighing before you buy.
Choosing a monopod for wildlife photography comes down to matching the support to your lens, your body, and your shooting style. These are the seven factors I check first.
Add up the weight of your camera body, lens, hood, and any teleconverter. Then add 30%. That is your minimum load capacity. A Canon R5 with a 500mm f/4 typically weighs around 3.2 kg combined, so I look for monopods rated for at least 4 kg to leave a safety margin. Underrating load capacity is the single fastest way to destroy a monopod leg lock.
If you hike more than 2 km with your gear, every 100 g matters. Carbon fiber monopods usually weigh 0.4-0.7 kg; aluminum models land between 0.7-1.2 kg. I carry carbon on long hikes and aluminum on short roadside sessions without thinking about it.
The monopod should reach roughly to your chin when fully extended, so you can use it without bending your elbows. For a 6 ft (183 cm) photographer, that means a maximum height of at least 165 cm. A shorter monopod forces you to crouch, which destroys stability and your back.
This matters more than most guides admit. A monopod that folds to 50 cm fits inside many backpacks; one that folds to 75 cm usually has to ride outside. For airline carry-on, look for a folded length under 55 cm to be safe.
Four sections give a better folded-to-extended ratio but more joints to potentially fail. Five sections collapse smaller but feel slightly less rigid. Twist locks are quieter in the field and more reliable long-term; flip locks deploy faster but can loosen with use. For wildlife, I prefer twist locks because the last thing I want is a leg slipping while a fox is mid-pounce.
Rubber feet work on hard surfaces and are quiet. Spike feet grip mud, snow, and soft soil. The best wildlife monopods offer interchangeable feet, so you can swap based on terrain. Many photographers I respect use a removable spike with a rubber cap for everyday work.
A padded wrist strap saves your hands during long sessions. Some monopods add a shoulder sling loop. Skip monopods without a strap system; you will feel the difference after hour two.
The monopod head matters as much as the monopod itself. The wrong head turns your support into a wobble machine; the right head makes 600mm feel manageable. Here is how the three main options stack up for wildlife work.
| Head Type | Best For | Strengths | Weaknesses |
|---|---|---|---|
| Ball Head | General wildlife, mammals, varied subjects | Compact, fast adjustments, works for landscape too | Less precise for tracking fast-moving birds |
| Gimbal Head | Bird photography, heavy telephotos, fast action | Balances lens weight, smooth tracking, locks subject in place | Bulky, more expensive, single-purpose |
| Tilt Head (Pan/Tilt) | Video, slow pans, vertical compositions | Simple, reliable, good for static perched birds | Limited fine control for fast action |
For most wildlife photographers reading this, a quality ball head is the right starting point. It handles 80% of situations, costs less, and weighs less. If you shoot birds in flight or use lenses above 400mm, a gimbal head (Wimberley, Benro GH, or similar) is worth the investment. The trade-off is bulk; you cannot shrink a gimbal, but your arms will thank you during a six-hour owl session.
One community member nailed the head question: in my experience, monopods with a good ball head are the way to go. Make sure you get a monopod that is taller than you so you do not need to bend. I agree on both counts.
Birds in flight or perched songbirds at 500-800mm: gimbal head. Mammals at 200-400mm that hold still briefly: ball head. Safari vehicle work at any focal length: ball head with quick-release plate. Cold-weather shooting with gloves: ball head (easier to operate). Mixed wildlife and landscape trips: ball head.
Material choice affects weight, vibration, cold performance, and price. There is no universally right answer; there is a right answer for your shooting style.
| Factor | Carbon Fiber | Aluminum |
|---|---|---|
| Weight | 30-40% lighter | Heavier |
| Vibration damping | Better; absorbs micro-tremors | Stiffer; transfers more shake |
| Cold weather | Slightly colder to touch; performs well | Cold to grip but very durable |
| Durability | Strong but can crack on hard impact | Bends or dents; rarely catastrophic |
| Cost | Usually 1.5-2x aluminum price | Budget-friendly |
| Best for | Hiking, travel, long field days | Roadside, vehicle work, occasional use |
If you hike to your subjects more than 1 km, pay extra for carbon fiber. The weight savings are real and your knees will appreciate them by year three. If you primarily shoot from a vehicle or hide, aluminum gives you 90% of the performance at 60% of the price. Cold-weather shooters sometimes prefer aluminum because it handles abuse better if you bump a frozen leg against something.
The best way to think about monopods is by scenario. Here is the framework I use when deciding whether to grab the monopod, the tripod, or just my camera.
You are standing on pavement next to your car. Subject is 30-100m away. Tripod is overkill because you can lean against the vehicle for stability. Monopod is perfect: faster setup, easier to swing the lens, less obtrusive to passing wildlife.
You are moving slowly through vegetation following a skittish animal. A tripod would snag on every branch and announce your presence. A monopod slips through, lets you shoot from awkward angles, and packs away in one motion when the animal bolts.
Multi-kilometer approach with a 500mm or 600mm. The monopod acts as a walking stick that happens to support your camera. Hands-free hiking, instant shooting position when you stop. This is the use case experienced wildlife photographers most consistently call out.
From an open safari vehicle, stability comes from the vehicle itself. A monopod adds 1-2 stops of sharpness without the bulk of a tripod. Ball head on a monopod is the standard setup here.
Twist-lock monopods with spike feet thrive here. A tripod with three splayed legs in mud is a nightmare; a monopod sinks one point and keeps working. Look for sealed leg locks if you regularly shoot rain or snow.
Most airlines allow monopods as carry-on if they collapse under 55-60 cm. Carbon fiber monopods are the easiest to fit. Some brands offer travel-specific models that fold to 40 cm. Check your airline before you fly; gate agents have turned away oversized monopods.
You can find a usable monopod at almost any budget, but quality scales in noticeable ways. Here is what I have seen across the price tiers.
Aluminum construction, 4-5 sections, basic flip or twist locks, rubber foot. Load capacity typically 4-6 kg. Suitable for kit lenses and entry telephotos up to 300mm. Brands like Amazon Basics, Neewer, and some entry Manfrotto models sit here. A community member summed it up: go cheap. A $60 monopod will fold up out of your way. It does not weigh much. You can add a strap and carry it over your shoulder. That is solid advice if you are starting out.
Carbon fiber options appear, locks get noticeably better, load capacity climbs to 8-10 kg. This is the sweet spot for most wildlife photographers. Brands like Sirui, Benro, iFootage, and 3 Legged Thing dominate this range. A 3 Legged Thing carbon monopod with a 500 f/4 and extenders is a known-good combination in the community.
Top-tier carbon fiber, magnesium castings, sealed leg locks, advanced foot systems, maximum heights above 180 cm. Brands like Gitzo, Really Right Stuff, and high-end Manfrotto. Worth it if you shoot every weekend, carry flagship glass, or need absolute reliability in harsh conditions. For occasional use, you are paying for build quality you may never notice.
These are the issues I see most often when photographers ask about monopod choices online, including several I made myself.
Maximum height below your chin means constant bending and tired arms. Always check the maximum height before you buy, with all sections extended and the head mounted.
A monopod rated for 4 kg will feel unstable with a 5 kg setup. The leg locks loosen over time when overloaded. Add 30% to your actual gear weight when reading specs.
Flip locks work great in studios but can stick or slip with ice, mud, or grit. Twist locks handle abuse better. Many wildlife photographers regret buying flip locks after one winter.
A great monopod with the wrong head is a waste of money. Budget for a quality ball head or gimbal head at the same time. Skimping on the head undermines the entire support system.
Rubber feet slip on wet rock or moss. Spikes sink in soft mud but scratch wooden safari decks. Look for monopods with interchangeable feet or a foot that can be adapted with standard spikes.
Some monopods exceed 60 cm folded and must be checked. Others count as restricted items in certain regions. Confirm before you fly.
The lock is the most stressed part of any monopod. Cheap locks fail first. If the locks feel gritty or hard to tighten in the store, walk away.
The best monopod for wildlife photography depends on your lens weight, but a carbon fiber model rated for at least 5 kg, with twist locks and a maximum height above your chin, is the right starting point. Brands like 3 Legged Thing, Sirui, Benro, Gitzo, and Really Right Stuff consistently perform in the field. Match load capacity to your heaviest lens plus 30% for safety.
Yes. Monopods are excellent for wildlife photography because they combine stability with mobility. A monopod typically reduces camera shake by 2-3 stops with heavy telephoto lenses, sets up in 5-10 seconds, and lets you track moving animals without the bulk of a tripod. Most working wildlife photographers carry one as their primary support.
To choose a monopod, follow these steps: 1) Calculate your heaviest camera plus lens weight and add 30% for minimum load capacity. 2) Decide on carbon fiber for hiking or aluminum for vehicle work. 3) Confirm maximum height reaches at least to your chin. 4) Pick twist locks for reliability or flip locks for fast deployment. 5) Match the head type to your subject: ball head for general wildlife, gimbal head for bird photography. 6) Check folded length if you fly with it.
For most wildlife photography, a monopod is better because wildlife is rarely static. A monopod offers faster setup, smaller footprint, lighter carry weight, and easier tracking of moving subjects. A tripod is better only for stationary subjects, low-light long exposures, or video work. Many wildlife photographers carry both and choose based on the scene.
The main disadvantages of a monopod are: it does not stand alone so you must always hold it, it cannot reliably support exposures below 1/30 second, it provides no wind protection, and if you drop it the camera falls with it. A monopod also cannot lock a composition in place for self-timer or remote shooting the way a tripod can.
If you hike with heavy telephoto glass, choose a carbon fiber monopod in the $150-$300 range, rated for at least 5 kg, with twist locks and a ball head. Brands like 3 Legged Thing, Sirui, and Benro deliver in this bracket.
If you shoot mostly from a vehicle or roadside, an aluminum monopod with a quality ball head will save you money and serve you well. Skip the gimmicks and focus on lock quality.
If you shoot birds in flight with a 500mm or longer, add a gimbal head to your monopod setup. The combination of monopod mobility and gimbal tracking is the standard for serious bird photography.
Whichever you pick, the goal is the same: a monopod that disappears into your workflow, gives you 2-3 stops of extra sharpness, and lets you focus on the animal instead of the gear. That is the right answer to how to choose a monopod for wildlife, and it is the question I am glad I finally answered for myself.