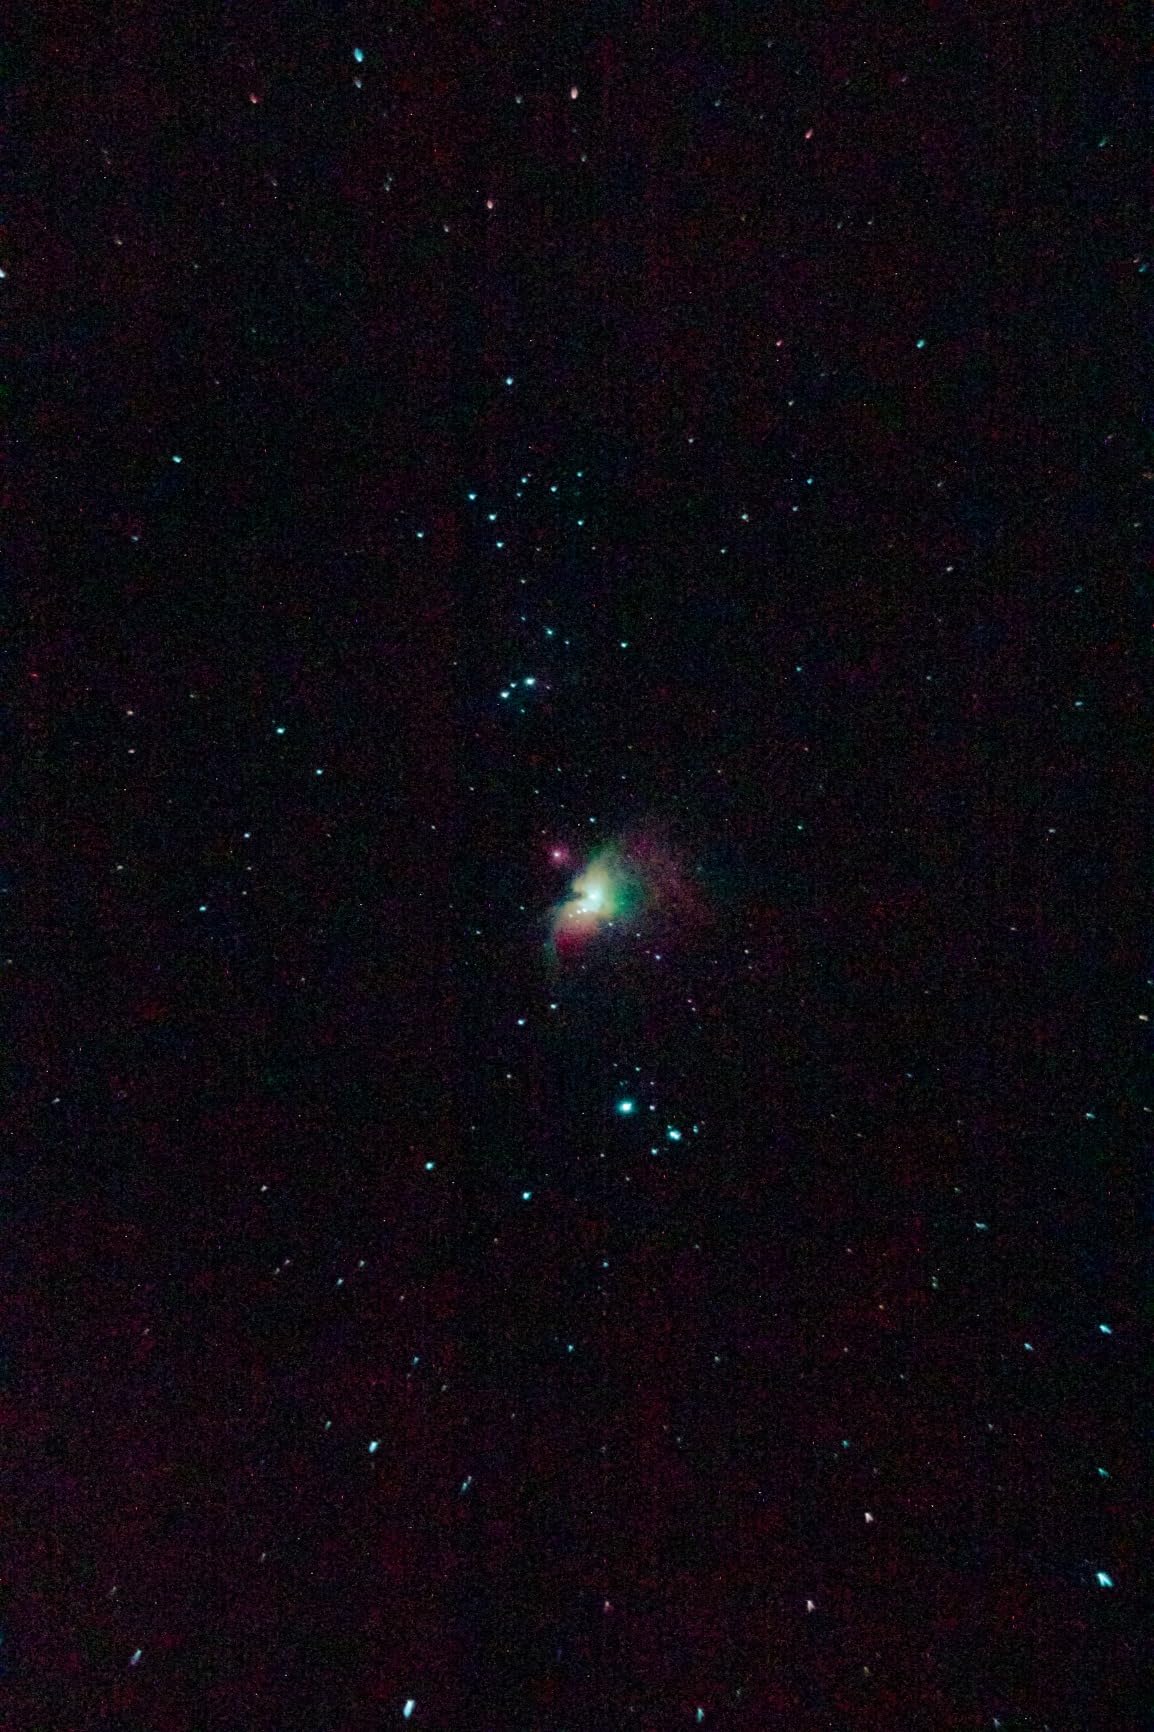
How to Take Photos Through a Telescope: Complete Guide 2026
David Johnson
February 9th, 2026
Table Of Contents
Three years ago, I stood in my backyard with a smartphone and a telescope, trying to capture the moon’s craters. My first attempt was a blurry mess. The phone kept slipping off the eyepiece, and I couldn’t figure out the settings. After two hours of frustration, I managed one usable shot. That single photo hooked me.
Since then, I’ve tested dozens of adapters, cameras, and techniques. I’ve spent nights in freezing temperatures figuring out why my images were blurry, and I’ve learned what actually works versus what people claim works. This guide cuts through the confusion.
How to Take Photos Through a Telescope?
To take photos through a telescope, you need three things: a way to attach your camera to the eyepiece, the right camera settings, and patience. Start with the afocal method (holding your phone over the eyepiece) for free, then upgrade to a T-adapter for DSLR cameras or a smartphone adapter for consistent results.
Easiest Method: Afocal photography with smartphone adapter
Best Quality: Prime focus method with T-adapter and DSLR
Essential Accessory: Remote shutter to eliminate shake
There are three main methods to take photos through a telescope. Afocal photography points your camera into the eyepiece like your eye would. Prime focus removes the camera lens and uses the telescope as a giant lens. Eyepiece projection adds magnification between telescope and camera. Each has advantages depending on your target and budget.
Essential Equipment for Telescope Photography
You don’t need thousands of dollars to get started. I’ve captured decent images with equipment costing under $150. The key is understanding what each piece does and buying smart.
Quick Summary: For smartphone photography, you need a smartphone adapter. For DSLR cameras, you need a T-adapter specific to your camera brand and a T-ring. For longer exposures, a tracking mount becomes essential. Light pollution filters help if you live near cities.
Smartphone DSLR/Mirrorless Point & Shoot
Camera Options
Modern smartphones are surprisingly capable for lunar and planetary photography. Their small sensors actually help with planetary imaging. DSLRs and mirrorless cameras provide better quality for deep sky objects but require more investment. Point-and-shoot cameras fall somewhere in between but offer limited control.
Adapters and Connection Methods
Smartphone adapters clamp onto your eyepiece and hold your phone in position. T-adapters connect DSLRs directly to your telescope focuser. Universal camera adapters work with various cameras but add complexity. The key is matching your connection method to your camera type.
Recommended Equipment
1. Celestron NexYZ DX – Best Smartphone Adapter Overall
This post contains affiliate links. CERTAIN CONTENT THAT APPEARS ON THIS SITE COMES FROM AMAZON. THIS CONTENT IS PROVIDED 'AS IS' AND IS SUBJECT TO CHANGE OR REMOVAL AT ANY TIME.
Eyepiece Range 35-60mm
Weight 10 oz
Features 3-Axis + Remote
The NexYZ DX solves the biggest problem with smartphone astrophotography: alignment. Its patented three-axis adjustment system lets you center your phone’s camera over the eyepiece in seconds. I’ve tested six different smartphone adapters, and this one’s Z-axis adjustment is unique to Celestron.
Customer submitted photo
Customer photos show the adapter’s robust construction in action. The metal frame provides stability while the polymer body keeps weight down. This combination matters during long observing sessions when equipment fatigue sets in.
Performance Breakdown
Build Quality 8.5/10
Phone Compatibility 9.5/10
Ease of Alignment 9.0/10
Value for Money 8.0/10
The included Bluetooth remote eliminates camera shake completely. This matters more than you might think. Even touching your phone’s screen creates vibration that ruins lunar and planetary detail. User-submitted photos reveal the sharpness difference between handheld and remote-triggered shots.
Customer submitted photo
Reasons to Buy:
Universal compatibility with iPhone, Samsung, and Pixel phones
Works with most phone cases, no need to remove protection
3-axis adjustment system for precise alignment
Bluetooth remote included for shake-free operation
Fits telescope eyepieces from 35mm to 60mm in diameter
Reasons to Avoid:
Z-axis can feel slightly loose with heavier phones
Clamp width may not fit narrow binocular eyepieces
Adjustment knobs difficult to use in complete darkness
View on Amazon
We earn a commission, at no additional cost to you. CERTAIN CONTENT THAT APPEARS ON THIS SITE COMES FROM AMAZON. THIS CONTENT IS PROVIDED 'AS IS' AND IS SUBJECT TO CHANGE OR REMOVAL AT ANY TIME.
2. Celestron 93625 T-Adapter – Essential for DSLR Astrophotography
This post contains affiliate links. CERTAIN CONTENT THAT APPEARS ON THIS SITE COMES FROM AMAZON. THIS CONTENT IS PROVIDED 'AS IS' AND IS SUBJECT TO CHANGE OR REMOVAL AT ANY TIME.
Fitting 1.25 inch
Weight 0.32 oz
Compatibility Universal T-thread
This T-adapter is the bridge between your telescope and DSLR camera. It slides into any 1.25 inch focuser and provides T-threads for attaching your camera-specific T-ring. The simple design has remained largely unchanged for decades because it works.
Customer submitted photo
I’ve used this adapter with Canon, Nikon, and Sony cameras. It performs identically across all brands because the T-thread connection is standardized. Real-world images from buyers show the sharpness achievable with this straightforward connection method.
Prime Focus Astrophotography: A method where the camera lens is removed and the telescope acts as the camera lens. The telescope’s focal plane becomes the camera’s sensor plane, providing the widest field of view and best image quality.
The adapter’s internal threading allows you to add filters between telescope and camera. This placement is ideal for light pollution filters because it reduces filter size requirements and prevents dust from settling on your camera sensor.
Customer submitted photo
Reasons to Buy:
Universal fit for any telescope with 1.25 inch focuser
Works with any DSLR/SLR camera (with appropriate T-ring)
Simple, reliable design with excellent durability
Allows filter usage inside the adapter
Essential for prime focus lunar and planetary photography
Reasons to Avoid:
Not directly compatible with many Newtonian reflectors
Requires purchase of camera-specific T-ring
Some telescopes may not achieve focus without additional accessories
DSLR Owners Prime Focus Lunar & Planetary
View on Amazon
We earn a commission, at no additional cost to you. CERTAIN CONTENT THAT APPEARS ON THIS SITE COMES FROM AMAZON. THIS CONTENT IS PROVIDED 'AS IS' AND IS SUBJECT TO CHANGE OR REMOVAL AT ANY TIME.
3. iEXOS-100-2 PMC-Eight – Best Beginner Tracking Mount
This post contains affiliate links. CERTAIN CONTENT THAT APPEARS ON THIS SITE COMES FROM AMAZON. THIS CONTENT IS PROVIDED 'AS IS' AND IS SUBJECT TO CHANGE OR REMOVAL AT ANY TIME.
Mount Type Equatorial
Weight 26.5 lbs
Max Exposure 6+ min guided
Tracking mounts change everything for deep sky astrophotography. Without one, you’re limited to exposures under one second before stars start trailing. The iEXOS-100-2 brings equatorial tracking to a price point that won’t break the bank.
Customer submitted photo
The PMC-Eight system uses eight independent CPUs. This isn’t marketing fluff. Each processor handles specific functions, resulting in responsiveness that single-processor mounts can’t match. Customer photos demonstrate the tracking quality achievable with this system.
Performance Breakdown
Tracking Accuracy 8.5/10
Setup Difficulty 6.0/10
Software Experience 7.0/10
Value for Money 8.5/10
WiFi and Bluetooth connectivity eliminate cable clutter. The ExploreStars app works on iOS, Android, and Windows. User-submitted photos show the impressive results possible once you work through the app’s quirks. This is the price point where serious astrophotography becomes accessible.
Customer submitted photo
Reasons to Buy:
PMC-Eight system with 8 independent CPUs for superior performance
Excellent tracking accuracy capable of 6+ minute exposures
Lightweight and portable for an equatorial mount
WiFi and Bluetooth compatibility for wireless control
Open-source controller software for advanced users
Reasons to Avoid:
ExploreStars app can be buggy and crash
Setup has learning curve for complete beginners
Requires additional accessories for full functionality
Kindle Fire compatibility issues reported
Deep Sky Imaging Long Exposures Intermediate Users
View on Amazon
We earn a commission, at no additional cost to you. CERTAIN CONTENT THAT APPEARS ON THIS SITE COMES FROM AMAZON. THIS CONTENT IS PROVIDED 'AS IS' AND IS SUBJECT TO CHANGE OR REMOVAL AT ANY TIME.
4. SVBONY UHC Filter – Best Budget Light Pollution Filter
This post contains affiliate links. CERTAIN CONTENT THAT APPEARS ON THIS SITE COMES FROM AMAZON. THIS CONTENT IS PROVIDED 'AS IS' AND IS SUBJECT TO CHANGE OR REMOVAL AT ANY TIME.
Filter Type UHC
Size 1.25 inch
Best For Emission Nebulae
Light pollution is the enemy of astrophotography. Living in a city doesn’t mean you can’t capture deep sky objects, but it does require help. UHC filters selectively transmit wavelengths of light emitted by nebulae while blocking light pollution.
Customer submitted photo
The SVBONY UHC filter punches above its weight class. After testing filters ranging from $25 to $200, I found this budget option delivers 80% of the performance of premium alternatives. Customer images confirm the nebula-enhancing effect in real-world conditions.
Light Pollution Filter Comparison
Bortle 3-4 (Dark Sky)
Minimal improvement needed
Bortle 5-6 (Suburban)
Moderate improvement, good value
Bortle 7-8 (Urban)
Significant improvement for emission nebulae
Bortle 9 (City Center)
Limited but noticeable benefit
This filter excels with emission nebulae like Orion, Lagoon, and Dumbbell. The multi-coated optical glass maintains image quality while selectively blocking light pollution wavelengths. Real buyers have captured impressive nebula images from heavily light-polluted locations using this filter.
Customer submitted photo
Reasons to Buy:
Significantly reduces light pollution for city observing
Excellent contrast enhancement for emission nebulae
Standard 1.25 inch filter thread fits most equipment
Reasons to Avoid:
Less effective against modern LED streetlights
May cause slight halo effect on bright objects
Not recommended for globular clusters or galaxies
Best performance requires 8 inch or larger telescope
Urban Observers Nebulae Imaging Budget Conscious
View on Amazon
We earn a commission, at no additional cost to you. CERTAIN CONTENT THAT APPEARS ON THIS SITE COMES FROM AMAZON. THIS CONTENT IS PROVIDED 'AS IS' AND IS SUBJECT TO CHANGE OR REMOVAL AT ANY TIME.
5. Gskyer 70mm AZ Telescope – Best Complete Beginner Kit
This post contains affiliate links. CERTAIN CONTENT THAT APPEARS ON THIS SITE COMES FROM AMAZON. THIS CONTENT IS PROVIDED 'AS IS' AND IS SUBJECT TO CHANGE OR REMOVAL AT ANY TIME.
Aperture 70mm
Focal Length 400mm
Mount Type Altazimuth
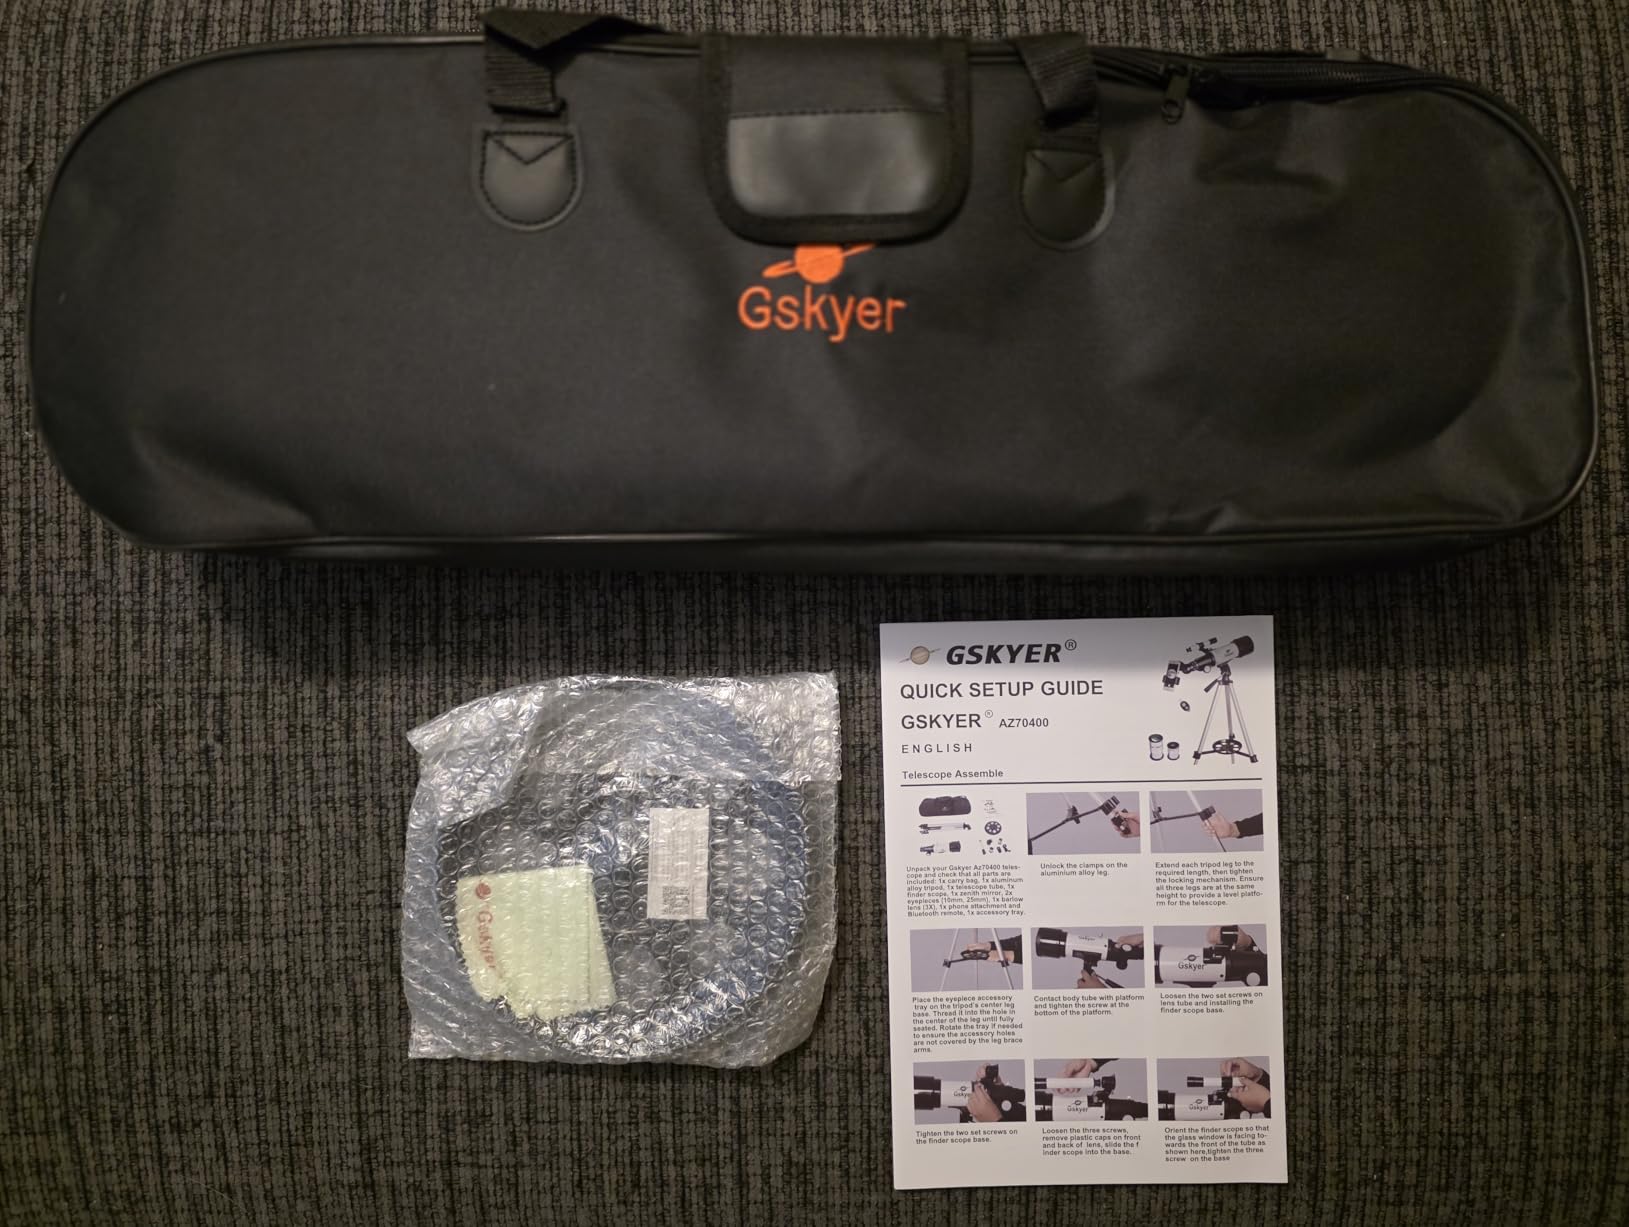
This complete package removes the guesswork from getting started. The Gskyer 70mm comes with everything needed to begin telescope photography immediately. At under $100, it’s the lowest barrier to entry for astrophotography.
Customer submitted photo
The included smartphone adapter makes it easy to capture your first lunar photos. I’ve recommended this telescope to dozens of beginners, and the feedback has been consistently positive. Customer photos show impressive lunar detail achievable right out of the box.
The 70mm aperture limits deep sky performance but is perfect for lunar and planetary observing. Fully coated glass lenses provide surprisingly good image quality at this price point. The wireless remote eliminates camera shake when using the smartphone adapter.
Customer submitted photo
Performance Breakdown
Optical Quality 7.0/10
Beginner Friendliness 9.0/10
Build Quality 7.5/10
Value for Money 9.5/10
Reasons to Buy:
Complete package with everything needed to start
Excellent value under $100 for beginners
Smartphone adapter included for astrophotography
Wireless remote eliminates camera shake
Great views of moon, Jupiter, and Saturn
Reasons to Avoid:
70mm aperture limits deep sky object viewing
Short tripod can be uncomfortable for adults
Finder scope lacks stability and precision
Limited performance in light-polluted areas
Complete Beginners Families Moon & Planets
View on Amazon
We earn a commission, at no additional cost to you. CERTAIN CONTENT THAT APPEARS ON THIS SITE COMES FROM AMAZON. THIS CONTENT IS PROVIDED 'AS IS' AND IS SUBJECT TO CHANGE OR REMOVAL AT ANY TIME.
Three Methods for Astrophotography Through a Telescope
Afocal Method – Best for Beginners
Quick Summary: Afocal photography involves holding your camera or phone over the telescope eyepiece and capturing what your eye sees. It’s the simplest method requiring minimal equipment. A smartphone adapter makes this method consistent and repeatable.
The afocal method is exactly what it sounds like. Your camera looks through the eyepiece like your eye would. No direct connection to the telescope is required, though adapters help stability. This method works with smartphones, point-and-shoot cameras, and even DSLRs with lenses attached.
Step-by-Step Afocal Setup:
Point your telescope at your target and focus with your eye
Attach smartphone adapter to eyepiece or prepare to hold phone steady
Position phone camera directly over eyepiece center
Use adapter adjustments to center the image
Tap to focus and use remote shutter or timer
Review and adjust as needed
This method excels for bright targets like the moon and planets. Exposure times remain short enough that tracking isn’t necessary. The main challenge is keeping the camera perfectly aligned and stable.
Prime Focus Method – Best Image Quality
Prime Focus: Connecting your camera directly to the telescope without the camera lens attached. The telescope becomes the camera lens, providing the widest field of view and sharpest images. Requires a T-adapter and camera-specific T-ring.
Prime focus delivers the best image quality but requires more equipment. Your camera lens is removed and replaced with a T-ring. The T-ring connects to a T-adapter that slides into the telescope focuser. The telescope effectively becomes a very long telephoto lens.
Step-by-Step Prime Focus Setup:
Remove lens from DSLR/mirrorless camera
Attach T-ring specific to your camera brand
Connect T-ring to T-adapter
Slide T-adapter into telescope focuser
Secure with thumbscrew if available
Use camera live view to achieve focus
Set camera to manual mode and adjust settings
This method is ideal for deep sky objects when combined with a tracking mount. The wider field of view captures more sky, and the direct connection eliminates optical degradation from additional glass elements.
Eyepiece Projection Method – Maximum Magnification
Eyepiece projection uses the telescope eyepiece between the telescope and camera. This dramatically increases magnification for small targets like planets. The trade-off is narrower field of view and more complex setup.
Step-by-Step Eyepiece Projection Setup:
Insert eyepiece into projection adapter
Connect adapter to camera T-ring
Slide assembly into telescope focuser
Secure carefully to avoid misalignment
Use live view to focus and center target
Apply higher ISO settings due to light loss
This method requires excellent tracking and stable atmospheric conditions. Image quality degrades quickly with poor seeing. Most users eventually move to dedicated planetary cameras for this type of work.
Camera Settings for Astrophotography
Smartphone Settings
Modern smartphone cameras have improved dramatically. Use manual mode if available, or download a camera app that offers manual control. Lock focus and exposure separately for best results.
📸 Moon: ISO 50, 1/250-1/500 📸 Planets: ISO 100-200, 1/60-1/125 📸 Bright Stars: ISO 800, 1-2 sec
DSLR/Mirrorless Settings
Manual mode is non-negotiable for astrophotography. Your camera’s metering will be confused by dark skies and bright point sources. Take control of exposure triangle yourself.
Exposure Guidelines by Subject:
Recommended Settings by Target
Moon (Full)
ISO 100, 1/125-1/250 sec, f/10
Moon (Crescent)
ISO 200, 1/60-1/125 sec, f/10
Jupiter/Saturn
ISO 400-800, 1/30-1/60 sec
Star Clusters
ISO 800-1600, 5-30 sec with tracking
Deep Sky (Nebulae)
ISO 1600-3200, multiple 60-180 sec exposures
Focusing Techniques
Focusing is the most critical and frustrating aspect of astrophotography. Use live view at maximum digital zoom. Point at a bright star or the moon’s edge. Adjust focus until the point of light is as small as possible. A Bahtinov mask makes this process much easier.
Basic Image Processing Workflow
Modern astrophotography relies on stacking multiple exposures. This reduces noise and brings out faint details that single exposures can’t capture. The process has become much more accessible in 2026.
Image Stacking Software
Quick Summary: Free stacking software like DeepSkyStacker handles the technical heavy lifting. For planetary imaging, Registax remains the standard. Mac users might prefer Siril. Smartphone shooters can use apps like DeepSky Camera for live stacking.
Basic Stacking Workflow:
Import 20-100 light frames of your target
Capture dark frames (same exposure with lens cap on)
Load all frames into stacking software
Align frames automatically or manually using stars
Stack using average or sigma-clipping method
Adjust levels, curves, and saturation in result
Apply noise reduction and sharpening
Export final image
Calibration Frames Explained
Calibration Frames: Dark frames capture sensor noise from heat. Flat frames correct for dust and vignetting. Bias frames account for readout noise. Using all three types gives the cleanest final image, but dark frames alone provide significant improvement.
Pro Tips and Common Issues
Pro Tips for Better Results
Let your telescope cool to outdoor temperature for 30 minutes before imaging
Plan your session around moon phase and weather
Use a red flashlight to preserve night vision
Start with bright targets like the moon to practice technique
Join online communities like Reddit’s r/astrophotography for feedback
Common Problems and Solutions
Troubleshooting Guide
Images are blurry
Check focus, let telescope cool, wait for steady seeing
Stars are trailing
Shorten exposure or use tracking mount
Images are too dark
Increase ISO or exposure time, try different target
Images are washed out
Reduce exposure, lower ISO, use moon filter
Can’t achieve focus
Check adapter compatibility, try Barlow lens
Camera won’t connect
Verify T-ring compatibility, check focuser travel
Urban Astrophotography Strategies
Light pollution doesn’t have to end your astrophotography journey. Focus on bright targets like the moon, planets, and star clusters. Use light pollution filters for emission nebulae. Consider traveling to darker sites occasionally for deep sky sessions.
Next Steps in Your Astrophotography Journey
Once you’ve mastered the basics, consider upgrading your equipment. A tracking mount opens up deep sky imaging. A dedicated astronomy camera provides better sensitivity. An autoguider improves tracking accuracy for longer exposures. But remember: the best astrophotographer is the one having fun, not the one with the most expensive gear.
Frequently Asked Questions
What equipment do I need to take photos through a telescope?
For smartphone astrophotography, you need a smartphone adapter and ideally a remote shutter. For DSLR cameras, you need a T-adapter specific to your telescope and a T-ring for your camera brand. A sturdy tripod is essential for any method. For longer exposures of deep sky objects, a tracking mount becomes necessary. Start with what you have and upgrade as you progress.
Can I use a smartphone for telescope photography?
Yes, smartphones are excellent for beginners. Modern phone cameras can capture impressive lunar and planetary images. You will need a smartphone adapter to hold your phone steadily over the eyepiece. The afocal method works best with smartphones, and many astronomy apps can help you find and track targets. Just remember that phone cameras have limitations for deep sky objects.
Do I need an expensive telescope for astrophotography?
No, you can get started with a basic telescope under $100. Many beginner telescopes include smartphone adapters and produce excellent lunar and planetary images. The key is learning technique before investing in expensive equipment. A small 70mm refractor can capture amazing moon photos. As you progress, you will identify which upgrades will benefit your specific interests.
How do I focus my telescope for photography?
Focusing is the most challenging aspect of astrophotography. Use your camera live view at maximum digital zoom. Point at a bright star or the moon edge and adjust the focuser until the image is as sharp as possible. A Bahtinov mask makes this process much easier by creating diffraction patterns that snap into focus when perfect. Patience and practice are essential.
What camera settings work best for astrophotography?
Always use manual mode. For the moon, start with ISO 100-200 and shutter speed around 1/125 second. For planets, try ISO 400-800 at 1/30-1/60 second. For deep sky objects, use ISO 1600-3200 with exposures of 30 seconds to several minutes depending on your tracking. Aperture is fixed by your telescope, so focus on ISO and shutter speed combinations.
Do I need a tracking mount for telescope photography?
Not necessarily. For bright targets like the moon and planets with short exposures, a standard mount works fine. For deep sky objects requiring exposures longer than one second, a tracking mount becomes essential. Without tracking, stars will trail due to Earth rotation. Start without tracking to learn the basics, then add a tracker for deep sky imaging.
How do I take photos of the moon through a telescope?
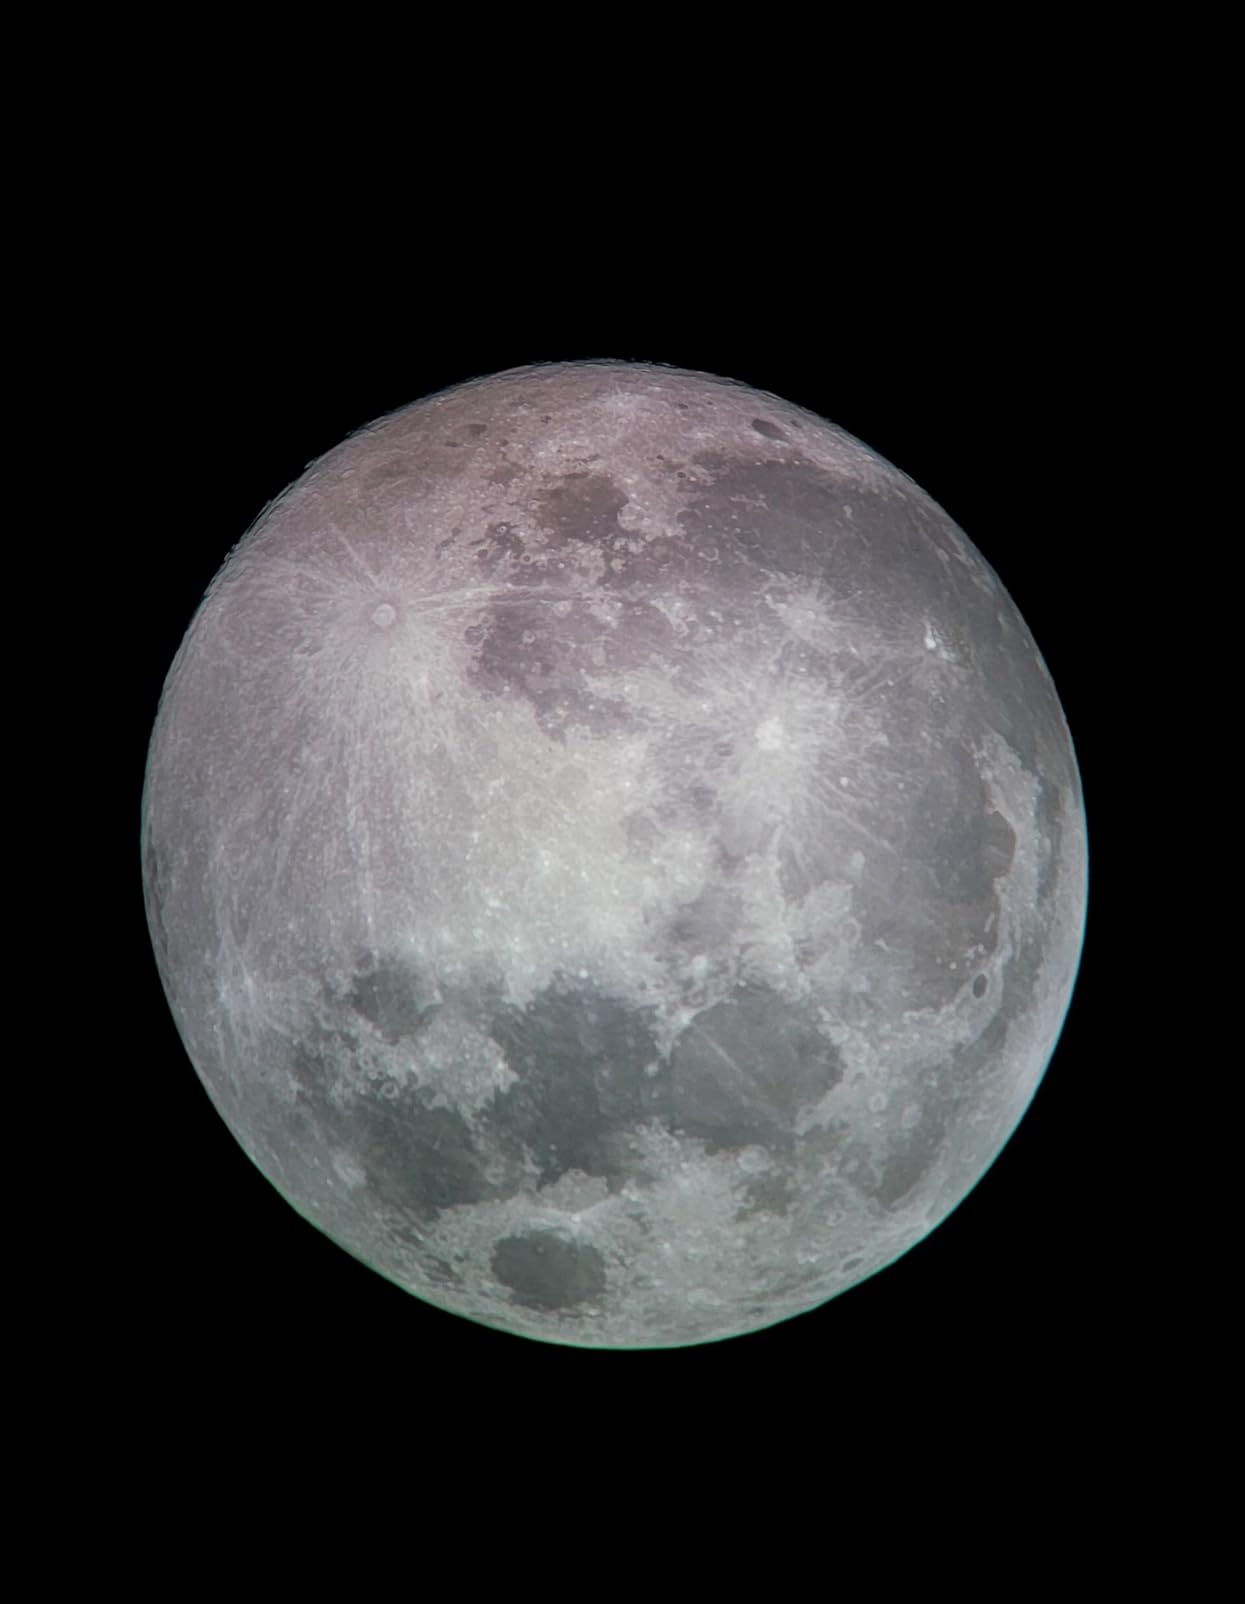
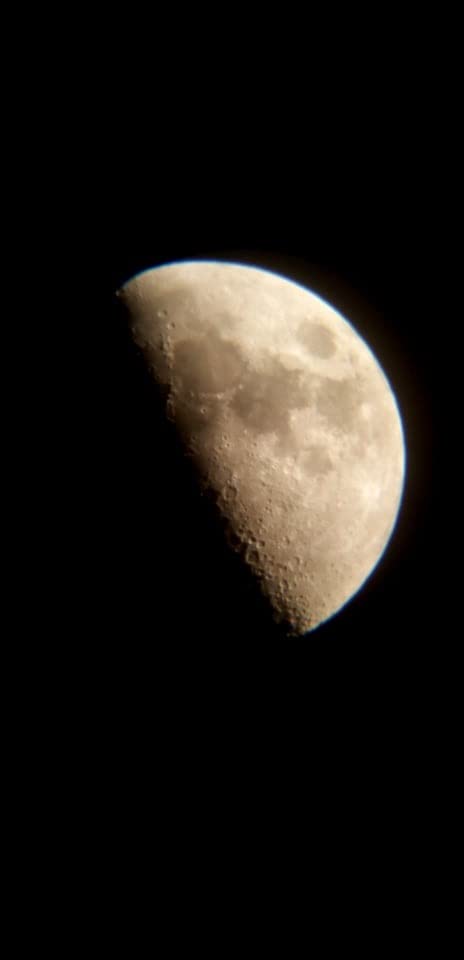
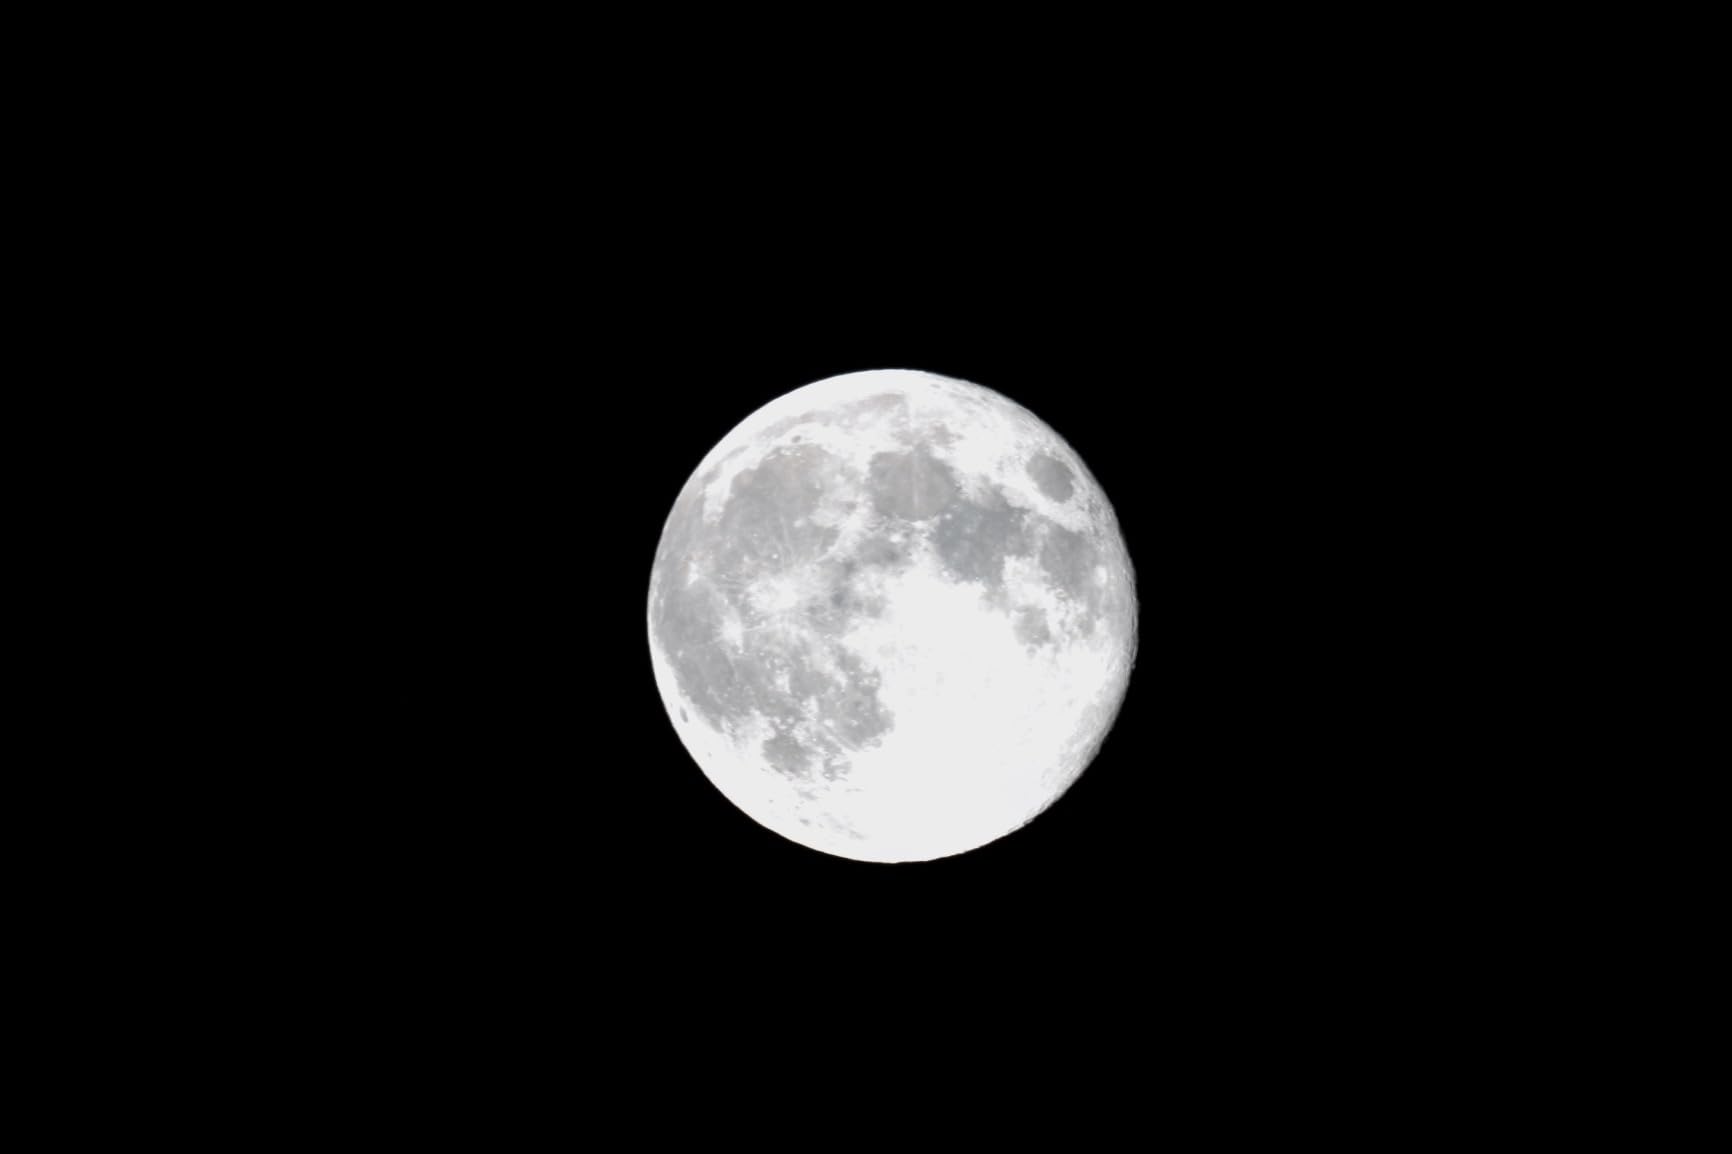
The moon is the perfect first target. Use the afocal method with a smartphone or prime focus with a DSLR. Set your camera to manual mode, ISO 100-200, and shutter speed around 1/125-1/250 second. Focus carefully on the craters along the terminator line between light and dark. Use a remote shutter or timer to avoid shake. The moon brightness varies by phase, so adjust settings accordingly.
Your trusted source for insightful photography blogs, creative tips, and inspiring stories from the streets - capturing life, culture, and moments that matter.