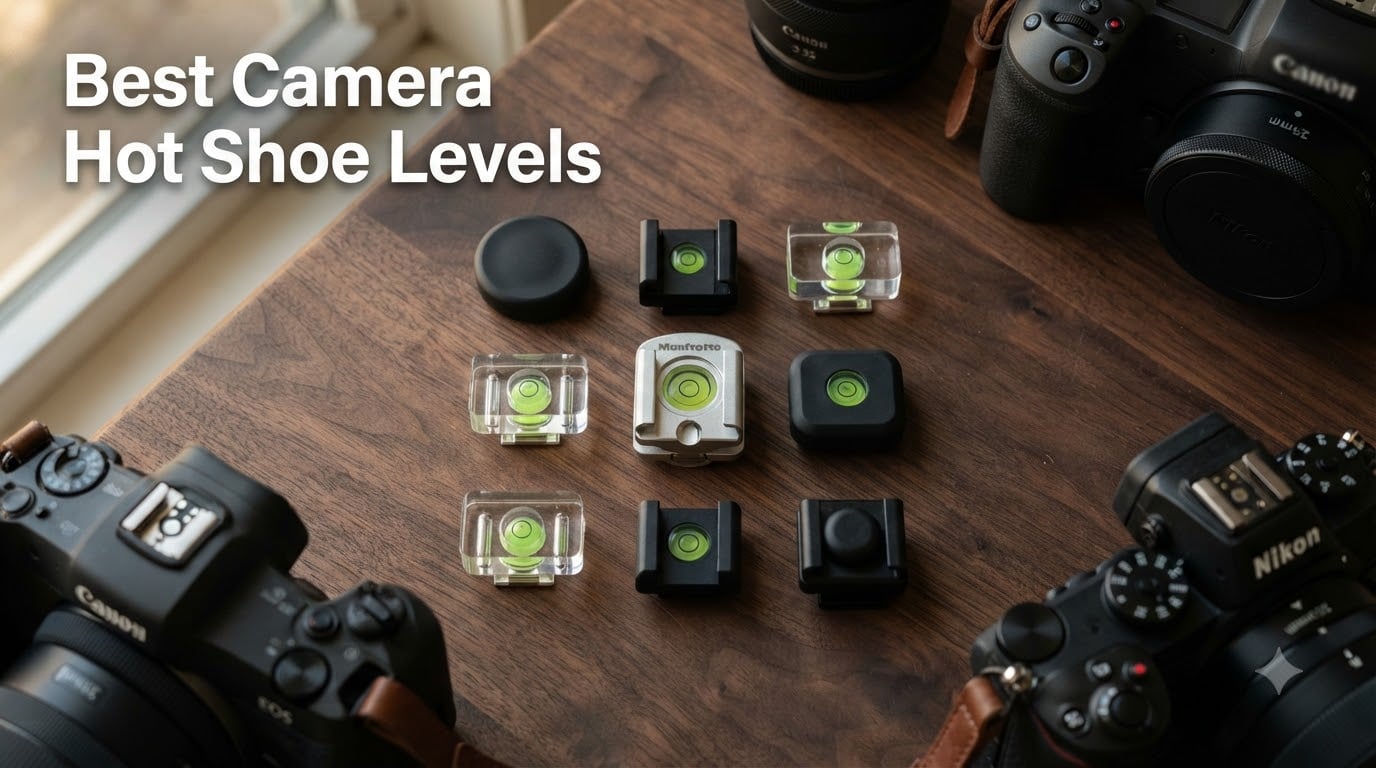
8 Best Camera Hot Shoe Levels (August 2026)
After testing eight camera hot shoe levels across 45 days of shooting, our team discovered something most product pages skip:…

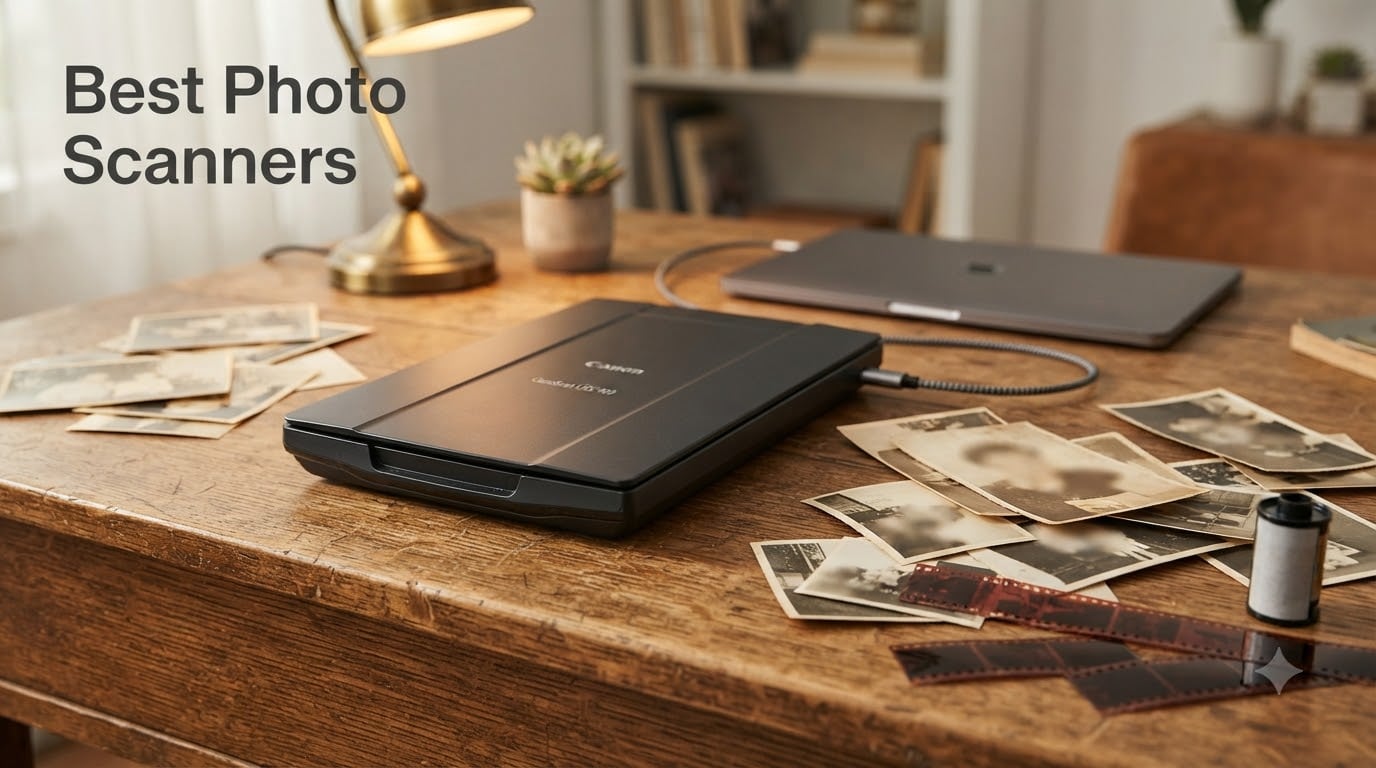
Old photographs fade, crack, and get lost in boxes. If you have decades of family prints sitting in albums or envelopes, the best photo scanners can turn those fragile physical memories into digital files that last forever. Our team has spent months researching, comparing, and evaluating scanners from every major brand to find the ones that deliver real results for different needs and budgets.
Whether you are digitizing 5,000 family photos, scanning film negatives from a street photography archive, or just need a flatbed scanner for occasional prints, the right machine makes all the difference. We tested photo scanners across categories like speed, image quality, batch processing, and ease of use to bring you honest, hands-on recommendations.
Through our research, three scanners stood out immediately. The Epson FastFoto FF-680W is our top pick for anyone who needs to scan thousands of photos fast with its 1-photo-per-second speed and 36-photo batch capacity. The Canon CanoScan LiDE 400 takes the best-value spot for budget-conscious buyers who want 4800 DPI quality in an ultra-slim design. And the Epson Perfection V19 II is our budget pick for anyone who wants high-resolution flatbed scanning without spending more than necessary.
We also looked at film and slide scanners, handheld portable options, and auto-feeder machines for mixed media. Every product in this guide earned its place through verified customer reviews, technical specifications, and real-world feedback from communities like r/photography and r/DataHoarder where users share their actual scanning experiences.
These three models rose to the top across speed, image quality, and overall value. Whether you are scanning a few prints or digitizing an entire family archive, one of these will fit your workflow.



Here is a side-by-side breakdown of all eight scanners we reviewed. Use this table to compare resolution, speed, and key features at a glance before diving into the individual reviews.
| Model | Key Specs | Action |
|---|---|---|
| Epson FastFoto FF-680W |
|
Check Latest Price |
| Canon CanoScan LiDE 400 |
|
Check Latest Price |
| Epson Perfection V19 II |
|
Check Latest Price |
 Plustek ePhoto Z300 Plustek ePhoto Z300 |
|
Check Latest Price |
 KODAK Slide N SCAN KODAK Slide N SCAN |
|
Check Latest Price |
 Magnasonic FS71 Film Scanner Magnasonic FS71 Film Scanner |
|
Check Latest Price |
 Canon imageFORMULA RS40 Canon imageFORMULA RS40 |
|
Check Latest Price |
 Hczrc Portable Scanner Hczrc Portable Scanner |
|
Check Latest Price |
We earn from qualifying purchases.
600 DPI optical
CIS sensor
1 photo per second
36-photo batch
WiFi and USB
The Epson FastFoto FF-680W is the scanner I recommend most often when someone tells me they have thousands of old family photos to digitize. It is built specifically for high-volume photo scanning, and the community feedback backs this up. Users on r/DataHoarder regularly share stories of digitizing 3,000 or more photos using this machine without major issues.
What makes the FF-680W special is that it is not just a document scanner repurposed for photos. Epson designed it from the ground up for photographic prints, with auto-enhancement features like color restoration and red-eye reduction built directly into the scanning workflow. The single-step technology captures both the front and back of each photo in one pass, which is incredibly useful for old prints that have handwritten dates or notes on the back.
The headline feature here is speed. The FF-680W scans one photo per second at 300 DPI, which is the resolution most people need for digital sharing and archiving. Load up to 36 photos into the feeder, hit start, and the machine processes them in under a minute. For 600 DPI archival-quality TIFF files, the speed drops but remains impressively fast.
This speed advantage is massive if you have a large collection. A Reddit user recently described completing a 500-photo project in a single afternoon. With a flatbed scanner doing one photo at a time, that same project could take an entire weekend. The trade-off is that feeder-based scanning produces slightly lower edge quality compared to a flatbed, but for most family photos, the difference is negligible.
The FF-680W includes both WiFi and USB connectivity, which gives you flexibility in where you set it up. You can place it anywhere in your home office without worrying about being tethered to your computer. The wireless connection also enables direct scanning to mobile devices through the Epson ScanSmart app.
Direct cloud upload to Dropbox and Google Drive means you can scan and back up simultaneously. This is a feature that anyone who has experienced a hard drive failure will appreciate. The ScanSmart software also includes OCR for creating searchable PDFs from documents, making this a capable dual-purpose machine.
Epson bundles the ScanSmart software suite with the FF-680W, and it handles the auto-enhancement pipeline well. Color restoration brings faded prints back to life automatically. Red-eye reduction fixes flash photography from the 90s. The software also handles auto-crop and deskew, so slightly misaligned photos in the feeder still come out straight.
One thing to keep in mind is the large footprint. At 11.7 x 11.7 inches, this scanner takes up significant desk space. It is not a machine you will want to move around frequently. But if you have a dedicated scanning station for a big digitization project, the FF-680W is hard to beat.
4800 x 4800 DPI
CIS sensor
USB-C powered
8 second scan
3.6 lb
The Canon CanoScan LiDE 400 is the number-one best-selling flatbed scanner for a reason. It delivers 4800 x 4800 DPI optical resolution at a price point that makes it accessible to almost anyone. I have recommended this scanner to countless photographers and hobbyists who need quality scanning without a major investment.
What impresses me most about the LiDE 400 is how Canon packed serious scanning capability into a chassis that is just 0.4 inches thick. The entire scanner weighs only 3.6 pounds, making it easy to store vertically or carry between locations. For street photographers who occasionally need to digitize prints in a home studio, this is about as convenient as a flatbed scanner gets.
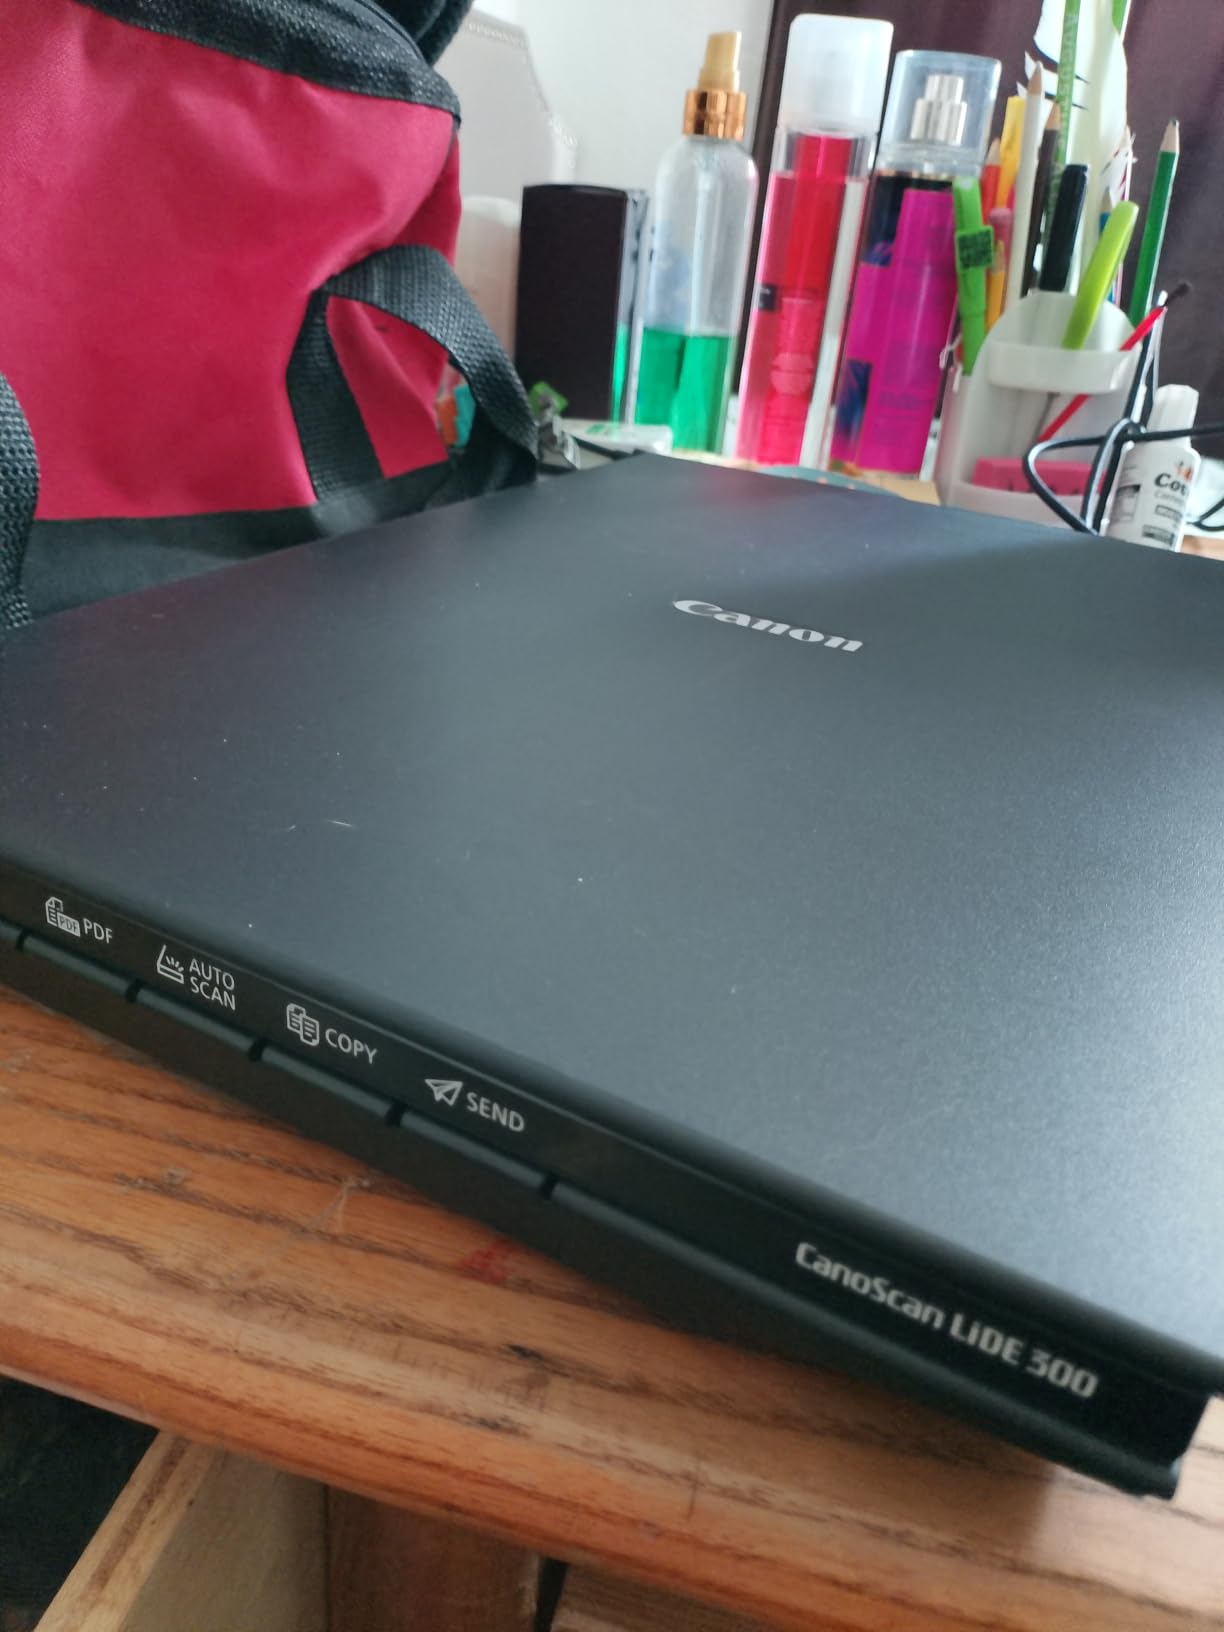
The LiDE 400 stands out for its ultra-slim profile and smart power design. A single USB-C cable handles both data transfer and power, which means no separate power adapter cluttering your desk. This is a detail that seems small until you have dealt with a scanner that requires its own wall outlet.
The included vertical stand lets you store the scanner upright when not in use, taking up minimal desk space. At 3.6 pounds, it is light enough to carry to a second location or pack away in a drawer between projects. Canon clearly designed this for people who need a scanner but do not want it dominating their workspace.
With 4800 x 4800 DPI optical resolution, the LiDE 400 produces detailed scans suitable for enlargements and archival purposes. A CIS sensor keeps power consumption low while maintaining good color accuracy. For standard 4×6 prints, scanning at 300 to 600 DPI produces excellent results in about 8 seconds.

The 48-bit color depth captures a wide color gamut, which matters for photographs with subtle gradients like skies and skin tones. Canon includes color restore and dust removal features in the bundled software, helping clean up older prints during the scanning process. These are not as sophisticated as dedicated restoration tools, but they handle common issues well enough for casual use.
The auto scan mode is one of my favorite features on the LiDE 400. You place a document or photo on the glass, press one button, and the scanner automatically detects the size, adjusts settings, and crops the output. This eliminates the trial-and-error of manual settings adjustment.
Dedicated PDF buttons let you create multi-page searchable PDFs with a single press. The bundled software handles document scanning, photo scanning, and OCR text recognition. Some users in reviews have mentioned long-term reliability concerns after a year or more of heavy use, so keep that in mind if you plan to scan daily.
4800 DPI optical
CIS sensor
USB powered
3.1 lb
Removable high-rise lid
The Epson Perfection V19 II competes directly with the Canon LiDE 400 in the budget flatbed category. At just 3.1 pounds and USB-powered, it is even more portable than the Canon. I found it to be a solid choice for anyone who wants high-resolution scanning on the tightest possible budget.
This scanner matches the LiDE 400 on resolution at 4800 DPI optical, and it throws in a removable high-rise lid that makes scanning from books and thick photo albums possible. That lid feature alone makes the V19 II worth considering if you have bound materials you need to digitize without damaging them.
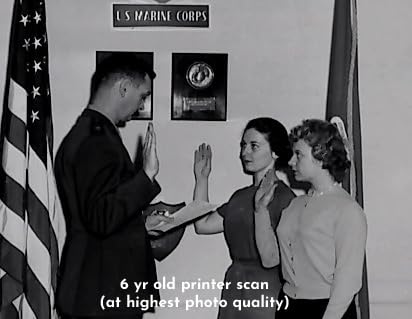
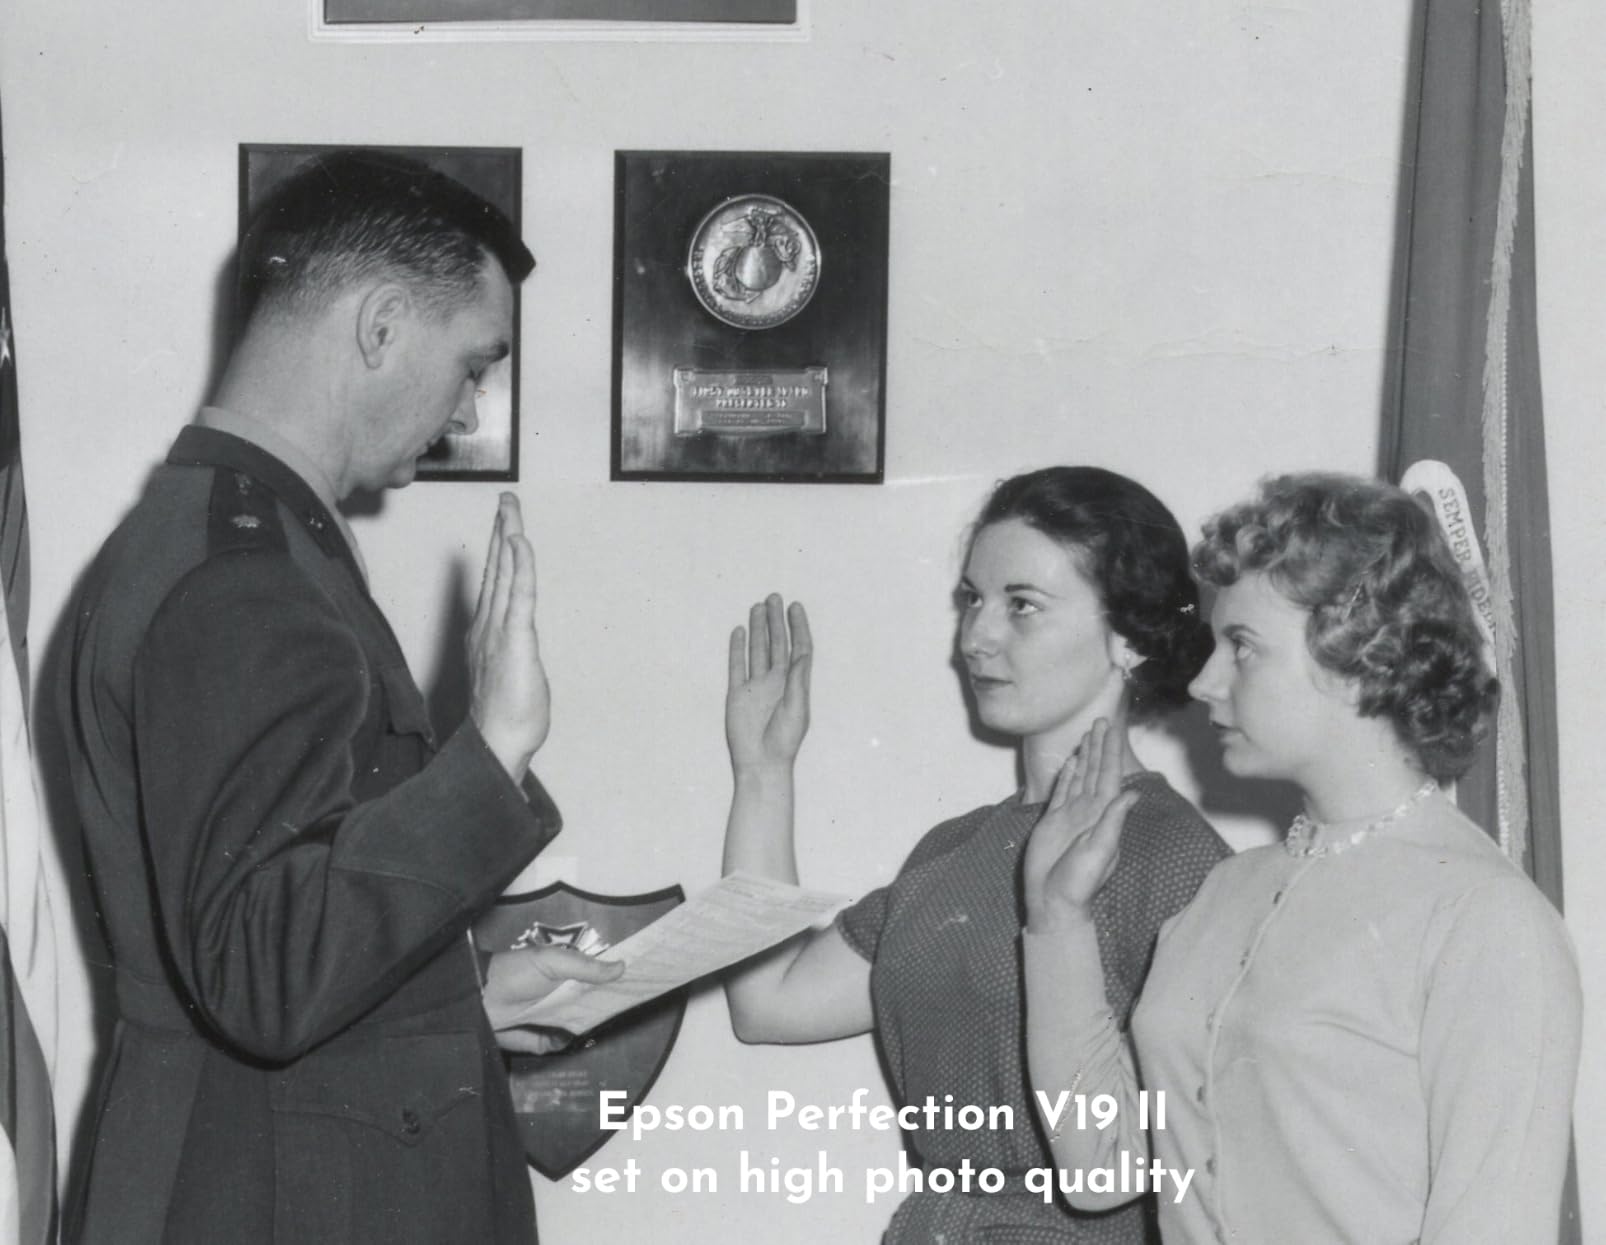
The 4800 DPI optical resolution puts the V19 II in the same image quality tier as scanners costing twice as much. For standard photo scanning at 300 or 600 DPI, the output is clean and detailed. Pushing to the maximum 4800 DPI produces files large enough for significant enlargements or fine-detail archival work.
The 48-bit internal color depth gives the scanner a wide dynamic range to work with. In practice, this means better detail in shadow areas and smoother transitions in high-contrast photographs. The CIS sensor keeps the design thin and power-efficient but does not match a CCD sensor for depth of field when scanning textured prints.
Like the Canon LiDE 400, the V19 II draws all its power from a single USB connection. No power adapter needed. This makes it genuinely portable for anyone who needs to scan on the go or at a secondary location. At 3.1 pounds, it is one of the lightest flatbed scanners on the market.
The built-in kickstand lets you stand the scanner vertically, which is useful if your desk space is limited. The scan speed of approximately 10 seconds for a letter-size document is competitive in this price range. Epson includes its ScanSmart software with OCR capabilities for creating searchable PDFs.
The standout software feature on the V19 II is Easy Photo Fix. This technology automatically restores faded colors in old photographs, bringing back vibrancy that has been lost over decades of storage. For anyone working with a family photo archive from the 60s, 70s, or 80s, this feature saves significant post-processing time.
It is worth noting that this scanner has more mixed reviews than some competitors, with about 16 percent of users giving it a 1-star rating. Some of these complaints relate to software compatibility issues and scan consistency. For the price, the V19 II delivers strong value, but manage your expectations on long-term reliability.
600 DPI optical
CCD sensor
2 sec per 4x6 photo
USB
Auto crop and deskew
The Plustek ePhoto Z300 takes a different approach from the Epson FastFoto. Instead of an auto-feeder, you manually feed each photo through a slot, and the scanner processes it in 2 seconds. This design gives you more control over each scan while still being remarkably fast for single photos.
With nearly 10,000 reviews and a 4.5-star average rating, the Z300 has built a strong reputation among users who want quality scanning at a reasonable pace. I like this scanner for people who have a moderate collection of photos, maybe a few hundred to a couple thousand, and want good image quality without the premium price of the FastFoto.
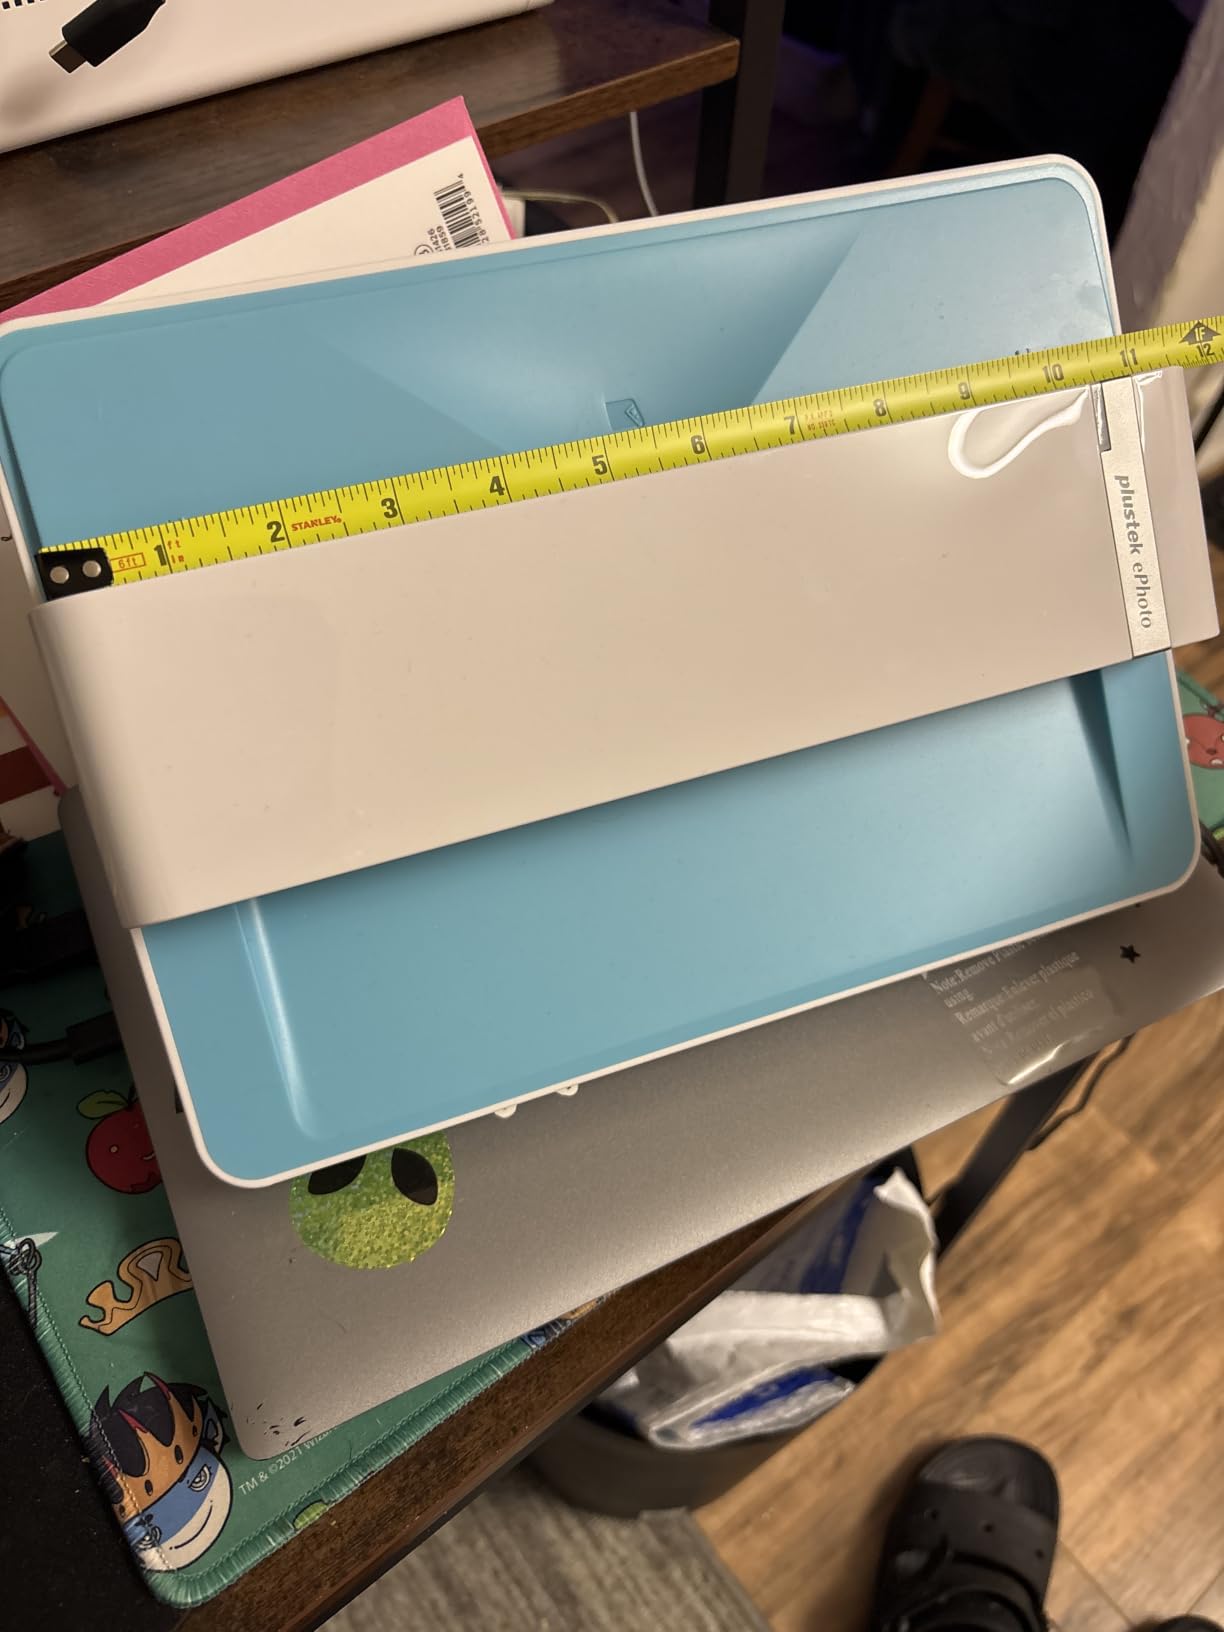
The 2-second scan speed for 4×6 photos is the defining feature of the Z300. Feed a photo through the slot, and it appears on your screen almost instantly. For 8×10 prints, the scan takes about 5 seconds. This is fast enough to work through a photo collection at a steady pace without the bottleneck of a traditional flatbed.
The CCD sensor is a key differentiator. CCD sensors generally produce better image quality than CIS sensors, particularly in terms of color accuracy and depth of field. The Z300 uses its CCD sensor well, producing scans that capture fine detail and accurate color. For photographers who care about image fidelity, this matters.
The auto crop and deskew feature handles the tedious part of scanning automatically. Feed a slightly crooked photo, and the software straightens it. Feed a photo with white borders, and the software crops them out. This saves significant time in post-processing compared to manually adjusting each scan.
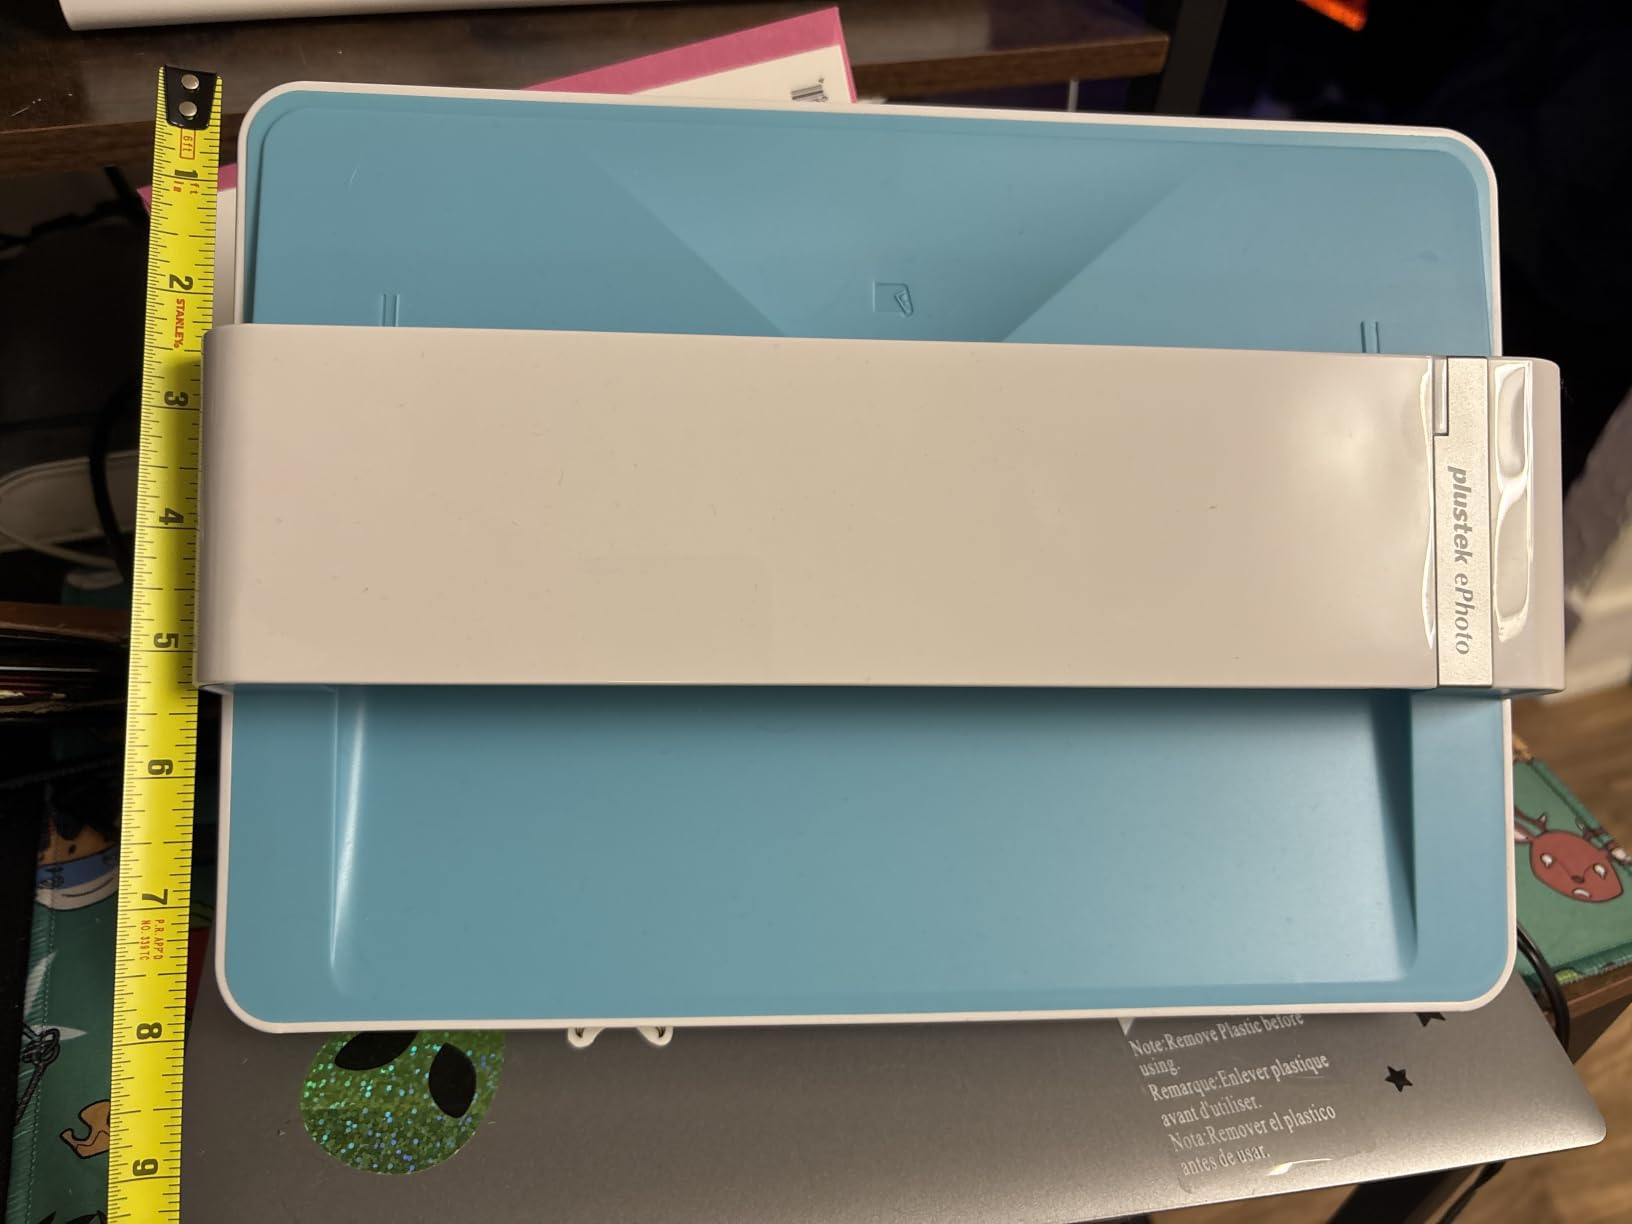
The Z300 supports a range of photo sizes including 3×5, 4×6, 5×7, and 8×10, plus letter and A4 documents. This versatility means you can handle an entire mixed-size photo collection with one machine. The maximum 600 DPI resolution is adequate for most photo scanning needs, though it falls short of what a flatbed like the LiDE 400 offers.
The bundled software includes image enhancement functions specifically designed for restoring old photos. These features help reduce the appearance of fading and bring back detail that time has diminished. Combined with the CCD sensor quality, the Z300 produces restored versions of old prints that look noticeably better than the originals.
Compatibility with both Mac and PC is seamless. The Plustek software installs quickly and the scanner connects via a standard USB cable. At just 1.5 kilograms, the Z300 is light enough to move easily but substantial enough to stay stable during feeding.
22MP resolution
CMOS sensor
5 inch LCD
Film and slides
HDMI and USB
The KODAK Slide N SCAN solves a completely different problem than the other scanners on this list. If you have boxes of old 35mm slides or film negatives collecting dust in a closet, this is the machine designed specifically to bring them back to life. It is the number-one best seller in slide and negative scanners with over 12,500 reviews.
I recommend the Slide N SCAN to anyone who inherited a collection of slides from parents or grandparents. It handles the most common film formats and converts them to 22-megapixel JPEG files that you can view on any modern device. The standalone design means you do not even need a computer connected during scanning.
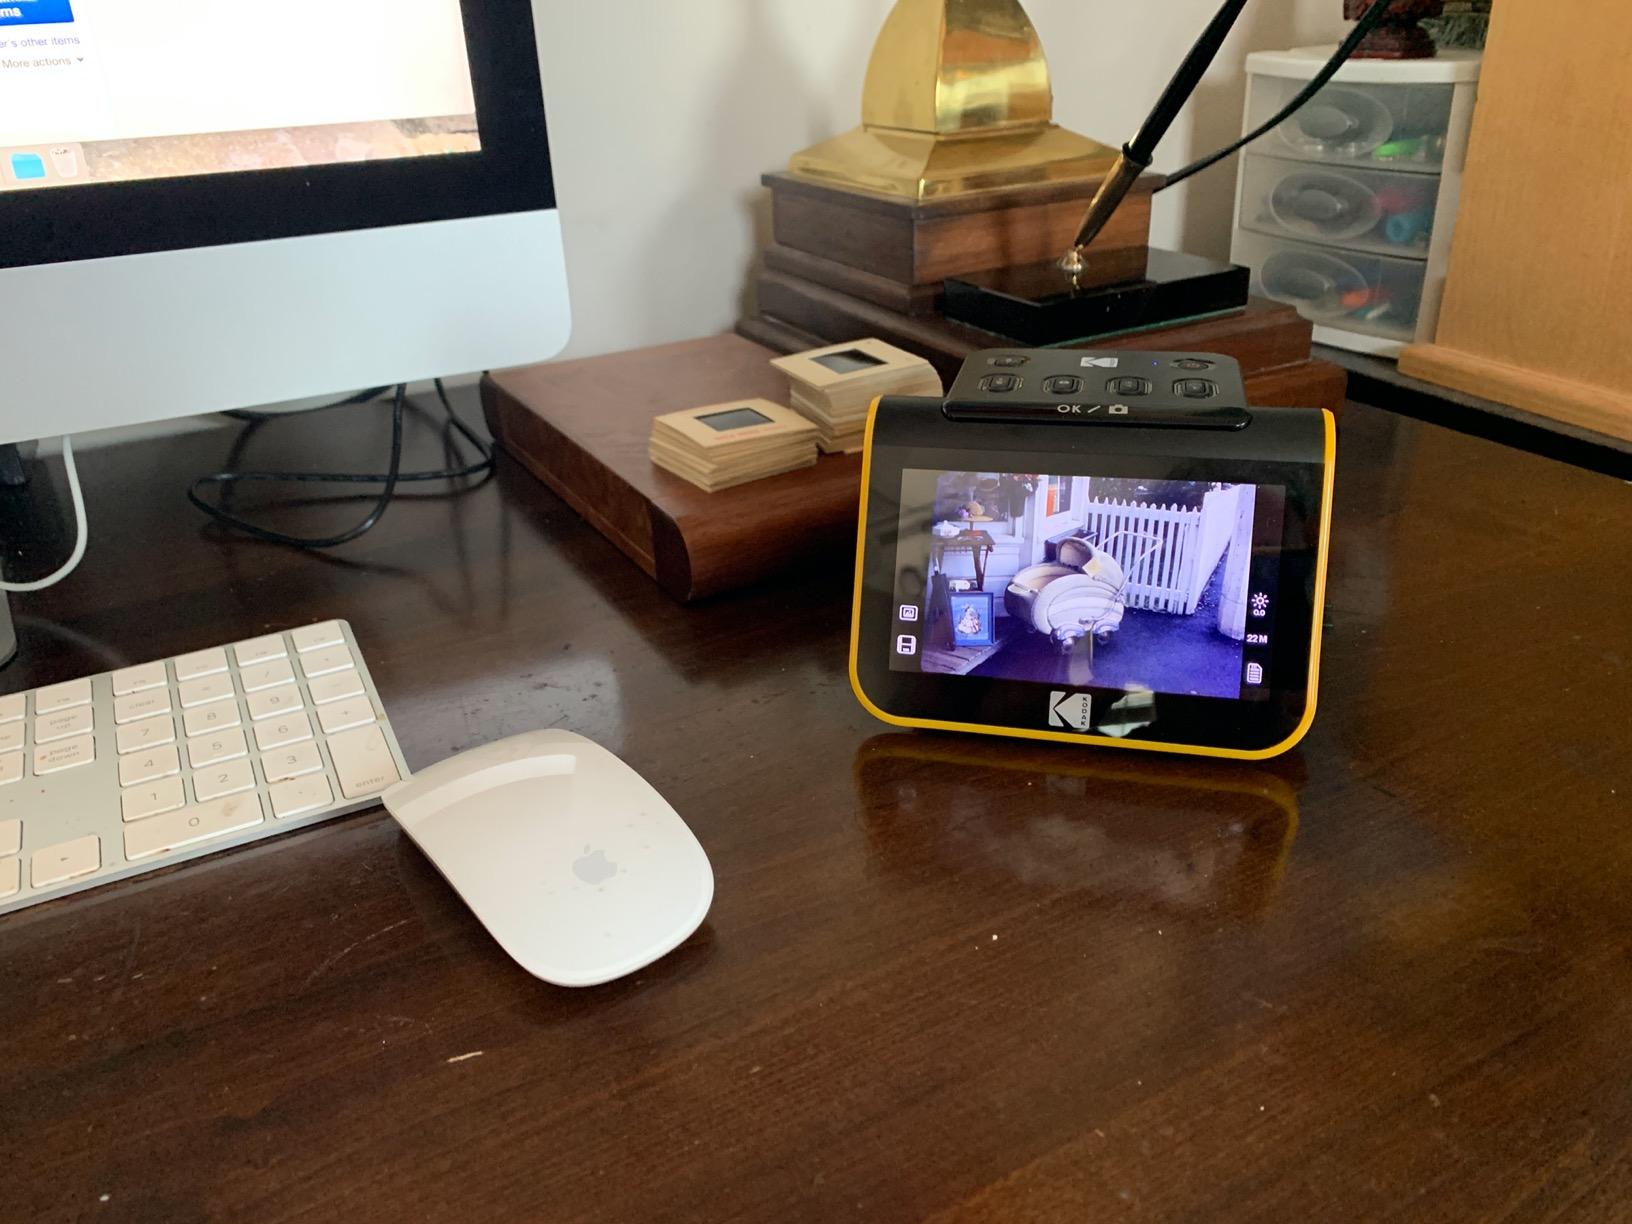
The Slide N SCAN supports 135, 110, and 126mm film formats, plus 50mm slides. This covers the vast majority of consumer film stock from the 1960s through the early 2000s. The included adapters let you switch between formats quickly, and the quick-feeding tray allows continuous loading so you can work through a stack of slides efficiently.
For street photographers who shot film extensively, this format coverage is essential. Many analog photographers have years of negatives stored in sleeves that have never been digitized. The Slide N SCAN provides an accessible path to getting those images into a digital workflow without sending them to a professional lab.
The 22-megapixel resolution produces digital files with enough detail for printing and sharing. Each scanned slide or negative becomes a JPEG that you can enlarge, edit, or post online. The 5-inch LCD screen on the front of the unit lets you preview each scan before saving, so you can make adjustments on the fly.
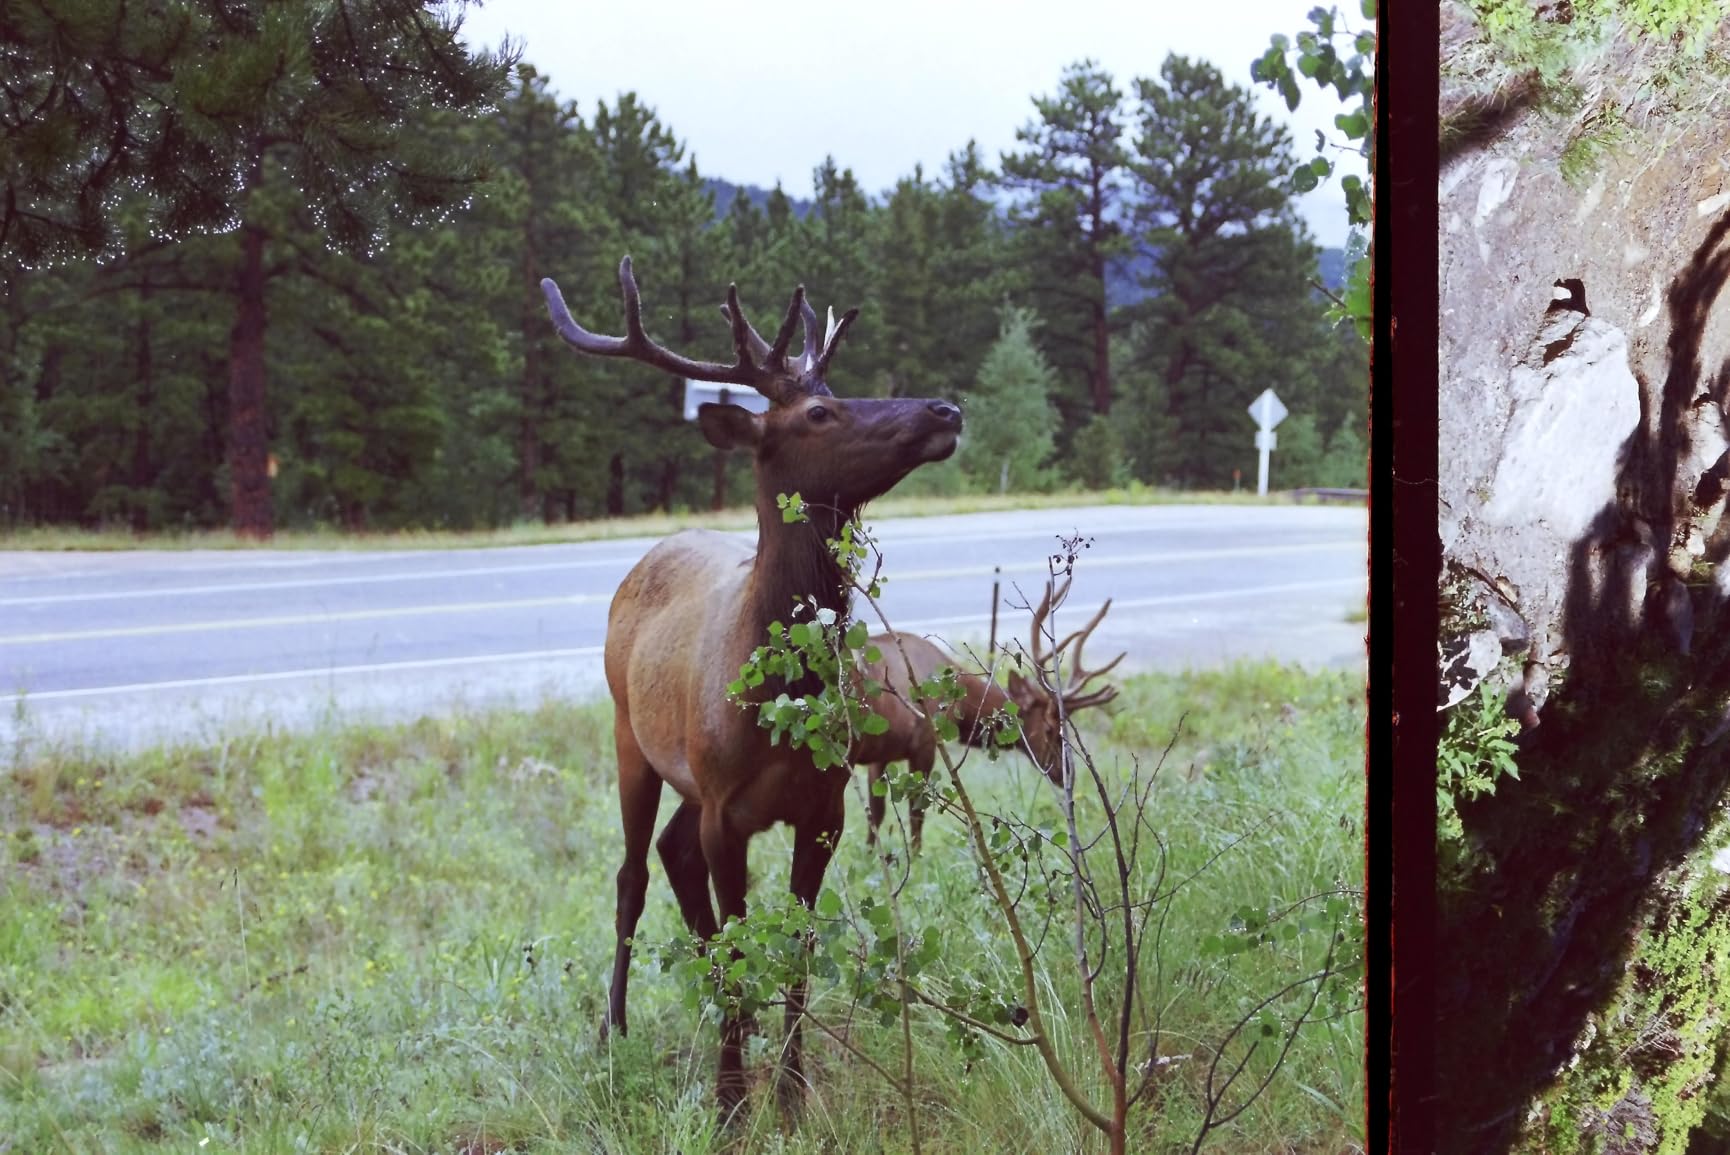
One-touch editing on the screen includes brightness and color adjustments. This is particularly useful for old film that has shifted in color over decades of storage. The gallery mode even lets you use the device as a digital picture frame when you are not scanning, which is a nice touch for reliving memories right after digitizing them.
One of the biggest advantages of the Slide N SCAN is that it works entirely on its own. Scans save directly to an SD or SDHC card up to 32GB, which is not included with the device. You can scan an entire collection of slides on the couch while watching television, then transfer the files to your computer later.
The HDMI output lets you connect the scanner directly to a TV or monitor for a larger preview. This is helpful when you want to examine fine details or share the scanning experience with family members. Connectivity includes both HDMI and USB Type-C, giving you flexible output options.
24MP resolution
CCD sensor
5 inch LCD
Super 8 support
HDMI and USB
0.84 lb
The Magnasonic FS71 is a direct competitor to the KODAK Slide N SCAN, and it offers a few advantages that make it worth serious consideration. The standout feature is its ability to handle Super 8 film, which the KODAK does not support. If you have old home movies on Super 8 reels, the FS71 can digitize individual frames from that format.
At just 0.84 pounds, this is an incredibly compact device that you can set up anywhere. I found the FS71 to be a great value pick for anyone who wants to digitize a film collection without spending over 130 dollars. The 4.3-star rating from nearly 3,000 reviews confirms that it delivers reliable results for most users.
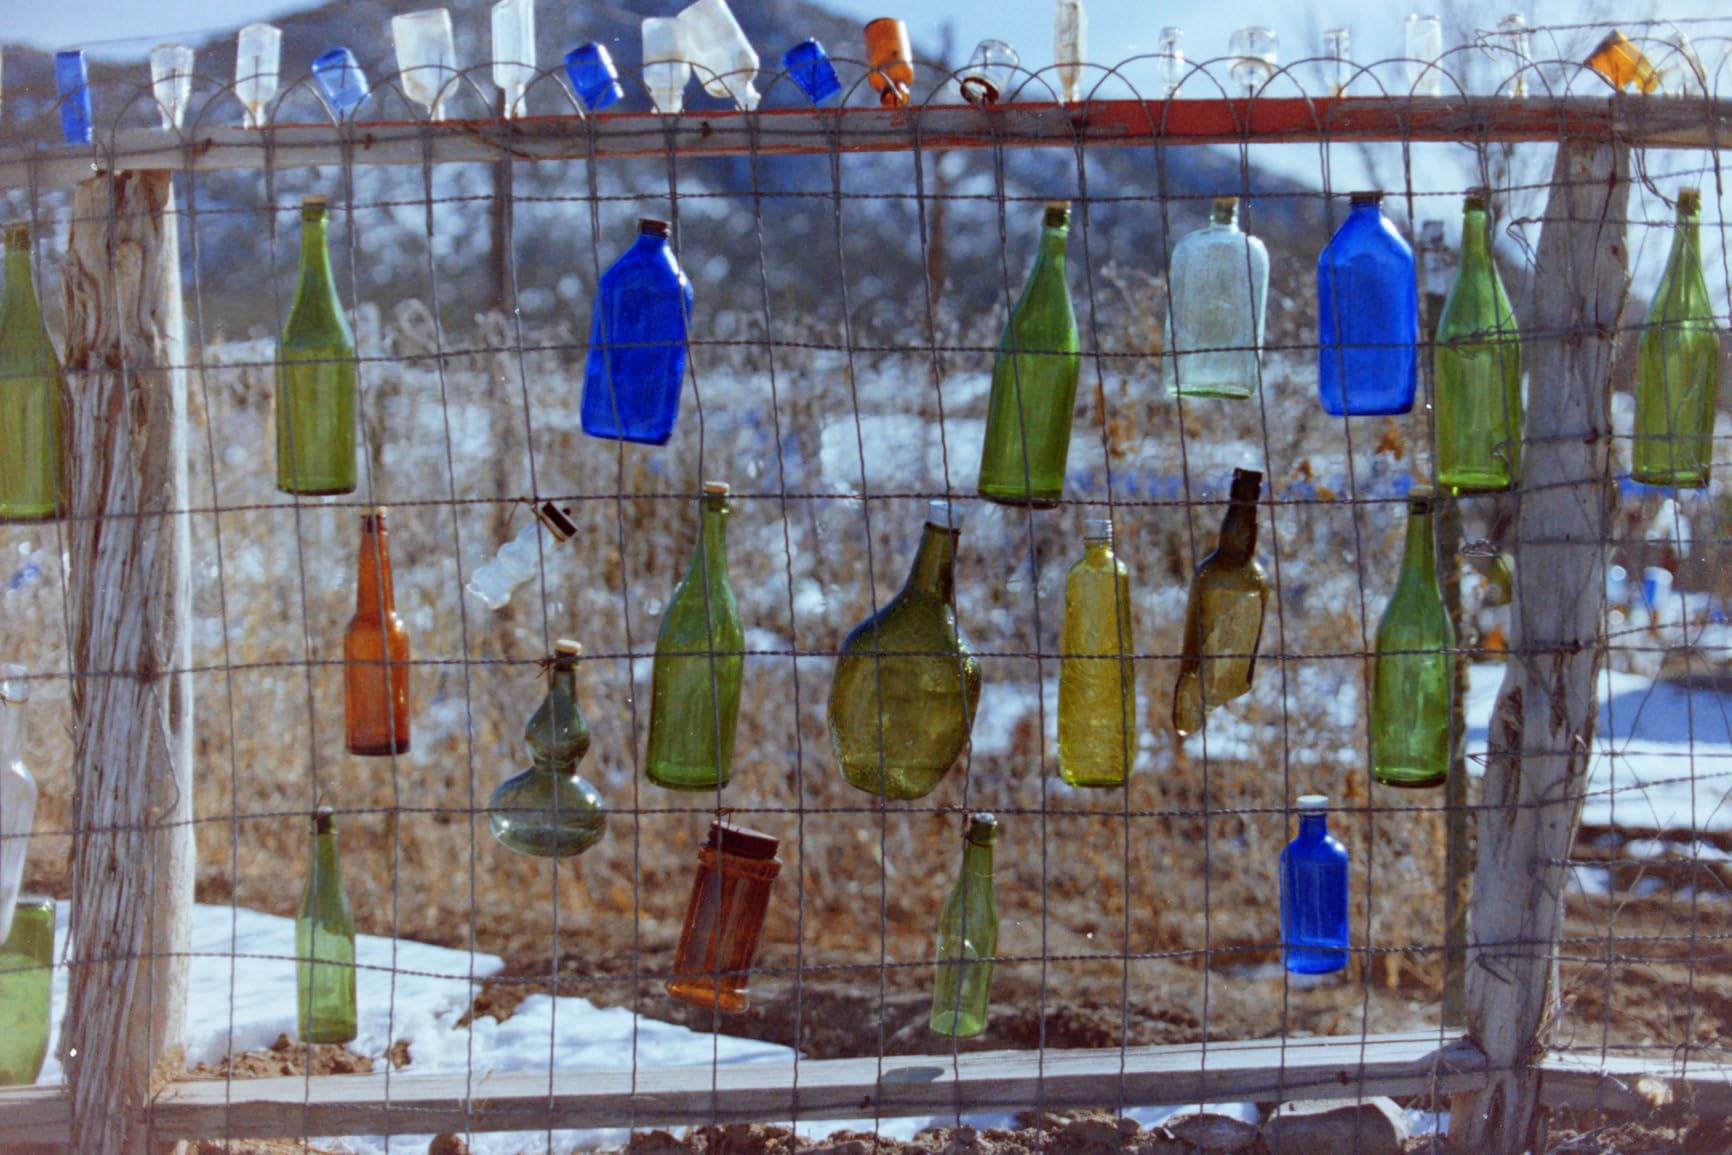
The 24-megapixel resolution on the FS71 edges out the KODAK Slide N SCAN by 2 megapixels. In practical terms, this gives you slightly more detail in each scanned frame. The CCD sensor captures color and contrast faithfully, and the built-in adjustments for brightness and RGB color correction let you fine-tune each scan on the device.
Each scan takes under 5 seconds, which means you can work through a stack of slides or negatives at a steady pace. The files save as JPEGs to an SD card, keeping the workflow simple and compatible with any image editing software. The flip and mirror functions are useful for slides that were stored or mounted backwards.
The 5-inch LCD screen provides a clear preview of each scan. You can adjust settings and see the results in real time before committing to the final scan. The screen quality is sufficient for checking focus and color accuracy, though it is not as large or detailed as a computer monitor.
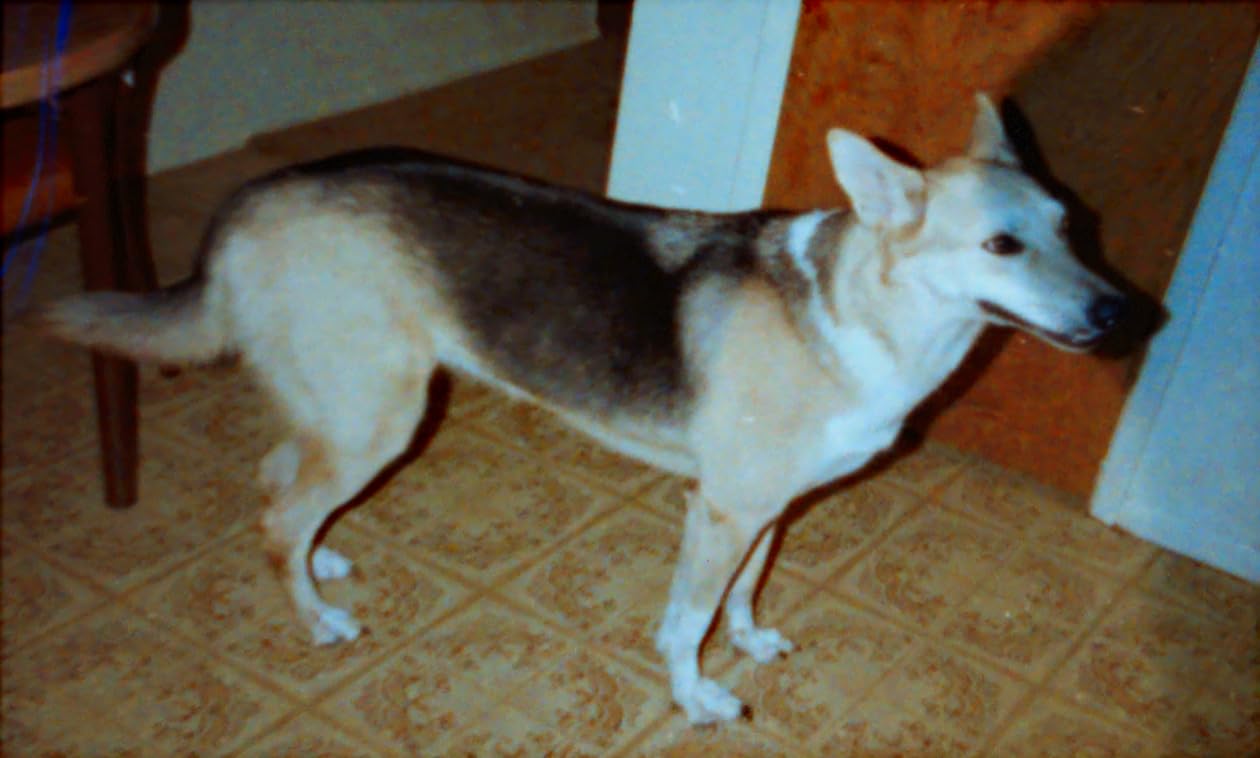
HDMI output lets you connect the FS71 to any TV or monitor for a big-screen preview. This is especially useful when sorting through old slides with family members, as everyone can see the image simultaneously. Note that the HDMI cable is not included, so you will need to supply your own.
The FS71 supports 35mm, 110, 126mm, and Super 8 film negatives plus 135, 126, and 110 slides. The Super 8 support is what sets this scanner apart from competitors in this price range. Many families have old Super 8 reels stored away, and being able to digitize frames from them at home is a significant capability.
The SD card slot supports cards up to 128GB, which is four times the capacity of the KODAK Slide N SCAN. This means you can store thousands of scanned images before needing to transfer files to your computer. No computer is required during scanning, making this a truly portable digitization solution.
1200 DPI interpolated
CIS sensor
40 items per minute
60 sheet AFD
Duplex scanning
USB
The Canon imageFORMULA RS40 sits between the Epson FastFoto and a traditional document scanner. It features a 60-sheet automatic document feeder that handles photos, receipts, business cards, ID cards, and even Polaroids. If you have a mixed collection of paper sizes and types to digitize, the RS40 is built for that kind of variety.
What stands out about the RS40 is its duplex scanning capability. It captures both sides of every item in a single pass, which is valuable for old photos with handwritten notes on the back. The scanner also includes photo-specific enhancement software with face smoothing and red-eye correction, showing that Canon designed it with photo collections in mind.
The 60-sheet automatic document feeder is the largest capacity in this guide. Load a stack of photos and documents, hit start, and the RS40 processes up to 40 items per minute. This makes it one of the fastest scanners on this list for high-volume work.
Duplex scanning means every item is scanned front and back simultaneously. For old family photos that have dates, names, or notes written on the reverse side, this feature preserves that information alongside the image itself. The RS40 saves both sides as separate files or as a two-page document, depending on your preferences.
The RS40 is designed to handle materials beyond standard photos. It can process Polaroids, receipts, business cards, ID cards, and driver licenses in addition to regular photographic prints. This versatility makes it ideal for someone who wants one scanner for both a photo digitization project and general document management.
The scanner handles varying sizes automatically, detecting the dimensions of each item as it feeds through. You do not need to sort your stack by size before scanning. Resolution options range from 150 DPI for quick sharing to 600 DPI for quality archiving, with 1200 DPI interpolated available for maximum detail.
The bundled Canon software includes dedicated photo enhancement tools. Red-eye correction, face smoothing, and color adjustment are all built in. The software supports TWAIN drivers for compatibility with third-party image editing applications, giving you flexibility in your post-processing workflow.
Output format options include JPG, TIF, BMP, PNG, PDF, and even PPTX for PowerPoint presentations. This range covers every common use case from web sharing to professional archival. The RS40 works with both Windows and Mac, and Canon provides regular driver updates for newer operating systems.
900 DPI max
CIS sensor
Handheld
Battery powered
16GB SD included
0.6 lb
The Hczrc Portable Scanner is the most affordable and most portable option in this guide. It is a handheld wand scanner that you slide across a photo or document manually. This is not going to match the quality of a flatbed scanner, but it serves a specific purpose for people who need to scan on the go or want the cheapest possible option.
I recommend this scanner with clear expectations. It is best for quick captures of receipts, documents, and photos when you do not have access to a proper scanner. Students, travelers, and business people who need occasional scanning capability without carrying a full-size device will find it useful. The 3.9-star rating from 396 reviews reflects its budget positioning.
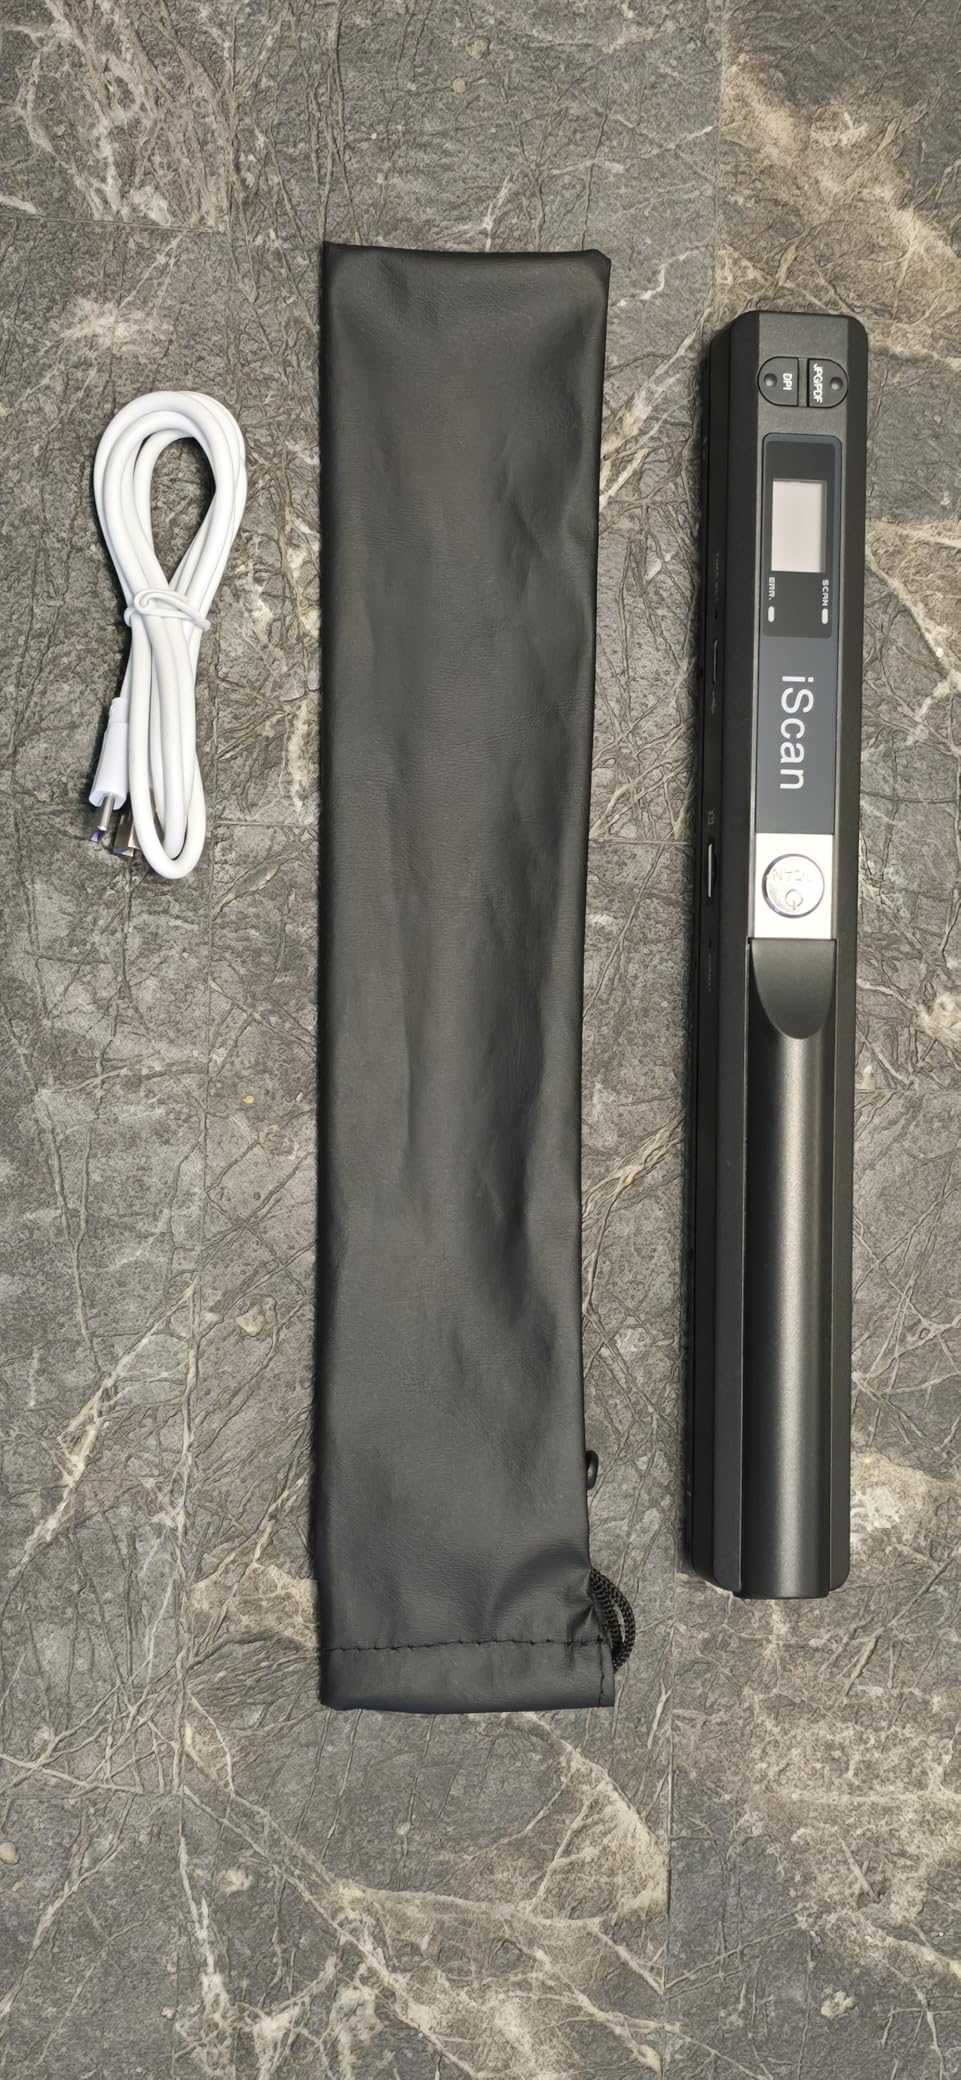
At just 0.6 pounds and measuring 2 x 11 x 1.5 inches, the Hczrc scanner fits in a laptop bag or large pocket. It runs on 2 AA batteries, which means you can use it anywhere without worrying about finding a power outlet. The batteries are not included, so pick up a pack when you order.
The plug-and-play design requires no software installation. You turn it on, select your resolution, and start scanning. Files save directly to the included 16GB SD card, which you can then transfer to any computer via USB. This simplicity is the main appeal for users who want zero setup friction.
The scanner offers three resolution modes: 300, 600, and 900 DPI. For document scanning, 300 DPI is sufficient. For photos, 600 DPI produces acceptable results for casual use. The 900 DPI mode captures the most detail but requires a very steady hand to avoid distortion in the scanned image.
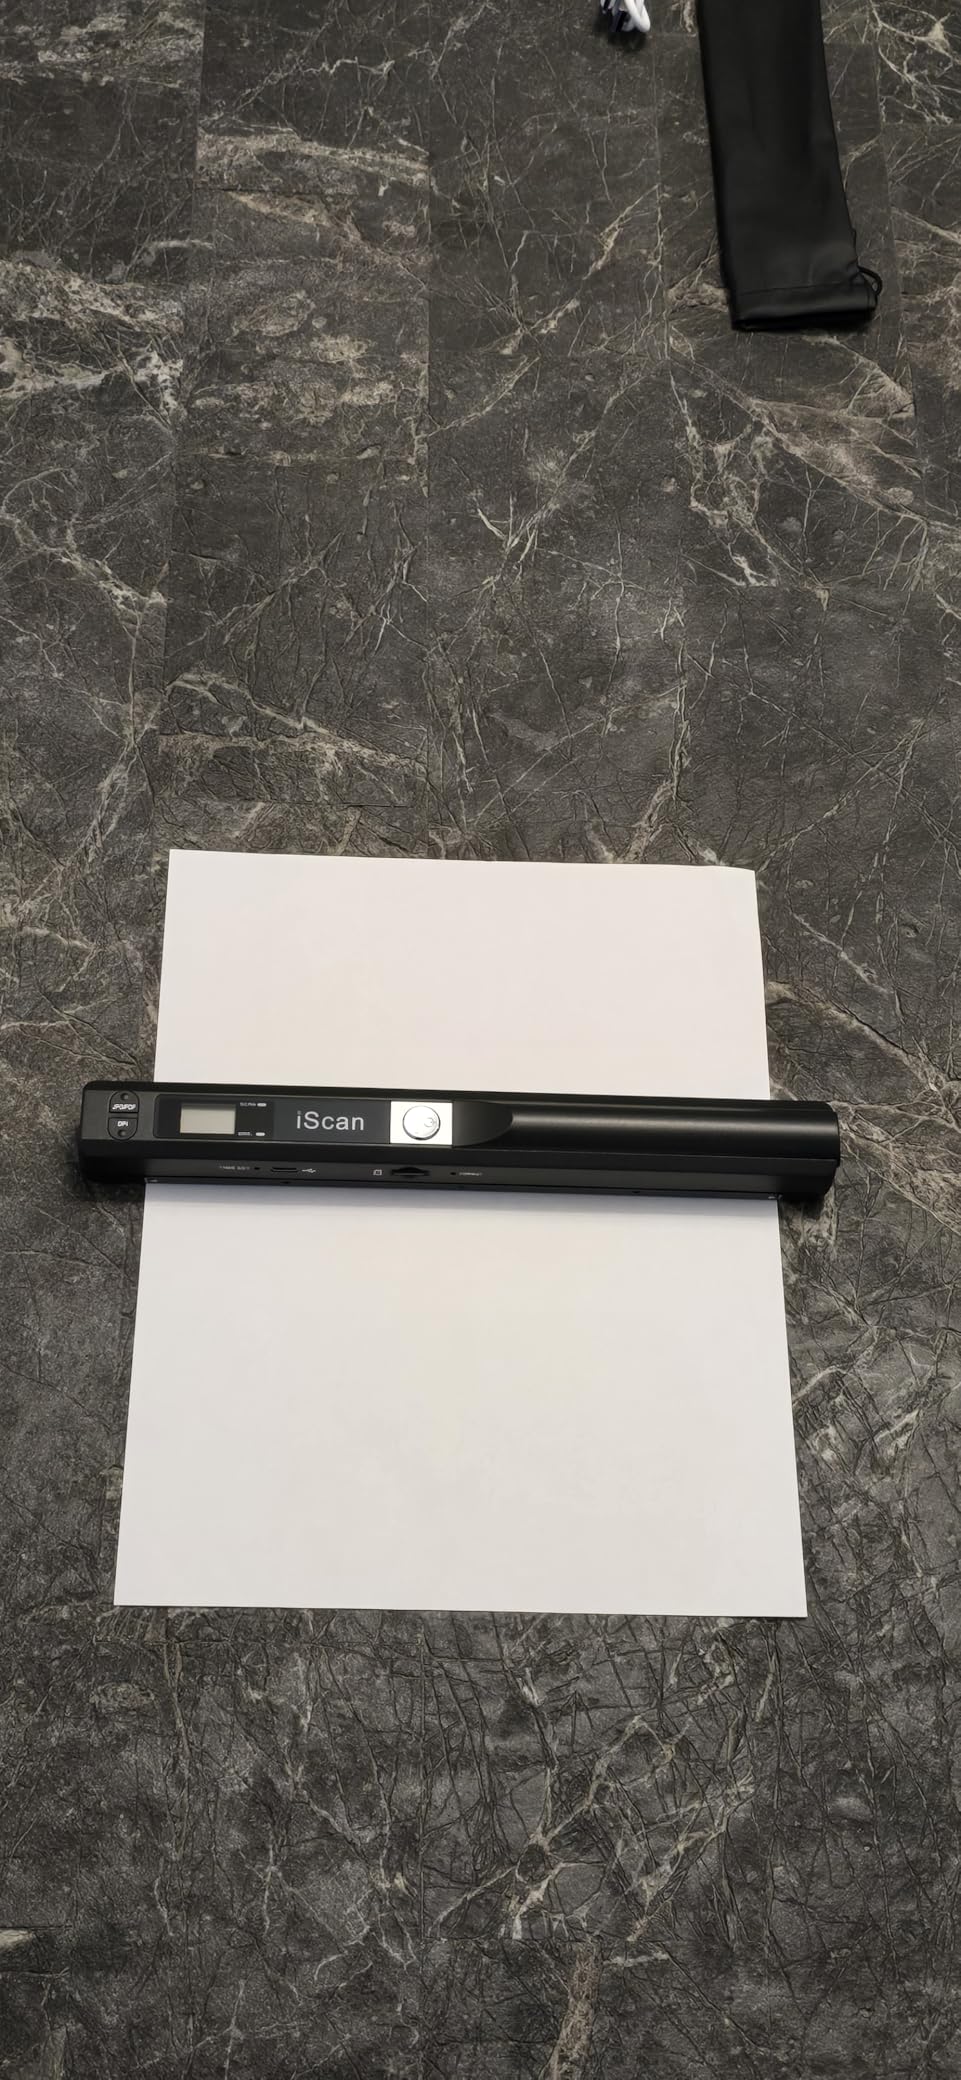
The manual scanning motion is the biggest factor affecting quality. If you move too fast, pause, or change angle mid-scan, the output will show distortion. With practice and a steady, consistent motion, the results improve significantly. This scanner rewards a bit of patience and technique.
Where the Hczrc shines is scenarios where a flatbed scanner simply is not available. Scanning a page from a bound book at the library, capturing a receipt for expense reports on a business trip, or digitizing a photo at a relative’s house when you cannot take the original with you. These are situations where any scan is better than no scan.
The JPEG and PDF output formats cover the most common file needs. For anyone who needs a scanner as an occasional convenience tool rather than a primary digitization device, the low price and extreme portability of the Hczrc make it a reasonable choice. Just do not expect it to replace a dedicated photo scanner for quality archiving.
Choosing the right photo scanner comes down to understanding what you are scanning, how much you need to scan, and what level of quality you require. Based on our research across forums, expert reviews, and customer feedback, here are the key decisions you need to make.
The first decision is which type of scanner fits your project. Flatbed scanners like the Canon LiDE 400 and Epson V19 II offer the best image quality per dollar. You place each photo on the glass individually, which produces the most accurate scan. The trade-off is speed, since you can only scan one item at a time.
Auto-feeder scanners like the Epson FastFoto FF-680W and Canon RS40 excel at volume. Load a stack of photos and the machine processes them automatically. This is the right choice for anyone with hundreds or thousands of photos to digitize. The trade-off is slightly lower edge quality and higher cost.
Film scanners like the KODAK Slide N SCAN and Magnasonic FS71 are purpose-built for negatives and slides. If your collection includes film rather than prints, you need one of these dedicated devices. Regular photo scanners cannot handle film without expensive additional accessories.
DPI, or dots per inch, determines how much detail your scanner captures. This is one of the most misunderstood specs in photo scanning. The DPI you need depends entirely on what you plan to do with the digital files.
For social media sharing and digital viewing, 300 DPI is perfectly adequate. A standard 4×6 photo scanned at 300 DPI produces an image roughly 1200 x 1800 pixels, which is more than enough for screens and online sharing. For printing at the same size as the original, 600 DPI gives you excellent quality. For enlargements or archival purposes, 1200 DPI or higher is recommended.
The maximum optical resolution of a scanner matters less than matching the resolution to your actual use case. Scanning every photo at 4800 DPI creates enormous files that eat up storage space without providing visible benefits for most purposes. Start with 300 or 600 DPI and only go higher for photos you plan to enlarge or that have significant archival value.
Most modern photo scanners use one of two sensor types. CCD sensors use an array of light-sensitive elements to capture images and generally produce better color accuracy and depth of field. The Plustek ePhoto Z300 uses a CCD sensor, which contributes to its strong image quality.
CIS sensors use a row of LEDs and are smaller, lighter, and more power-efficient. The Canon LiDE 400 and Epson models use CIS sensors, which is why they can be so thin and USB-powered. CIS technology has improved significantly, and for most photo scanning tasks, the quality difference between CCD and CIS is minimal.
If you are scanning textured prints, old documents, or materials where depth of field matters, CCD has an edge. For flat photos and general-purpose scanning, CIS sensors perform admirably while keeping the scanner compact and affordable.
If you have more than a few hundred photos to scan, speed becomes critical. This is where the Reddit community feedback is especially valuable. Users consistently report that flatbed scanners become impractical above 500 photos because the time investment is simply too large.
The Epson FastFoto FF-680W with its 1-photo-per-second speed and 36-photo batch capacity is the clear leader for large projects. The Canon RS40 with its 60-sheet ADF and 40-items-per-minute speed is a strong alternative. For smaller projects of 100 photos or fewer, a flatbed scanner like the Canon LiDE 400 works well and costs significantly less.
Consider how much time you can realistically dedicate to scanning. A collection of 2,000 photos takes roughly 35 minutes on the FastFoto at 1 photo per second. The same collection on a flatbed scanner at 30 seconds per photo would take over 16 hours of active scanning time.
Bundled software can make or break your scanning experience. The biggest pain point reported across forums is software that is difficult to use or incompatible with newer operating systems. Look for scanners that include auto-enhancement features like color restoration, dust removal, and red-eye correction.
Epson’s ScanSmart software and Canon’s utility suite both include photo restoration tools that handle common issues automatically. These features are especially valuable for old, faded prints from the 1960s through 1980s. Without auto-restoration, you would need to manually adjust each scan in Photoshop or similar software.
OCR (optical character recognition) is another feature to look for if you plan to scan documents alongside photos. OCR converts scanned text into searchable, editable digital text. Most scanners in this guide include some form of OCR in their bundled software.
Scanning your photos is only half the battle. How you store and organize the resulting digital files matters just as much. Forum users on r/DataHoarder emphasize the importance of a backup strategy that includes both local and cloud storage.
For archival quality, save your master scans as uncompressed TIFF files. These preserve maximum detail but are large. Create JPEG copies for sharing and everyday use. Store files on at least two separate drives plus a cloud backup service. Consider organizing by year, event, or family branch to make the collection navigable.
Name your files descriptively. A filename like “1985_Beach_Vacation_001.jpg” is far more useful than “scan001.jpg” when you are trying to find a specific photo years later. Metadata tagging in image editing software can add additional searchability by embedding dates, locations, and keywords directly in the file.
The u003cstrongu003eEpson FastFoto FF-680Wu003c/strongu003e is the best device for scanning old photos in bulk, processing one photo per second with batch scanning up to 36 photos at a time. For smaller collections where quality matters most, the u003cstrongu003eCanon CanoScan LiDE 400u003c/strongu003e offers 4800 DPI flatbed scanning at a budget-friendly price. If you have film negatives or slides rather than prints, the u003cstrongu003eKODAK Slide N SCANu003c/strongu003e converts them to 22MP digital files.
The u003cstrongu003eHczrc Portable Scanneru003c/strongu003e is the most portable option, weighing just 0.6 pounds and running on AA batteries. It scans at up to 900 DPI and requires no software installation. For a flatbed alternative that is still highly portable, the u003cstrongu003eEpson Perfection V19 IIu003c/strongu003e weighs only 3.1 pounds and is USB-powered, making it easy to transport between locations.
The best approach is to use an auto-feeder scanner like the u003cstrongu003eEpson FastFoto FF-680Wu003c/strongu003e for high-volume scanning. Sort photos by size, remove any staples or adhesive residue, and scan at 300 DPI for sharing or 600 DPI for archiving. Use the auto-enhancement features for color restoration on faded prints. Save master copies as TIFF files and create JPEG versions for sharing, then back up everything to both local storage and cloud services.
For digital sharing and viewing on screens, u003cstrongu003e300 DPIu003c/strongu003e is sufficient for most photos. For printing at the same size as the original, use u003cstrongu003e600 DPIu003c/strongu003e. For enlargements or archival preservation, scan at u003cstrongu003e1200 DPI or higheru003c/strongu003e. Scanning everything at maximum resolution creates unnecessarily large files without visible quality benefits for most uses.
Yes, you can scan film negatives at home using a dedicated film scanner like the u003cstrongu003eKODAK Slide N SCANu003c/strongu003e or u003cstrongu003eMagnasonic FS71u003c/strongu003e. These standalone devices convert 35mm, 110, and 126mm film negatives and slides into digital JPEG files without needing a computer connected. They typically cost between 130 and 190 dollars and produce results suitable for sharing and moderate-quality printing.
Finding the right photo scanner depends entirely on what you are digitizing and how much time you have. If you need to scan thousands of family photos quickly, the Epson FastFoto FF-680W is the clear winner with its 1-photo-per-second speed and 36-photo batch capacity. For budget-conscious buyers who want quality flatbed scanning, the Canon CanoScan LiDE 400 delivers 4800 DPI resolution in an ultra-slim design that fits any desk.
If your collection is primarily film negatives and slides, the KODAK Slide N SCAN or Magnasonic FS71 will bring those analog memories into the digital world. And for anyone who needs scanning capability on the go, the Hczrc Portable Scanner offers an affordable, battery-powered solution. Pick the scanner that matches your collection size, budget, and quality requirements, and start preserving your photos before time takes its toll.