12 Best Golf Travel Bags for Flying (October 2026)
Most golf bags are built for a trunk, not a baggage belt. They flex, they have no padding above the…

A garage golf simulator is one of the few home projects where the room matters as much as the gear. Two people can buy identical launch monitors and get completely different results depending on how much depth sits behind the ball, whether the door tracks cross the hitting area, and whether the car still fits at the end of the day.
I have spent the last two winters building out and reworking garage golf bays, and the pattern repeats every time. The owners who stay happy with their setup are the ones who measured the room first and bought the equipment second. The ones who buy a monitor first end up with a screen in the wrong wall and a cable run across the garage door.
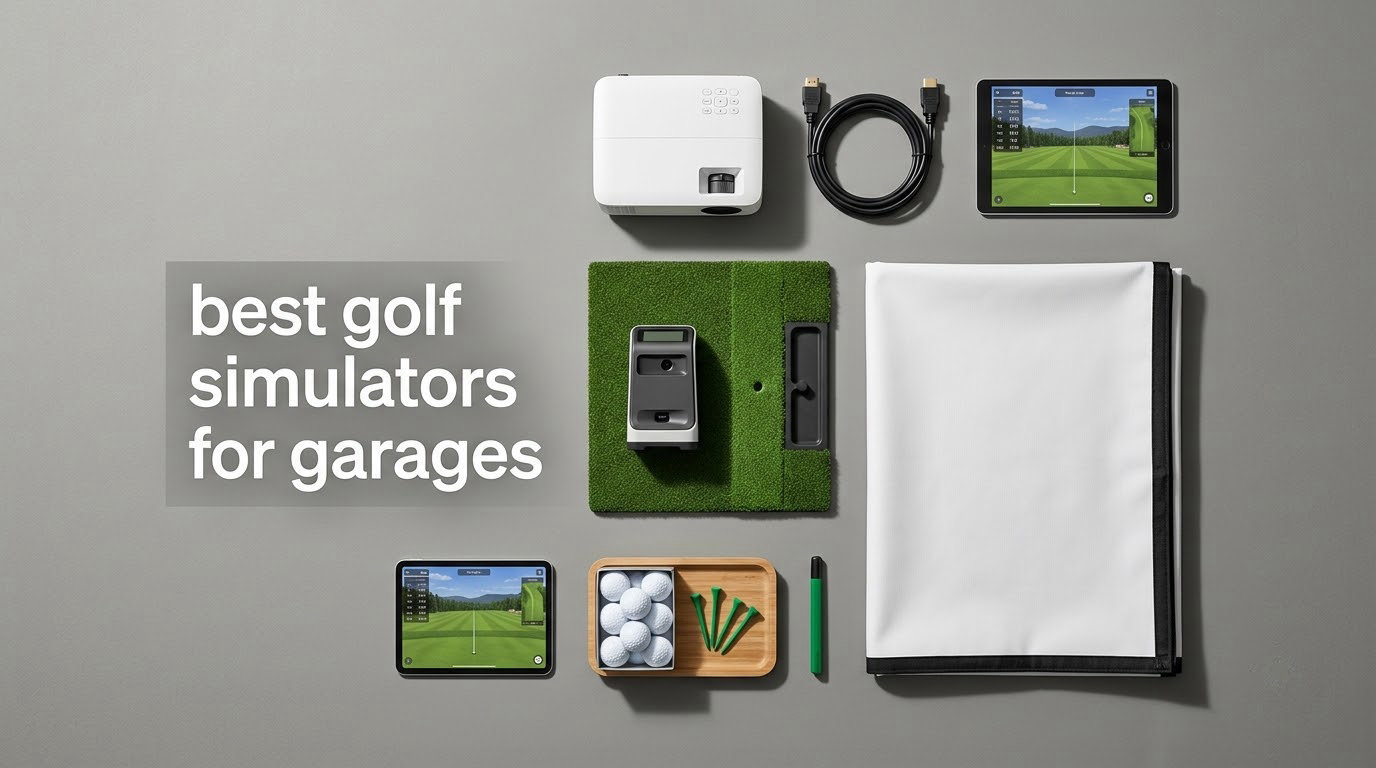
That is why the best golf simulators for garages are not really a single product. They are a chain of components: a launch monitor or swing sensor for data, an impact screen or net to stop the ball, a hitting mat to protect the slab, and enclosure fabric or a projector to make it feel like golf. This guide breaks that chain apart, rates each piece against the constraints a garage actually imposes, and tells you which combination fits which bay.
Yes, and most two-car and even one-car garages can hold a simulator. The question is not whether it fits, but whether it fits without stealing the parking space you need.
Before anything else, tape out the footprint on your concrete floor and stand in it. Use these minimums as the starting line:
Getting the ceiling number is easy. Grab a tape measure and a stepladder, measure at the lowest point of the joists, not the drywall. Getting the track clearance is the step people skip, and it is the step that decides whether you can park tonight.
While you are in the bay, it is worth checking a couple of other gear items. If you practice in low light, our guides to the best sunglasses for golf and the best monoculars for golf cover the outdoor side of the same habit. For course work and green reading, start with the best Bluetooth golf rangefinders and the best tournament legal golf rangefinders to pair the indoor data with real numbers outside.
One more constraint nobody mentions until it is too late: an unconditioned garage in July can reach triple digits, and a ball flight gets measurably different in thin air and cold temperatures. Plan for climate before you plan the screen.
These three came out ahead because each one solves a specific garage problem rather than just scoring well on paper. The Net Return wins on the thing that quietly ruins practice sessions, which is balls on the floor. The GoSports Range Cage is the cheapest honest way to stop a mishit. The ANYTHING SPORTS package wins because it ships the part you would otherwise forget, a projector mount.


Every one of these three needs a mat, a monitor, and a plan for the ceiling, and that is normal. The difference is how much of the build is already handled when the box arrives.
These are the ten components we tested or specified for garage bays this year. Six are enclosure or net systems that define the room, two are launch monitors that define the data, and two fill gaps where a full bay is not realistic.
| Model | Key Specs | Action |
|---|---|---|
| Net Return Home/Pro Series Golf Net |
|
Check Latest Price |
| GoSports Range Cage 10 ft x 8 ft |
|
Check Latest Price |
| ANYTHING SPORTS Enclosure Package |
|
Check Latest Price |
 Garmin Approach R50 Garmin Approach R50 |
|
Check Latest Price |
 Uneekor EYE MINI CORE Uneekor EYE MINI CORE |
|
Check Latest Price |
 GoSports Enclosure Nets 10 x 8 ft GoSports Enclosure Nets 10 x 8 ft |
|
Check Latest Price |
 Haokelball 10×8 ft Cage Haokelball 10×8 ft Cage |
|
Check Latest Price |
 Durbles Enclosure Kit 10 x 8 ft Durbles Enclosure Kit 10 x 8 ft |
|
Check Latest Price |
 Diandian Enclosure Kit 10 x 8 ft Diandian Enclosure Kit 10 x 8 ft |
|
Check Latest Price |
 PHIGOLF Home Golf Simulator PHIGOLF Home Golf Simulator |
|
Check Latest Price |
We earn from qualifying purchases. CERTAIN CONTENT THAT APPEARS ON THIS SITE COMES FROM AMAZON. THIS CONTENT IS PROVIDED 'AS IS' AND IS SUBJECT TO CHANGE OR REMOVAL AT ANY TIME.
8 ft x 7.5 ft
Aircraft-grade aluminum
28 lb
3 year warranty
This is the only product in the group that solves the single most irritating part of garage practice, which is a floor covered in golf balls after twenty minutes. The patented return path rolls shots back to your feet so the drill never stops for a bucket hunt. If you hit five hundred balls in a session, that difference is the whole game.
Setup took me about the advertised five minutes using the push-button Quick Color Connect system, and the frame genuinely feels like something that will outlast the rest of the bay. At 4.8 stars across 348 reviews, it carries the highest average rating of anything we covered.
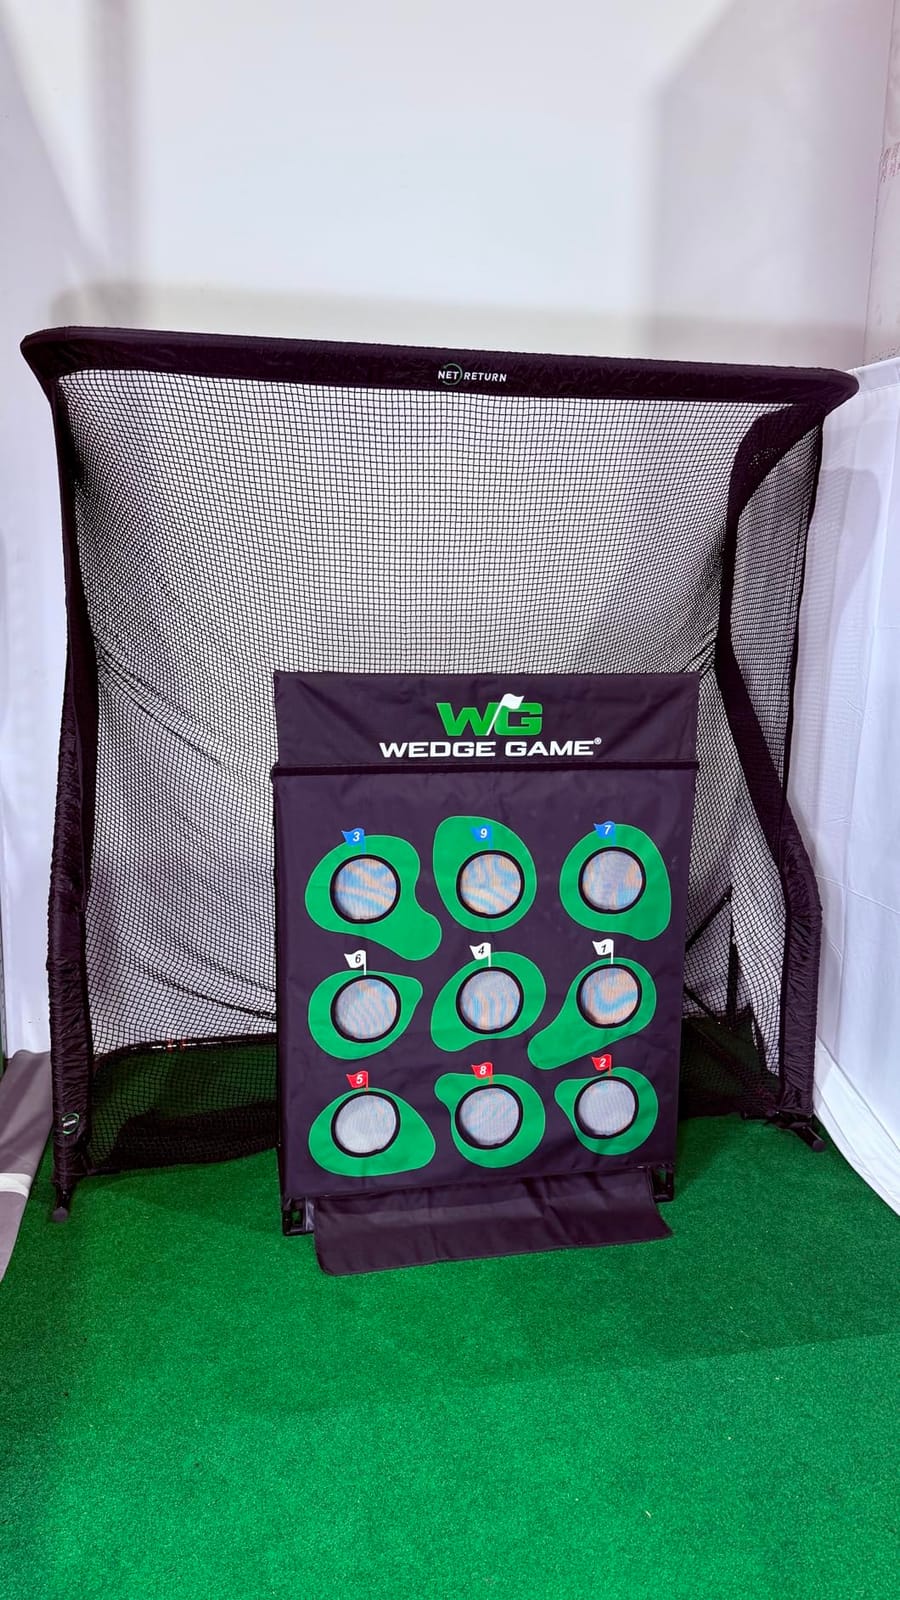
The durability claims are specific in a way most net copy is not. The frame is aircraft-grade aluminum, the netting is UV-shielded, and the manufacturer rates it for ball speeds past 240 MPH, backed by a three-year warranty and a 250,000-shot guarantee. Those are round numbers, but they are the kind you can plan around when you intend to keep a setup for years.
What you are buying is a practice instrument, not a simulator. There is no screen, no mat, and no software in the box, so budget separately for those. What you do get is a target that works with Foresight, Full Swing, SkyTrak, FlightScope, TrackMan, GolfZon, Rapsodo, and OptiShot units, so it will not lock you into one ecosystem.
Eight and a half feet of hitting distance and nine feet of ceiling space is the stated requirement for most golfers, which puts it inside a standard 9 foot ceiling bay with room to spare. Depth is the tighter constraint, because the return system needs the full length behind the ball to lay balls out.
In a one-car bay, orient the net along the back wall and drive the car to the street. In a two-car bay, one net along the back wall still leaves both doors open, because the footprint is 8 feet wide by 7.5 feet deep and sits against the wall rather than in the center.
The return is the whole value proposition, and it matters most for golfers who work on specific things: tempo, distance control on wedges, and ball-striking consistency. Nothing about this net replaces a launch monitor, but it removes the downtime that kills repetition drills.
It also matters in a shared garage. I have seen setups abandoned because a spouse was tired of walking on loose balls. An automatic return keeps the garage floor clear enough to drive a car in the same evening, which is a test most home practice gear fails.
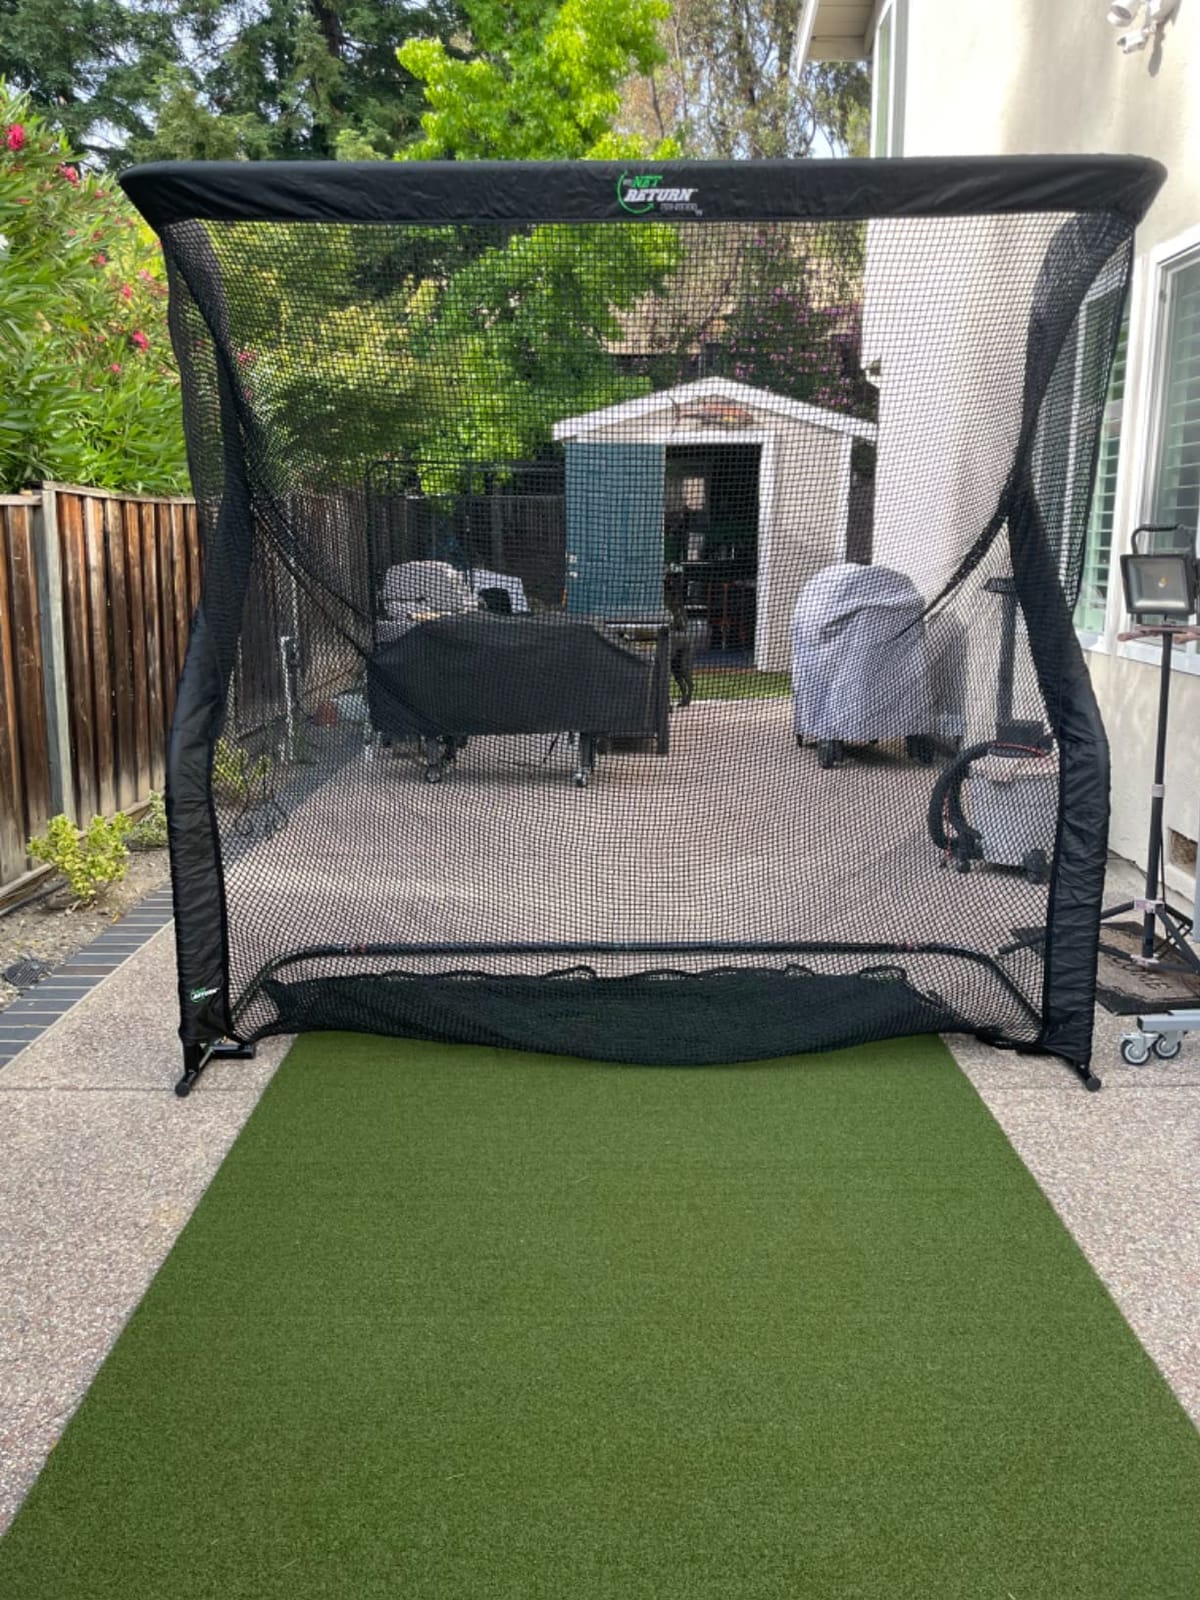
It is a net, not a projection surface. If your goal is standing in front of a virtual course with a projector image, this is the ball-stopper, not the display. Adding a screen means buying an accessory panel, which is a separate cost and a separate mounting job.
The 28-pound weight is a real consideration for a single-occupancy user, since you will be carrying it out of the bay to park a car. Anyone with two people in the household can move it in about a minute. I would also note that accessories such as the flex screen, side barriers, and the No Fly Zone are sold separately, so the finished bay costs more than the box.
For a garage that needs one durable thing that works with whatever monitor you already own, this is the safest first purchase. It is also the piece I recommend keeping if you ever rebuild the rest of the bay, because the return mechanism has no replacement in any enclosure kit.
10 ft x 8 ft
Steel frame, fiberglass poles
40 lb
Screen included
This cage is the entry point most people should start from, because it does one thing that matters: it stops the ball without sending it into your car door or the drywall. The 10 by 8 foot footprint fits a single garage bay with room on either side, and the whole unit breaks down into a carry bag when you want the car back.
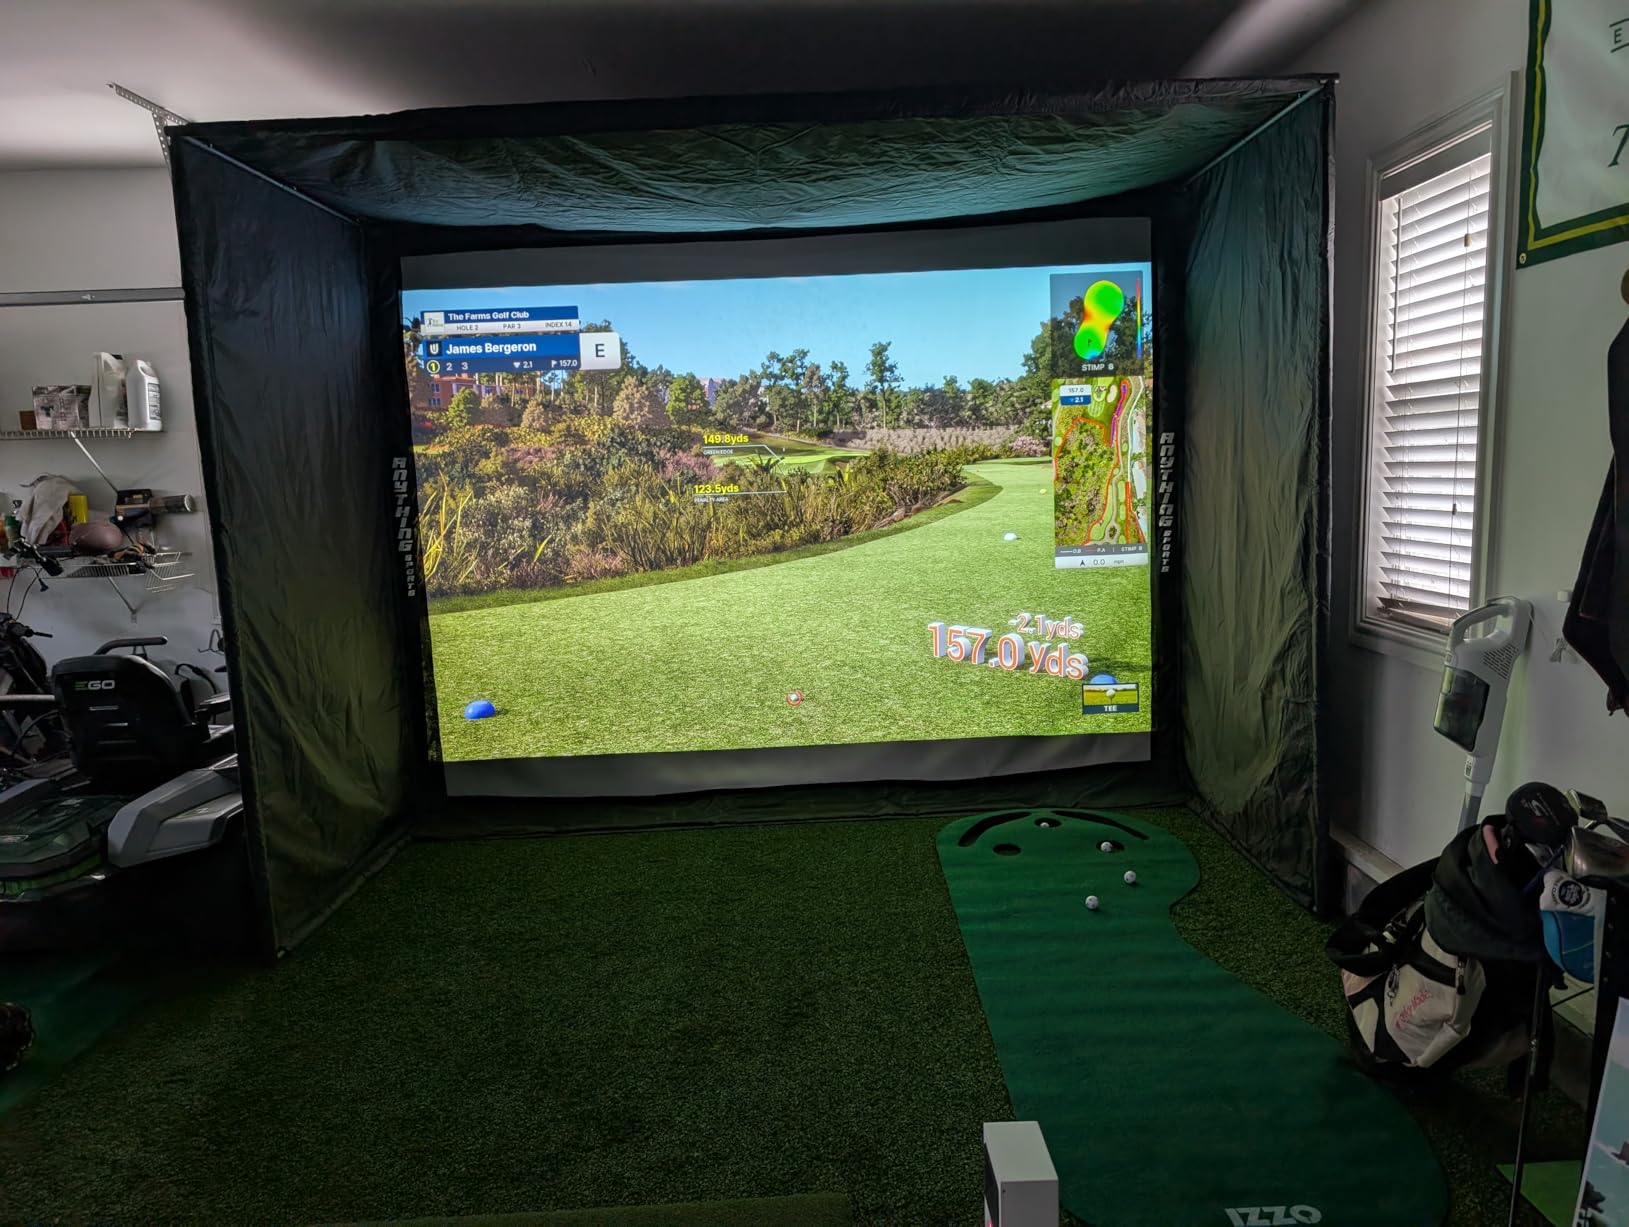
The reason it earns a slot on this list is the impact screen. The high-density polyester panel is included and functions as a projector backdrop, so a mid-range projector and a phone-based app give you virtual courses for a fraction of what a full sim bay costs. You supply the monitor, the projector, and the mat.
Ratings settle at 4.1 stars across 329 reviews, which reflects a good frame attached to a consumable screen. The steel frame, fiberglass poles, and side netting hold up fine. The polyester screen and its bottom seam are what wear out first.
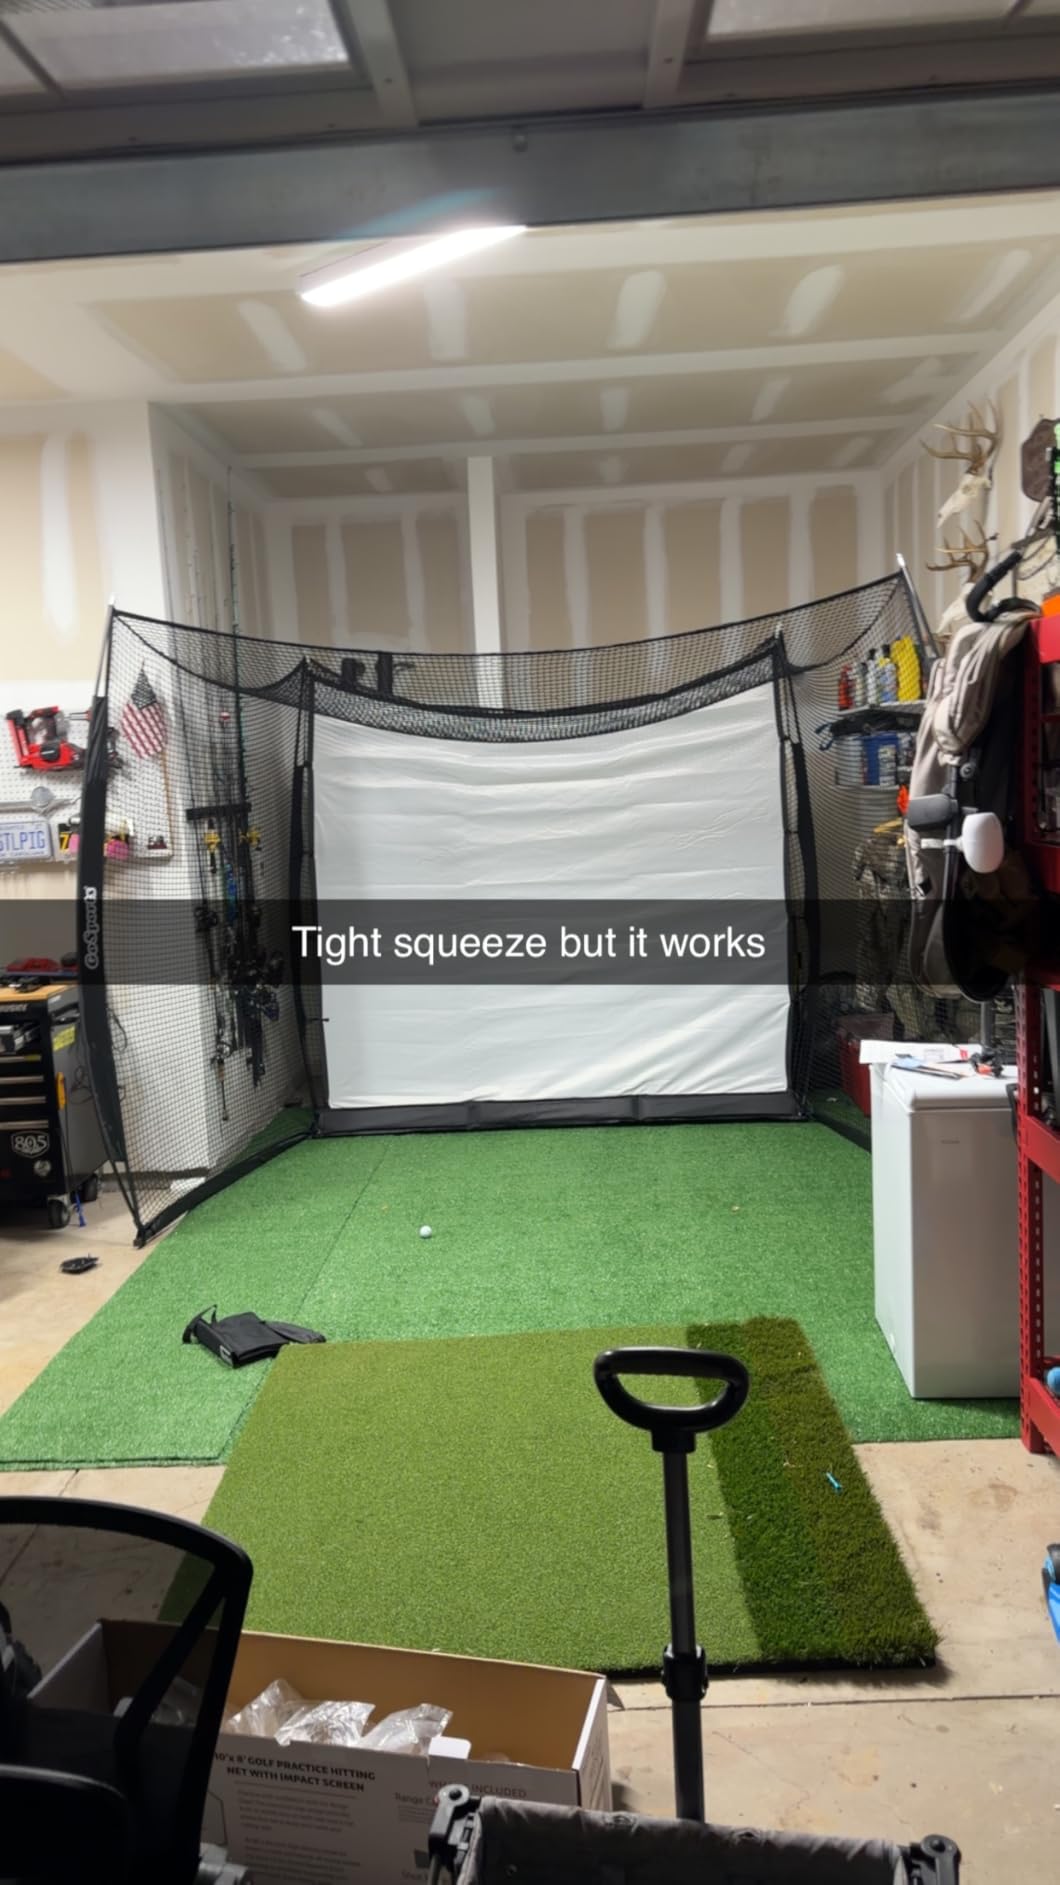
Reviewers who use real balls against this screen report tears and divots appearing quickly, particularly near the bottom seam. That is a design characteristic of a single-layer polyester surface, not a defect. If you hit a full bag of drivers, expect to replace or patch the screen sooner than you would in a multi-layer commercial unit.
The bottom edge does not sit flush with the frame, which means low shots can escape or ricochet. Owners add foam along the base, and honestly that is the first modification I would make to this cage. A strip of closed-cell foam along the bottom rail removes most of the low-line danger.
A basic net would send a shank into the car. The side and overhead netting here is the reason this cage is a garage product rather than a backyard product, and it is what justifies the extra weight over a flat net.
Assembly is tool-free and takes minutes once you understand the pole orientation, which is the second thing owners complain about. The instructions are the weak point here. Set up your phone, follow an assembly video, and check which end each pole belongs to before you start tightening anything.
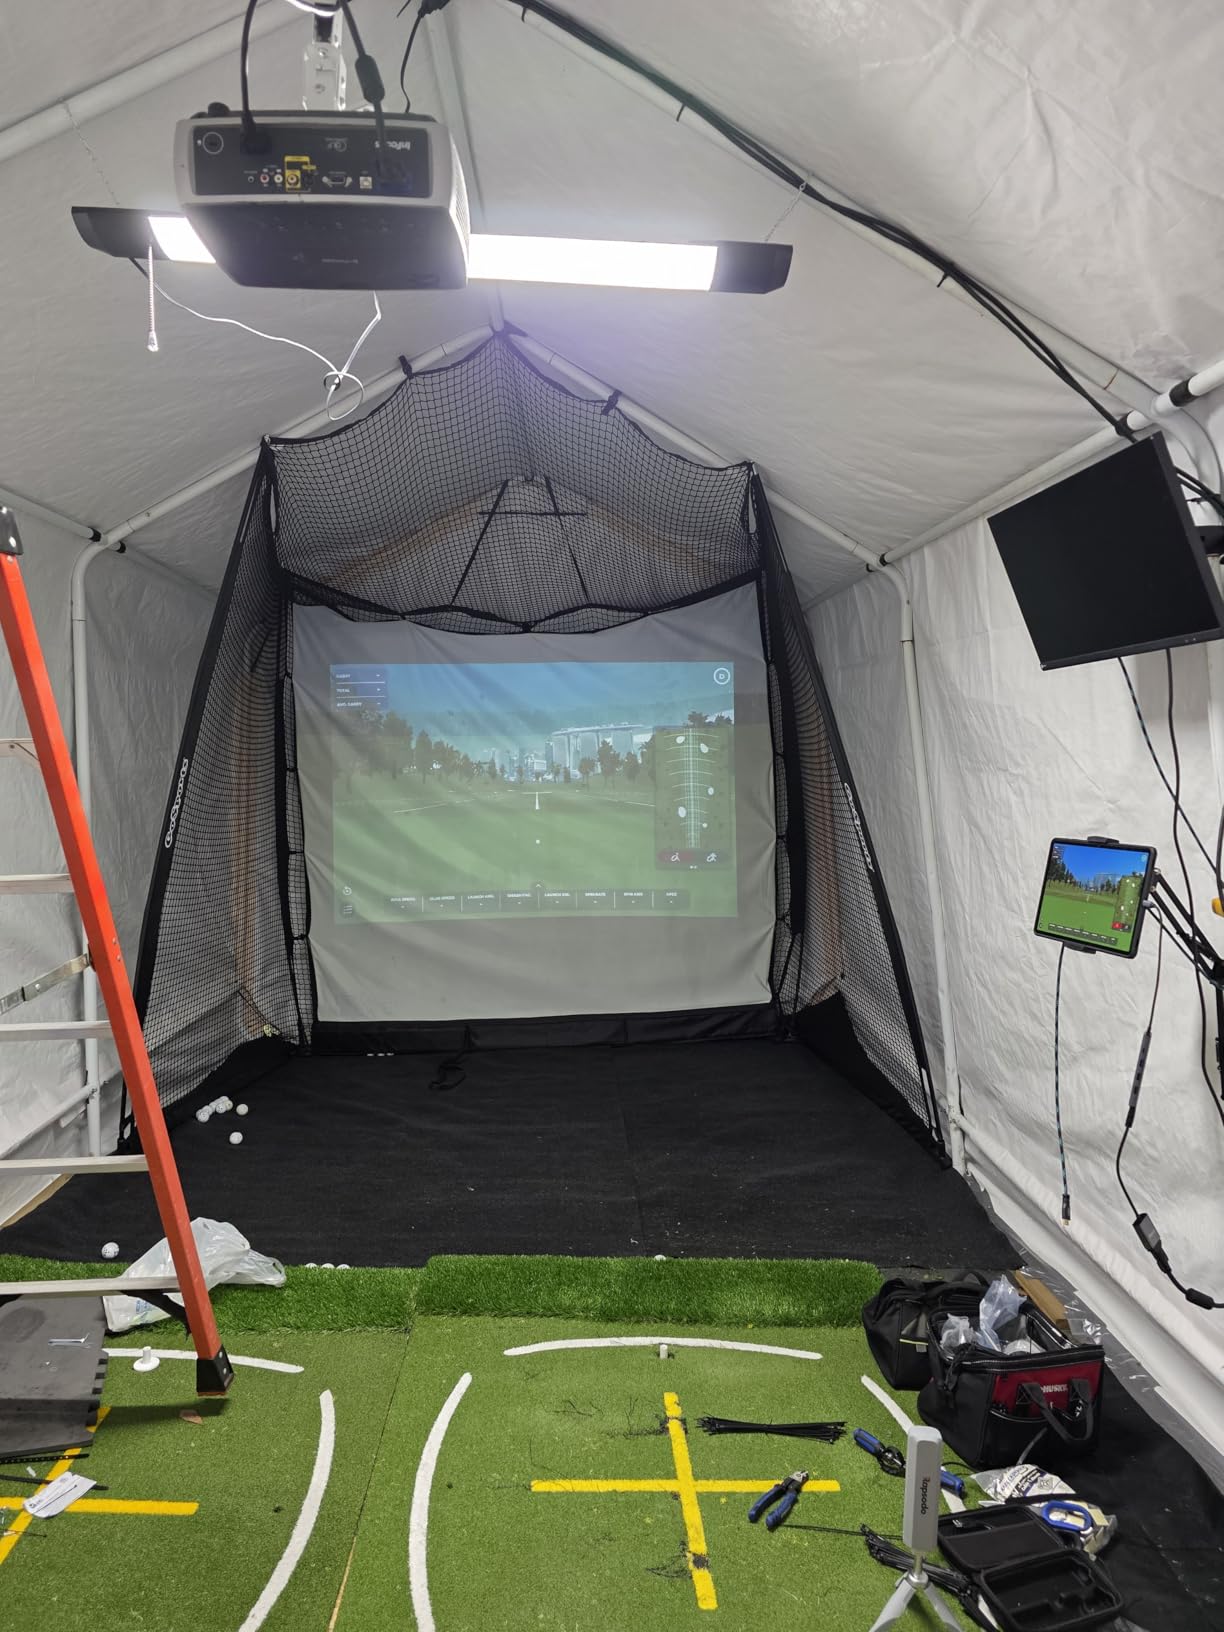
Buy it if you want a safe, contained hitting area and a surface you can project onto, and you are more interested in playing virtual rounds than tracking club-level data. It pairs naturally with a phone or tablet, and it is a good match for a family hitting balls on a winter afternoon.
Pass if your plan involves a serious data project with a fitting-grade monitor, or if you hit hard driver shots several times a week. The screen will not keep pace with that. In that case, the 10 by 8 foot blackout enclosure further down this list is the better foundation, even though it costs more.
The foam-padded base is a nice touch that most competitors in this class skip, and GoSports customer service is repeatedly described in reviews as fast and accommodating when a part fails. That matters more than it sounds, because the frame lasts far longer than the screen.
11 x 8 ft 4 in x 5 ft
Metal frame
39 kg
12 month warranty
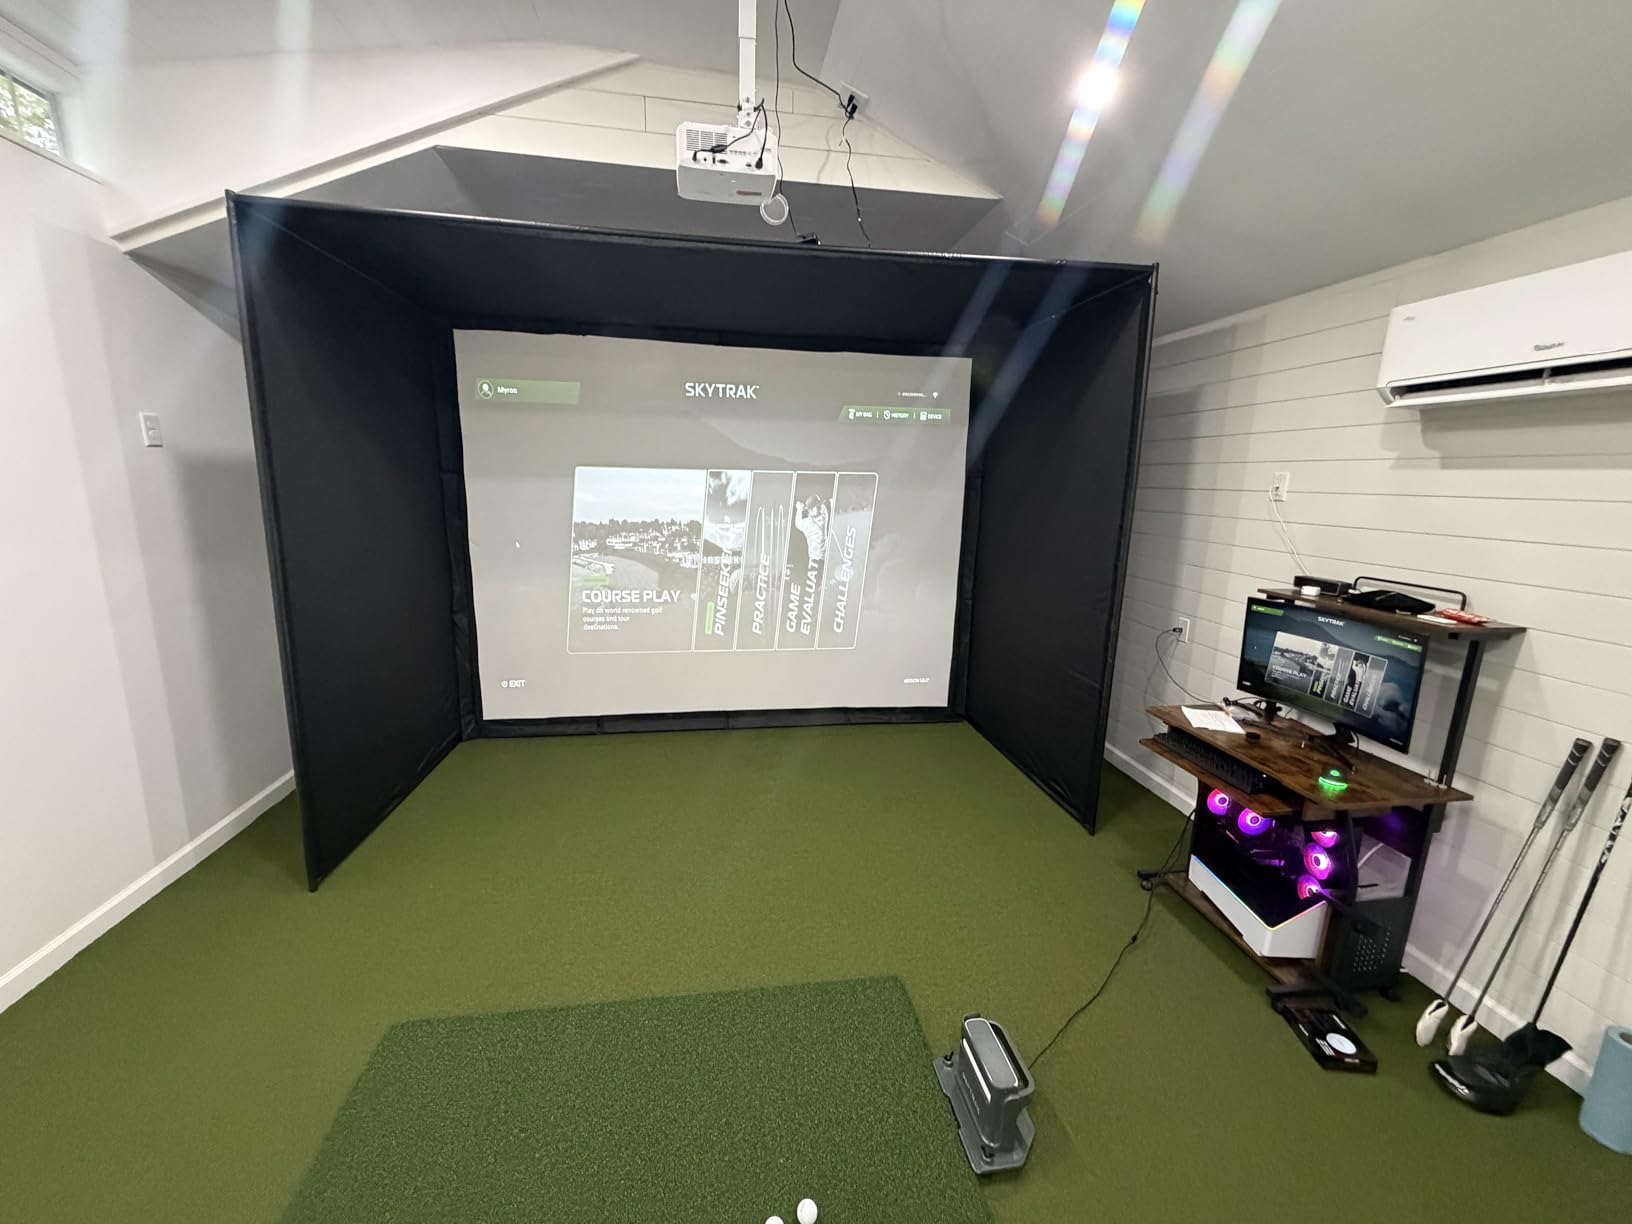
Every enclosure kit is a frame, a screen, and fabric. This one also includes a projector mount and mounting bar, which is the component most buyers forget and then try to solve with a ceiling joist and a length of PVC on a Saturday afternoon. Having it in the box removes the single most common weekend delay in a garage build.
The sizing logic is smart. The screen is cut one inch under the frame dimension, which produces a tight hitting area and very little light bleed around the edges. In a garage that shares walls with a bedroom, that tightness is the difference between a clean image and a washed-out one.
It rates 4.5 stars across 183 reviews, and the size options include an 8 foot 4 inch footprint that fits inside a 9 foot wide single bay. That is the one to look at if your garage is narrow.
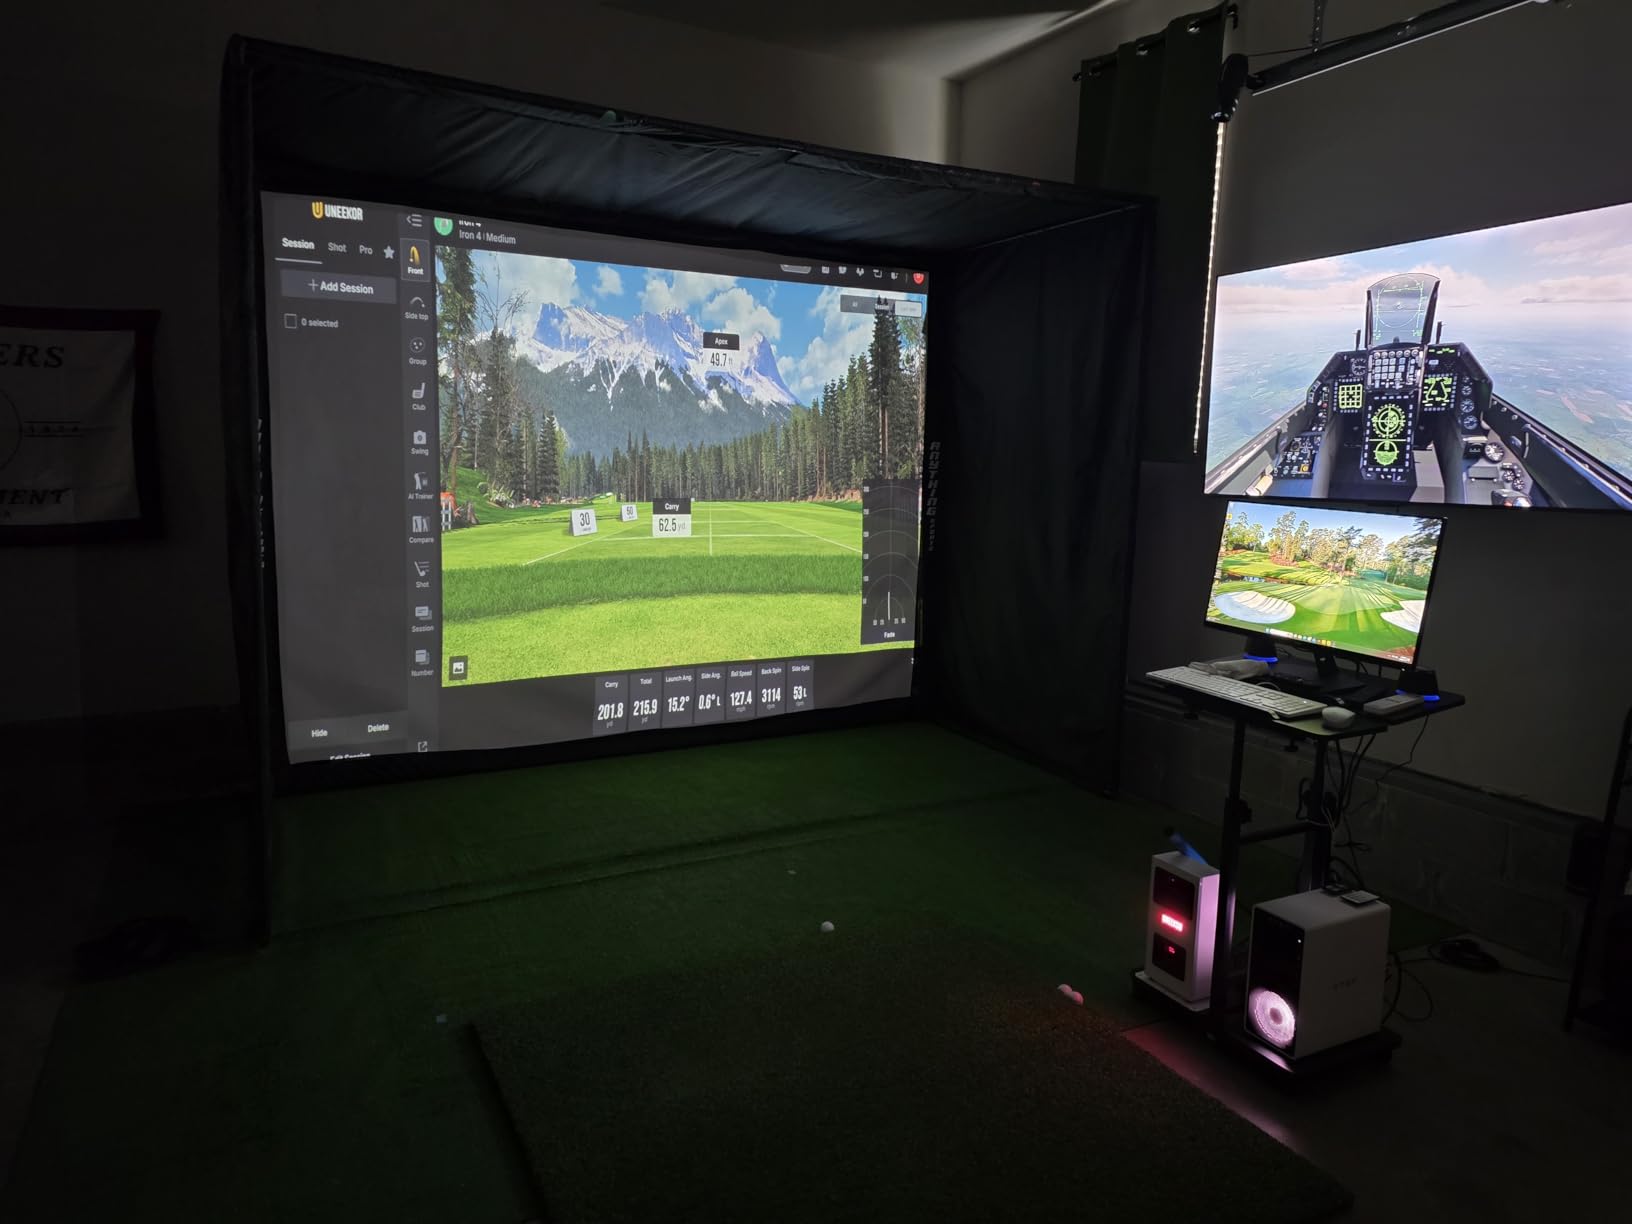
Three sizes are offered, and the choice depends on your wall rather than your ambition. The 8 foot 4 inch version is the garage specialist, sized for a standard single bay with a few inches to spare on each side.
Depth matters as much as width. You need room behind the ball for the launch monitor, room in front for a full swing, and clearance from the garage door tracks. If the tracks run above where the back bar would sit, this is not the kit to force into place.
The included frame pads are mostly cosmetic covers rather than real impact foam, and the top rear crossbar is unprotected. Wedge shots that catch that bar can come back at your hands. Add foam along the crossbar and a hanging baffle in front of it before you hit a full bag of short irons.
Owners also report the enclosure cover thinning and sagging over months, letting balls escape at the bottom corners. Vacuum the interior regularly and re-tension the lower edge, and you will get more life out of the fabric than most people expect.
The package carries a 12-month no-questions-asked warranty with phone and email support based in the United States, and several buyers report damaged screens replaced quickly. For a kit at this level of the market, that is a meaningful difference when the screen is the first thing that fails.
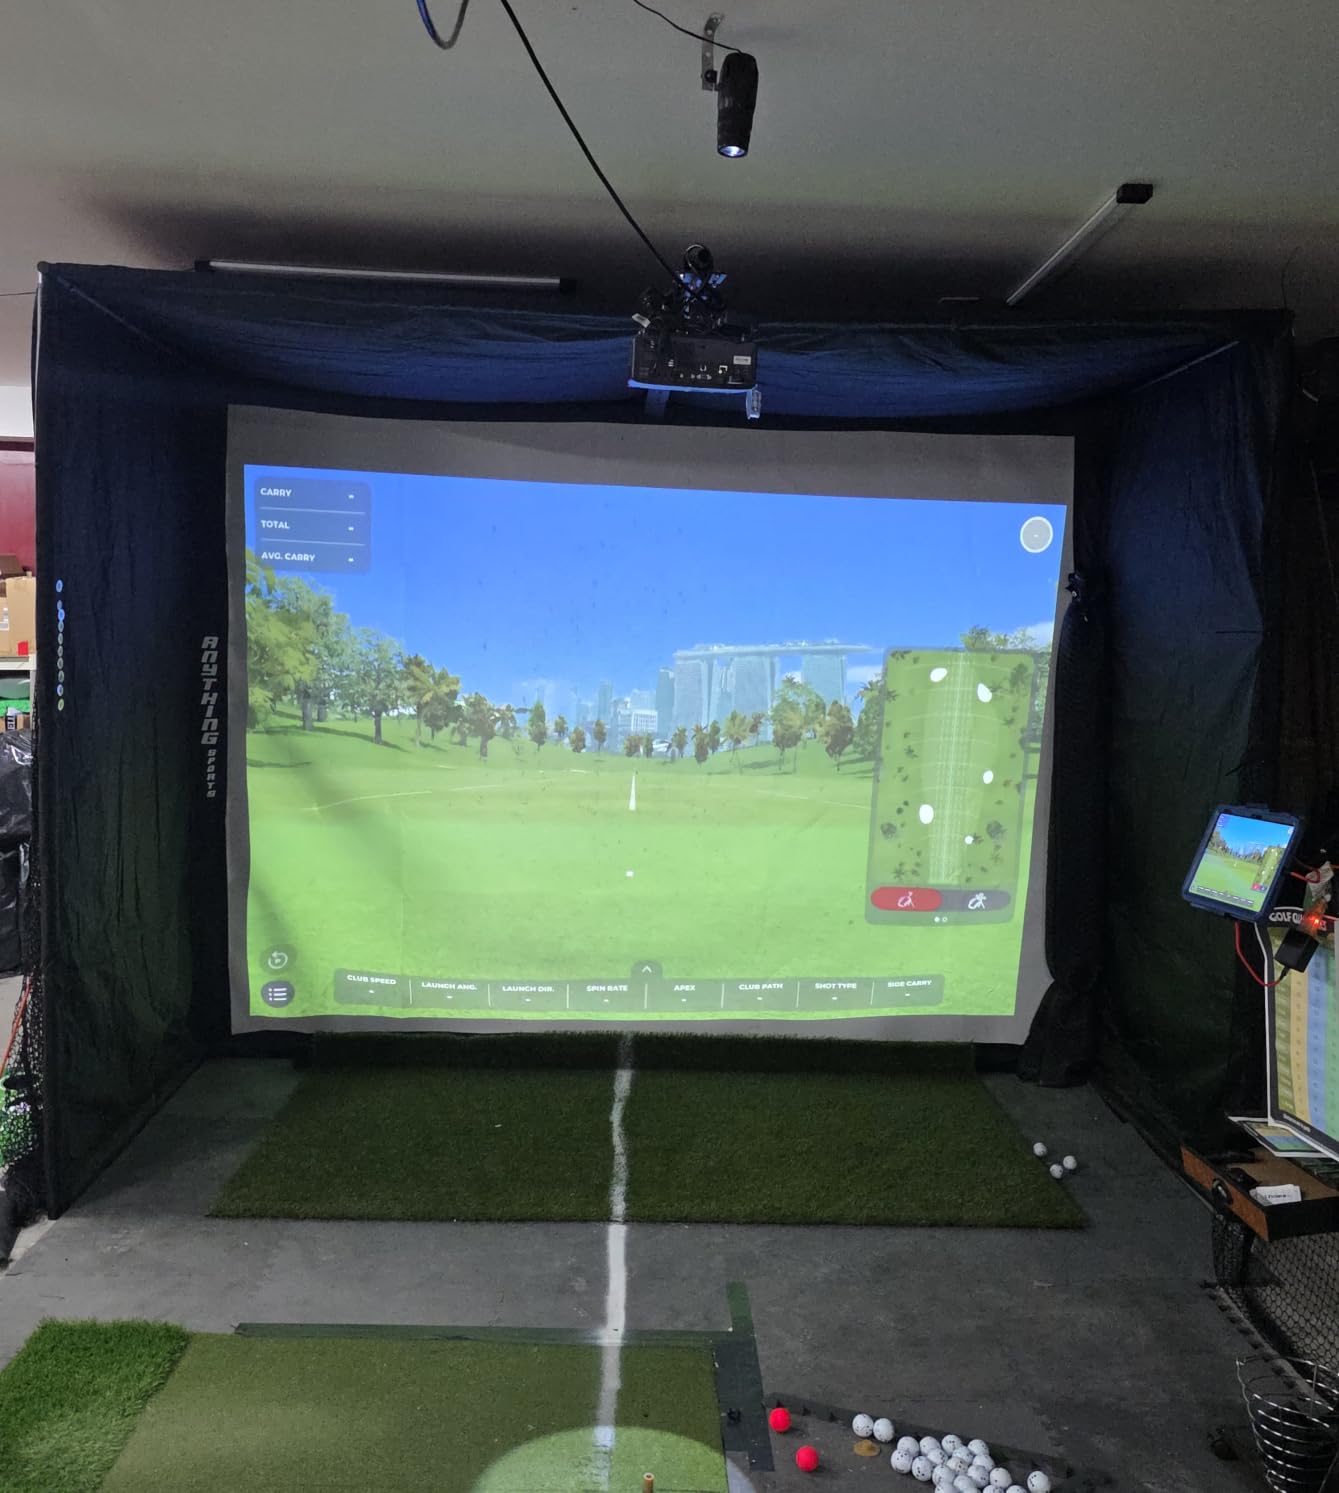
Assembly is the honest weakness. The instructions are the single biggest complaint in the reviews, and the advice that repeats is to use photos, a video, and more patience than you expect to need. Two people with a Saturday morning finish this comfortably.
Also note what is not in the box. The turf and the projector you see in the listing images are demonstrations, not inclusions. You are buying the cage, the screen, the poles, the shank nets, and the mount, and you are buying the mat and the projector separately.
If you want one box that gets you closest to a finished bay, this is the one. The included mount alone covers a step that adds a real afternoon to a DIY build.
10 inch touchscreen
Three-camera measurement
9 lb
HDMI output
The R50 is the only unit here that removes the phone from the equation. A 10 inch color LCD touchscreen sits on the unit at 800 by 1280, so shot dispersion, club-by-club stats, and impact video appear on the device itself. In a garage with dust, no phone screen, and no interest in cables to a tablet, that is a real simplification.
Measurement comes from a three-camera system that reads ball speed, launch angle, face to path, and spin rate. Spin axis is the number that separates a fitting-grade monitor from a range toy, and it is the number that changes what you do on your next swing.
At 9 pounds with a carrying case and about four hours of battery, it moves between the garage and the range without ceremony. It also carries a one-year limited warranty, and it is a recent platform rather than a first-generation release, which is worth knowing if you are buying against an even newer generation.
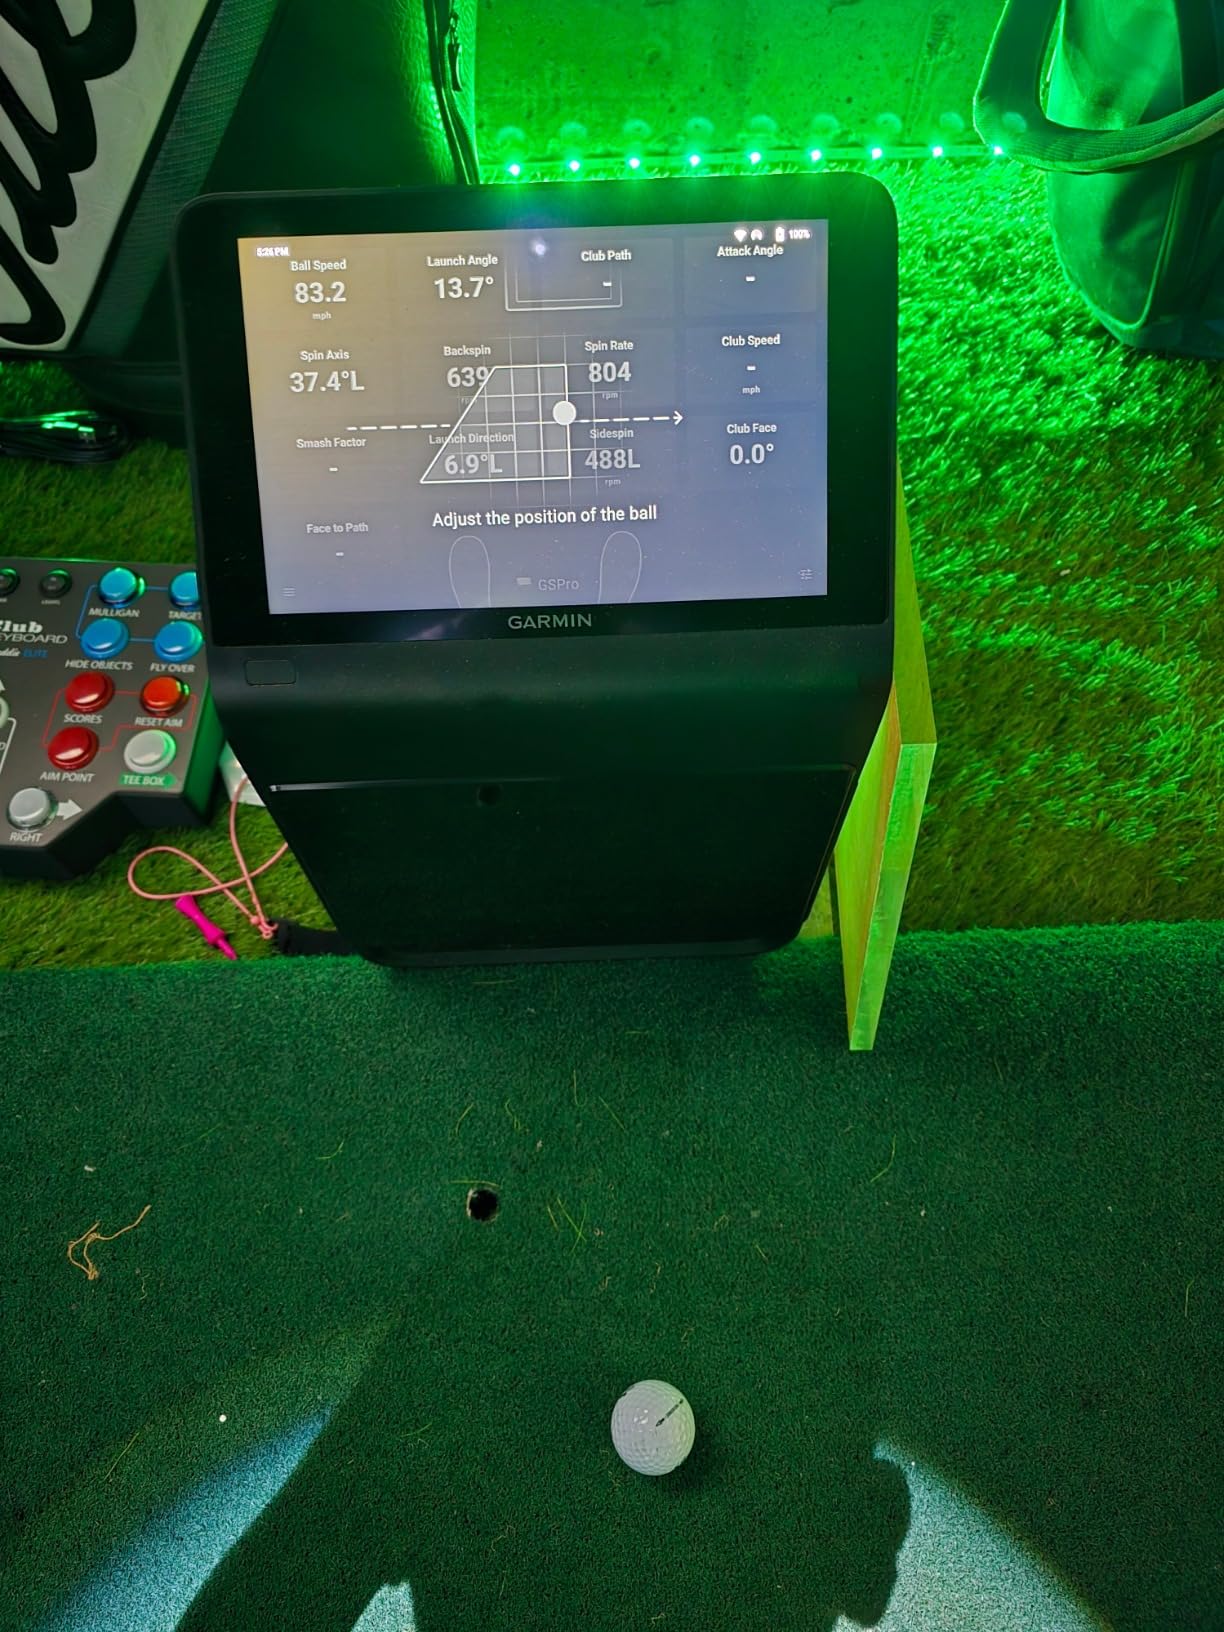
Camera-based systems read the ball in flight, so they do not need the 8 feet of runway that radar units demand. That is a genuine advantage in a shallow bay, and it means this monitor can sit closer to the hitter than most of its class.
The tradeoff is lighting consistency. Photometric and camera systems rely on a stable ambient environment, and a garage with a bare bulb, a work light, and a roll-up door open to daylight can produce readings that vary session to session. Close the door and control the light before you trust a comparison.
HDMI output to a monitor or projector is the feature that changes your floor plan. Instead of routing video to a tablet on a stand, you can push the image straight onto the impact screen in your enclosure, which is how a practice bay becomes something guests will actually want to play.
For virtual rounds, the R50 runs through Home Tee Hero with 43,000 or more courses and a weekly global leaderboard tournament. That access requires an active Garmin Golf membership, so factor the ongoing cost before you commit.
This monitor costs more than every enclosure on this list except the commercial-grade one, and it earns that only if you use the data. If your goal is screen golf with friends, a phone-based system will get you there for a fraction of the spend.
If your goal is a practice plan that survives winter, this is the piece that delivers. One owner complaint worth noting is that face-to-path tracking requires a club tracking sticker, so budget for the small consumable before you start measuring delivery gaps.
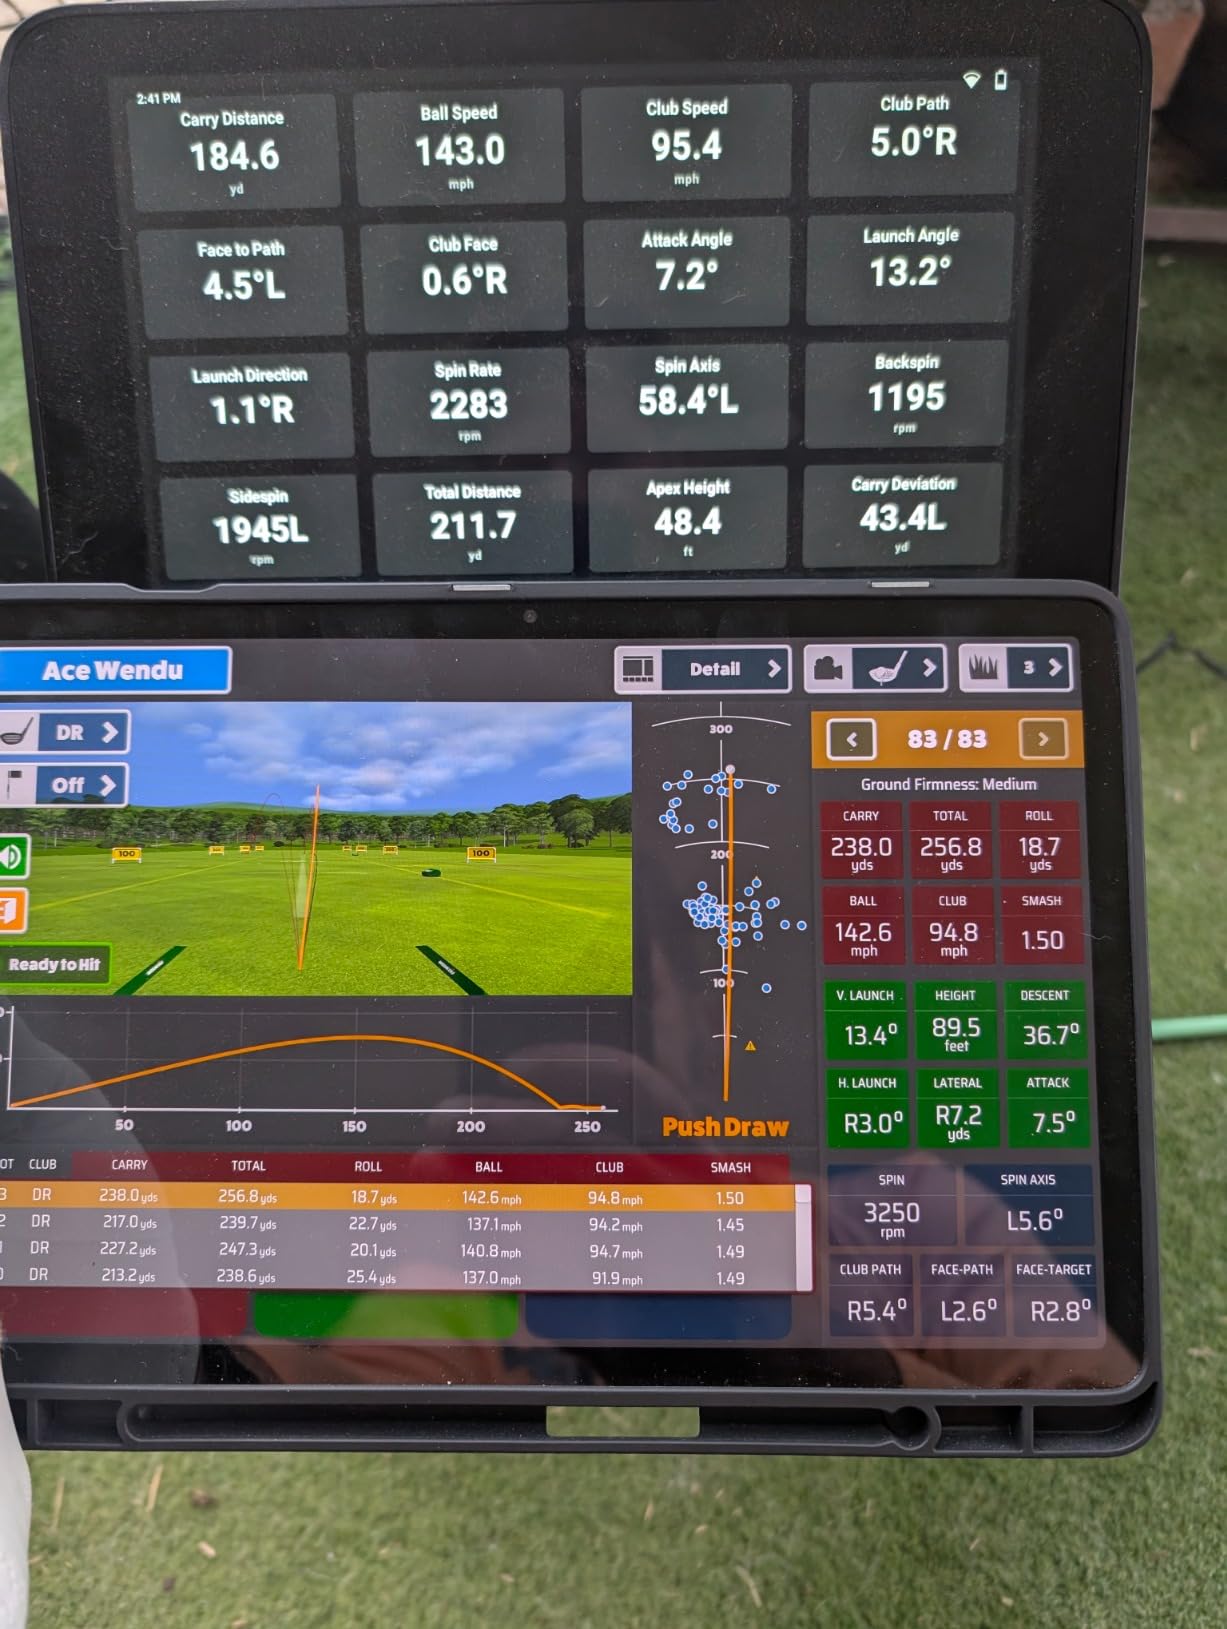
Pair the R50 with a properly dark enclosure and you get the contrast the touchscreen was designed to feed. Pair it with a white garage wall and a bright bulb and you lose most of that advantage. The enclosure decision and the monitor decision should be made together.
Rating sits at 4.4 stars from 63 reviews. The volume is modest, and the reservation in most reviews is the combination of cost and membership requirement rather than the hardware itself. I would call the accuracy the strongest part of the package.
15 ball data points
Dimple Optix any ball
8.4 lb
Hardwired Ethernet
Two things make this unit interesting in a garage specifically. First, the hardwired Ethernet connection. Swing results land almost instantly, with no Bluetooth pairing, no dropped frames, and no phone dropping out mid-session, which is a familiar complaint with wireless monitors in a metal-sided building.
Second, Dimple Optix. It reads the actual dimple pattern of whatever ball you hit, so there are no stickers on the ball and no restricted ball selection. Owners report effectively zero misreads across roughly a thousand shots, and several who upgraded from entry-level photogate monitors describe it as a step change in build and accuracy.
At 8.4 pounds and 6.5 by 3.38 by 13.9 inches, it is compact enough for a shallow bay. The included VIEW software reports 15 ball data points with session reports for tracking progress over weeks.
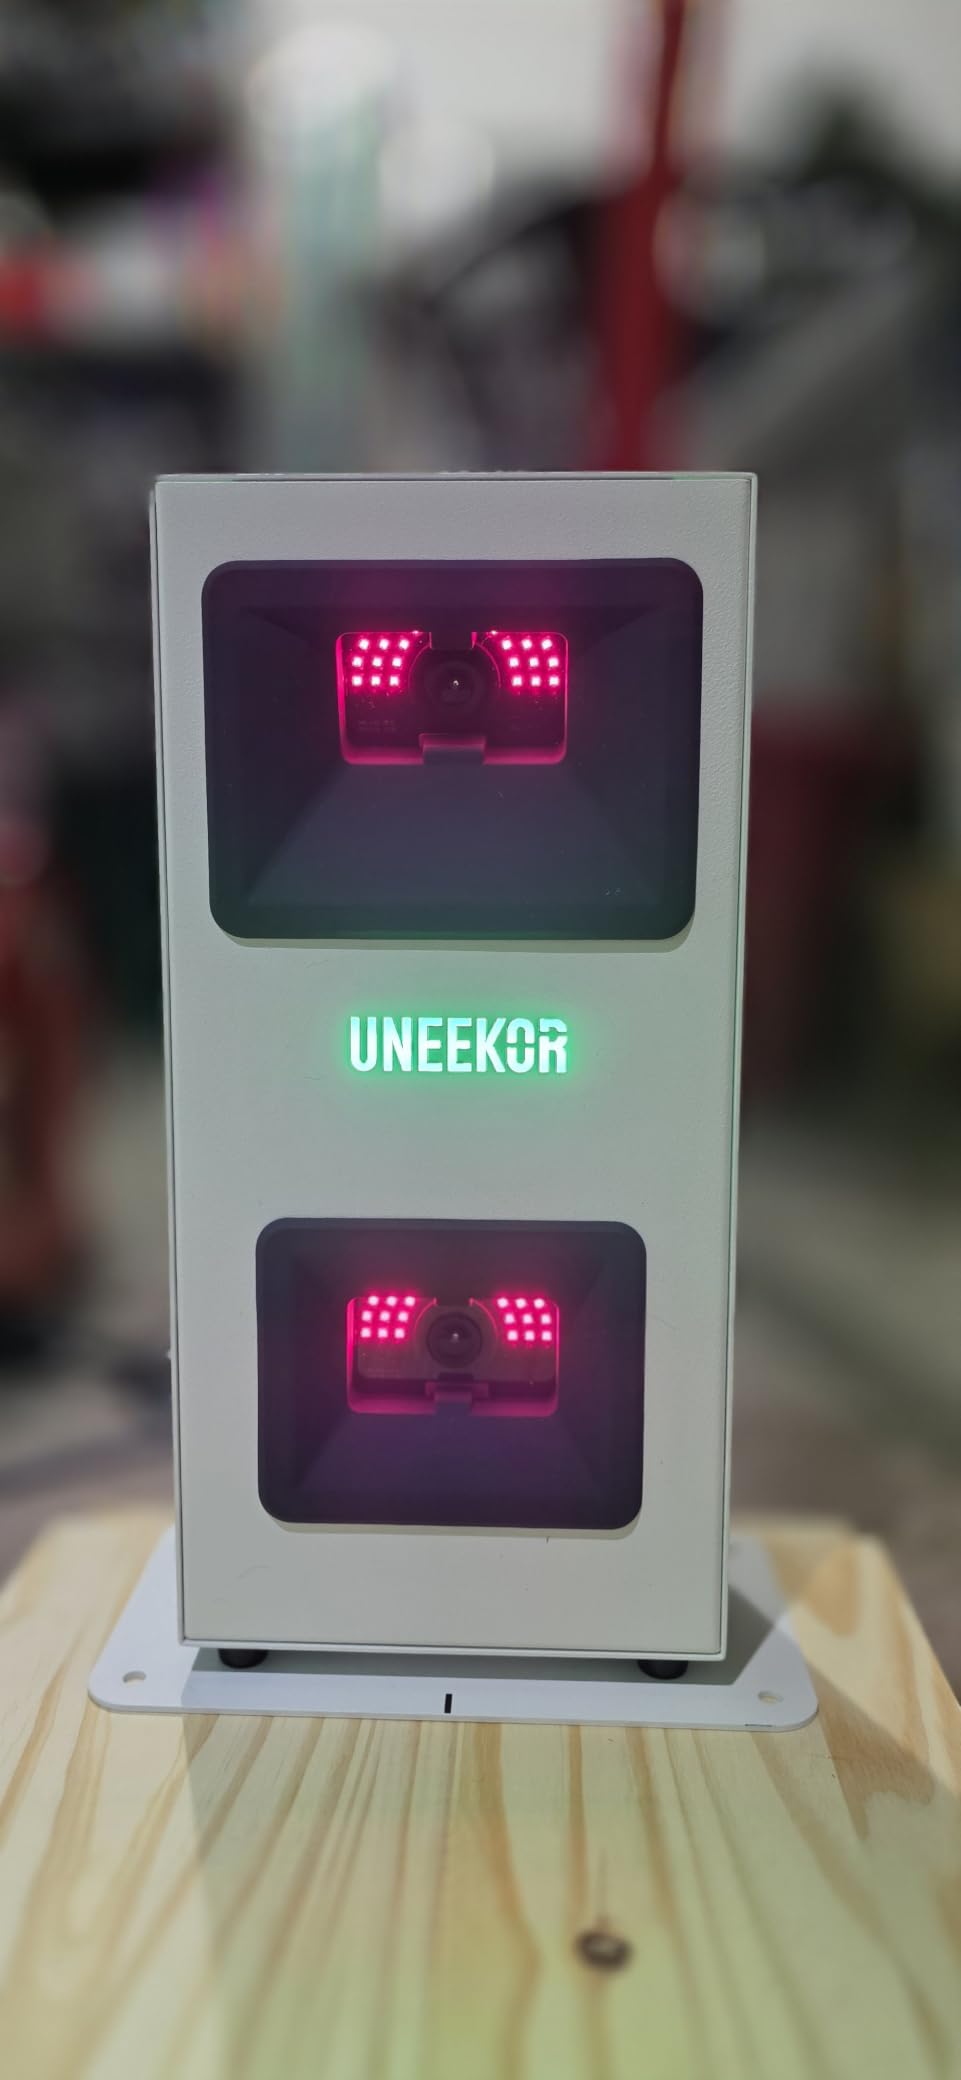
Because the connection is hardwired, this is the one monitor on the list that forces an electrical decision. Run a CAT6 cable from the hitting area back to your PC or laptop station, and use the included LAN to USB adapter at the desk end. Also included are 20 sheets of club stickers, a power cable and adapter, and the unit itself.
Do the cable run before the enclosure goes up, not after. Fishing a cable through a built frame is the kind of job that turns a one-hour project into an evening, and it is a mistake that shows up constantly in garage build retrospectives.
The included catalog is limited and the learning curve is steeper than a phone-based app. For real courses, owners use GSPro, E6 Connect, TGC19, or Creative Golf 3D, and the recurring annual fee for third-party software is the drawback that comes up most often in reviews.
Full simulation also has hardware requirements worth checking before you commit. The listed specification calls for a 7th-generation Core i7 or Ryzen 7 class processor, 32 GB of RAM, and an RTX 4070 with 16 GB. If your current machine is mid-range, a PC upgrade belongs in your garage budget.
Delicate putts and short chips often fail to register as reads, which is a known limitation rather than a fault. It suits a full-swing practice regime better than a putting station, and if short game is your focus, pair it with a separate putting mat rather than chasing reads you will not get.
The Swing Optix AI Trainer, which delivers club visuals at impact, is sold separately at this level. Ratings land at 4.3 stars from 37 reviews, a small sample that is strongly positive on hardware and mixed on software cost.
Households with golfers of different handedness should know that a fixed unit in the hitting area can be repositioned, but the club sticker set and calibration routine add friction each time you switch. Plan a single hitting position that works for both of you rather than trying to serve two swing paths from one stance.
That constraint is real across this whole category, and it is one reason buyers who share a bay often pick a wide-area monitor like this one. A large hitting area forgives a slightly different setup position far better than a narrow one.
A two-year warranty is included, and the platform is a recent release, which means firmware and software support should stay current for a while. Budget for the software subscription up front, because that is the recurring line that decides whether this setup stays pleasant to use after a year.
10 x 8 ft
Alloy steel, polyester
79 lb
200 lb breaking strength
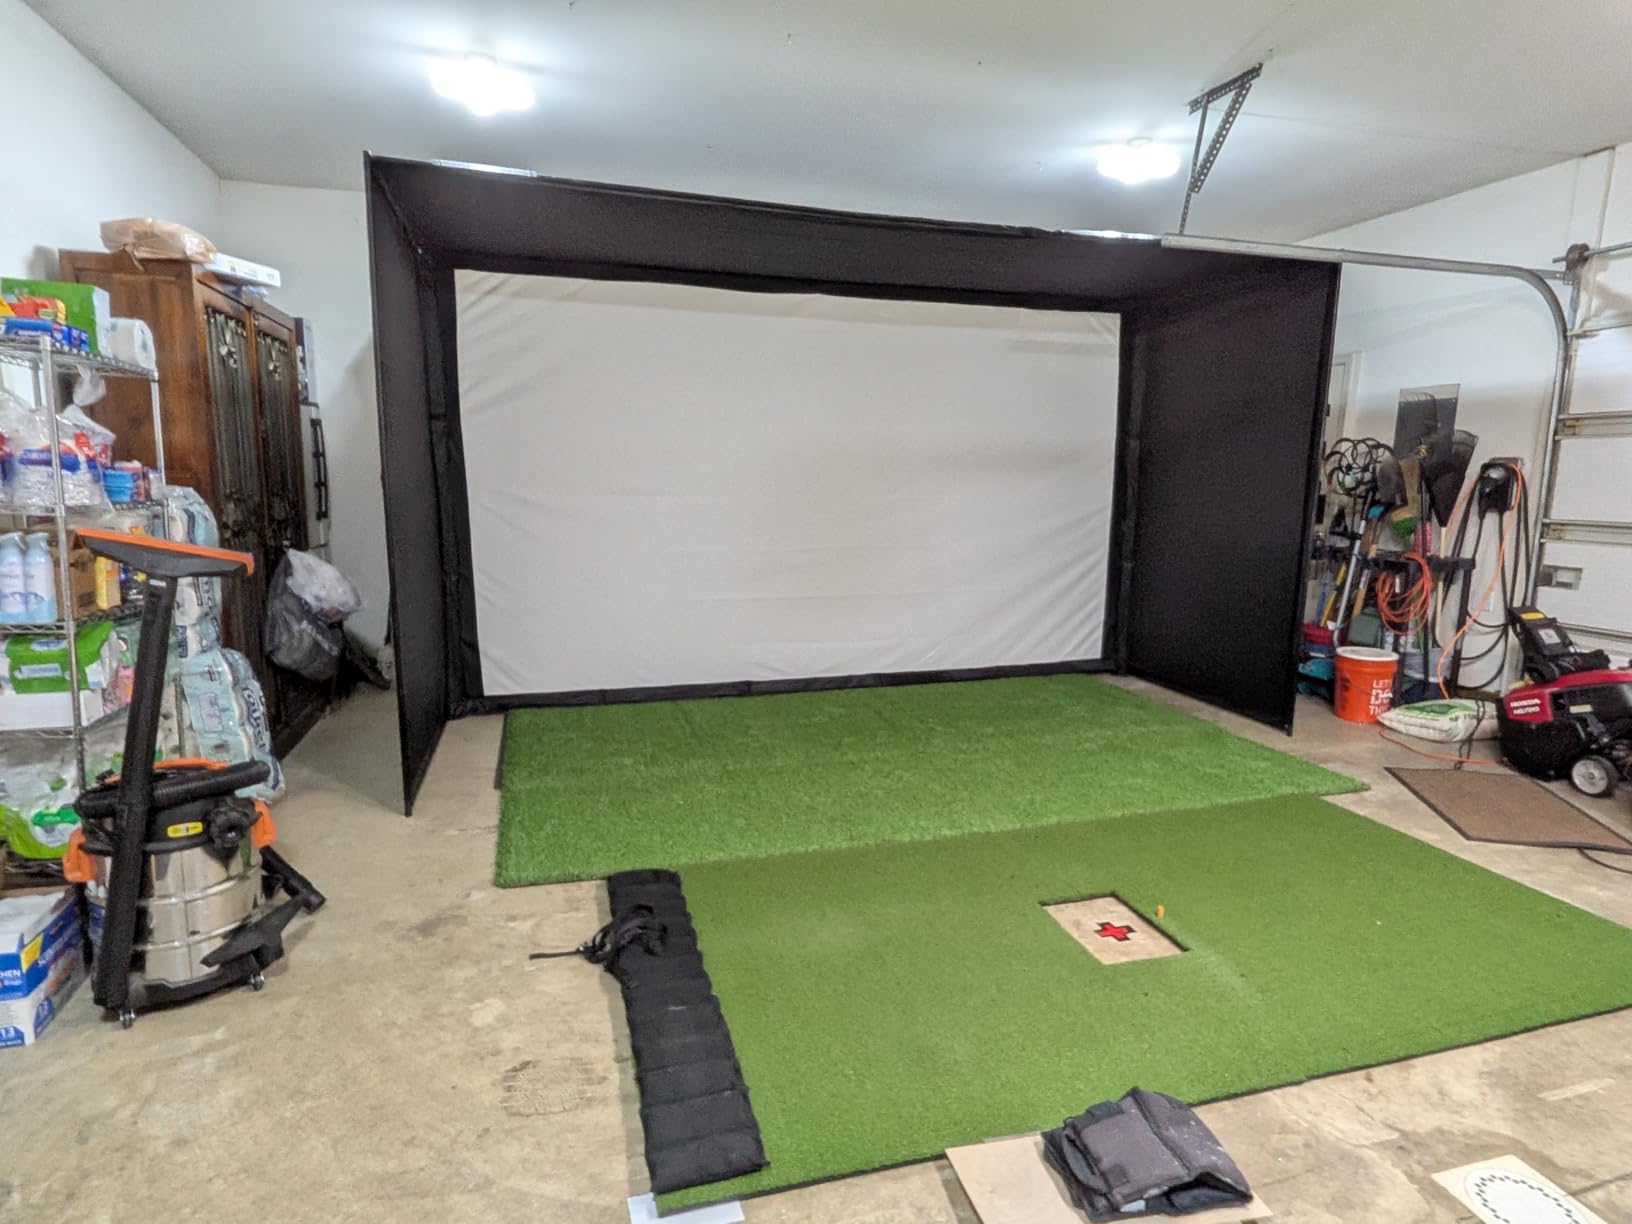
Most net screens in a garage look grey because stray light reaches the fabric from the sides and above. This enclosure uses specially dyed panels to create a true blackout effect, and the difference in projected contrast is immediate. It is the single best upgrade on this list for image quality, and it matters most in a bay you plan to use during daylight hours.
The multi-layer impact screen is engineered for all major launch monitors, and owners report it surviving thousands of balls, including driver shots at 150 MPH, with no tearing. That is a different durability profile from the single-layer polyester on the entry-level cage.
Breaking strength is listed at 200 pounds, and sizes run 10 by 8, 12 by 9, and 14 by 8 feet. The 10 by 8 is the garage standard. The 14 foot model is a room, not a bay.
Plan on roughly four hours including de-wrinkling, and budget an afternoon. Reviewers who rush the fabric report sagging along the top that only resolves after full tensioning, which means the enclosure keeps improving as you use it for the first several sessions.
On the positive side, the numbered poles and clear diagrams let one person finish in about an hour of assembly time, and the frame that feels flimsy on its own firms up considerably once the enclosure fabric goes on. A six-month limited warranty from the manufacturer is the shortest on this list, so treat the screen as a component you will maintain rather than a forever part.
Padding around the screen frame is thin, so balls can come back off the frame. There are also no hanging baffles in front of the screen, which means wedge shots can strike above the impact area and tear the cover eyelets. Both are inexpensive to fix with foam and a hanging net from a hardware store.
Owners upgrading from thin outdoor nets consistently point out how much safer the contained environment feels, and GoSports support is described as replacing torn covers quickly. That service history is worth more than the warranty length on a product this size.
Measure the wall you intend to use, then measure the swing, not the screen. A 10 by 8 bay suits golfers who keep a moderate tempo with an iron. Taller golfers swinging a driver need vertical room above the ball as well as screen width, and the 12 by 9 footprint gives you both without turning the bay into a studio.
The 14 foot variant is the one to be careful with. Owners report it drooping along the top until it is fully tensioned, so it demands a large, open room and someone to help hold the frame. In a garage with a door track overhead, it is a poor fit.
At 79 pounds, this is the heaviest unit on the list by a wide margin, and it is not a two-person carry. If the car has to share the bay on short notice, look at the lighter kits further down or consider a retractable screen instead.
Ratings sit at 4.4 stars across 186 reviews, with criticism aimed at comfort and assembly rather than failure. For a buyer whose main frustration is a washed-out screen, the blackout engineering is the reason to choose it.
10 x 8 x 6 ft
Alloy steel frame
5-ply netting
1 year warranty
This cage is built around one problem: the shot that goes up instead of out. The 10 by 8 by 6 foot footprint is deeper and taller than most entry cages, with overhead netting and a reinforced top support rod that keeps the screen from dipping at the apex. That rod is the difference between a shank that hits the net and a shank that hits your garage ceiling or the light fixture.
Several reviewers who owned multiple nets describe this one as outlasting the previous set, which is a good sign in a category with high turnover. The frame is reinforced steel and the netting is 5-ply, and the square solid base adds structural integrity compared with lighter two-pole designs.
There is also a built-in ball retriever, which is unusual at this level and saves you from a separate accessory for the balls that do drop low.
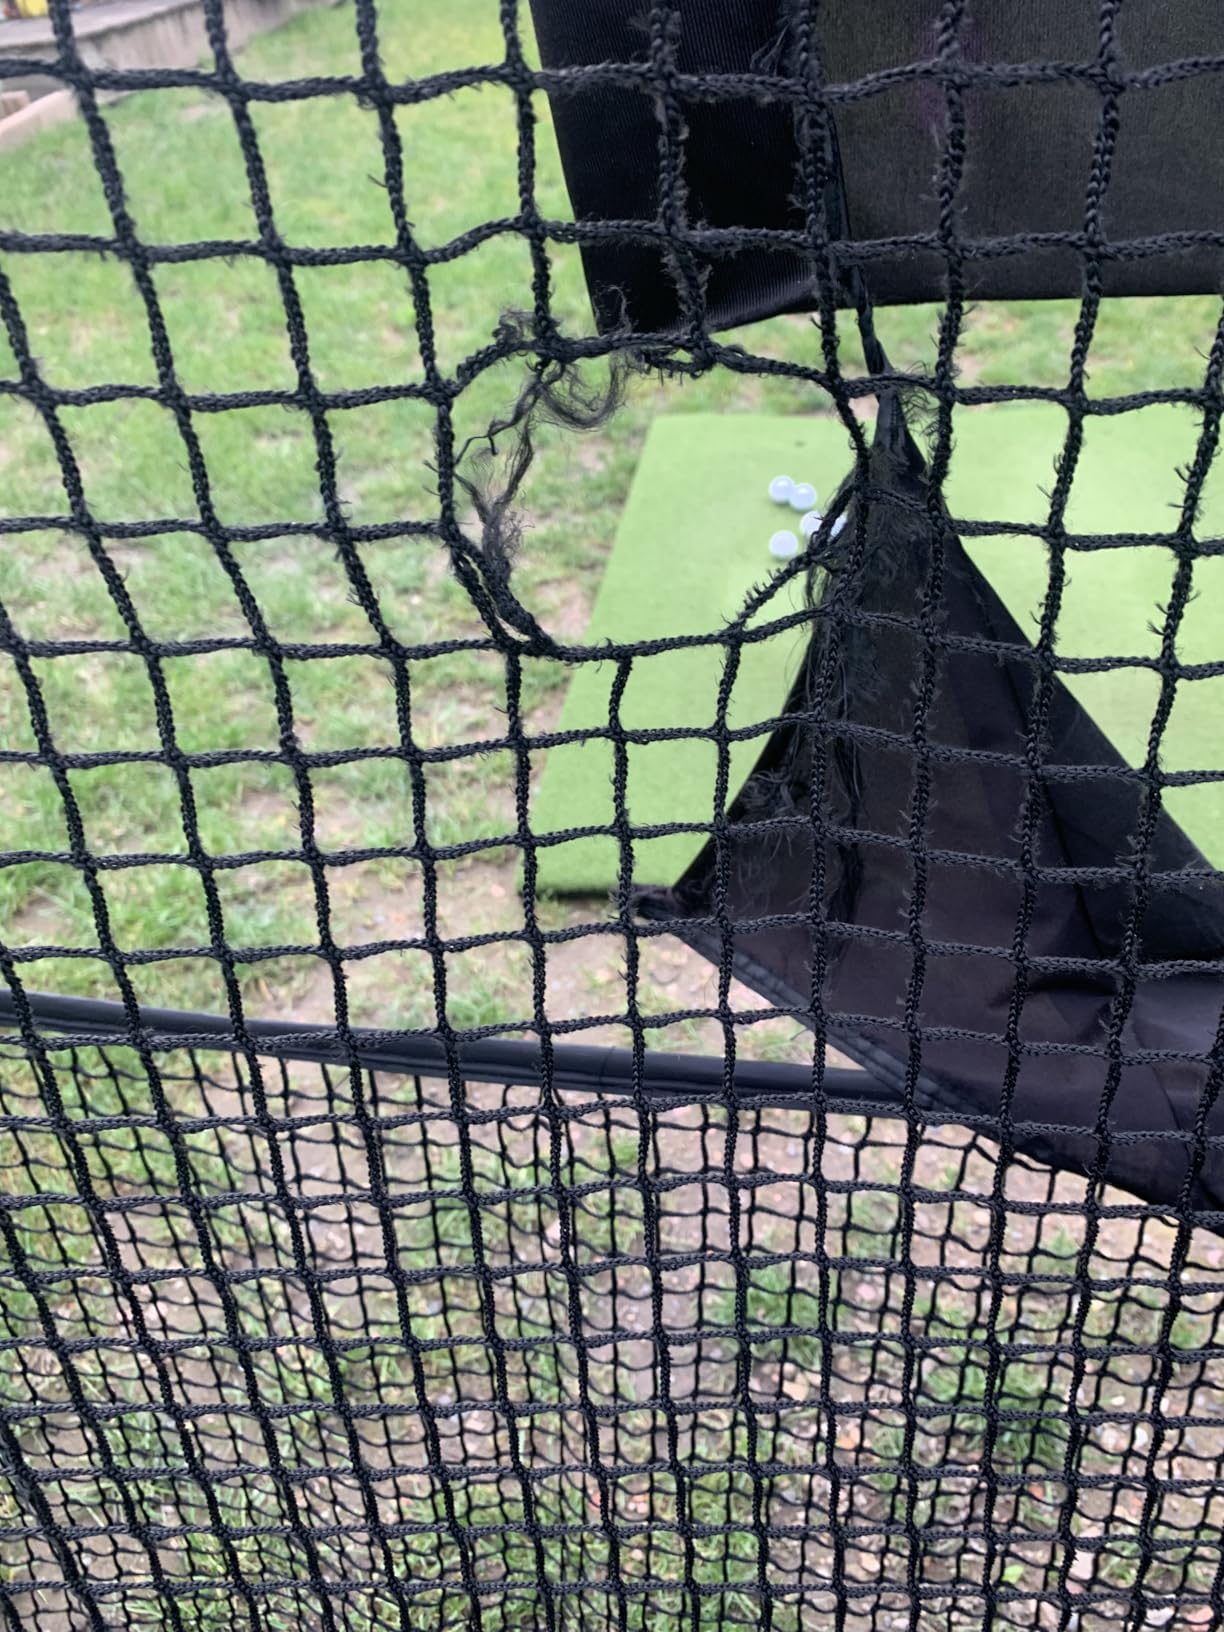
The 10 by 8 by 6 dimension is the one number that catches people. Owners report needing to measure carefully and, in some cases, cutting the frame to fit. Before you order, measure the depth from your intended mat position to the wall and subtract the room you need behind the ball for your monitor.
It also needs a ceiling. At 6 feet tall, this cage assumes a bay that can give it the vertical space, which is another reason to check the door tracks before the frame arrives.
Containment is strong but not absolute. Owners recommend care with short irons hit from inside about ten feet, because a low, quick strike can still get through and the capture after impact is imperfect. A ball-return net with a funnel, or a second layer of floor-level netting, reduces the problem.
One quality note worth mentioning plainly. At least one unit arrived with a bent assembly pipe that had to be hammered straight, and first assembly takes longer than expected even though disassembly is quick. Check the frame for straightness before you tension anything.
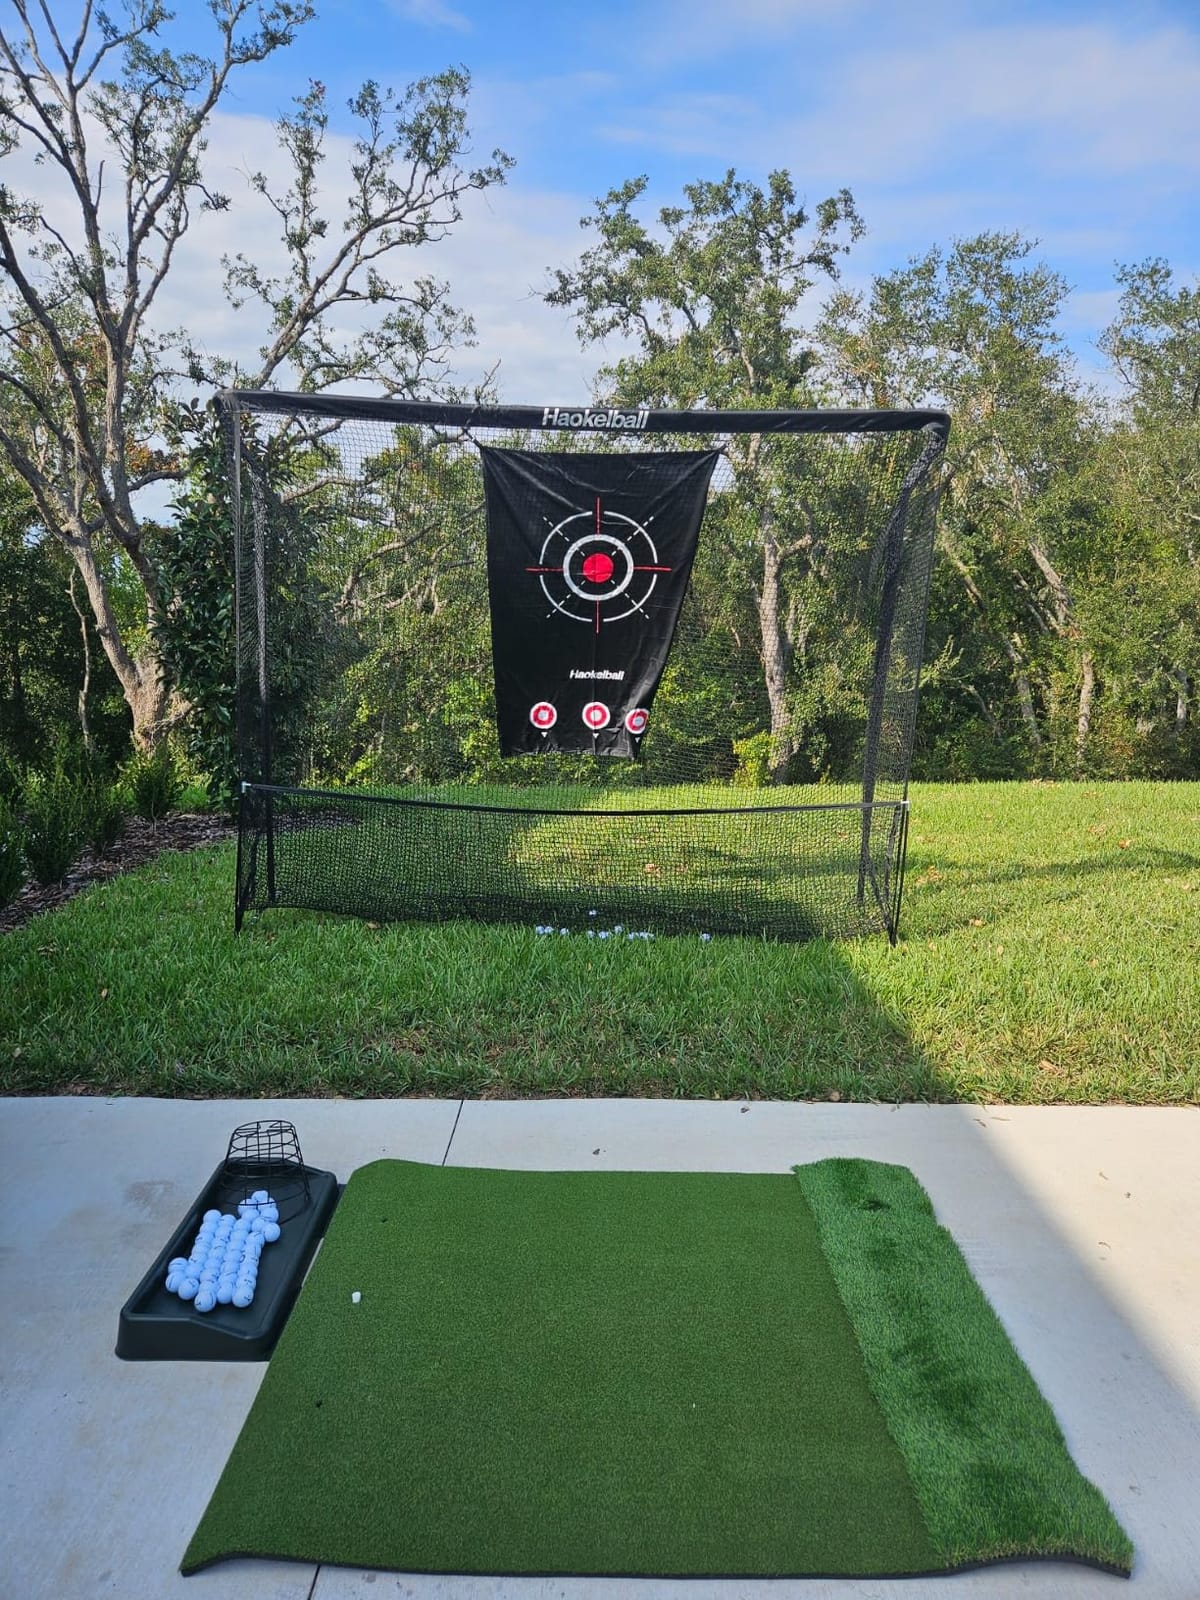
Choose this cage if you are hitting driver shots often, care most about not chasing balls, and do not need a projection surface. It is a practice instrument, and it works well with a launch monitor positioned in front of it or mounted above.
Projector, launch monitor, simulator software, and hitting mat are all not included, and replacement nets are sold separately. The projector screen is described as projection-compatible, but it is not a blackout surface, so expect a dimmer image than a dedicated enclosure gives you.
At 4.6 stars across 129 reviews, this is the second-highest rated product in the guide, with the strongest reputation for longevity among the net systems. For a garage where mishits are frequent and space is adequate, that combination makes it a durable choice.
10 x 8 ft
Alloy steel, polyester
33.88 kg
Blackout curtain
Sound is the quiet reason to choose a heavier screen. The triple-layer impact screen here is described as thick and spongy, absorbing shock and muting ball sound far better than thin single-layer screens. If your garage is attached to a house and someone downstairs is sleeping, that is a feature you will notice every session.
The kit is complete. Steel frame, heavy blackout curtain, three-layer screen, full-coverage foam padding, and shank netting all arrive together, so there is one box to move into the bay rather than five. The blackout top darkens the screen area enough that the finished setup reads as a purpose-built installation.
An 8.4 by 8.4 foot variant exists alongside the 10 by 8, which is the option to check if your bay is narrow. Item weight is listed at 33.88 kg.

The instructions assume ceilings taller than 9.9 feet, which is above what most single-car garages offer. In a lower room, you need to assemble the frame in place rather than building it flat and lifting it, and you should confirm you have the ceiling height for the 8.4 foot variant before ordering.
There is also a footprint warning. The frame uses every bit of its 10 foot width with no wiggle room, so measure the wall and leave yourself a couple of inches of tolerance rather than expecting to squeeze it in.
Ball bounce back off the impact screen is noticeable until the bungee cords are adjusted. Spend that ten minutes before your first session. The thick sponge padding and full-coverage foam do most of the work, but cord tension sets how the face gives when a ball hits it.
Quality control is the other thing to watch. Two reviewers reported missing foam pole sleeves, and one owner described the enclosure collapsing and a top crossbar bending after someone grabbed a pole. Inspect the frame and hardware on arrival and keep the frame out of reach of anyone not hitting from it.
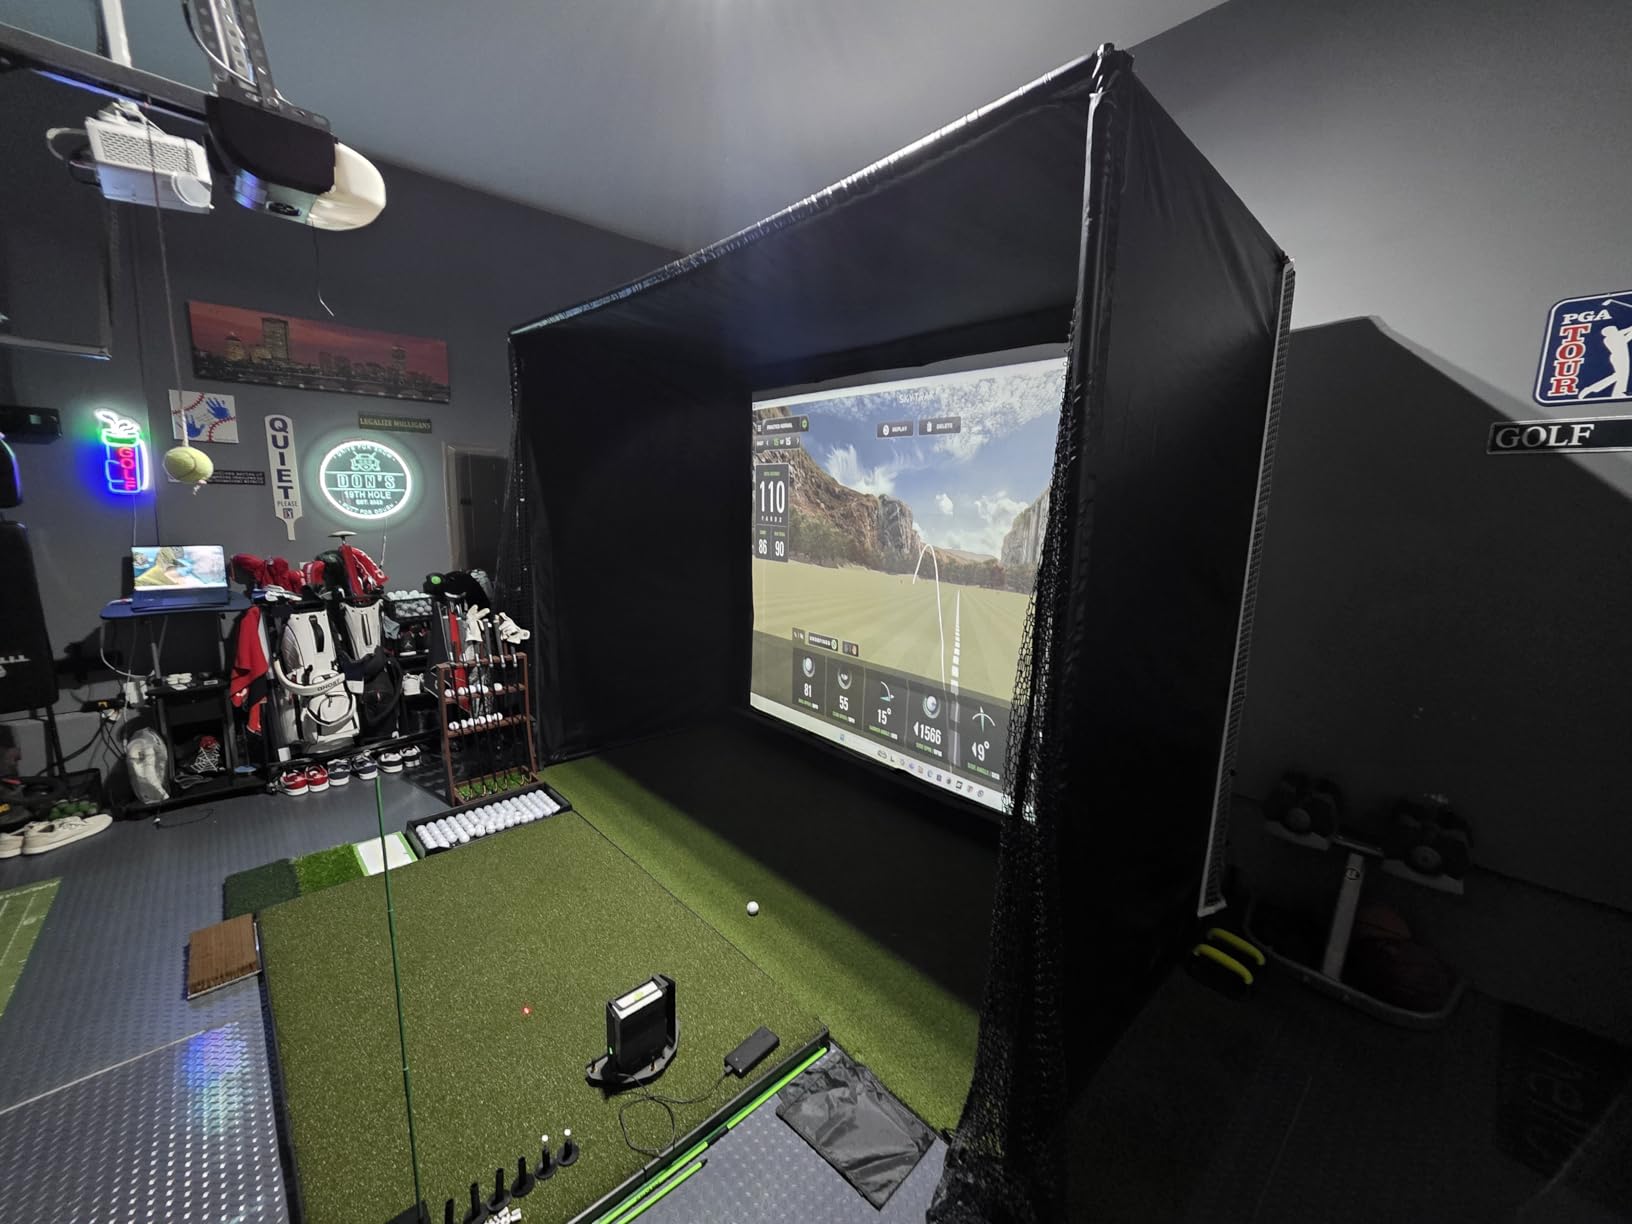
This suits someone outfitting a spare room, a basement bay, or a garage with a high ceiling who cares about the sound the setup makes as much as the image it projects. Buyers consistently report assembling it themselves in one and a half to three hours with numbered pieces.
It also works with most launch monitors, projectors, and sim accessories, so it does not lock you into one hardware vendor. The blackout curtain and padding are what justify choosing it over a lighter cage with a thinner screen.
At 4.5 stars from 45 reviews, the feedback is enthusiastic on materials and quietness and cautious on documentation. If you can handle an afternoon of assembly and a tape measure, the kit itself performs well.
10 x 8 x 5 ft
600D Oxford, carbon steel
75 lb
9 ft ceiling recommended
Assembly speed is the headline here. A spring-button click-lock frame in reinforced carbon steel tube goes together in roughly 30 to 45 minutes with two people, and no tools are required for the frame itself. In a garage where the car needs to come in the same evening, the difference between a one-hour build and a one-day build is the whole decision.
The cover is a one-piece 600D Oxford blackout shell that wraps the top, sides, and back with no light-leak gaps, and it also catches high pop-up shots that a net would release. Owners describe it as quieter than tarp-style enclosures, which matters in an attached garage.
The screen is a dual-layer 4K-ready design with a mesh backing over an impact-absorbing layer, and thick foam edge padding plus safety side nets reduce ricochets off the frame.
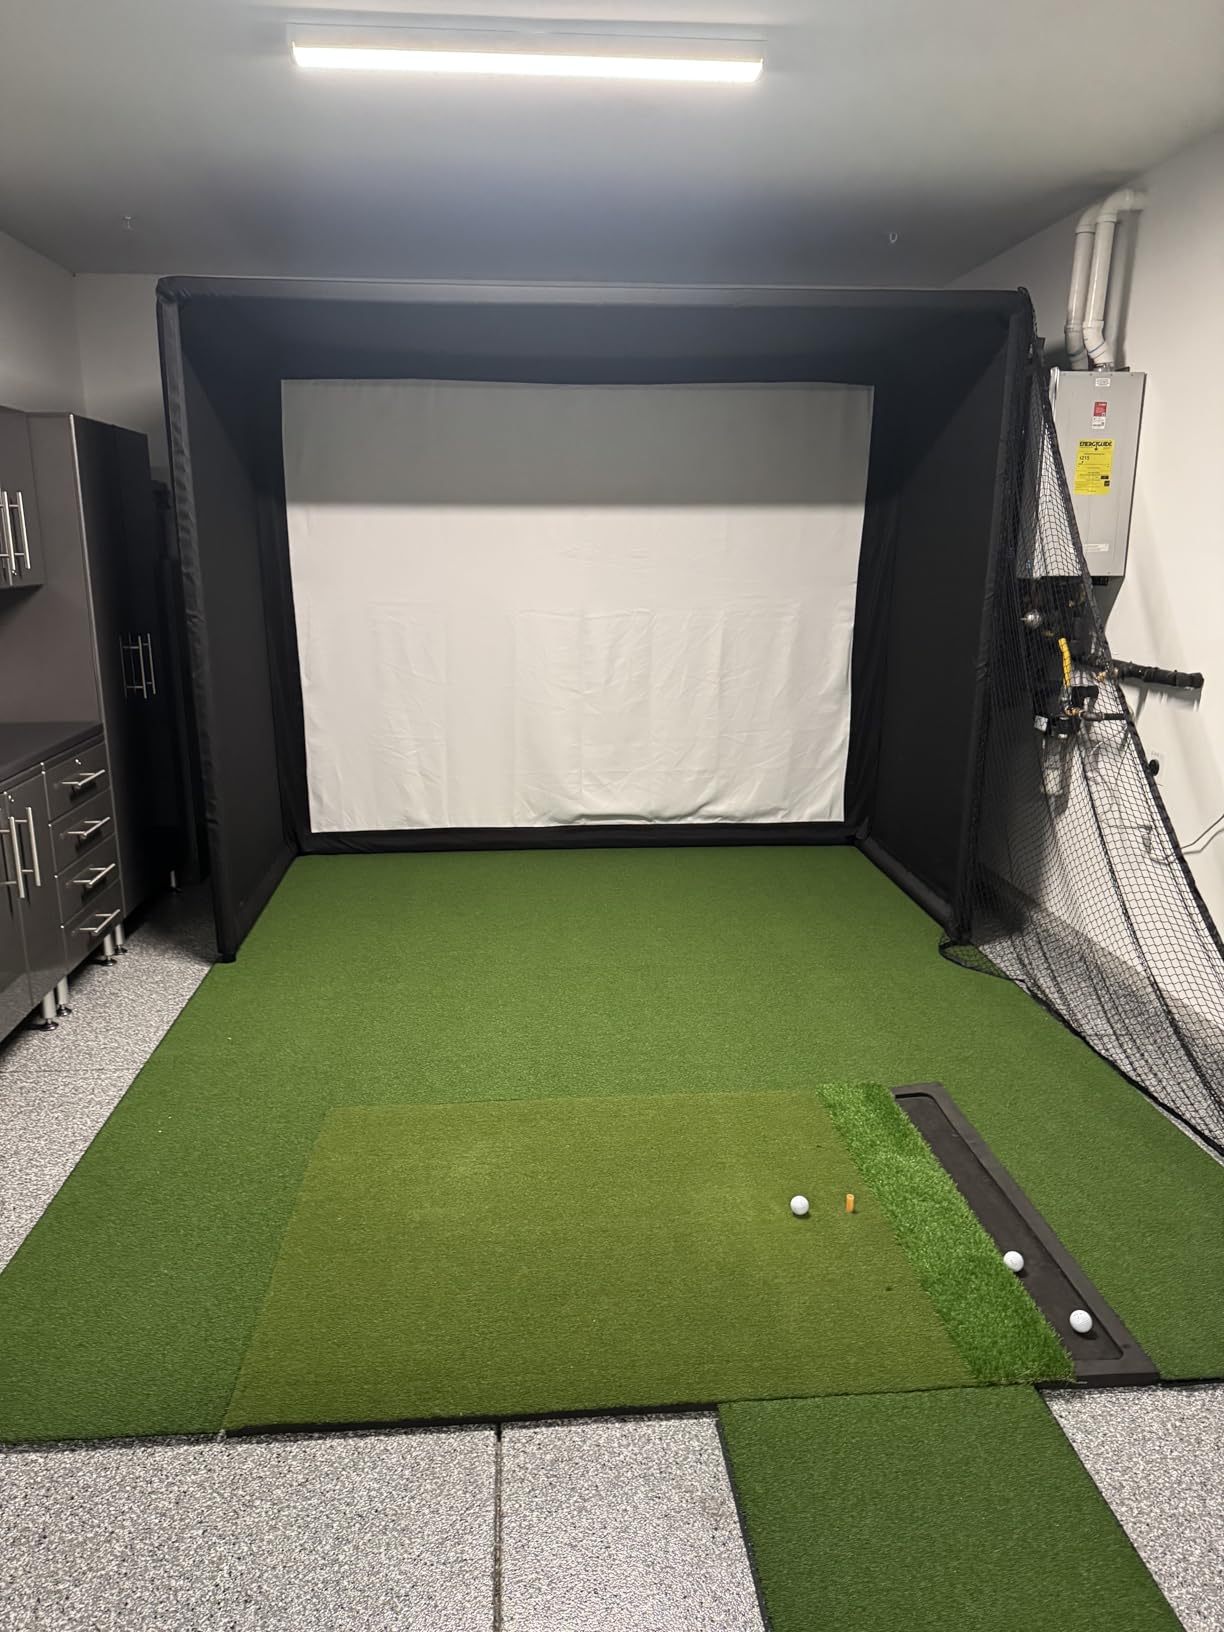
The manufacturer recommends a 9 foot minimum ceiling height, which matches the general rule for a full driver swing in a bay. The 120 by 96 inch screen dimension gives a 37.5 degree viewing angle, so check where you will stand relative to the screen before you commit to a back-wall position.
Mounting is a floor mount, which means the frame sits where you put it. That is an advantage for side-wall orientation, since you can place the enclosure along a side wall and keep the rest of the bay open for a car.
Screen wrinkles are common and the roof can sag, so expect to re-tension the fabric after the first several sessions. Velcro attachment is upgraded with reinforced bottom and side stitching, which addresses the edge separation that plagues cheaper kits, but the fabric still relaxes as it is stretched.
One owner reported the bottom screen stitching tearing within days, leaving the screen saggy. It is an isolated report against a small review base, but it is the specific failure to check first if you see a sag developing early.
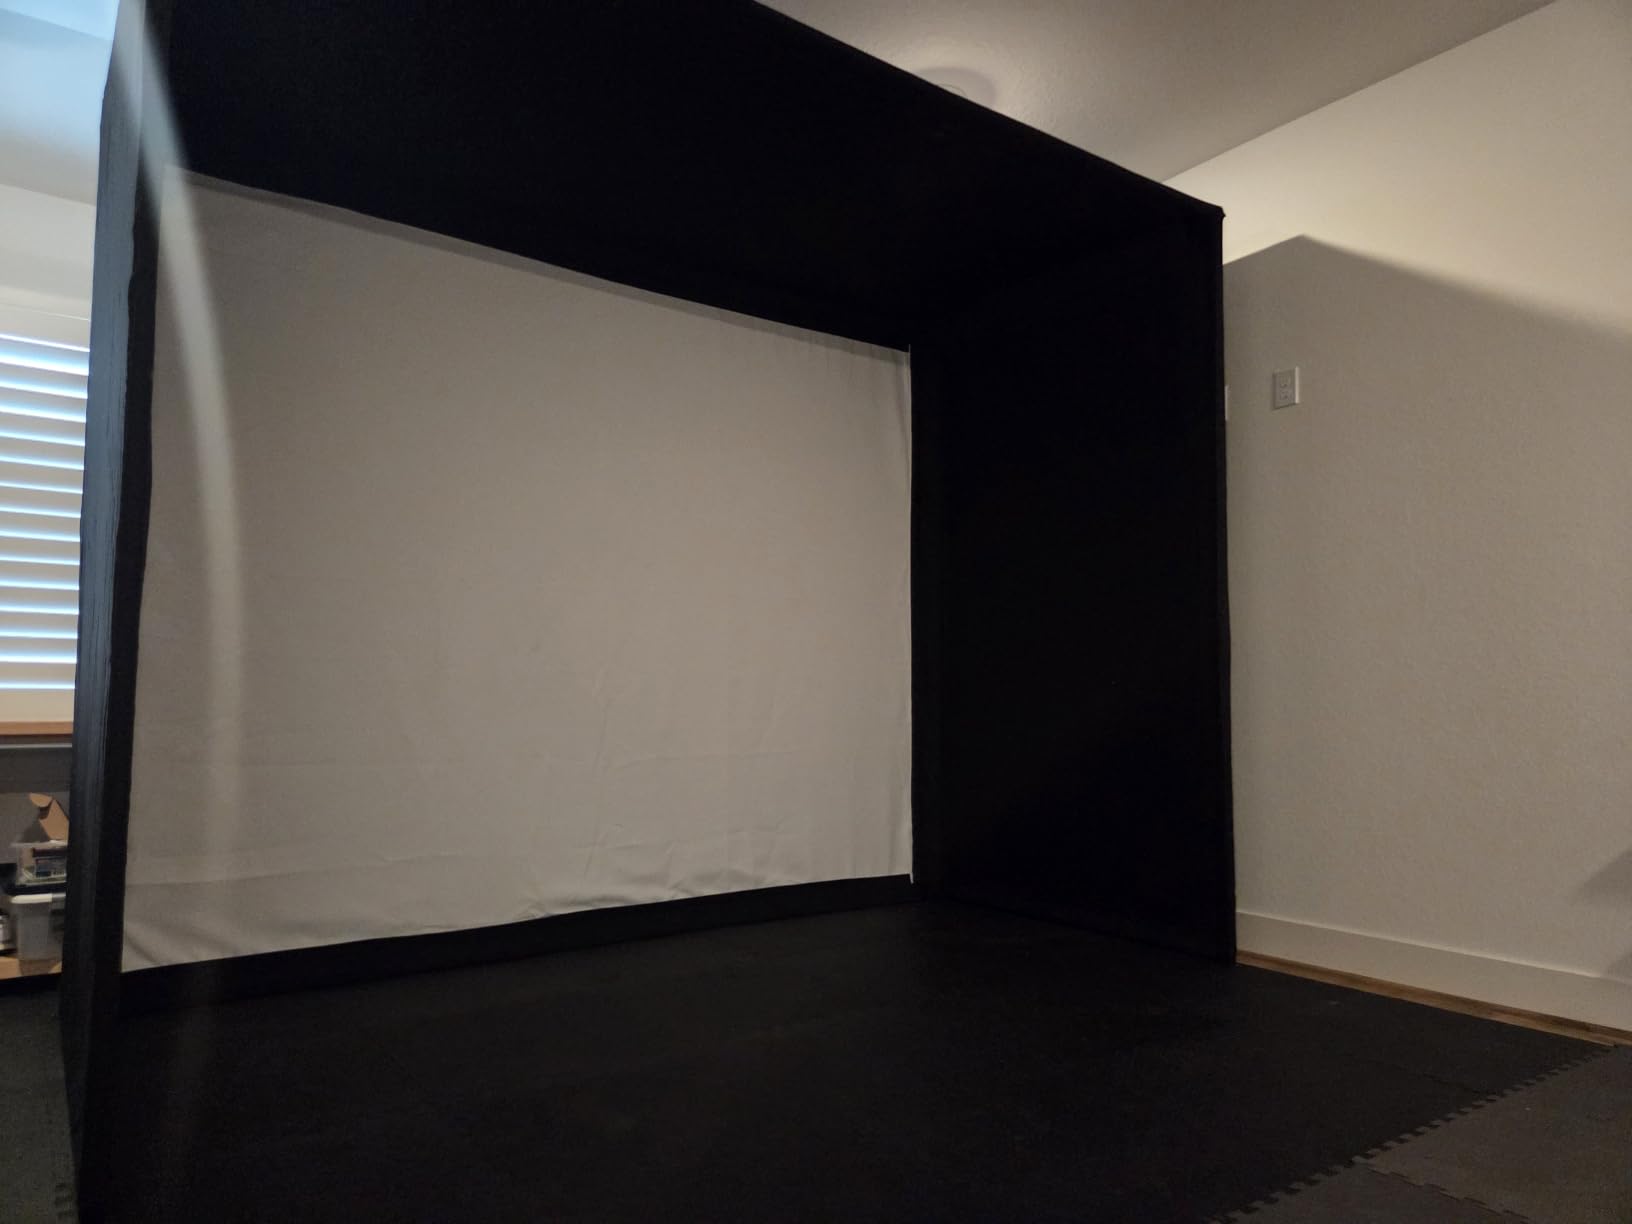
There is no projector mount in this kit and no sandbags, so plan to mount the projector to a ceiling joist, a wall bracket, or purchase a mount separately. The projector, launch monitor, hitting mat, and simulator software are all not included, and they are the larger share of the finished cost.
Support is another gap. There is no easy route to seller support through Amazon, which some buyers found frustrating, so confirm the warranty process and keep your order details somewhere you can find them. The warranty itself is one year from the manufacturer, and a 14 by 8.5 foot variant is available for larger spaces.
At 4.5 stars from 30 reviews, many owners estimate this delivers 85 to 95 percent of what a boutique or branded enclosure kit delivers for a fraction of the spend. That is the right way to treat it, as an entry into enclosed simulators rather than a permanent installation.
9-axis sensor
Aluminum
0.59 kg
1 year warranty
Not every garage can hold a cage. If you have a corner, a basement landing, or a bay shared with a vehicle, this is the realistic starting point. A 9-axis motion sensor clips onto a swing stick or a real club and translates your movement into a swing inside an app, giving you access to 38,000 or more courses through Phigolf and E6 Connect.
It is also the least invasive option by a wide margin. The sensor body measures 3 by 5 by 25 inches and weighs 0.59 kg, so it folds into a drawer between sessions and does not claim a swing area.
With roughly 2,800 reviews, it is the most reviewed product in this guide by a factor of eight, and it sits at 4 stars. That combination tells you something useful: lots of people find the price and the course library worth it, and lots of people find the ceiling of the experience lower than they hoped.
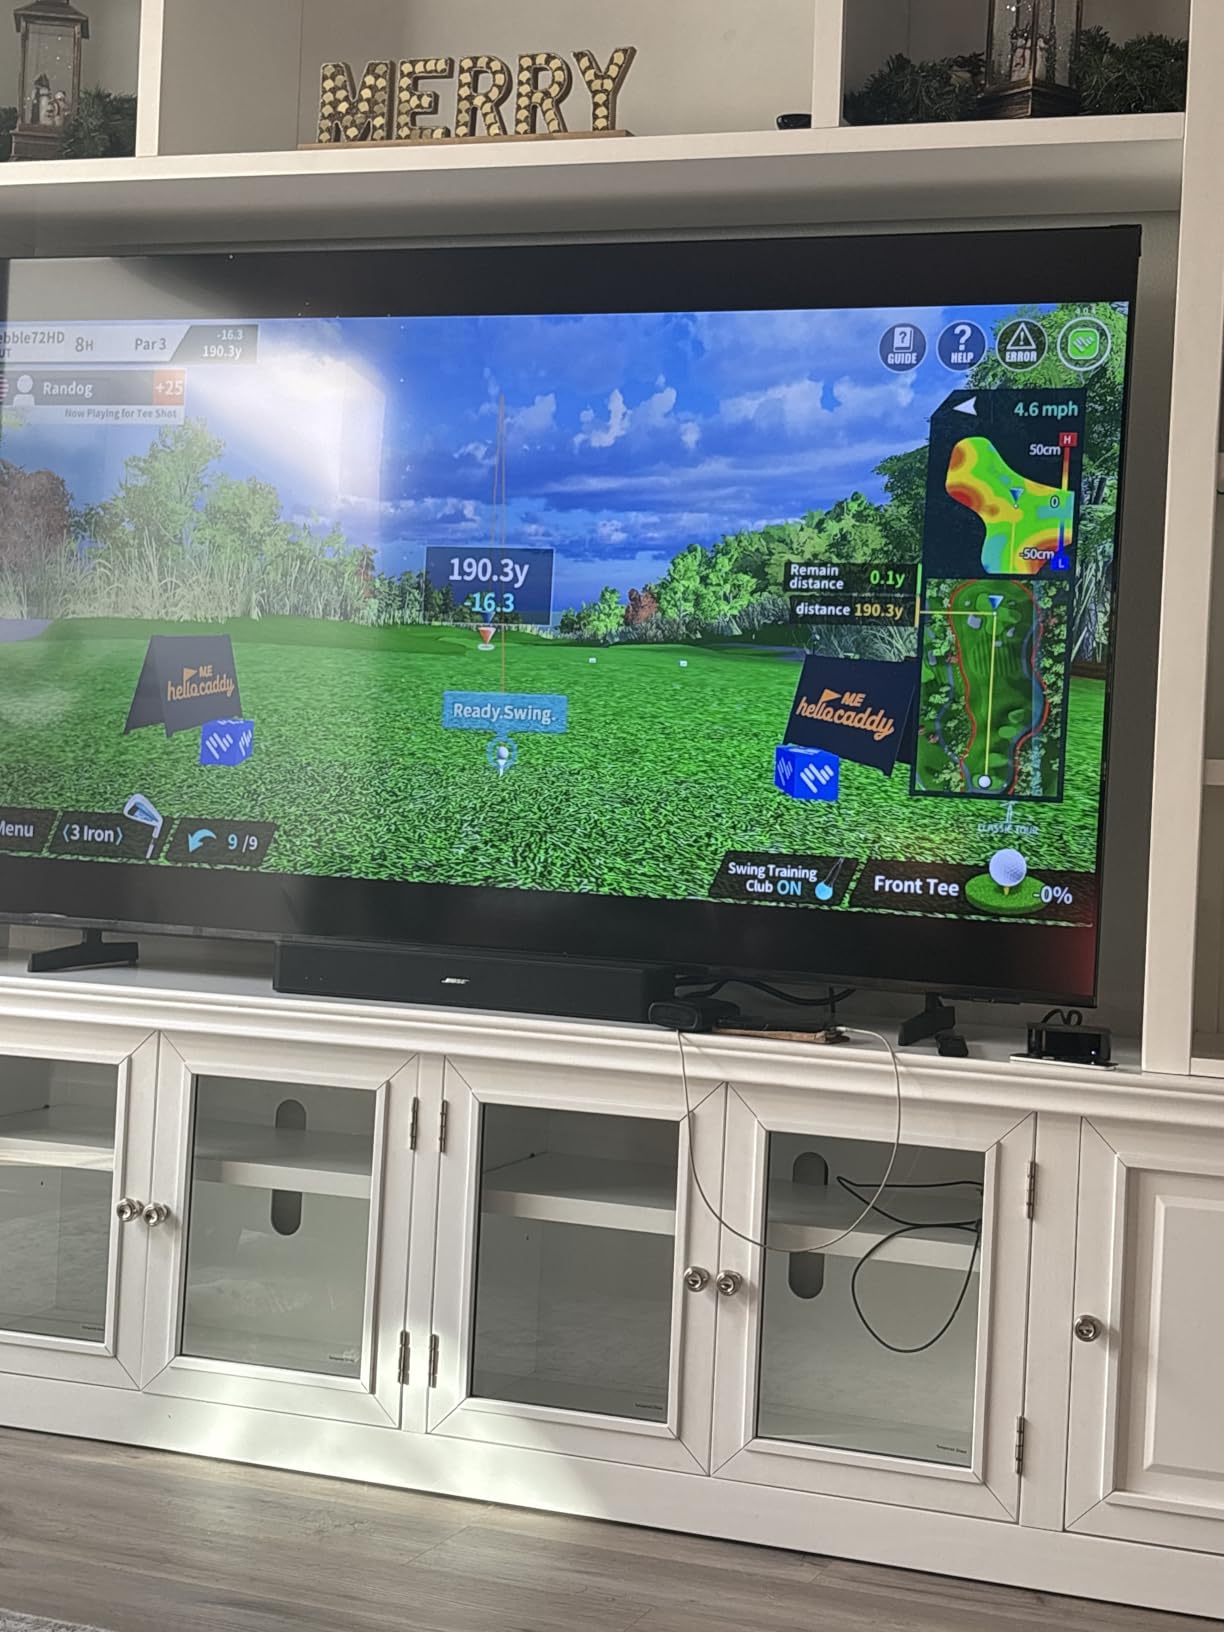
The coaching mode provides body-pose tracking, swing metrics, and visual annotations with corrective feedback. It is a genuine differentiator at this end of the market, and it is more useful than raw numbers for someone who does not yet know what to look for in a delivery.
Limitations are structural rather than quality issues. The swing stick is short and intended for space-limited indoor practice rather than full driver speed, and because the tracking is a motion sensor rather than a ball-tracking camera, it cannot report club speed or launch angle. Treat it as swing rehearsal, not measurement.
It suits apartments, small garages, beginners, families, and anyone who wants to play virtual rounds without building anything. The app supports solo practice, local play with family and friends, and online matches, and the sensor can also clip onto a compatible real club for outdoor use.
Skip it if you are training for a specific handicap goal with numeric feedback, or if you want projected courses on a big screen. Those owners should start with an enclosure and a monitor from this list instead. A one-year manufacturer warranty is included, and available variants run 23.6 and 27.6 inches.
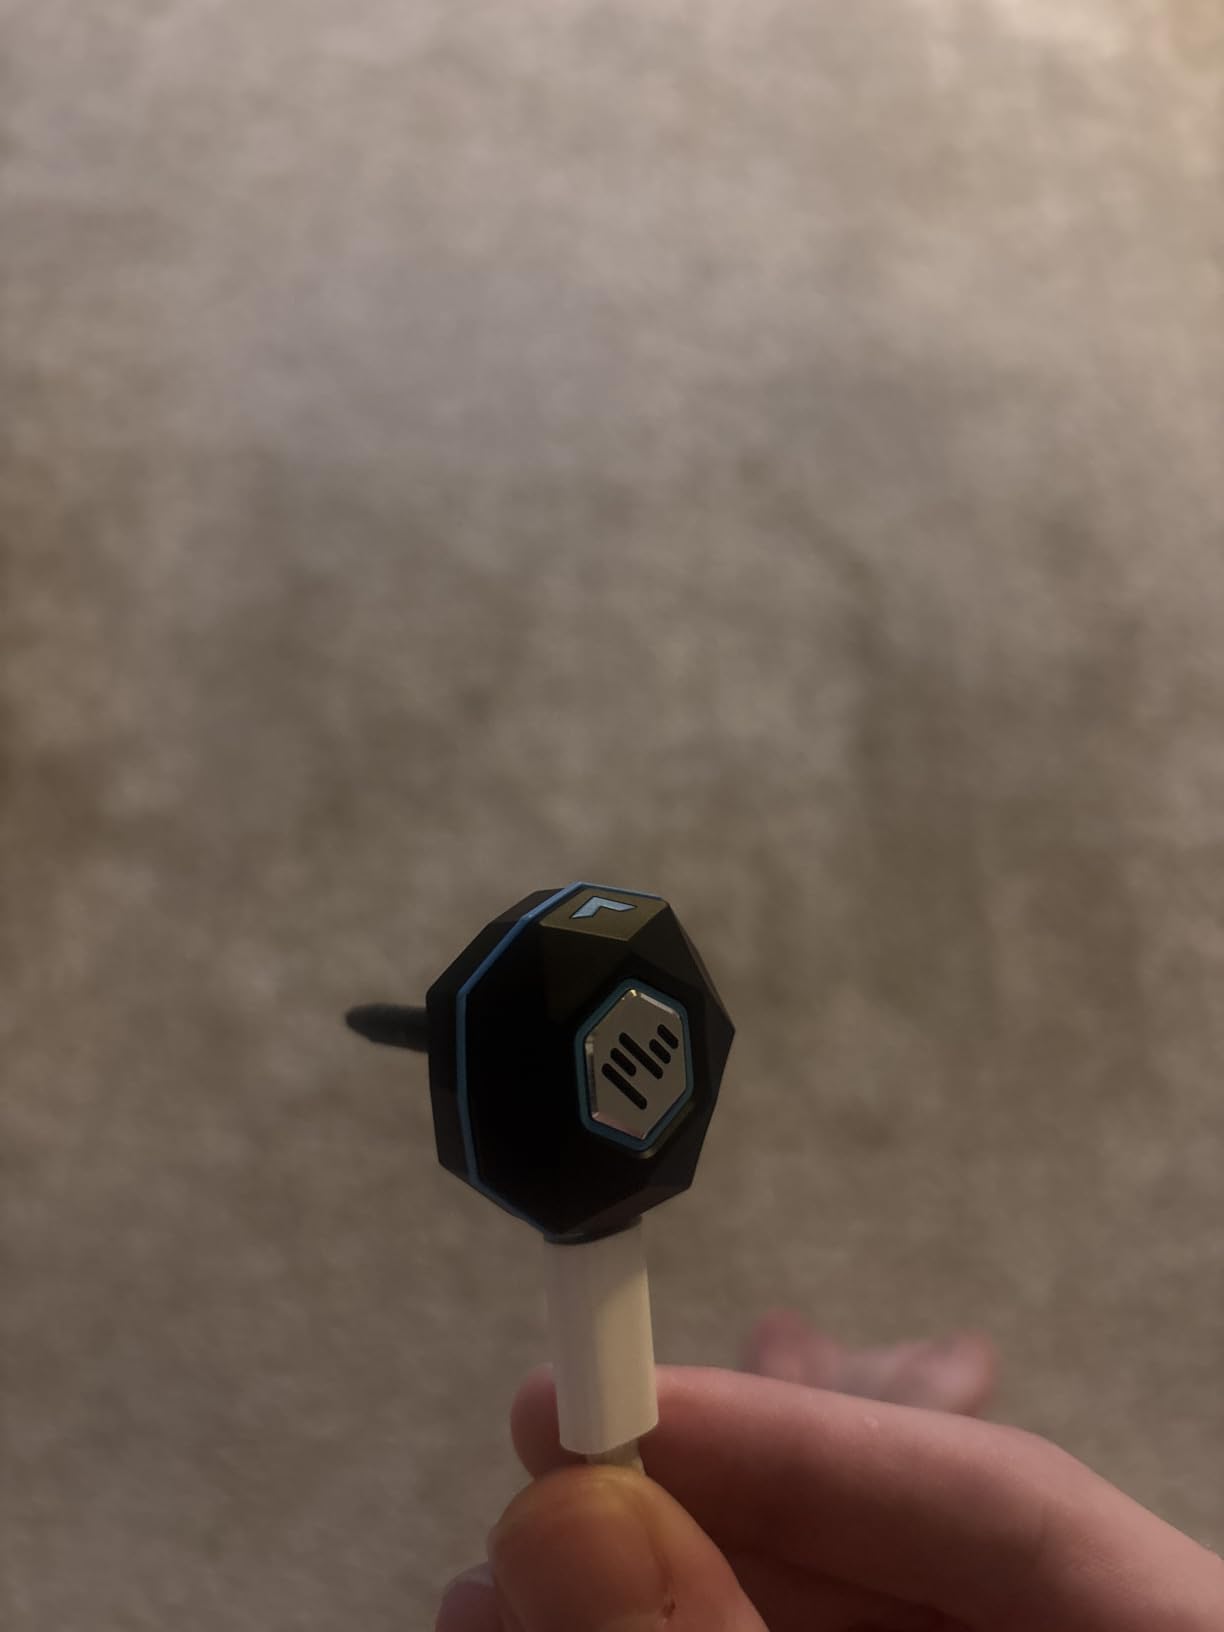
It requires a compatible Android or iOS device and the Phigolf app to function, so the experience is only as good as the phone or tablet you supply. That is the single most important sentence in this review. A recent flagship phone transforms the experience, and a mid-range phone several years old makes the same product feel cheap.
Best Sellers Rank sits at number 45,336 in Sports and Outdoors and number 112 in Golf Swing Trainers, which reflects how established this category entry has become. For a garage where space rules out everything else, it is a legitimate answer rather than a compromise.
Choose the enclosure first, the monitor second, and the projector third. That order matters because the enclosure fixes your dimensions, the monitor needs room to sit, and the projector needs darkness to be worth buying. Reversing the sequence is the most common expensive mistake in a garage build.
Ceiling height is a tape measure job and takes two minutes. The garage door track is a different problem. Horizontal tracks on a standard overhead door run from the opening back into the bay, usually at 7 to 8 feet, and they occupy the center of the garage where you want to stand.
There are three ways out. Build along a side wall, where the tracks are not overhead. Hang a retractable screen from the ceiling so the hardware moves out of the way when the door operates. Or remove the door entirely and fit a side-hinged door, which many garage conversions do and which frees the full ceiling and full width.
Also check the opener rail. It runs along the ceiling, drops a trolley, and hangs the door at the back. Anything you mount above the impact screen needs to clear it, and any pendant light or storage rack in the swing path has to go.
Practice setups want depth behind the ball and open floor. Play setups want a wide screen, controlled lighting, and seating, and they usually want the car out of the bay entirely. Trying to do both in one footprint is how people end up with a screen that is too small to project onto.
Decide honestly. A golfer who hits 400 balls a week alone is fine with a net and a return. A household that hosts friends on a Friday night is not, because that room needs a screen and a chair. The best golf simulators for garages are the ones built for the specific job rather than a compromise between both.
Radar and Doppler monitors need real distance behind the ball, commonly 6 to 8 feet, to read accurately. That space comes straight out of your garage depth, and it is the reason radar units feel awkward in a shallow bay. Photometric and camera-based systems read the ball in flight and need far less, typically 4 to 6 feet.
Indoors, photometric and camera systems are the better fit because they care about lighting consistency rather than distance. Their weakness is a garage with a work light on, a daylight door open, and shadows across the hitting area. Close the door and standardize the lighting before you judge a reading.
One more factor is handedness. If two people in your household swing with opposite hands, a fixed hitting position becomes a compromise. Wider-area systems forgive a slightly different stance better than narrow ones, and a small floor marking helps everyone find the same spot.
An impact screen is a projection surface that also stops the ball. A net stops the ball and returns practice to the hitter. A screen gives you software, courses, and guests; a net gives you volume, repetition, and a floor that stays clear.
There is a hybrid answer used by many owners. A ball-return net in the middle of the bay for the week, and a retractable screen on the back wall for the weekend when there is time for a proper round. That split is also the most common answer to can you park a car with a golf simulator in the garage, which is the single most searched follow-up question on this topic.
Garage slabs are poured with control joints on a grid, and a repeated driver swing landing on the same joint line is how you crack it. Mat choice is therefore a structural decision, not a comfort decision. Dense closed-cell foam mats, turf-over-foam designs, and quality putting surfaces all exist for this reason.
Do not swing off a thin rubber mat directly on concrete. If you want a one-line summary, the joint under the ball takes the impact once a week for a year and the slab does not heal itself. Add a landing area behind the ball as well, because that is where wedge and short-iron shots land hardest.
Software is the recurring line item people forget, and it is the difference between a setup you still use in year two and one that sits folded against the wall. Options in this space include GSPro, E6 Connect, FSX Play, TGC 2019, and Garmin’s own Home Tee Hero library, and each has its own annual fee or lifetime structure.
Add the annual cost to your hardware budget before you buy, not after. A monitor that looks like a good deal becomes an expensive decision if the software it needs costs more per year than your range fees. Lifetime licenses exist, and for a household that will practice weekly for a decade, they usually win on paper.
A fixed enclosure is the easiest build and the worst neighbor of a parked car. If the vehicle is going in the same bay, the next four points decide whether the setup is a permanent change to your garage or a removable piece of equipment.
A retractable impact screen mounts to the ceiling, in front of the garage door, and rolls up or back when you want the bay clear. Motorized versions use a remote or a wall switch, which matters in a heated or cooled garage where you would rather not reach overhead in a t-shirt in January.
The failure modes to research are wrinkles, motor reliability, and tension drift. A roller screen that is not tensioned correctly develops visible ripples that ruin the projected image, and the first thing to check on any system is whether the fabric can be re-tensioned after it has stretched.
Mounting detail matters more than brand. A ceiling-mounted roller needs joists to hang from, not drywall, and the mount must clear the door path when the screen is retracted. Owners of ceiling-mounted systems also report that a retracted screen still occupies headroom, so measure with the screen fully open before you commit.
The alternative to a ceiling roller is the side-wall orientation, where the screen runs down one side of the bay and the hitting position sits off to the side. It costs you screen width and depth but keeps the entire back of the garage free for a car, which is why many single-bay builds use it.
Garages are usually used at odd hours, and many owners practice in the afternoon. Projector output, measured in lumens, is what determines whether you can see the screen with the work lights on. Around 3,000 lumens handles a dim garage, 4,000 handles lights on, and 5,000 or more handles a bay with daylight coming in.
Throw ratio decides whether the projector physically fits. You calculate the throw distance the lens needs to fill your screen width, then check that your ceiling is that far from the screen with the mount in place. Getting this wrong is the most common expensive error in a garage build, and it is the one that moving the screen does not fix.
Light source matters for a garage. Laser light sources are rated in tens of thousands of hours, which for a home user means not thinking about lamps for a decade. Dust is the bigger concern, so a projector with a sealed or filtered chassis is worth paying for in a space where you also store a lawn mower.
Ball flight changes with air density, and a garage at 100 degrees in July will read carry distances a club short of a cool morning. More immediately, most owners stop practicing because the room is uncomfortable, not because the numbers moved.
A ducted mini-split sized for the garage volume handles both heating and cooling, and it is the solution most garage builds converge on. Cheaper options include a portable unit for one room, a gas wall heater for winter only, and door insulation plus a fan for shoulder seasons.
Do the practical part first. Swing room heats you up quickly, so a heater often matters more than air conditioning. Ball and club temperature, screen tension, and electronics all prefer a stable environment, and a launch monitor sitting in a cold bay can produce erratic readings when it warms up during your session.
Plan power before you build. A projector, a launch monitor, a PC, and a screen motor can all land on the same circuit, and a laser projector in particular should not share a circuit with anything that switches noisily.
Run the cable before the enclosure goes up. A hardwired Ethernet launch monitor, an HDMI run to a ceiling-mounted projector, and a power drop for the screen motor are all easier to place while the frame is on the floor. After assembly, they mean taking a bay apart.
Add surge protection on anything with a board in it, and keep the panel accessible. A simulator bay is exactly where a future owner will run a drill and a drop cord, and you want that to be an easy job rather than a reason to move the enclosure.
A driver at full speed is loud, and an impact screen amplifies it if it is thin and taut. If anyone in the house can hear you, the effect on the household is faster and more permanent than any equipment problem.
Three fixes cover most cases. Thicker multi-layer screens absorb impact energy instead of ringing. Full foam padding on the frame and crossbars removes the metallic ring that makes a hit sound sharp. And a heavy blackout curtain or side netting, which also improves the image, breaks up the echo.
If the door between the garage and the house is staying open during practice, add a weatherstrip sweep to the bottom. It is a few dollars of foam and it removes the lowest-frequency path into the living space, which is the one your family will notice.
Yes. A garage golf simulator needs three things: about 8.5 ft of ceiling height for a full driver swing, 10 ft of depth from the wall to the ball with 15 ft ideal, and roughly 10 ft of width for a full enclosure. The fourth constraint people miss is garage door track clearance, since horizontal tracks and the opener rail often occupy the center of the bay at 7 to 8 ft. Build along a side wall, hang a retractable screen, or remove the door to work around it.
Minimum is 8.5 ft ceiling, 10 ft depth, and 10 ft width. Ideal is a 9 ft or higher ceiling, 15 ft of depth, and 12 ft of width. Depth matters most for radar-based launch monitors, which need 6 to 8 ft behind the ball, while camera-based systems work with 4 to 6 ft. If you hit drivers regularly, add vertical clearance above the ball rather than only screen width.
Yes, with the right layout. The most common approach is a side-wall orientation, where the screen and hitting position sit along one side and the vehicle uses the remaining width. The second option is a retractable or motorized impact screen mounted in front of the garage door, which rolls up when the bay is needed. A flip-up or portable hitting mat helps in a one-car bay, and a ball-return net folds against a wall between sessions.
Retractable impact screen systems are the ones designed for a garage door face, since they mount to ceiling joists above the opening and roll up when the door operates. Research the specific system for wrinkle control and tension adjustment, because fabric that cannot be re-tensioned develops ripples that ruin a projected image. Mounting needs solid joists rather than drywall, and the retracted screen still needs headroom, so measure with it fully open.
They work, but ball flight and comfort both suffer in an unconditioned space. A ducted mini-split sized for the garage volume handles both heating and cooling, and a gas wall heater covers the winter months when swinging keeps you warm anyway. Room temperature affects carry distance readings, so if you track data, try to practice at a similar temperature to your outdoor rounds or account for the difference.
No, but a projector changes the experience more than any other addition. Without one, you use a phone or a built-in monitor such as the 10 inch touchscreen on the Garmin Approach R50, which is fine for data and short practice sessions. With one, you get projected courses, multiplayer, and a reason for guests to play. Plan on 3,000 to 4,000 lumens for a dim or lit garage and a throw ratio that matches your screen width.
A dense mat with real foam under the turf or rubber, not a thin sheet on bare slab. Garage slabs are poured with control joints, and repeated driver swings landing on the same joint line is what cracks them. Add a landing area behind the ball as well, because wedge and short-iron shots land hardest there. Most builders also protect the concrete around the mat with a floor covering to stop scuffing and debris.
If you want practice volume and a garage floor that stays clear, start with the Net Return Home/Pro Series. It carries the highest rating in this guide, the ball return is the feature owners notice most, and it works with whatever monitor you already own.
If you want virtual courses on a screen for the least money, the GoSports Range Cage 10 x 8 ft is the starting point, and add foam along the bottom rail before your first session. If you want the finished look, the GoSports Enclosure Nets blackout panels are the single biggest image upgrade available, provided your ceiling gives you room to assemble it.
If you want data rather than entertainment, the Garmin Approach R50 gives you the deepest measurement set and a screen that needs no phone, while the Uneekor EYE MINI CORE gives you faster reads in a wired bay. And if your garage cannot give up the swing area at all, the PHIGOLF Home Golf Simulator keeps you hitting through the winter with a phone and a sensor.
Measure the room before you order anything, run the cables before you raise the frame, and decide whether the car shares the bay. Those three answers make almost every other decision easier, and they are the reason the setups people keep for years are the ones that still work in month six.