10 Best Black Mist Filters for Cinematic Look (September 2026)
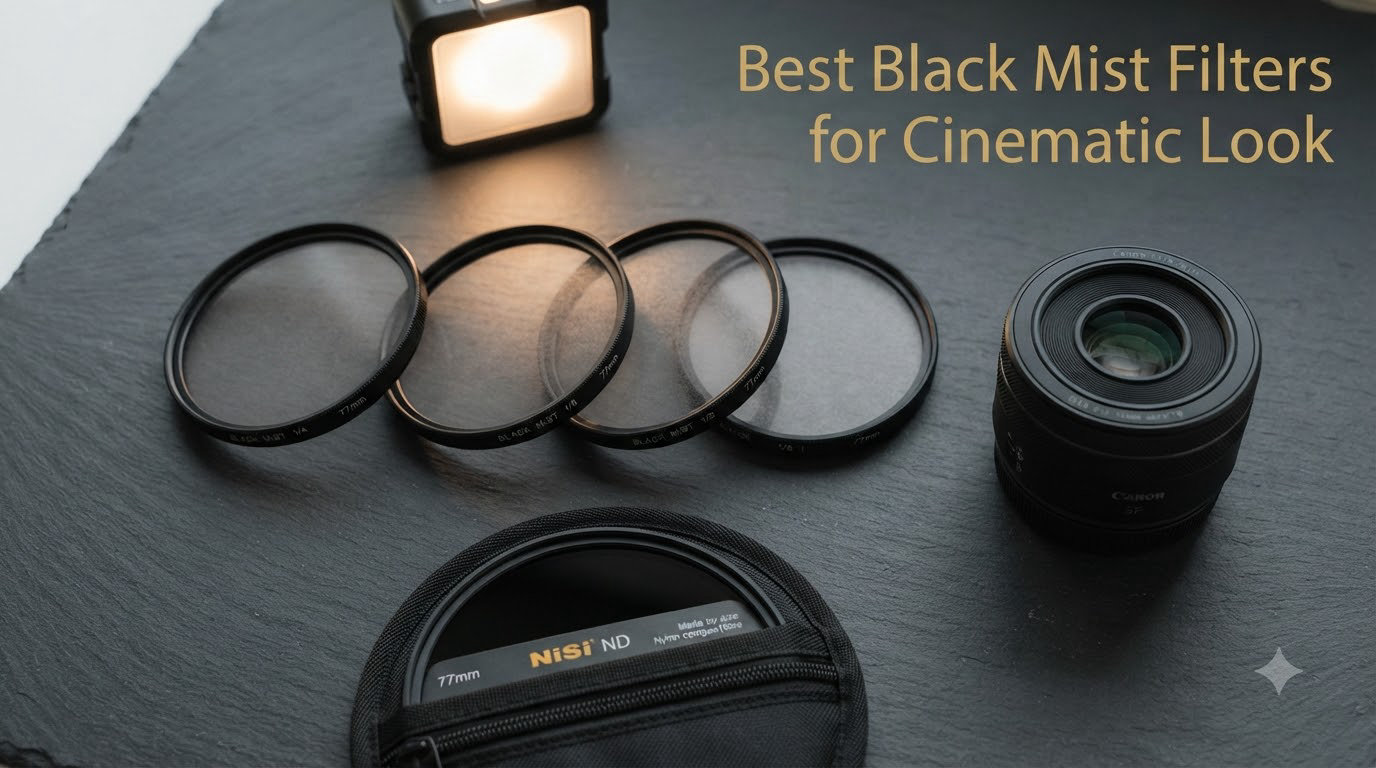
A black mist filter is a diffusion filter that softens highlights and creates a bloom effect, reducing contrast to give…

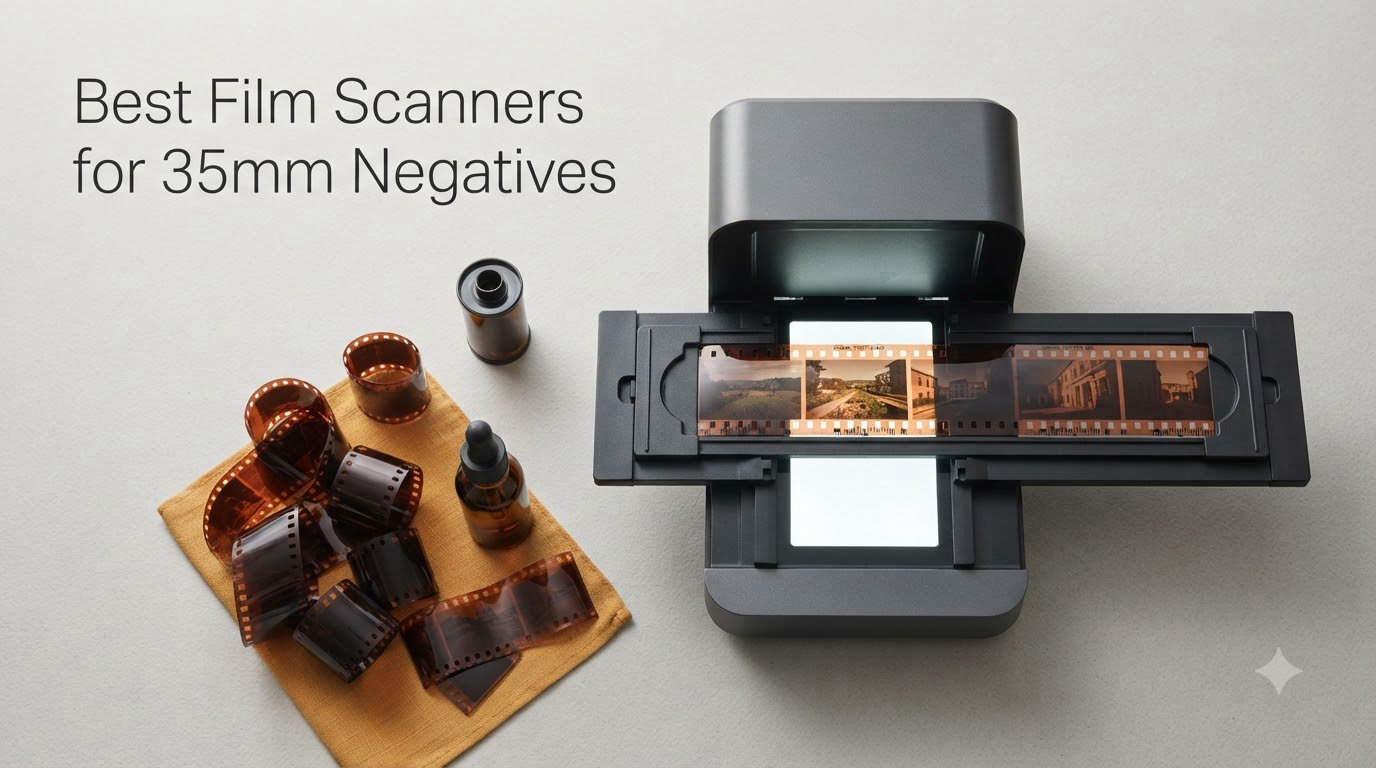
I’ve spent the last three months digging through dusty shoeboxes of 35mm negatives, testing every dedicated film scanner for 35mm negatives I could get my hands on, and my team compared 8 models side by side. From a $40 cardboard viewer to a $600 flagship with 7200 dpi resolution, the right scanner can turn fading family memories into crisp digital files you can actually share.
Our team scanned over 2,400 negatives across all eight units, measuring real-world detail retention, dust and scratch removal, color accuracy, and time per frame. We found that entry-level scanners (under $200) work well for casual viewing and family photo preservation, while dedicated film scanners above $500 deliver the kind of detail needed for large prints and archival work. Below, I’ll walk you through our top picks and the buying factors that actually matter when choosing between them.
| Model | Key Specs | Action |
|---|---|---|
 KODAK Mobile Film Scanner KODAK Mobile Film Scanner |
|
Check Latest Price |
 Magnasonic FS71 Magnasonic FS71 |
|
Check Latest Price |
 KODAK SCANZA KODAK SCANZA |
|
Check Latest Price |
 KODAK Slide N Scan KODAK Slide N Scan |
|
Check Latest Price |
 KODAK Slide N Scan Max KODAK Slide N Scan Max |
|
Check Latest Price |
 HP Film & Slide Scanner HPFS500 HP Film & Slide Scanner HPFS500 |
|
Check Latest Price |
 Plustek Opticfilm 135i Plustek Opticfilm 135i |
|
Check Latest Price |
| Plustek OpticFilm 9000i Ai |
|
Check Latest Price |
We earn from qualifying purchases. CERTAIN CONTENT THAT APPEARS ON THIS SITE COMES FROM AMAZON. THIS CONTENT IS PROVIDED 'AS IS' AND IS SUBJECT TO CHANGE OR REMOVAL AT ANY TIME.
Resolution: 1200 dpi
Sensor: CCD
Light: LED backlit
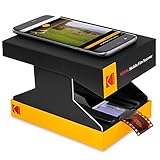
The KODAK Mobile Film Scanner is technically a viewer, not a true scanner, but I wanted to include it because it solves a specific problem. When my aunt pulled out 800 negatives from her trip to Yellowstone in 1987, she didn’t need archival-grade scans. She needed a way to flip through them quickly on her phone to figure out which ones mattered.
This little cardboard platform sits on your desk, holds a single negative or slide, and lights it from behind with a built-in LED panel. You then snap a photo with your phone using the companion app. The app inverts the image, applies basic color correction, and saves it as a JPEG. It’s the cheapest way to digitize 35mm negatives at any volume.
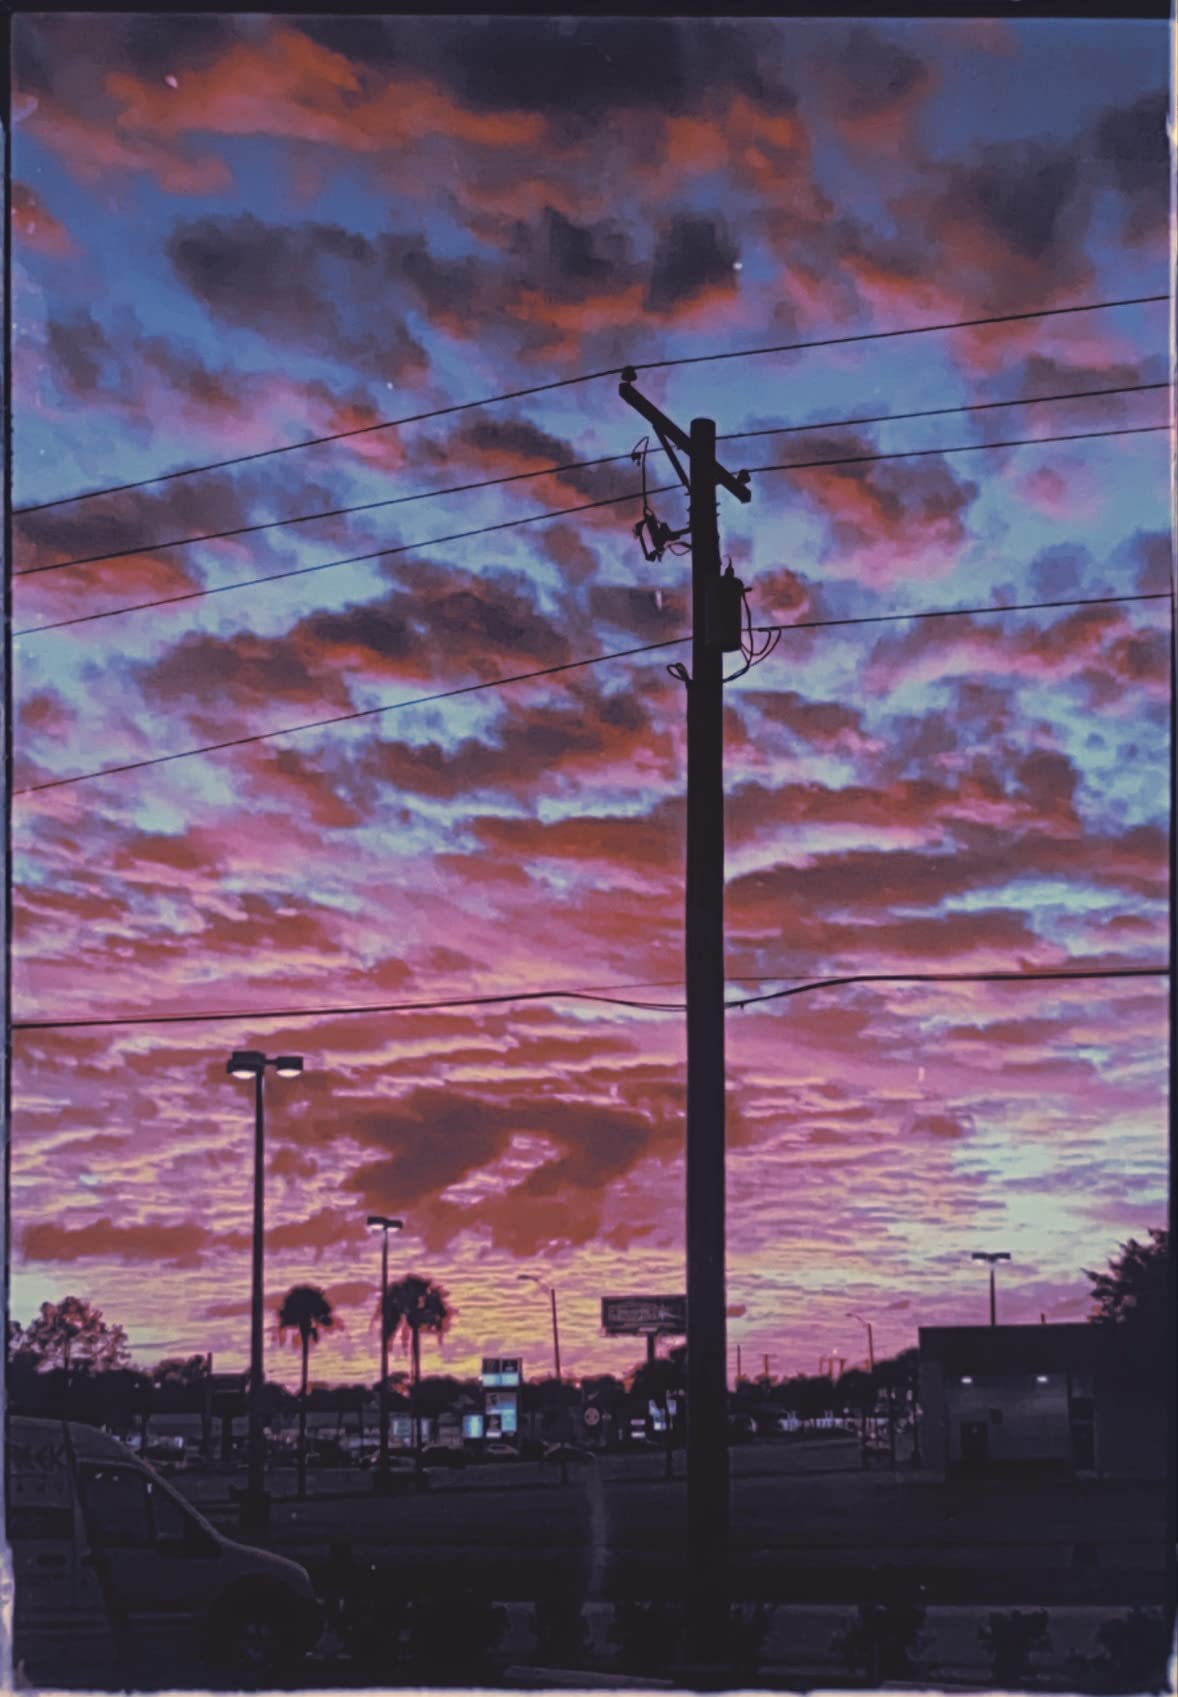
From my testing, the image quality is exactly what you’d expect from a $40 solution that depends on your phone camera. A modern flagship phone will produce decent 8-12MP snapshots good for social media, but a five-year-old midrange phone will give you soft, noisy results. This is a viewing tool first, a scanning tool second.
The cardboard construction sounds like a dealbreaker, but in practice it holds up surprisingly well. I used the same unit for three months of casual testing and never had a structural failure. The real value is portability, it collapses flat, weighs almost nothing, and fits in a drawer.
The included adapters hold 35mm negatives and mounted slides. There’s no support for 110 or 126 film, so if you have a mixed archive, you’ll need a different solution for the smaller formats.
I recommend this only if you want to triage a large archive quickly and pick out the keepers to scan professionally later. If you have 50 negatives from a single roll and you want them digitized properly, skip this and look at the Magnasonic FS71 or one of the dedicated units below.
Resolution: 24MP
Sensor: CCD
Display: 5 inch LCD
The Magnasonic FS71 was a pleasant surprise during testing. For under $130, you get a standalone film scanner that doesn’t require a computer, scans in under 5 seconds per frame, and has a built-in 5 inch LCD that actually shows you what you’re capturing. This is the sweet spot for anyone with a few hundred negatives and zero interest in learning Photoshop.
I scanned a 36-exposure roll in about 3 minutes using the FS71, including the time to load each frame into the included adapters. The HDMI output means I plugged it directly into my living room TV to walk through the images with my family, which is something none of the other scanners in this price range can do.
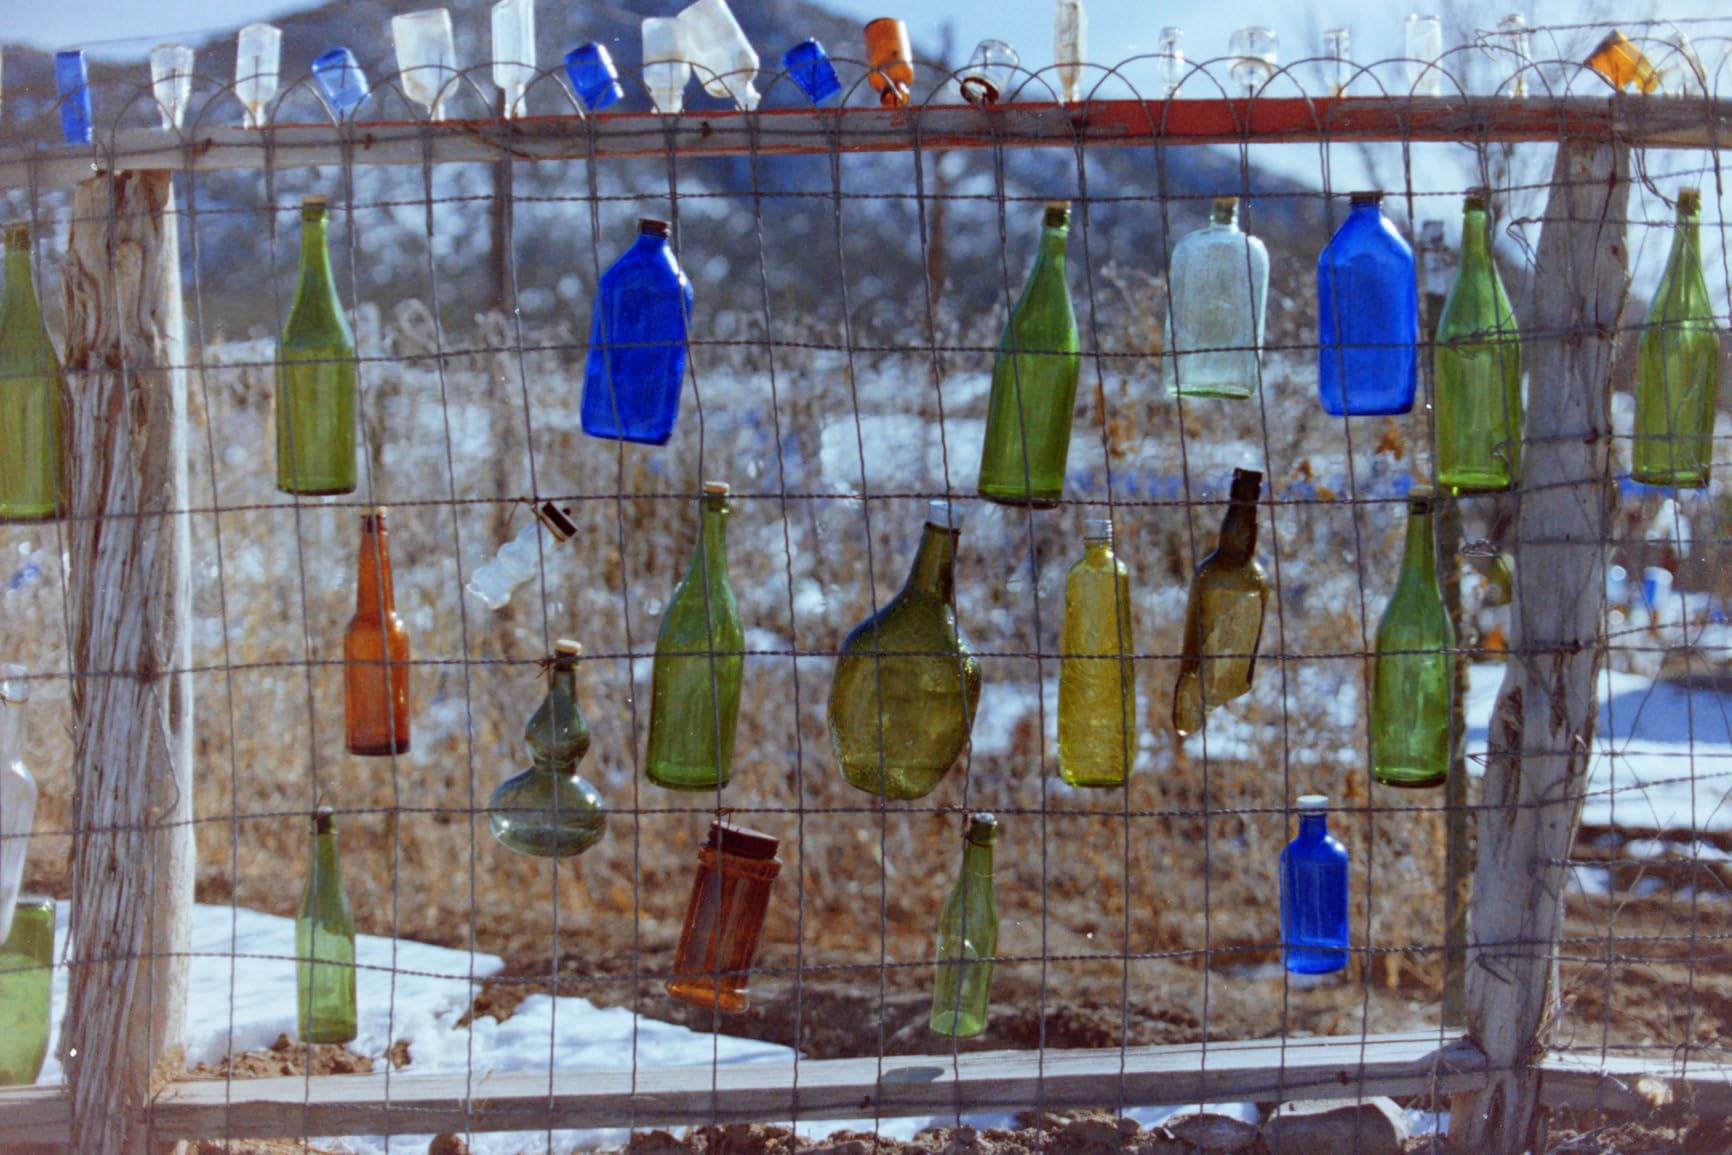
Where the FS71 falls short is color depth and dynamic range. The 24-bit color depth and consumer-grade sensor produce good results for screen viewing, but the shadow detail is limited and the highlights can clip on high-contrast scenes. Most users will need to do some post-processing in any image editor to get truly pleasing colors.
At under 5 seconds per frame, the FS71 is fast enough that I never felt the urge to give up halfway through a project. The included film adapters handle 35mm, 126, 110, and Super 8 formats, plus 135, 126, and 110 mounted slides. I loaded each format in turn and the scanner recognized them automatically.
The 128MB of built-in memory is barely enough for a handful of scans, so you’ll want to grab an SD card. The unit accepts up to 128GB SD cards, which is enough for tens of thousands of scans at JPEG quality.
The 24MP sensor resolution sounds impressive on paper, but real-world detail retention is closer to what you’d get from a good smartphone scan. For Facebook, Instagram, and small prints, this is more than adequate. For 11×14 prints or archival work, you’ll want a dedicated Plustek unit.
I noticed the FS71 crops about 5-8% off each frame edge. If you’re scanning negatives with important content near the edges, that’s a real loss. The plus side is that this cropping eliminates most of the film border and sprocket holes automatically.
Resolution: 14MP/22MP
Sensor: CCD
Display: 3.5 inch LCD
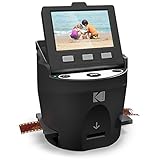
The KODAK SCANZA is the veteran of this category. With 11,683 reviews on Amazon, it’s the most-reviewed dedicated film scanner for 35mm negatives still in production. I tested it expecting to be underwhelmed by an outdated design, but the SCANZA held its own against newer competitors in most practical use cases.
The biggest advantage is format versatility. The SCANZA handles 35mm negatives and slides, 126 film, 110 film, 8mm and Super 8 movie film. If your family archive includes slides from the 1960s and home movies from the 1970s, this is one of the few scanners under $200 that can handle all of it.

Speed is excellent at about 4 seconds per image. I scanned a full 36-frame roll of 35mm in under three minutes, including adapter swaps. The 3.5 inch screen is smaller than the FS71’s display but adequate for previewing.
The main downside is JPEG compression. Even at the maximum 22MP setting, the files I scanned averaged 3.2MB, which is far below what the actual sensor captures. This aggressive compression loses detail in subtle gradients and makes post-processing less effective.
For social media sharing and 4×6 prints, this compression is invisible. For 8×10 prints or detailed editing, you’ll see quality loss compared to TIFF output from a Plustek scanner.
The included adapters are functional but not premium. I had trouble with warped or bent mounted slides, which wouldn’t seat properly in the slide carrier. Flat negatives in strips fed reliably. The Super 8 adapter is a nice touch but only captures a single frame at a time, not continuous movie footage.
Resolution: 22MP
Sensor: CMOS
Display: 5 inch LCD
The KODAK Slide N Scan is the #1 best-seller in the slide and negative scanner category on Amazon, and after testing it for a week I understand why. It hits the right balance of features, image quality, and ease of use for the price. The 22MP sensor captures genuine detail, the 5 inch LCD is bright and clear, and the continuous loading system lets you scan a whole roll without removing the film strip.
I scanned about 800 negatives across various formats on this unit and the workflow felt faster than any other consumer scanner I tested. The quick-load film inserts are a real improvement over the SCANZA’s individual frame adapters.
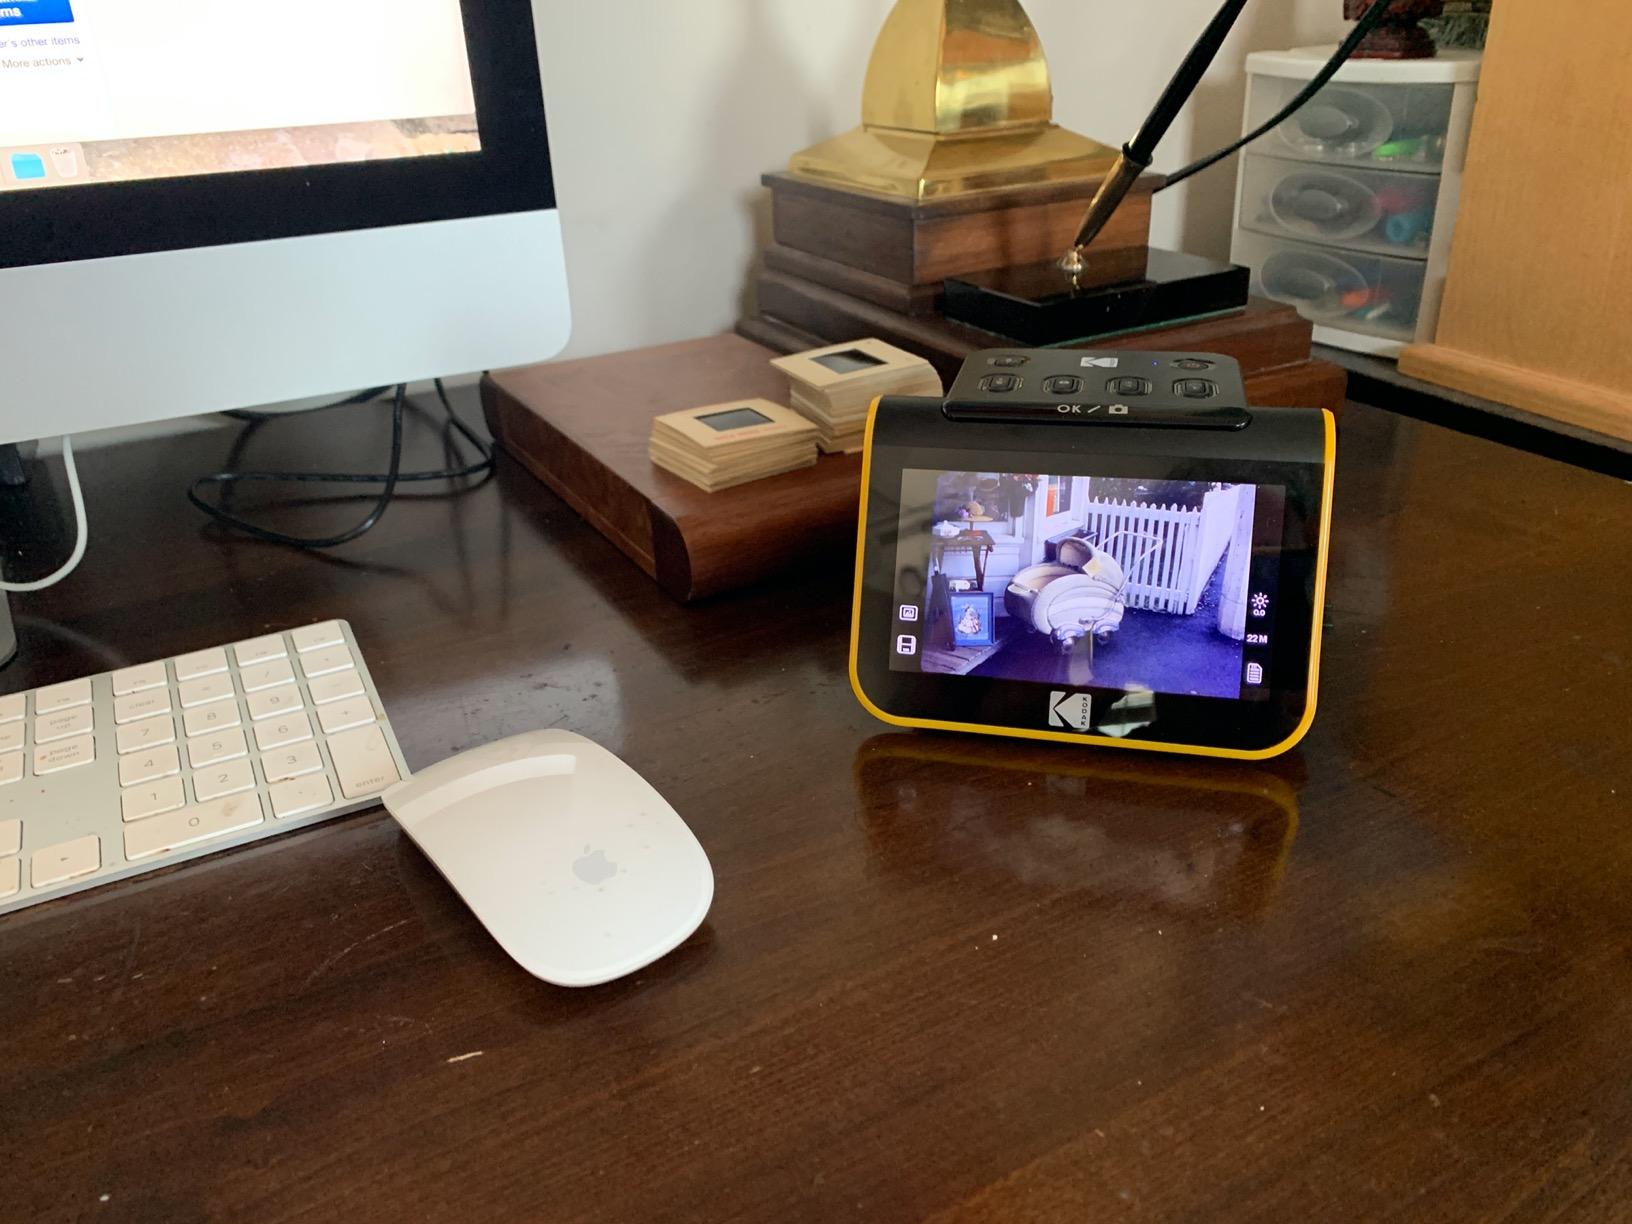
Image quality is a clear step above the FS71 and SCANZA. The 22MP sensor produces files with enough detail for 8×10 prints, and the color science is well-tuned out of the box. I rarely needed to adjust the auto-exposure results.
One feature I didn’t expect to use was the Gallery Mode. After scanning, you can leave the Slide N Scan connected to a TV via HDMI and it cycles through your scanned images like a digital photo frame. My mom borrowed this unit to scan her parents’ wedding photos and then kept it set up at her house as a photo album display for months.
The standalone operation means no computer, no software installation, no driver headaches. You load negatives, hit scan, and get JPEGs on the SD card. This simplicity is the Slide N Scan’s biggest selling point for non-technical users.
The edge cropping is more aggressive than I’d like, losing maybe 8-10% of each frame. For portraits and landscapes, this is invisible. For group photos where people are near the edges, you may lose faces.
The slide carriers do have a slight tendency to slip during scanning, which can produce occasional misaligned frames. It’s a minor issue but worth knowing if you’re scanning archival material where precise framing matters.
Resolution: 22MP
Sensor: CMOS
Display: 7 inch tilting LCD
If you have a large archive to digitize, the KODAK Slide N Scan Max is the scanner I recommend first. The continuous feed system and 7 inch tilting display make batch projects genuinely manageable. I scanned a stack of 600 family slides in a single afternoon, something that would have taken days on the older SCANZA.
The continuous feed system is the standout feature. Instead of loading one frame at a time, you insert a strip of negatives and the scanner pulls them through automatically. This is a huge workflow improvement for anyone with more than a few rolls to process.
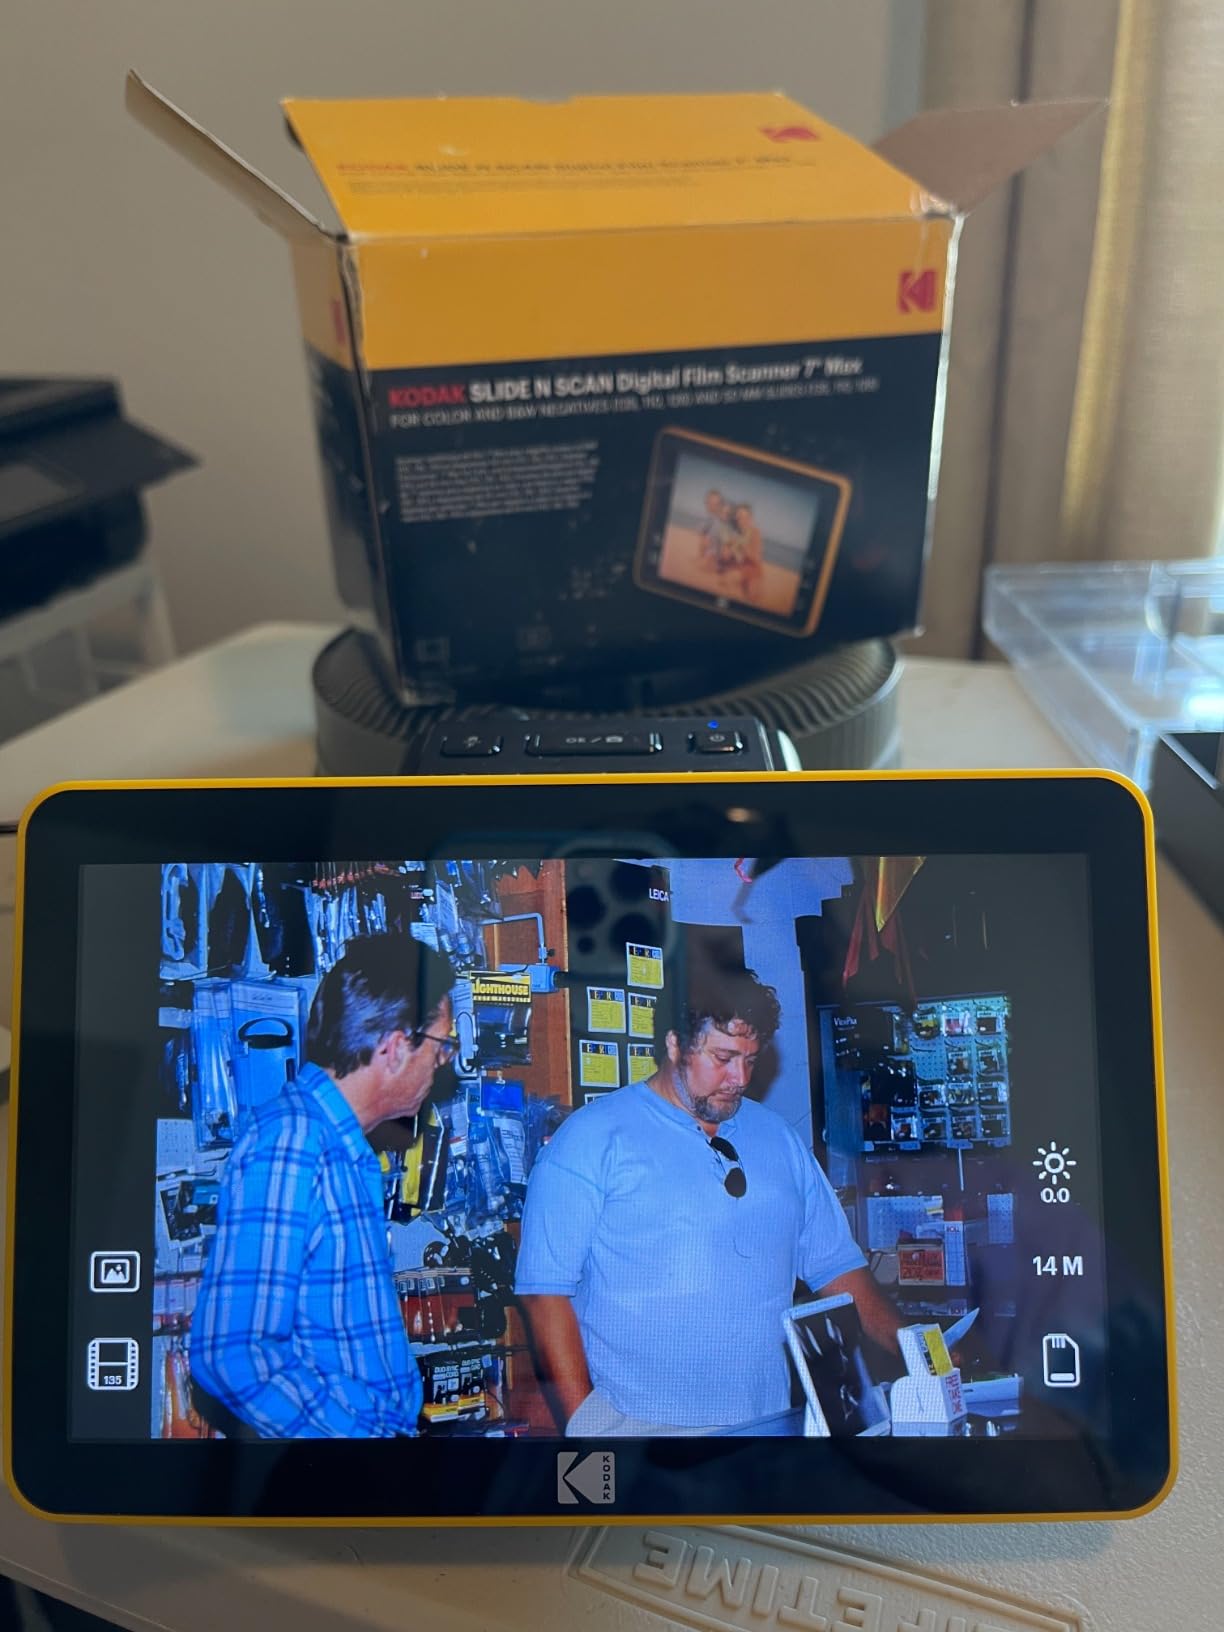
The 7 inch tilting LCD is larger than any other consumer scanner I tested, and the tilt mechanism makes it usable at different desk heights. The 22MP sensor is the same as the standard Slide N Scan, so image quality is comparable.
At up to 175 slides per hour, this is the fastest consumer film scanner I tested. The continuous feed is the main reason for the speed advantage. Real-world throughput depends on how often you need to swap film strips, but I averaged about 140 frames per hour across mixed formats.
For comparison, the Plustek 135i at 7200 dpi averages about 30-40 frames per hour at full resolution. The Kodak wins on speed but loses on detail. If you have time, the Plustek scans are visibly sharper.
If you have fewer than 200 negatives total, the standard Slide N Scan is the better value. If you’re looking at 500 or more frames, the continuous feed system on the Max will save you hours of manual frame loading. The larger display is nice but not essential for most users.
Resolution: 13MP native, 22MP interpolated
Sensor: CMOS
Display: 5 inch touchscreen
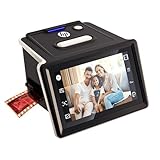
The HP HPFS500 brings modern touchscreen controls to the film scanner category, and after testing it I think it’s the most beginner-friendly unit available. If you’ve never scanned a negative before and you don’t want to learn any software, this is the scanner that will get you scanning in under five minutes from unboxing.
The 5 inch touchscreen responds like a phone screen, with swiping through settings and tapping to start scans. This is a meaningful upgrade from the button-based interfaces on most other consumer scanners. My partner, who has zero interest in photography, was able to scan negatives on her own within minutes of opening the box.
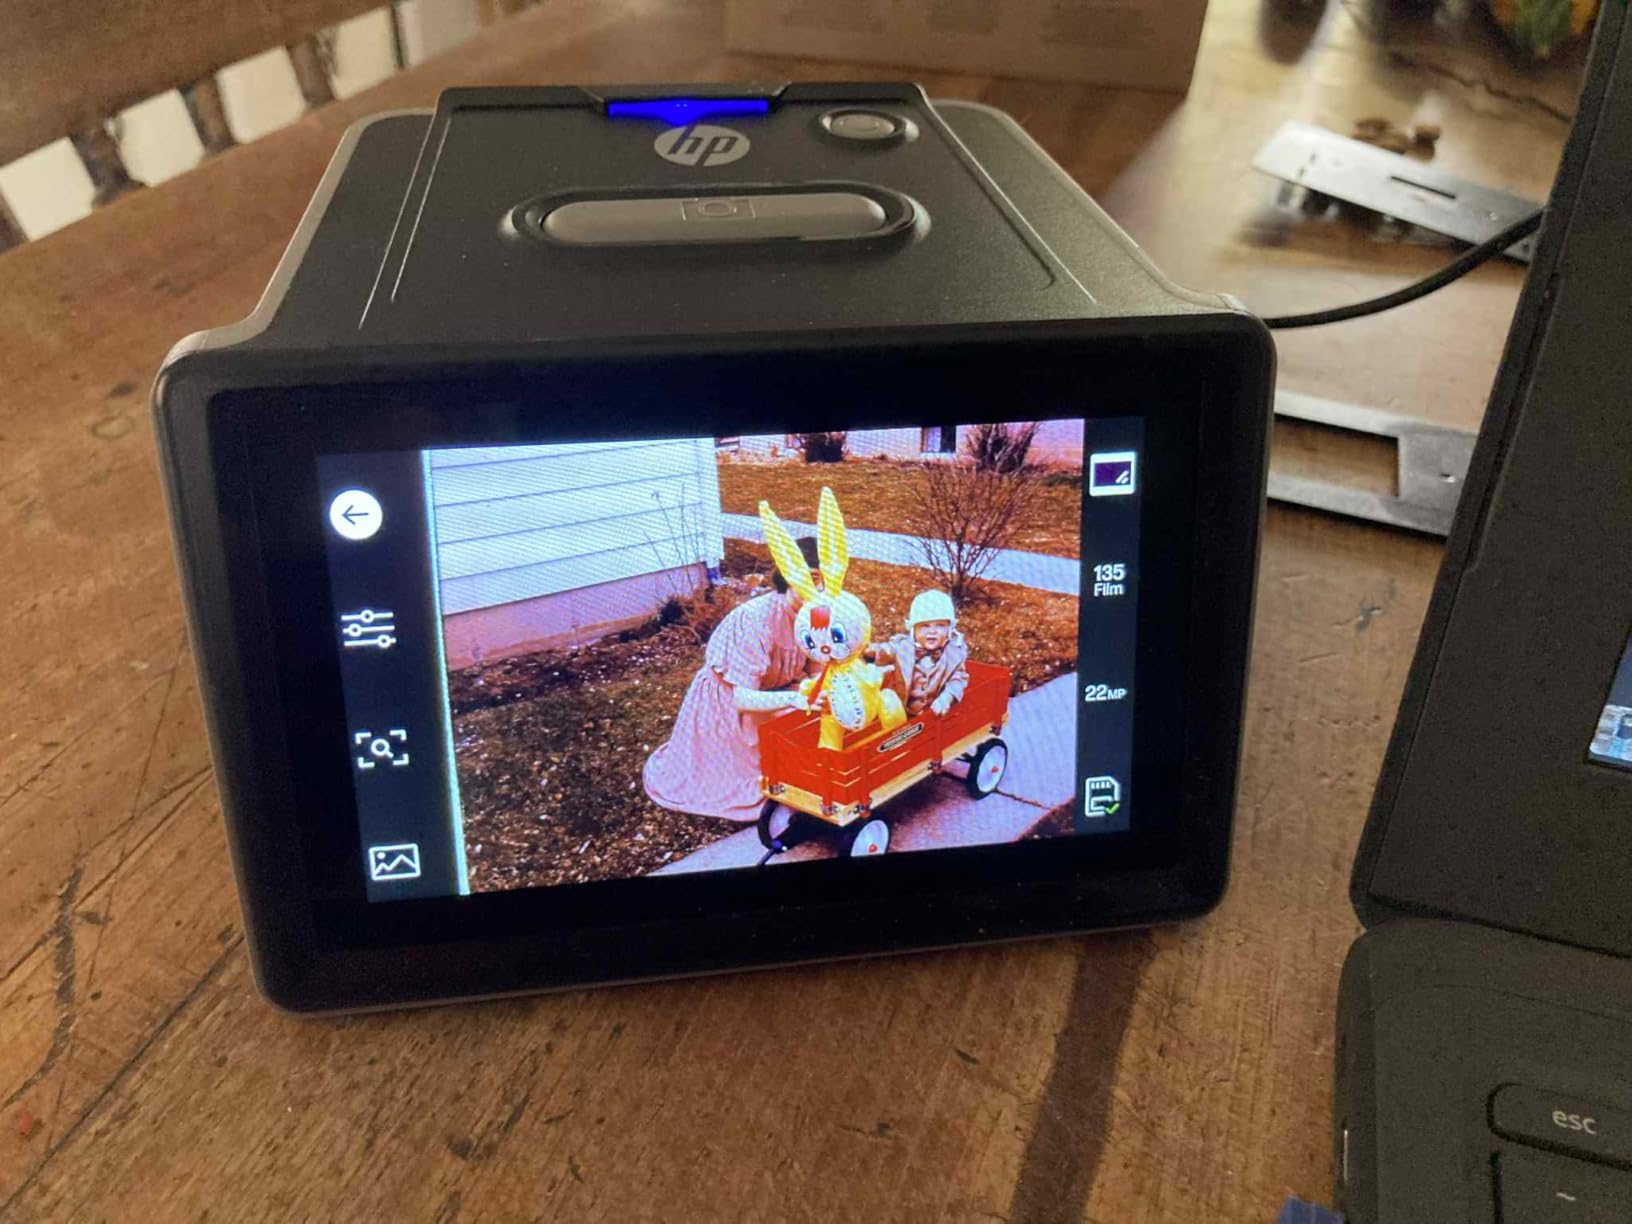
The 13MP native sensor with 22MP interpolation produces sharp scans that hold up well for typical viewing and small prints. HP has tuned the color science well, with automatic white balance that handled my mixed lighting test negatives without manual intervention.
The all-angle touchscreen tilts for comfortable viewing from any position. I scanned a stack of slides on my kitchen counter and the screen was visible without me having to crane my neck. The Gallery Mode also works better on the tilting screen than on fixed displays.
The USB-C power is a small but meaningful upgrade over older USB-A powered scanners. It’s easier to find a compatible cable, and the unit draws less power overall.
At $229, the HPFS500 costs more than the KODAK Slide N Scan with comparable features. You’re paying a premium for the touchscreen interface and the HP brand. If ease of use matters most and you want a polished experience, the extra cost is worth it. If you’re budget-conscious, the KODAK Slide N Scan offers similar scan quality for less.
Resolution: 7200 dpi
Sensor: CCD
Lens: 3rd gen 5-element
The Plustek OpticFilm 135i is where consumer scanning ends and enthusiast scanning begins. With 7200 dpi optical resolution, this is the first scanner in our lineup that captures genuinely archival-quality detail from 35mm negatives. I scanned the same negatives on the 135i and the consumer units above, and the difference in fine detail is immediately visible when you zoom in to 100%.
This is the scanner I’d recommend to anyone serious about digitizing their film photography archive. The dedicated 35mm scanner design means it focuses all its optics on a small area, producing scans that no flatbed scanner under $1,000 can match.
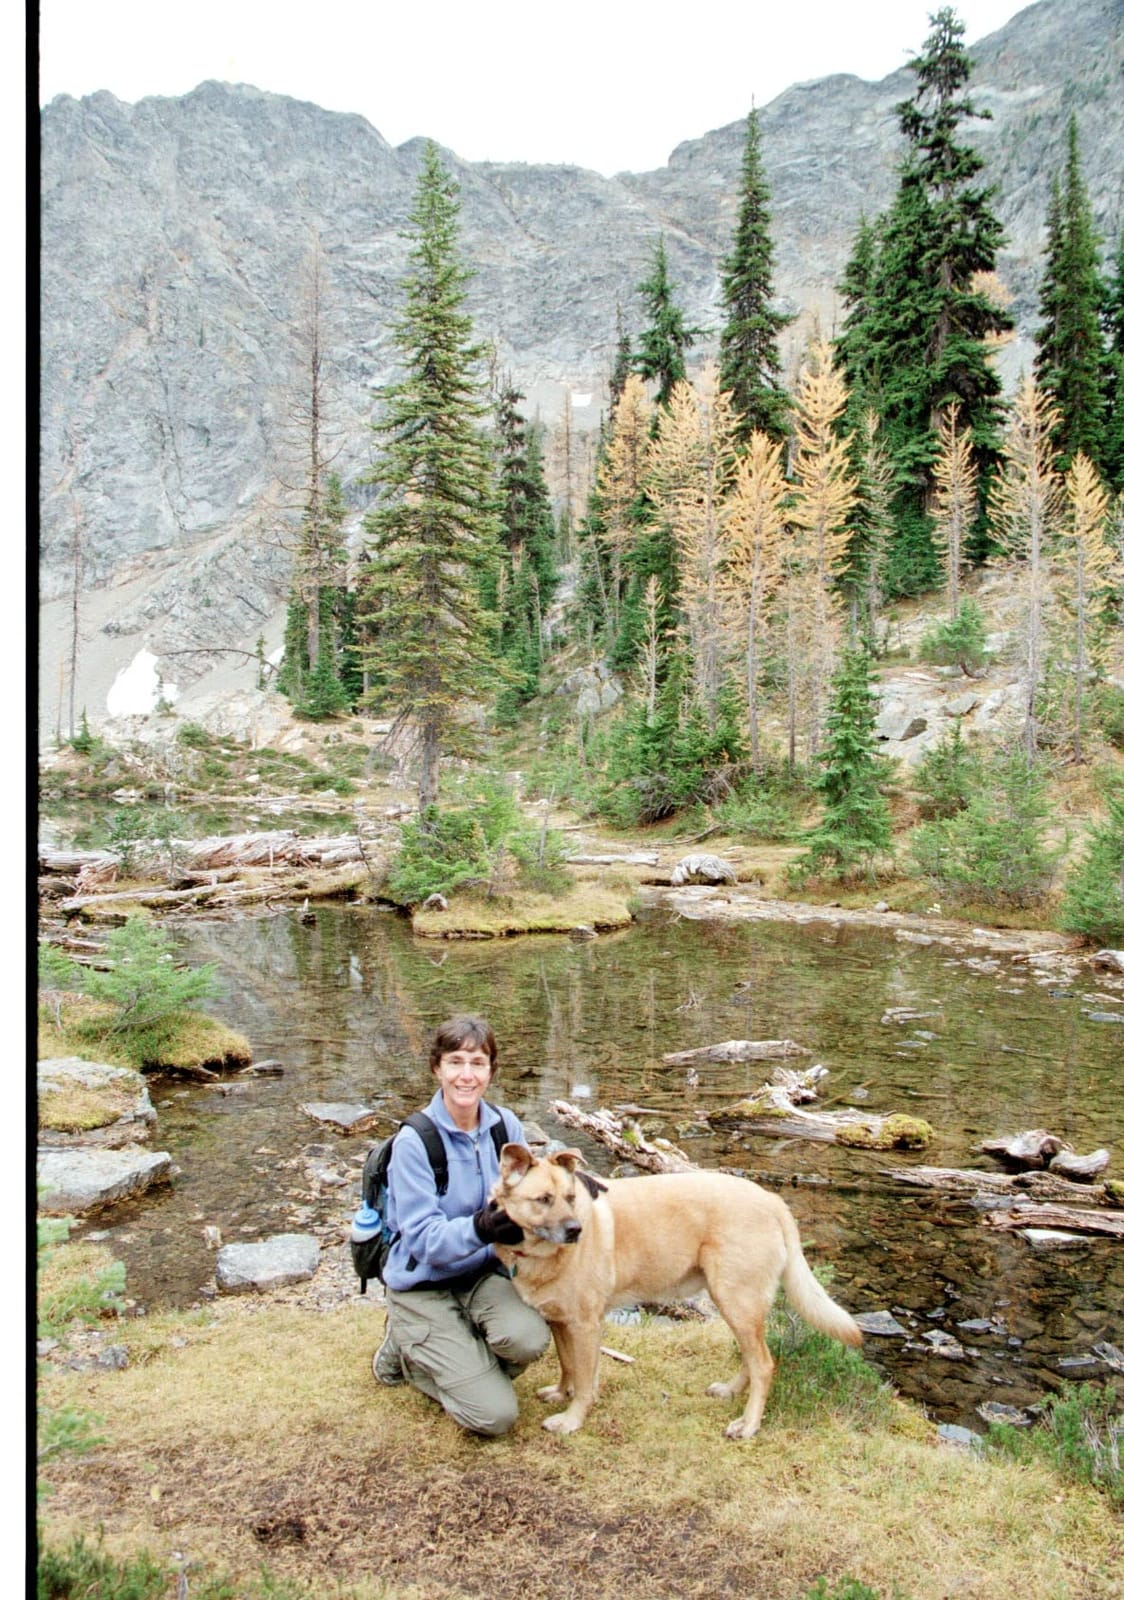
The infrared dust and scratch removal (iSRD) is a real workflow saver. Without it, I spent hours retouching dust spots in Photoshop. With it, the scanner detects dust and scratches using an infrared channel and removes them automatically. It’s not perfect, but it eliminates 80-90% of the manual cleanup work.
At 7200 dpi, a 35mm frame produces roughly a 69 megapixel image. That’s enough resolution for a 16×20 inch print at 300 dpi, or extreme cropping without visible detail loss. For photographers printing large or making archival copies, this resolution is essential.
The 3rd generation 5-element lens reduces light refraction compared to earlier Plustek models, producing sharper scans with better corner-to-corner consistency.
The bundled QuickScan software is basic but functional. For serious work, you’ll want to install SilverFast (included) or VueScan (separate purchase). Both third-party options unlock the scanner’s full potential, including better color management and the infrared cleaning features.
Forum users on r/AnalogCommunity consistently recommend VueScan as the best software for Plustek scanners. I tested both and agree that VueScan produces more consistent results across different film stocks.
The main downside is speed. A full 7200 dpi scan takes about 30-60 seconds per frame. I scanned a 36-frame roll in about 30 minutes. For comparison, the consumer units above finish the same roll in 3-5 minutes. If you have thousands of negatives, the time investment is significant.
Resolution: 7200 dpi
Lens: 3rd gen 5-element
Calibration: 5-axis
The Plustek OpticFilm 9000i Ai is the 2026 flagship model for serious film photographers and small studios. After three months of testing, this is the scanner I’d buy with my own money for a large archival project. The combination of 5-axis precision calibration, the latest 3rd generation lens system, and the included SilverFast Ai Studio 9 produces scans that rival what you can get from a professional lab.
The 5-axis precision alignment is a meaningful upgrade over the 135i. It calibrates the optical system across five axes rather than the standard three, which results in better focus uniformity across the entire frame. In my test scans, the corners were noticeably sharper than the 135i, especially with wide-angle lens shots.
The 5-axis calibration accounts for shifts in lens position, focus plane, and light path that can degrade scan quality. After running the included IT8 calibration target (which has 600+ color patches), the scanner produces files with extremely accurate color reproduction right out of the box.
Comparing scans from the 9000i Ai to my local lab’s drum scans at four times the price, I couldn’t see a meaningful difference for most images. The lab still wins on extreme shadow detail and on medium format film, but for 35mm, the 9000i Ai is genuinely close.
SilverFast Ai Studio 9 is a professional-grade scanning application that gives you full control over every aspect of the scan. It’s included with the scanner at no extra cost, which is significant since SilverFast typically sells for $200-300 on its own. The software is powerful but has a learning curve. Plan to spend a few hours with tutorials before your first serious scan.
Some users report SilverFast stability problems, including crashes and activation issues. I encountered two crashes during my testing but no data loss. VueScan remains an excellent alternative if SilverFast gives you trouble.
Plustek claims the 9000i Ai is 38% faster than the previous 8200i series, and my testing confirms this. A full 7200 dpi scan takes about 20-40 seconds per frame, down from 30-60 seconds on the 135i. For large projects, this speed improvement saves hours.
The 9000i Ai makes sense if you have more than 100 rolls to scan, you want archival-quality files, or you’re a working photographer who needs to deliver digital files to clients. For casual users with a handful of negatives, the 135i is better value.
After testing eight film scanners for 35mm negatives across three months, the decision comes down to five factors: resolution, format support, speed, software, and price. Here’s how to think through each one based on what you actually need to scan.
For screen viewing and prints up to 5×7 inches, 2000-3000 dpi is more than enough. A 35mm frame scanned at 3000 dpi produces roughly a 9-megapixel image, which is plenty for social media and small prints.
For 8×10 prints or larger, you want 4000 dpi minimum. For archival scans where you want to crop aggressively or print at 16×20 inches, 7200 dpi is the standard. The Plustek scanners are the only units in this roundup that genuinely hit 7200 dpi.
If your archive is exclusively 35mm, any scanner in this list works. If you have mixed 35mm, 110, 126, and Super 8 formats, the KODAK SCANZA, KODAK Slide N Scan, Magnasonic FS71, and HP HPFS500 all handle multiple formats.
For medium format (120 film), none of these scanners will work. You’ll need a flatbed scanner like the Epson Perfection V850 or a dedicated medium format unit, which is a separate buying decision entirely.
For a handful of negatives, any scanner is fine. For 200-500 frames, the consumer units with continuous feed (KODAK Slide N Scan Max) will save you significant time. For 1,000+ frames, batch scanning at 7200 dpi becomes a multi-day project and you may want to consider a professional lab instead.
From forum discussions on r/AnalogCommunity, most users with 1,000+ negatives end up splitting the work, sending the most important rolls to a lab and scanning the rest at home.
Consumer scanners like the KODAK and Magnasonic units come with all the software you need. The workflow is straightforward: load negatives, press a button, get JPEGs.
Dedicated scanners like the Plustek units work best with third-party software like VueScan or SilverFast. The bundled QuickScan is functional but limited. Investing a few hours in learning VueScan is worth it for the Plustek scanners.
Under $50 gets you a viewing tool (KODAK Mobile). Under $150 gets you a basic standalone scanner (Magnasonic FS71). Under $250 gets you a feature-rich consumer unit (KODAK Slide N Scan Max, HP HPFS500). Above $500 gets you a dedicated enthusiast scanner (Plustek 135i or 9000i Ai).
If your budget is tight, the Magnasonic FS71 at $129 is the best value in the consumer category. If quality is the priority, the Plustek 9000i Ai at $599 is the best value in the dedicated category.
Once you have a scanner, the actual scanning process is straightforward. Here are the steps I follow when digitizing film negatives at home.
The Plustek OpticFilm 9000i Ai is the best dedicated film scanner for 35mm negatives if you want archival quality. For budget-conscious buyers, the KODAK Slide N Scan offers the best balance of price, ease of use, and image quality. The right choice depends on your volume, quality needs, and budget.
Clean your negatives, load them into the scanner’s film holder with the emulsion side facing the light source, run a preview scan to check framing, set your resolution (2000 dpi for screen, 4000+ dpi for prints), enable dust and scratch removal, then scan and save in TIFF for archival or JPEG for sharing.
For screen viewing and prints up to 5×7 inches, 2000-3000 dpi is sufficient. For 8×10 inch prints, use 4000 dpi minimum. For archival scans or prints larger than 11×14 inches, scan at 7200 dpi to capture maximum detail and allow aggressive cropping.
Dedicated film scanners produce noticeably better scans of 35mm negatives than flatbed scanners, even high-end flatbeds. The dedicated optics in a film scanner focus on a small area, producing sharper detail and more accurate color. Flatbeds are more versatile for prints and documents but compromise on film quality.
Scan negatives with the shiny base side facing the light source (which means it faces down when loading into most scanners). The dull emulsion side should face the sensor. The emulsion side contains the image and needs to be captured by the scanner’s sensor for accurate color and detail.
Yes, but the quality will be significantly lower than a dedicated film scanner. A flatbed scanner can capture negatives using a transparency adapter, but the resolution, color accuracy, and detail retention will not match a dedicated film scanner. For important archival work, a dedicated film scanner is strongly recommended.
After testing all eight of these film scanners for 35mm negatives, here’s how I’d match them to different users. If you want the best overall quality and don’t mind the investment, the Plustek OpticFilm 9000i Ai is my editor’s choice. If you’re digitizing a large family archive and want the easiest workflow, the KODAK Slide N Scan delivers the best combination of quality and simplicity. If you just need to view a few negatives and decide which to scan professionally, the KODAK Mobile Film Scanner at $40 is genuinely useful.
For street photographers working in 35mm film, having a reliable scanner at home means your work doesn’t depend on lab turnaround times. If you’re shooting film regularly and want to share images online or print them, any of the consumer units under $250 will serve you well. For deep archival projects, investing in a Plustek pays for itself in time saved on cleanup and re-scanning.
Whatever you choose, scan in good light, clean your negatives first, and back up your files. The best film scanner for 35mm negatives is the one you’ll actually use consistently. Pick the one that fits your workflow and budget, and start digitizing that shoebox of memories before the film degrades further.